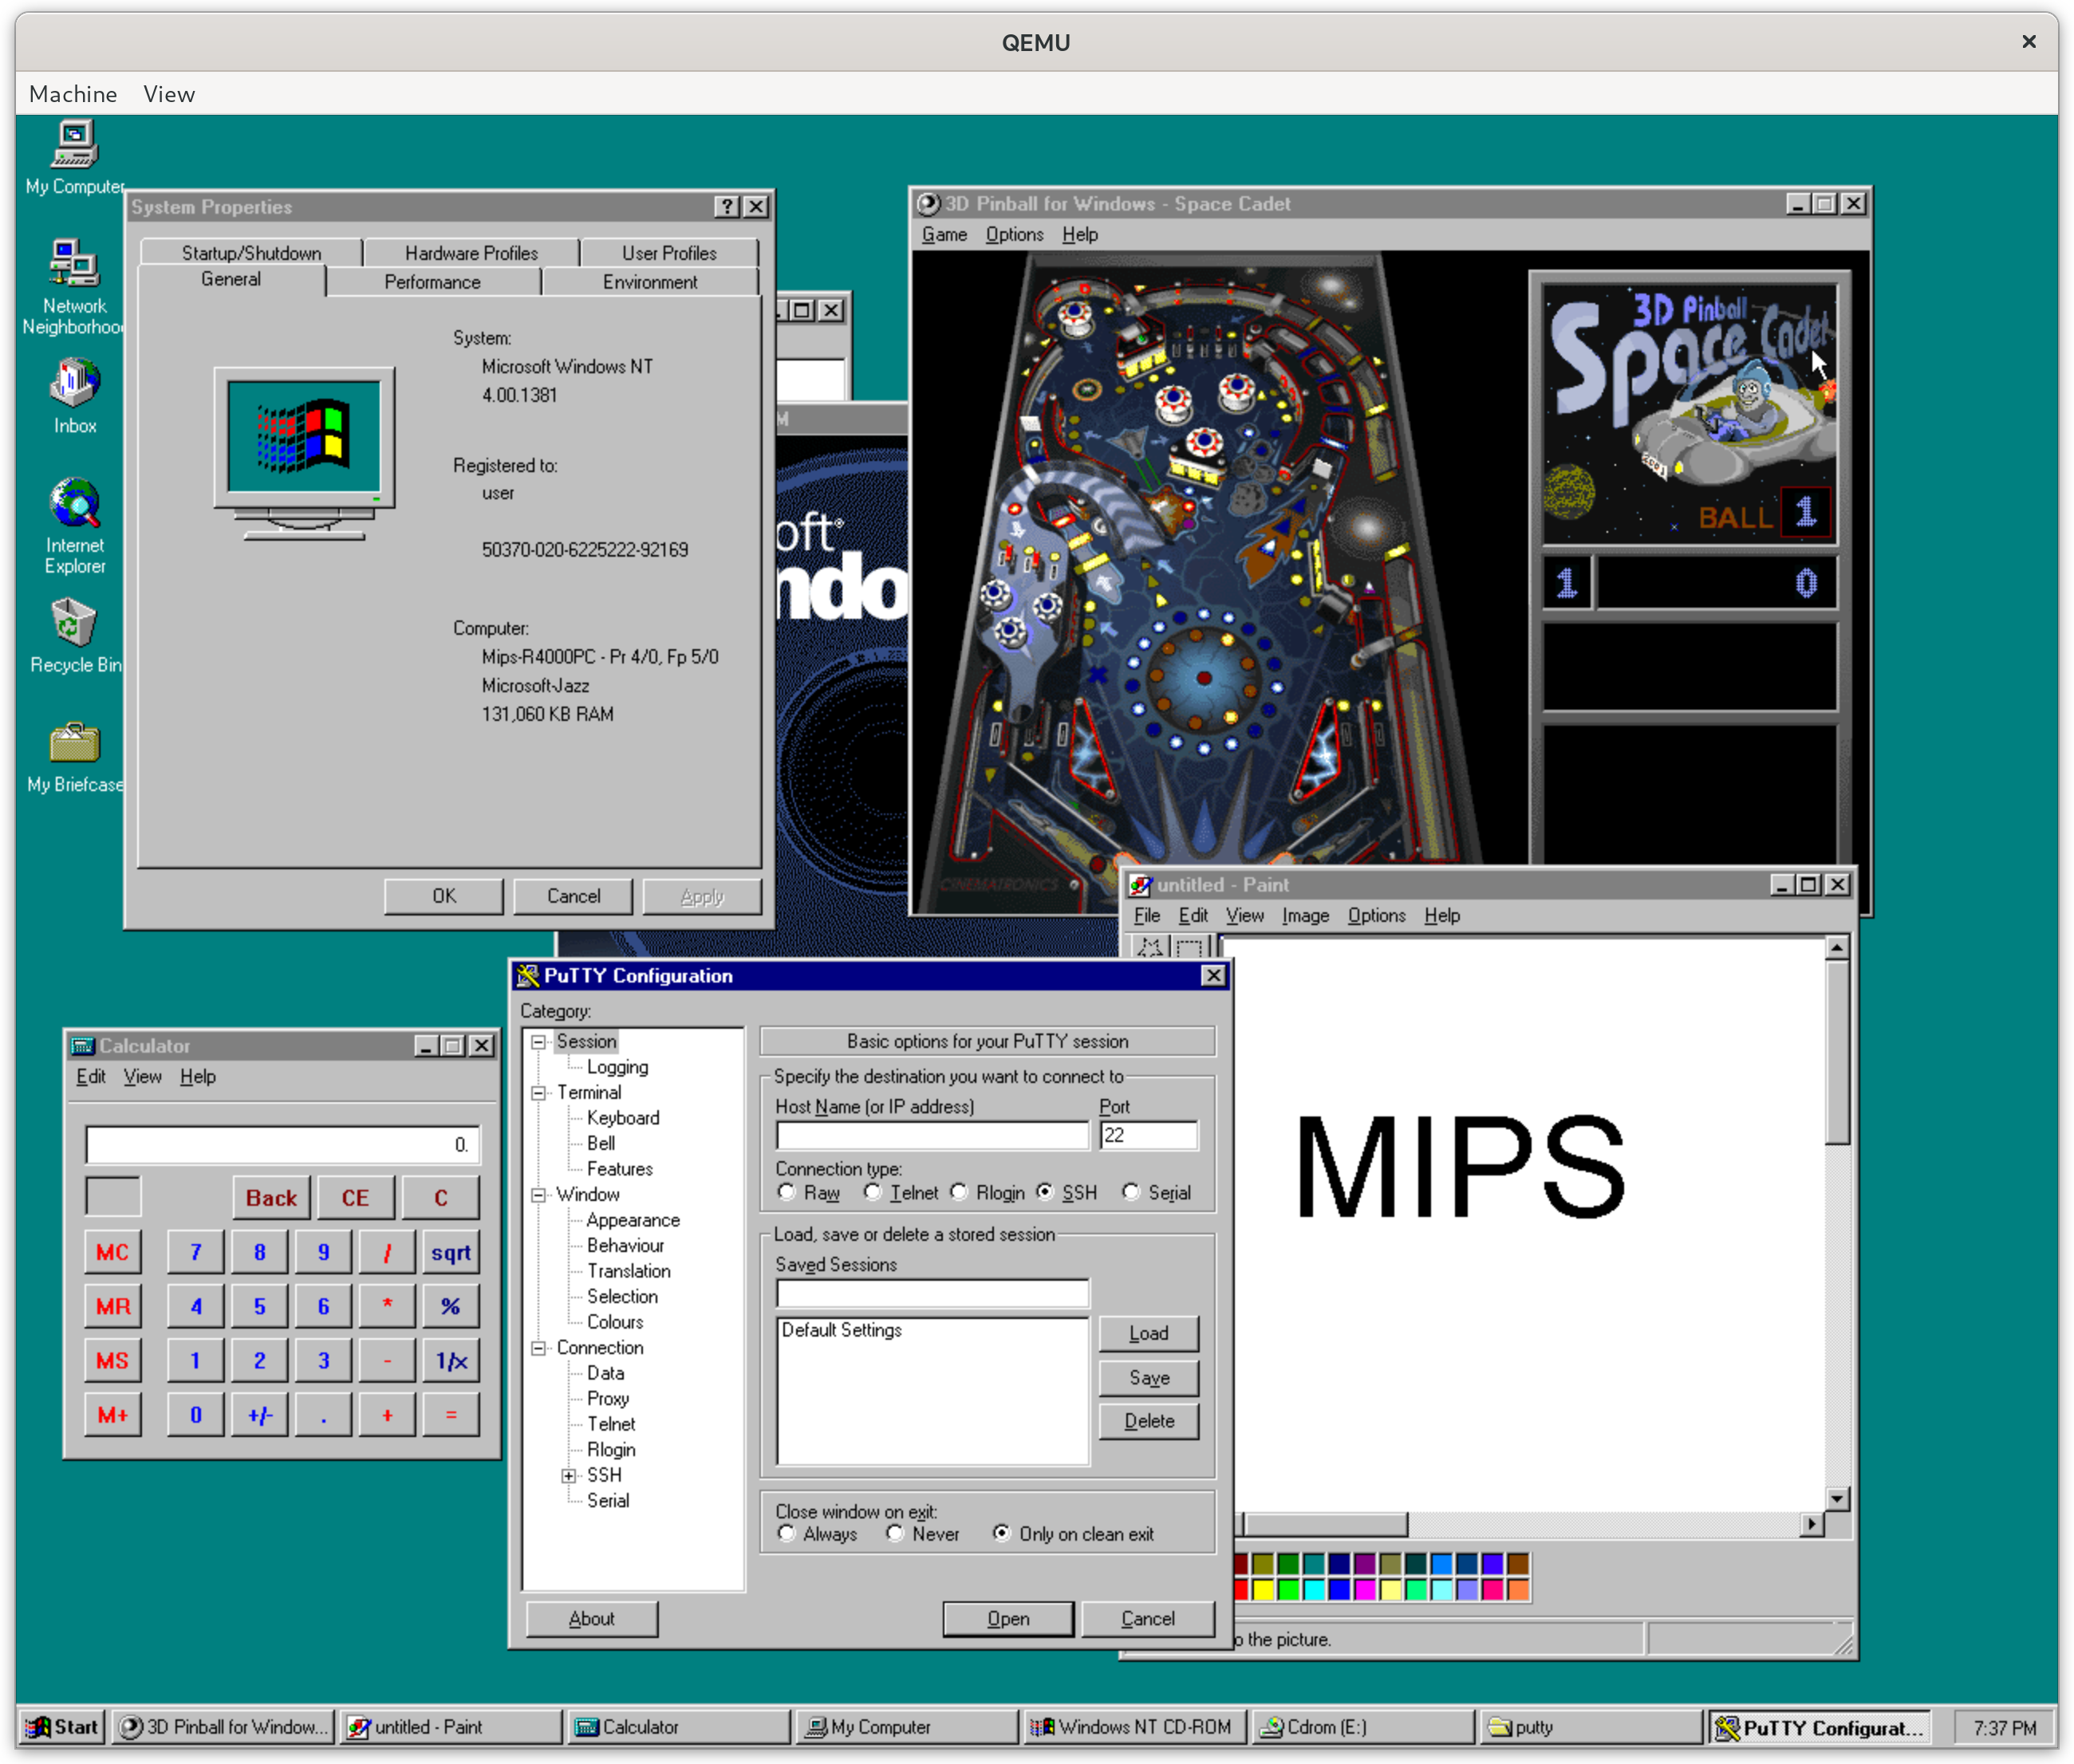
Running Windows NT 4 MIPS on Qemu
Today we will be looking at how to run Windows NT 4 for MIPS on the Qemu emulator. I didn’t really have a reason to try this but it seemed like a fun weekend project. In the process I’ve learned a lot about how some systems booted, got even more angry about how awful BIOS boot was on PC, and probably found a 25 year old bug in the ARC boot firmware. While I’m sure all MIPS server admins of yore knew about this I could not find any documentation on the problem, nor any solution to it. I suspect that most people playing with this today are totally fine installing Windows NT on a FAT partition. It is however very puzzling to me that this problem exists at all. What am I talking about? Read on!
A little bit of history
When Microsoft started development of Windows NT in the late 80s the plan was to create a highly portable operating system to take on UNIX. Since Windows NT originally shipped for DEC Alpha, x86 and MIPS they were largely successful.
Development originally started on an Intel CPU that was never particularly successful the Intel i860 switching to MIPS fairly early on in development.
The MIPS machines available at the time were very different from other systems that Microsoft wanted to ship Windows NT on, so to help development they designed a chip set and computer they referred to as Jazz. Jazz combined the MIPS CPU with more standard components such as an EISA bus, a floppy controller, ethernet, and several other standard components.
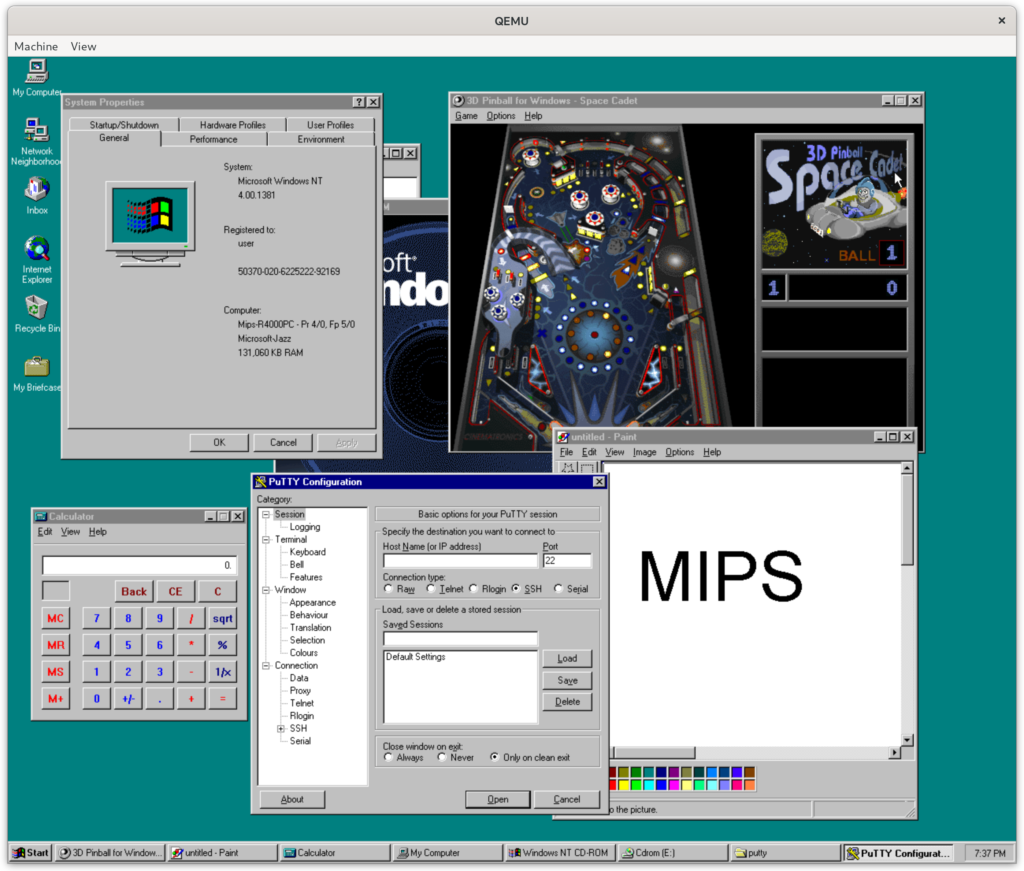
The Jazz design was later sold to MIPS which used it to create several systems, one of which was the MIPS Magnum. Qemu has a relatively completely implementation of the Magnum and this is the system we will be emulating and installing Windows NT 4 on.
Windows NT shipped on MIPS all the way through the 3.x series with support being ended right after Windows NT 4 SP1 came out. There’s not a lot of software available for this port of Windows (Not nearly as much as for the DEC Alpha). But several pieces of Microsoft software were available such as Exchange, SQL server, Internet Explorer, and Visual C++.
Prerequisites
In order to run Windows NT 4 we need several files.
- Qemu version 6.2 (or newer, presumably) (qemu.org)
- A copy of the ARC firmware for the MIPS Magnum computer (TMM.CX) (Archive.org)
- A copy of the Windows NT 4 SP1 install media (TMM.CX) (Archive.org)
Note that the link to the install media is not the original image. The ISO file I uploaded to archive.org combines Windows NT 4 SP1 server with several tools and utilities that were released for Windows NT 4 MIPS.
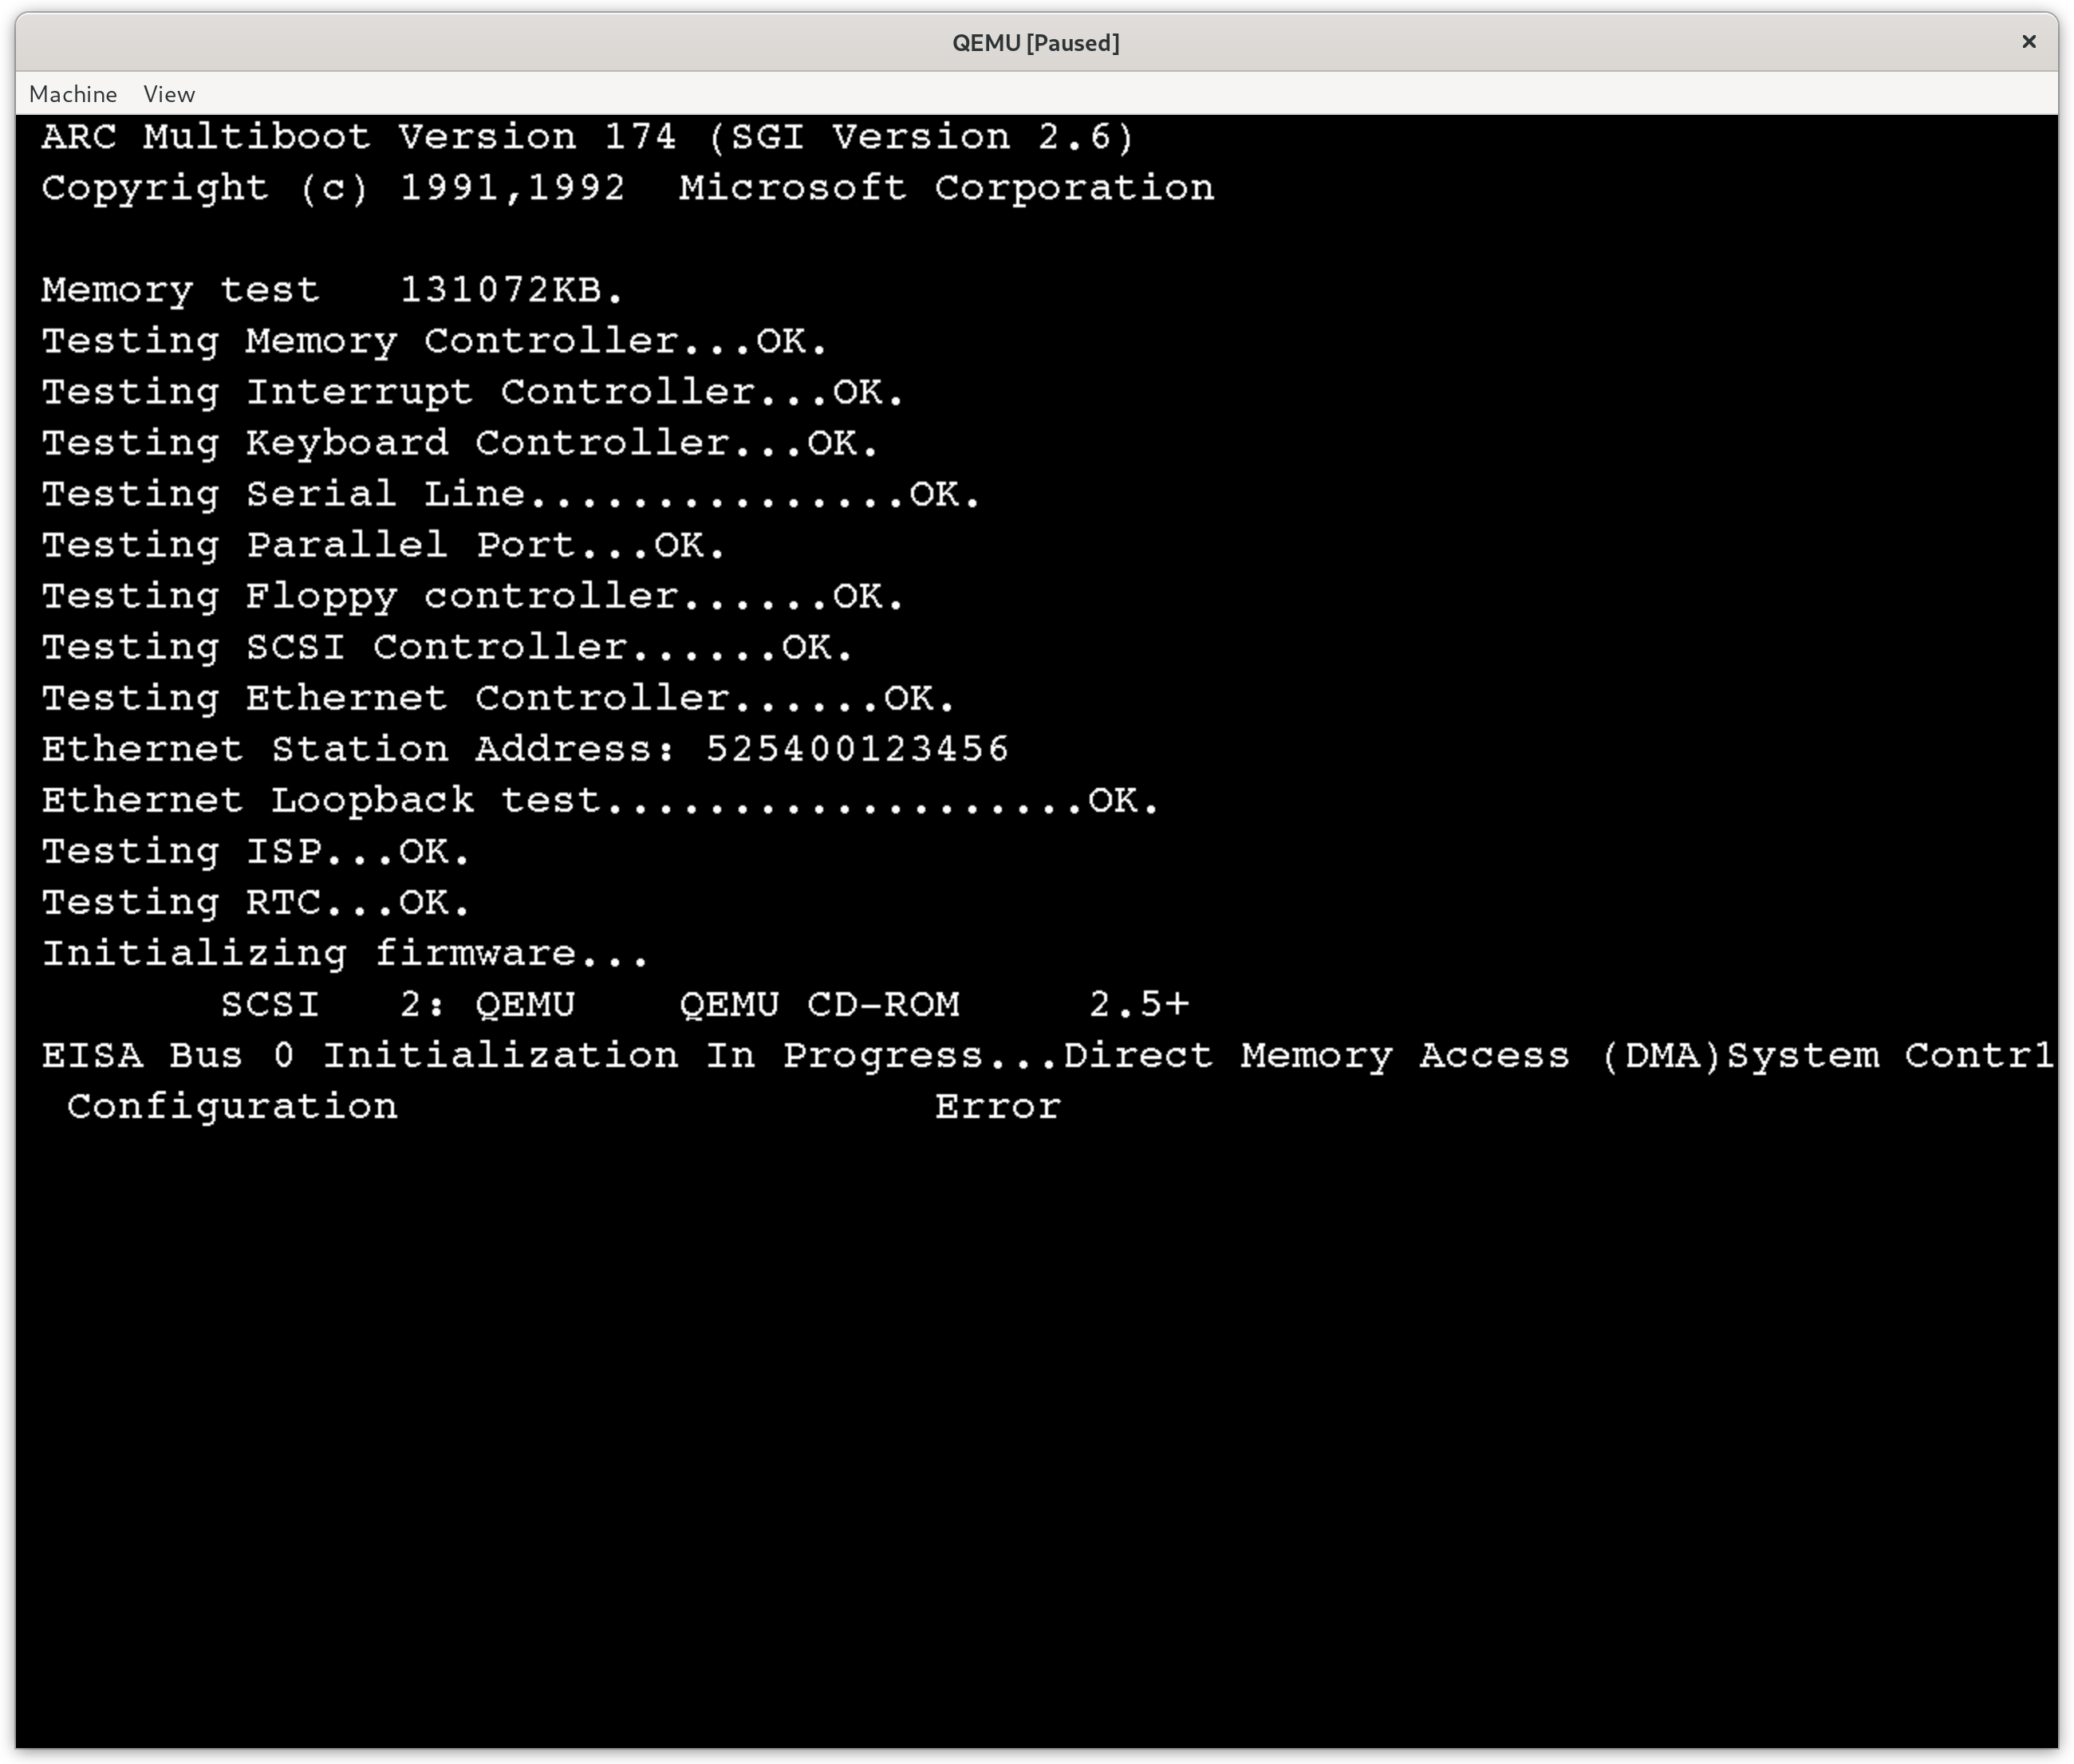
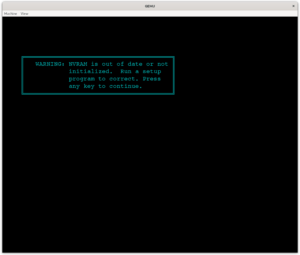
If you have an older version of Qemu this might not work. In particular booting ARC might hang checking the RTC hardware. If you do want to continue with an out of date Qemu I have hacked a version of ARC which will skip the RTC check. You can download it below, use it instead of the NTPROM.RAW file included in the setup.zip above. Note that in this version the firmware will identify itself as TMM instead of ARC
If you would like to install an unmodified ISO, or a different edition of Windows NT WinWorldPC.com has a wide selection of editions available. Make sure to check that the files you download have the little MIPS emblem next to them: ![]()
- Windows NT 4 on WinWoldPC.com
- Windows NT 3 on WinWorldPC.com
- Microsoft Exchange 4.0 on WinWorldPC.com
- Microsoft SQL server 6.5 on WinWorldPC.com
- Microsoft Visual C++ 4 on WinWorldPC.com
Pre-created images
If you’re not interested in following all of the installation steps and just want to play around with this version of Windows NT 4 I have prepared a QCOW2 image and uploaded it to archive.org (Also available from TMM.CX). You can simply download this and run it following the instructions below. You will still need to install Qemu for your platform.
Running the emulator
If you are following along and not using the pre-created image we need to create a new hard drive for Qemu to use. We can use the qemu-img tool to create a 4 gigabyte empty drive.
$ qemu-img create -f qcow2 nt4_server_mips.qcow2 4GIn order to run either the setup process or the pre-created images we need a Qemu command line to work with. The one I’ve used is as follows:
$ qemu-system-mips64el -M magnum -m 128 -net nic -net user \
  -global ds1225y.filename=nvram -bios NTPROM.RAW \
  -hda nt4_server_mips.qcow2 -cdrom windows-nt40-mips.iso
The options mean the following:
qemu-system-mips64el— Use the full system emulator for MIPS little endian-M magnum— Emulate the “Magnum” machine-m 128— Give the machine 128MB of RAM (The maximum for the Magnum)-net nic -net user— Use Qemu’s usermode networking-global ds1225y.filename=nvram— Tell Qemu to write the contents of the virtual NVRAM chip to the filenvram-bios NTPROM.RAW— Use the NTPROM.RAW file as the system boot firmware-hda nt4_server_mips.qcow2— Use the nt4_server_mips.qcow2 file as the primary hard drive-cdrom windows-nt40-mips.iso— Use the windows-nt40-mips.iso file as the CDROM drive
Note that at this time it appears that the sound hardware for the Magnum is not yet supported in Qemu. If you are using the pre-created images and did not download the ISO file I prepared simply omit -cdrom windows-nt40-mips.iso from the command line.
The boot process
The system we are emulating, the MIPS Magnum, can be booted in big and little endian modes for different operating systems. Each mode requires its own firmware. At this time Qemu only seems to support the little endian mode required for Windows NT.
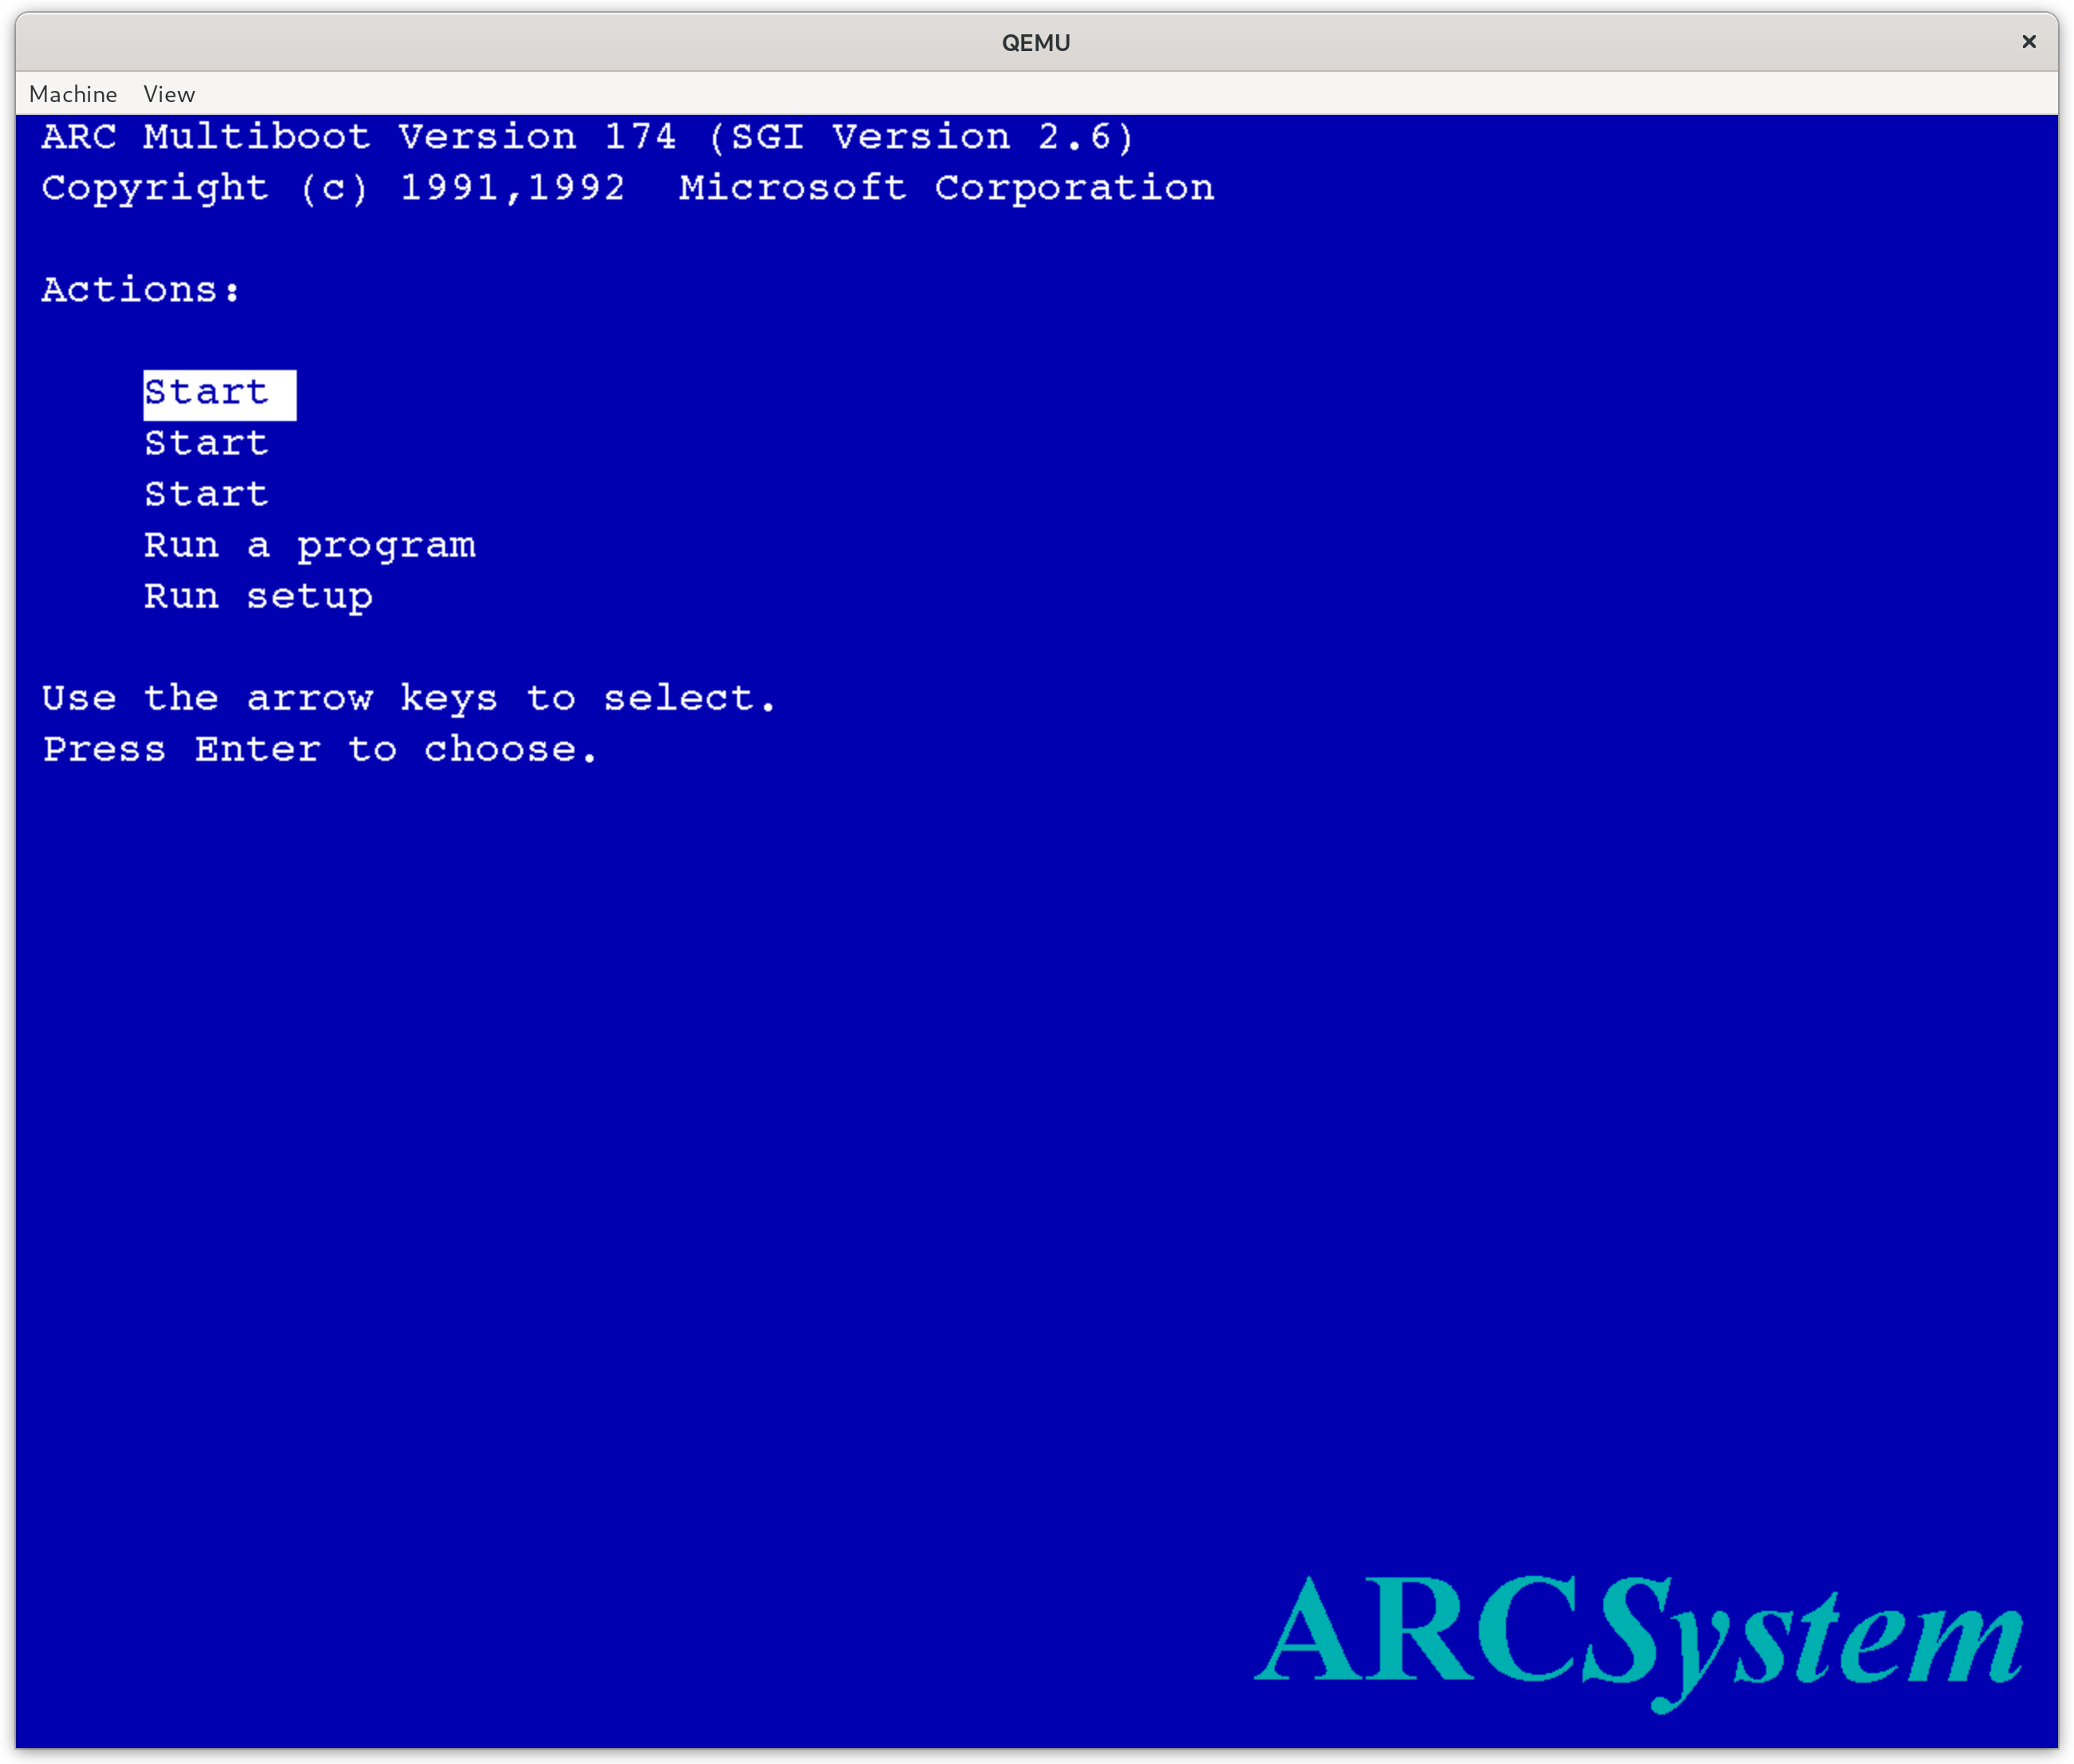
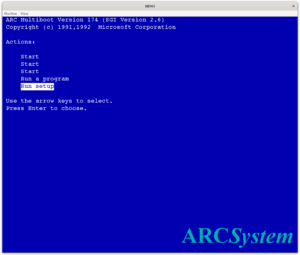
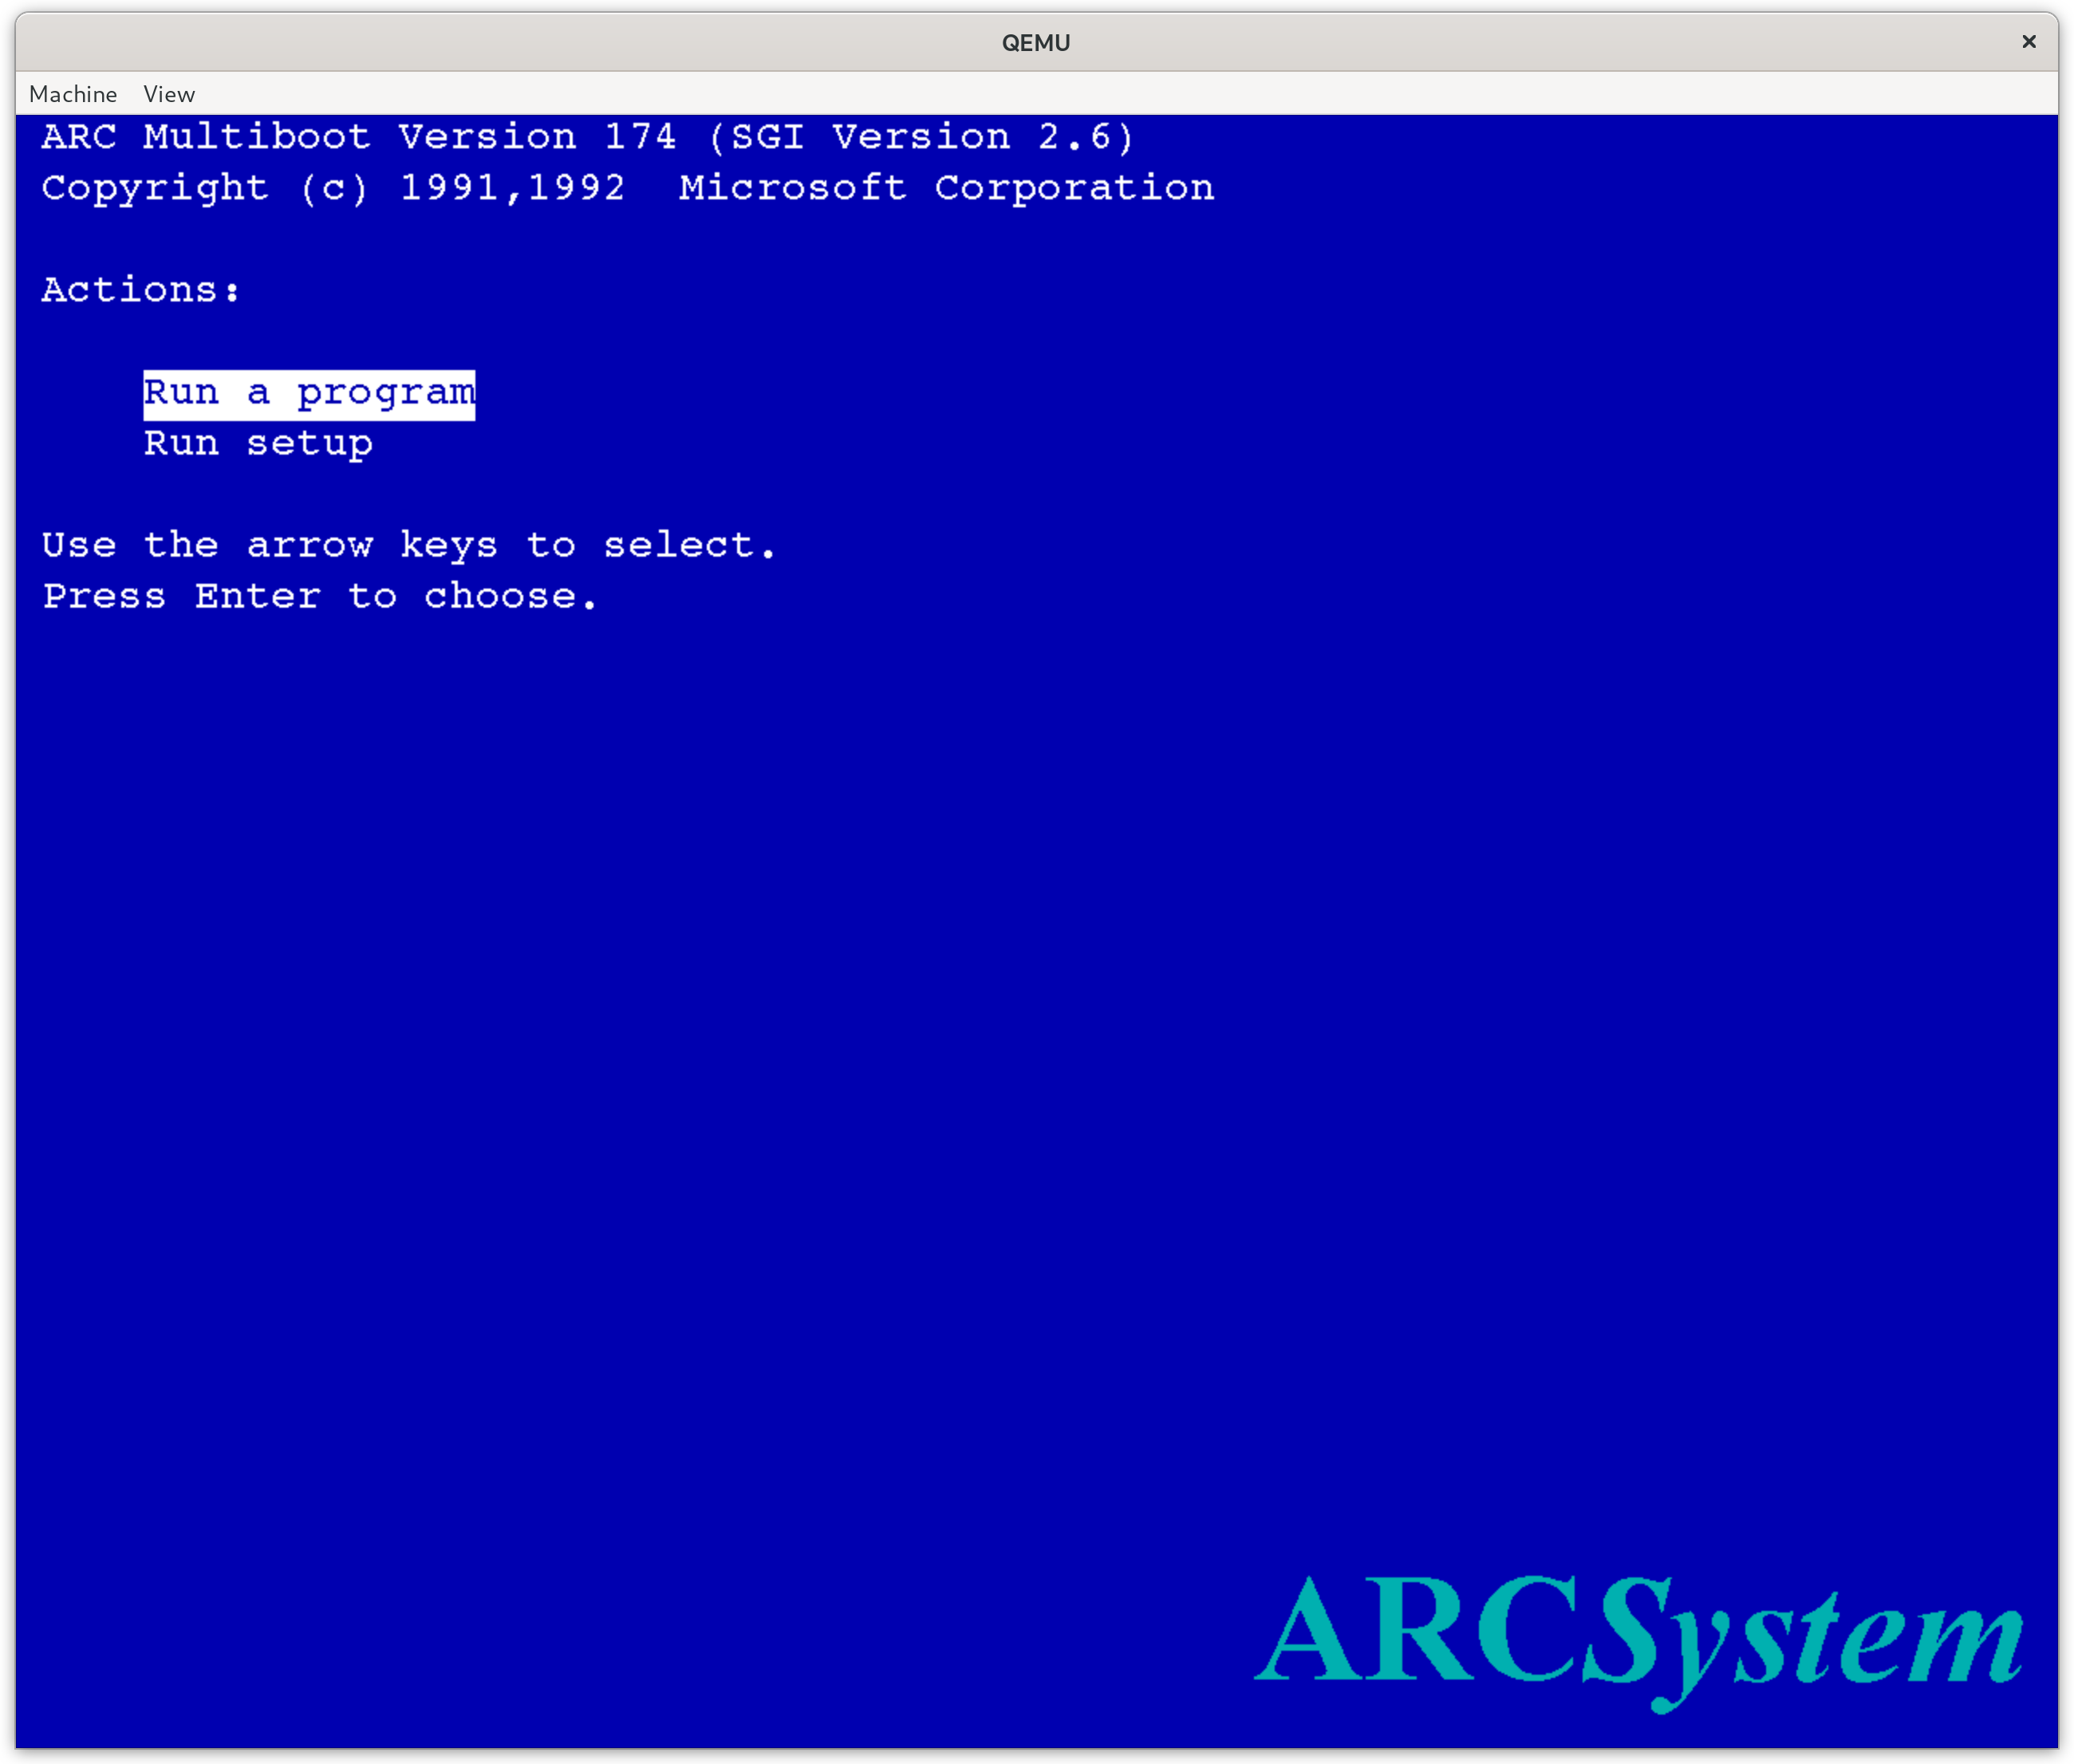
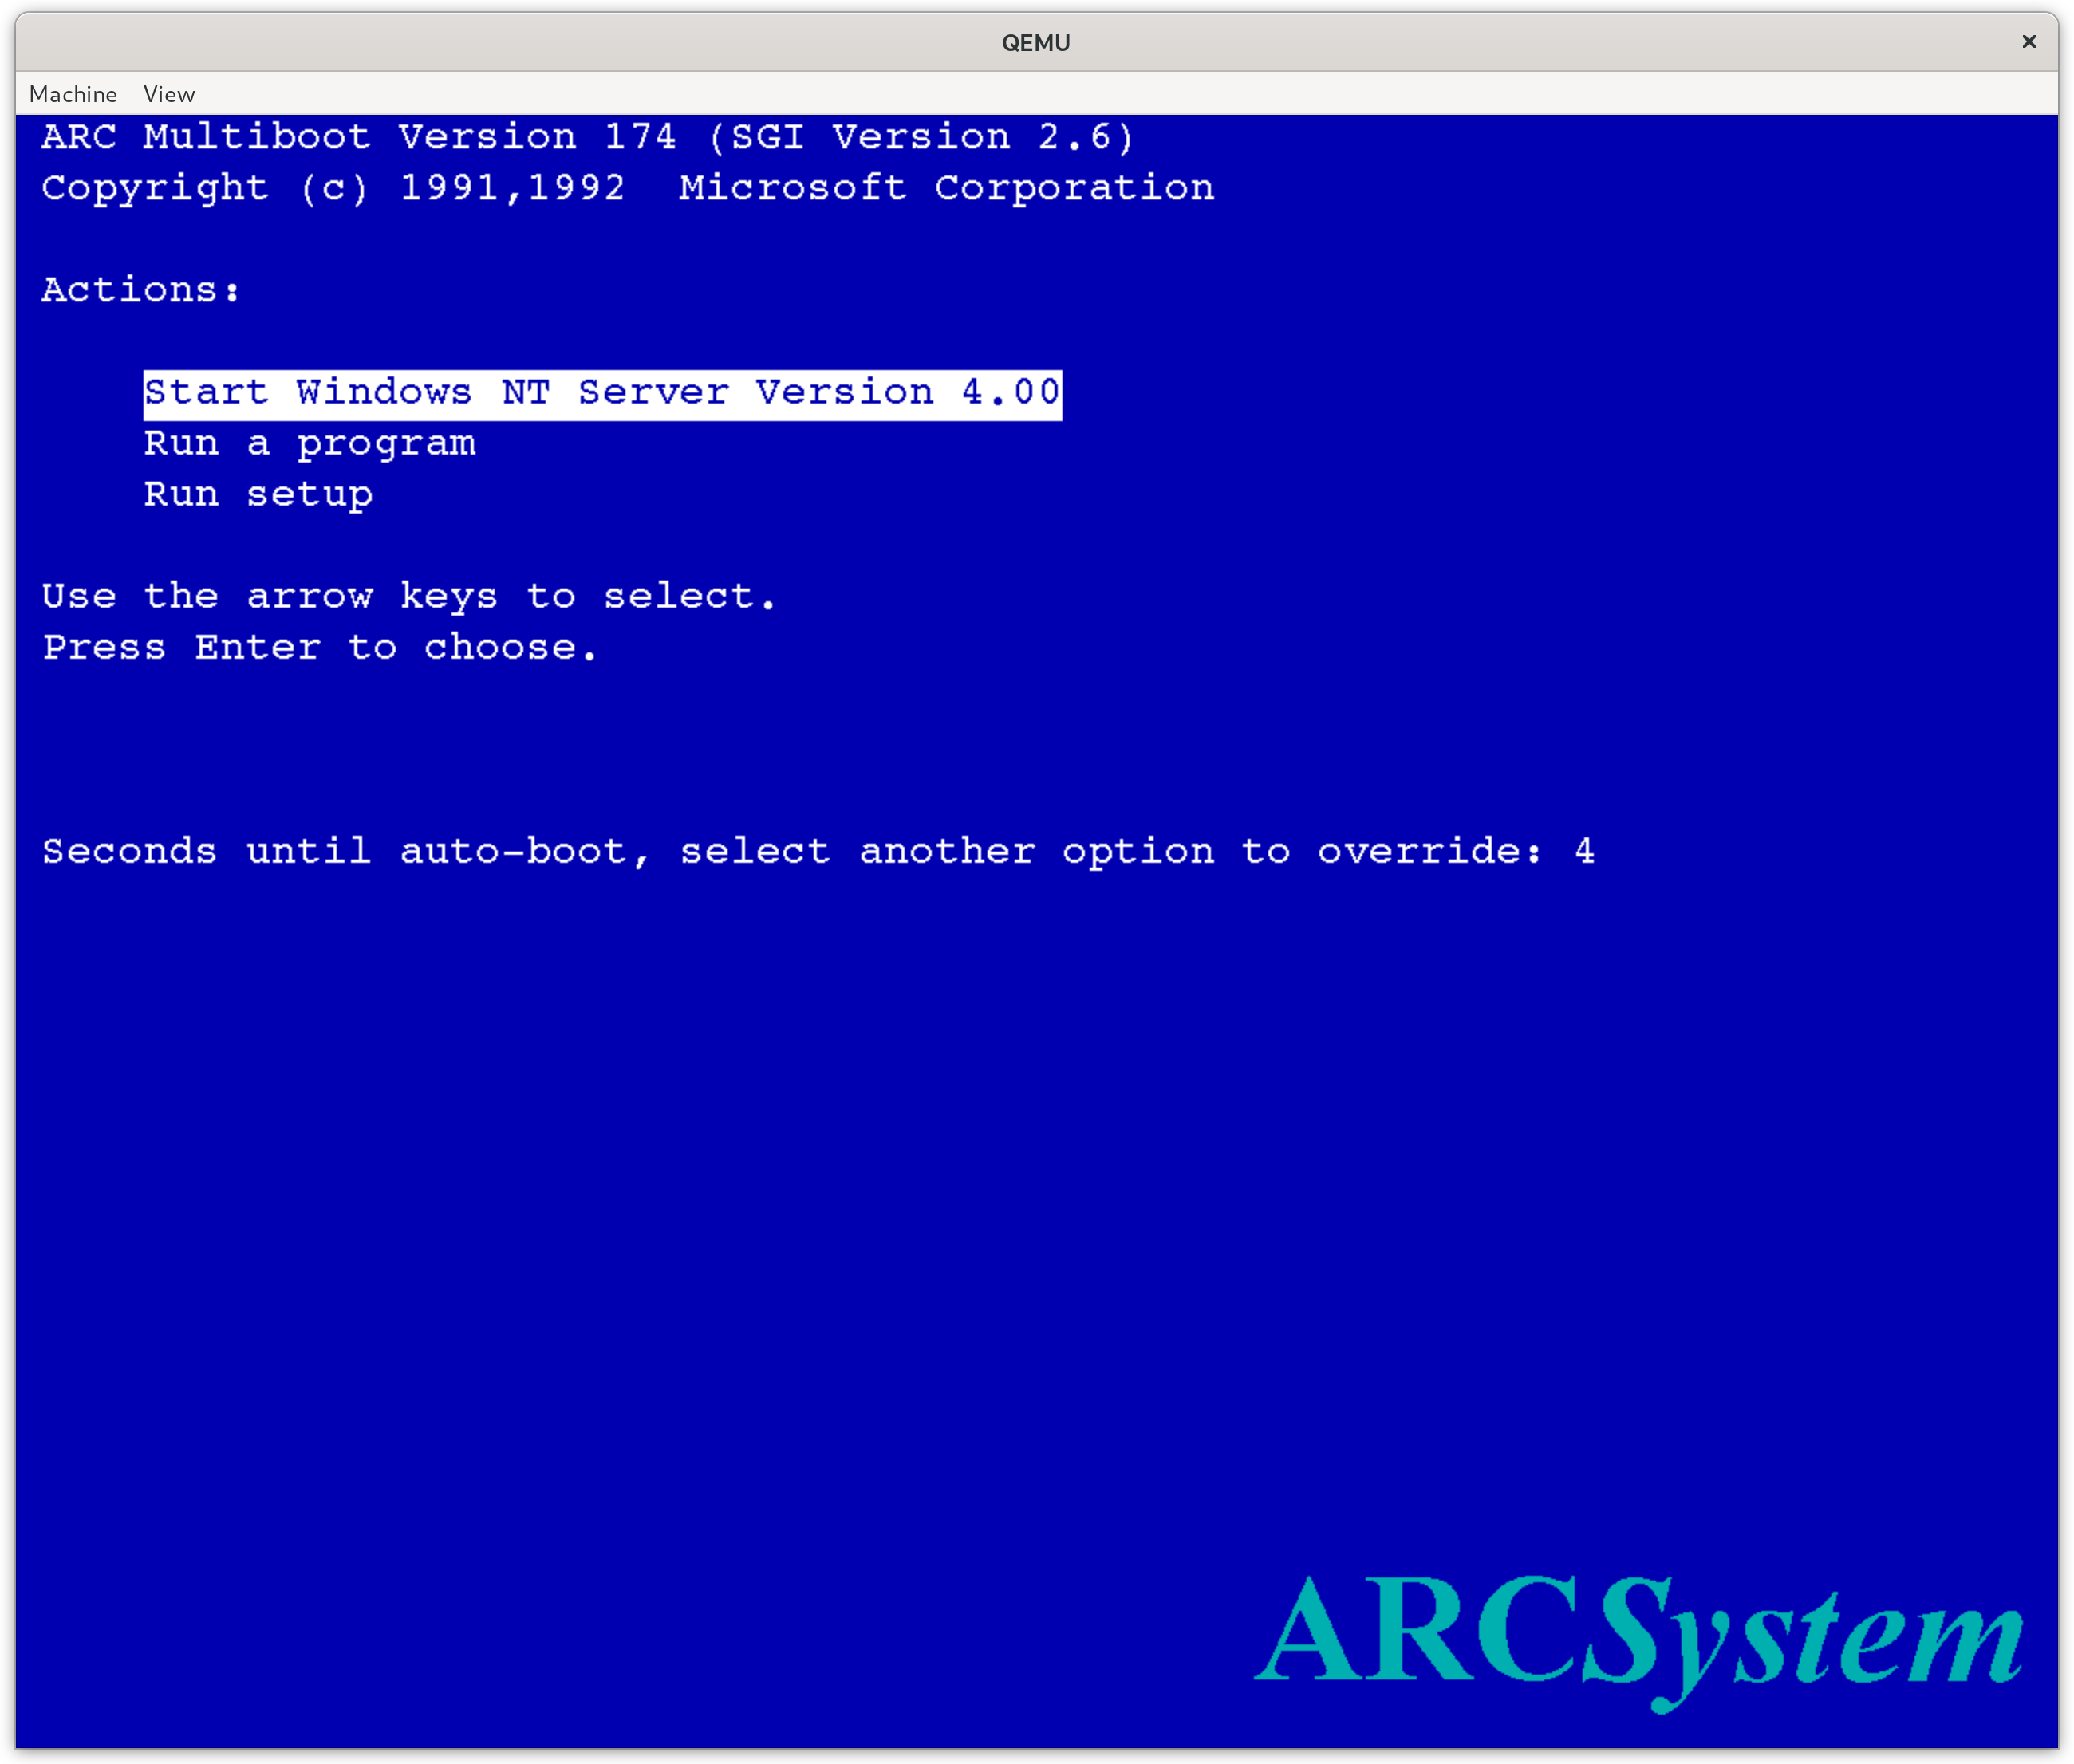
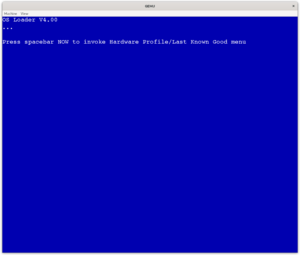
The firmware used by the Magnum for Windows NT is based on a standard called “Advanced RISC Computing” or ARC. ARC functions somewhat like UEFI does on modern Intel and ARM based systems today. It provides boot services, some amount of hardware abstraction, and some settings.
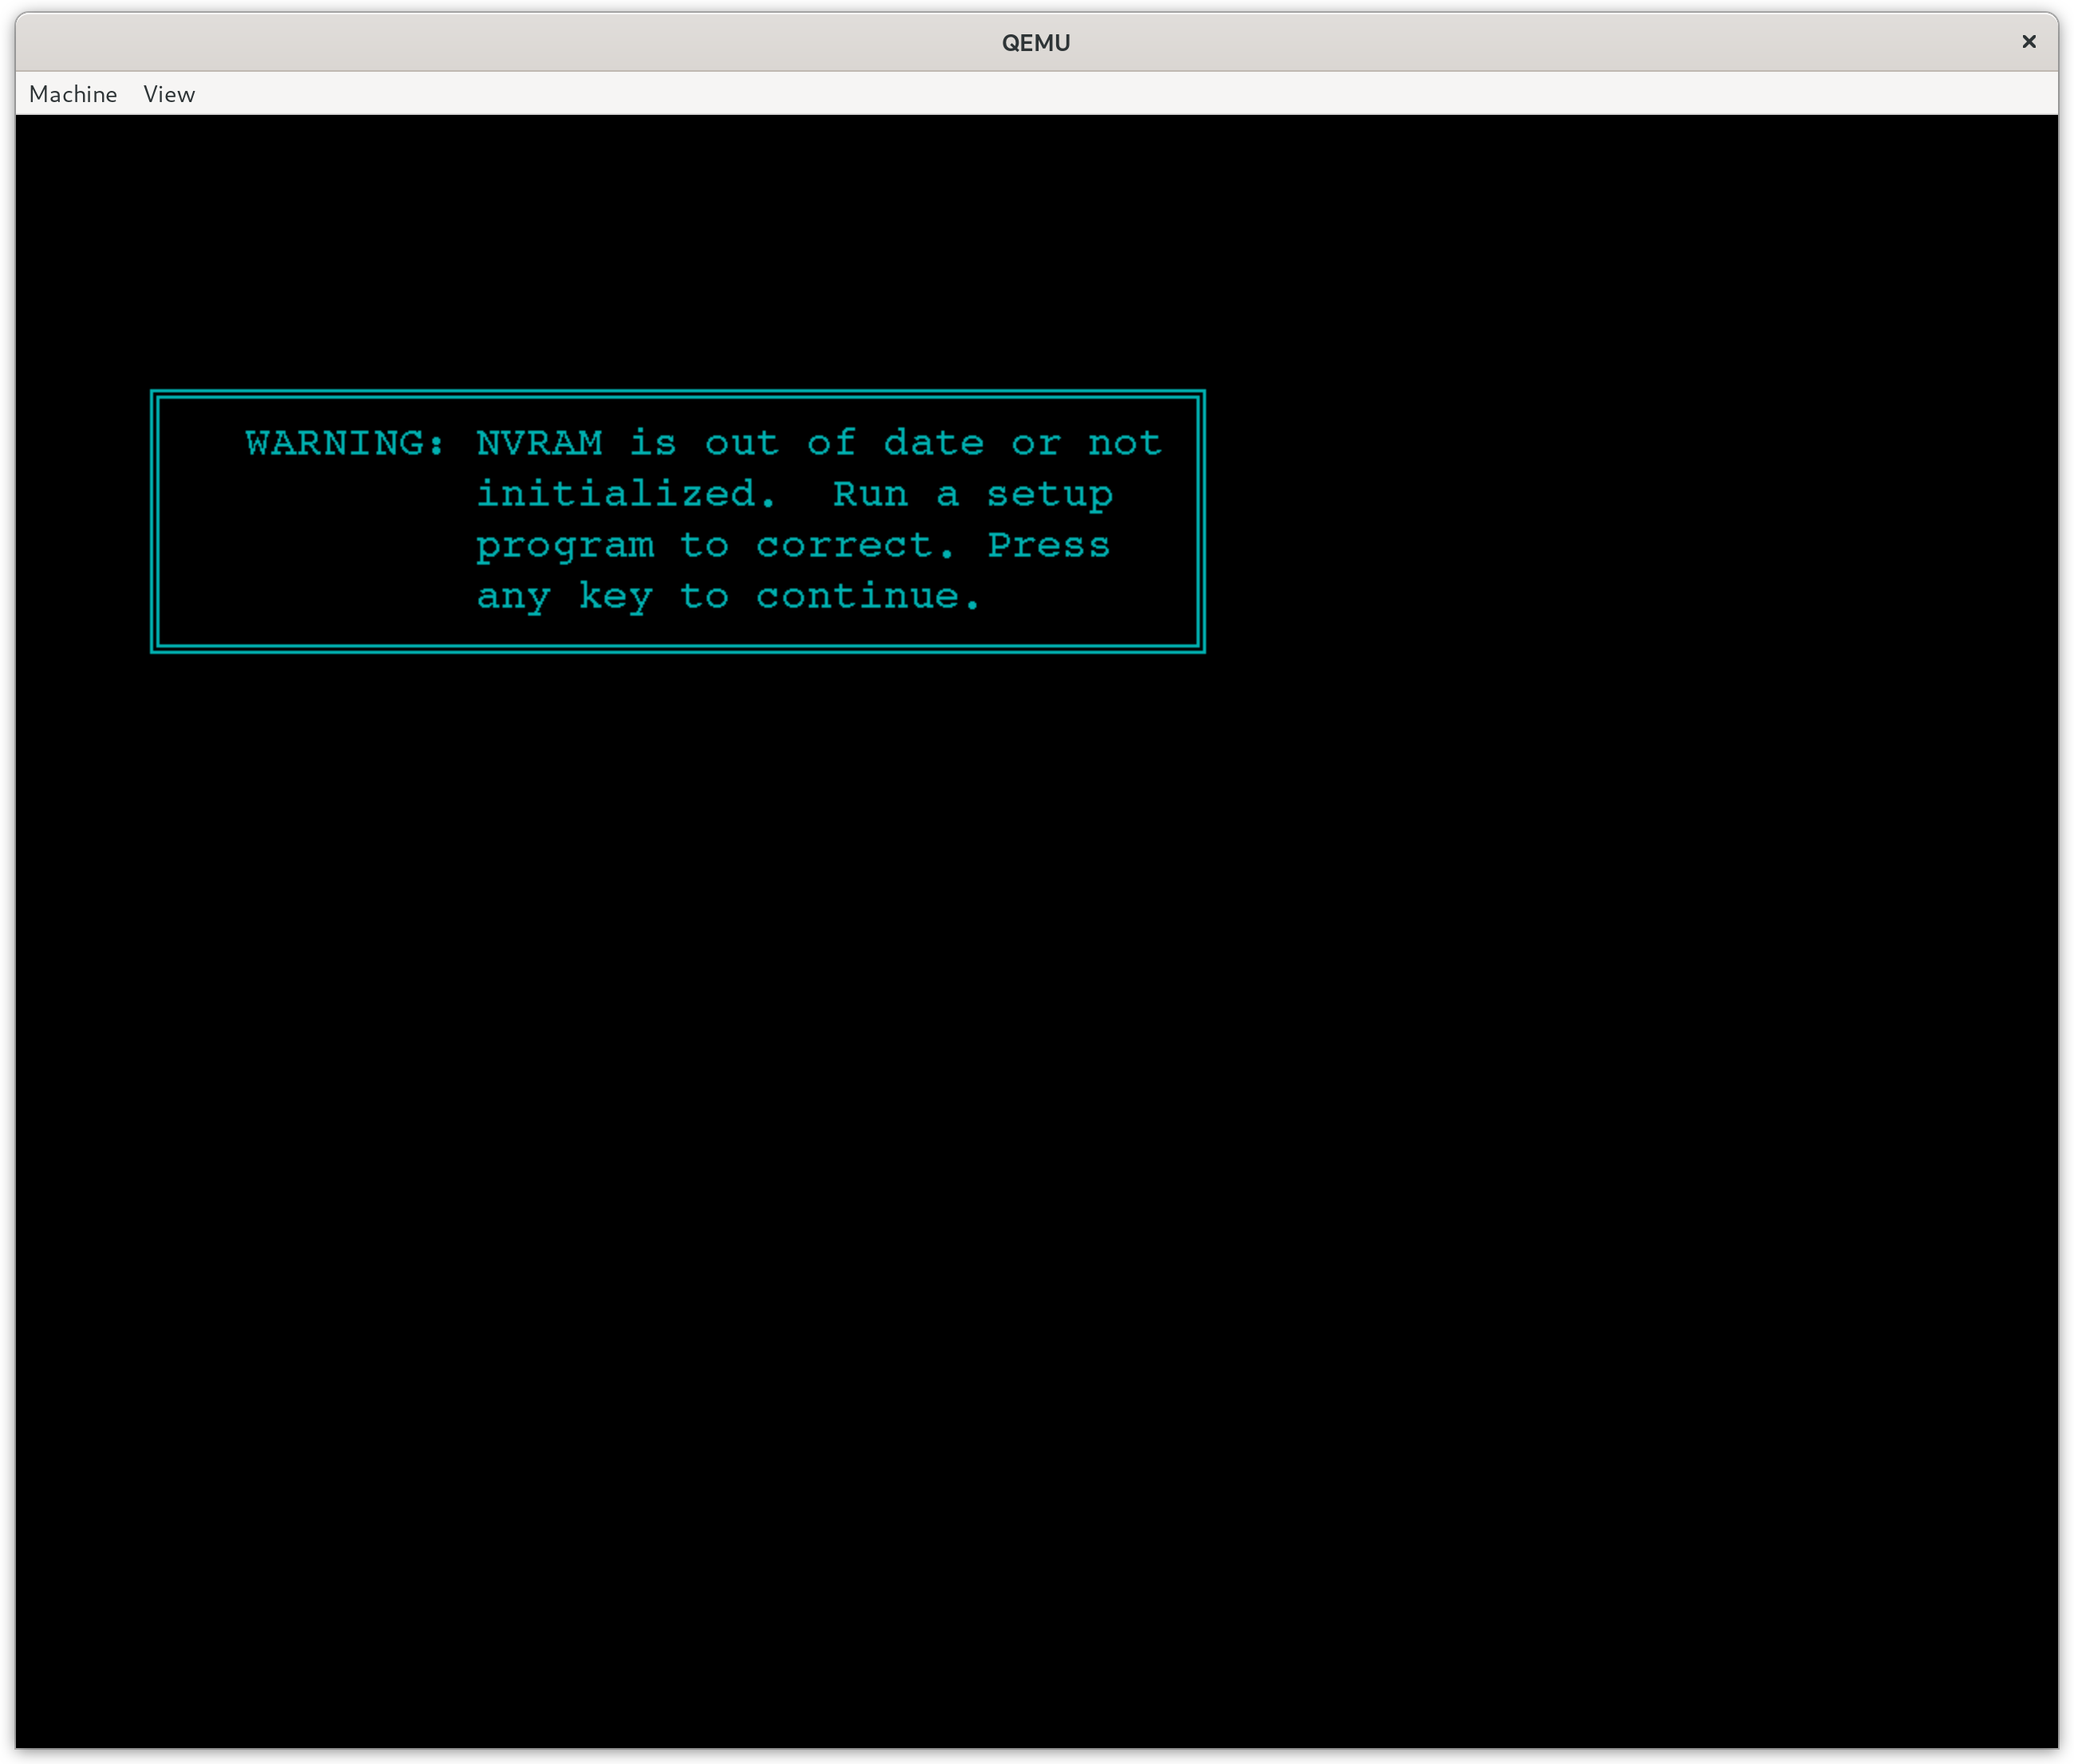


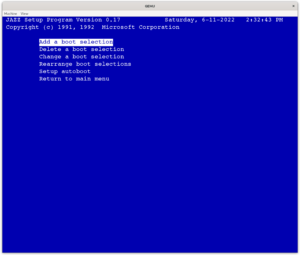
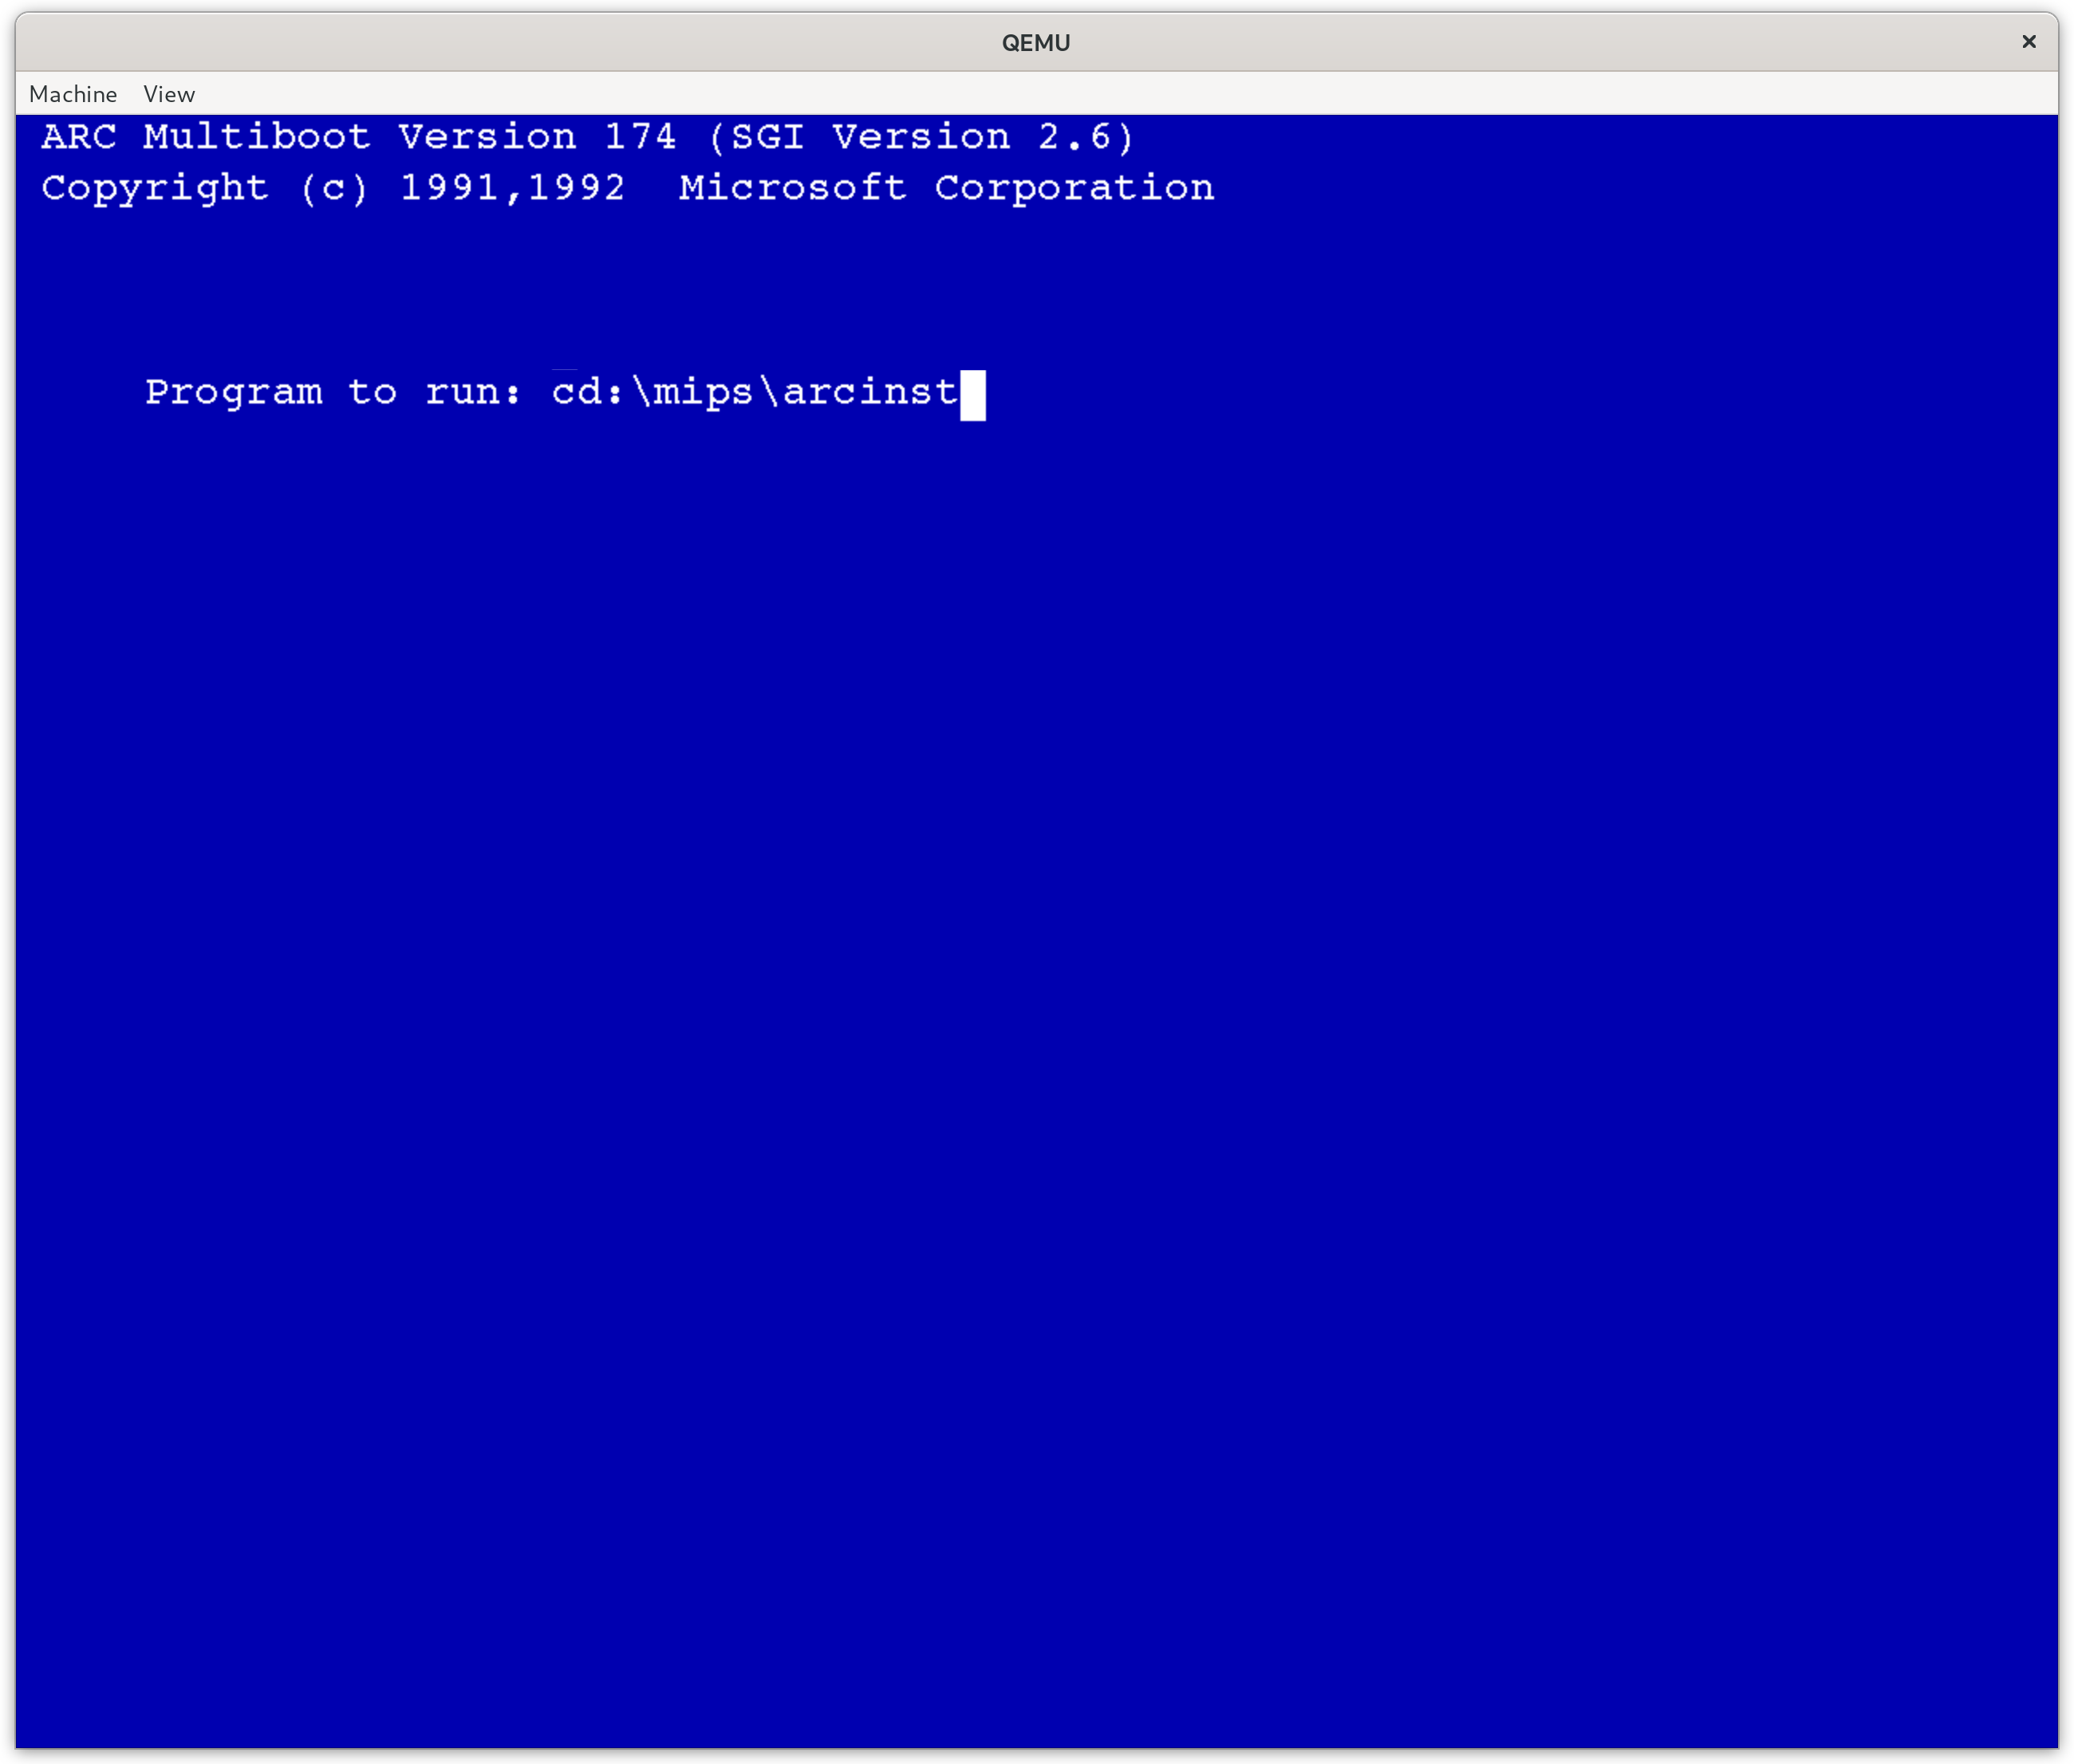
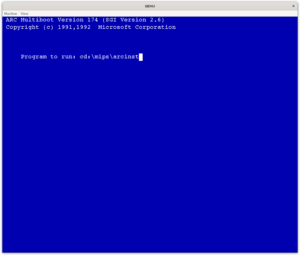
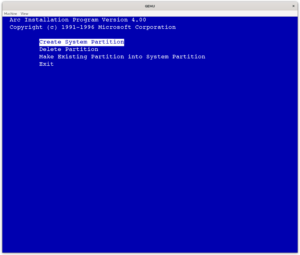
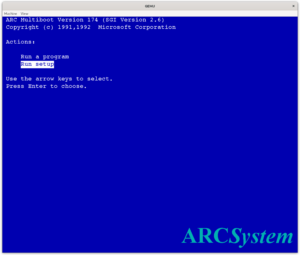
The first option after the system booted is “Run a program”. This functions a little like a UEFI shell. From this shell we will need to run arcinst to partition the system and finally setupldr which actually runs the Windows NT setup.
While it is possible to specify partitions and drives using a bus-based naming scheme such as scsi()disk(0)rdisk()partition(1) there are some shortcuts for the CD drive; cd:\ this looks a little weird for people used to Windows drive letters.
To start arcinst for instance from a Windows NT install cd: cd:\mips\arcinst. Binaries that can be started by ARC are ECOFF executables.
$ file ARCINST.EXE
ARCINST.EXE: MIPSEL MIPS-II ECOFF executable (impure) stripped - version 38.2
Step one: Partitioning
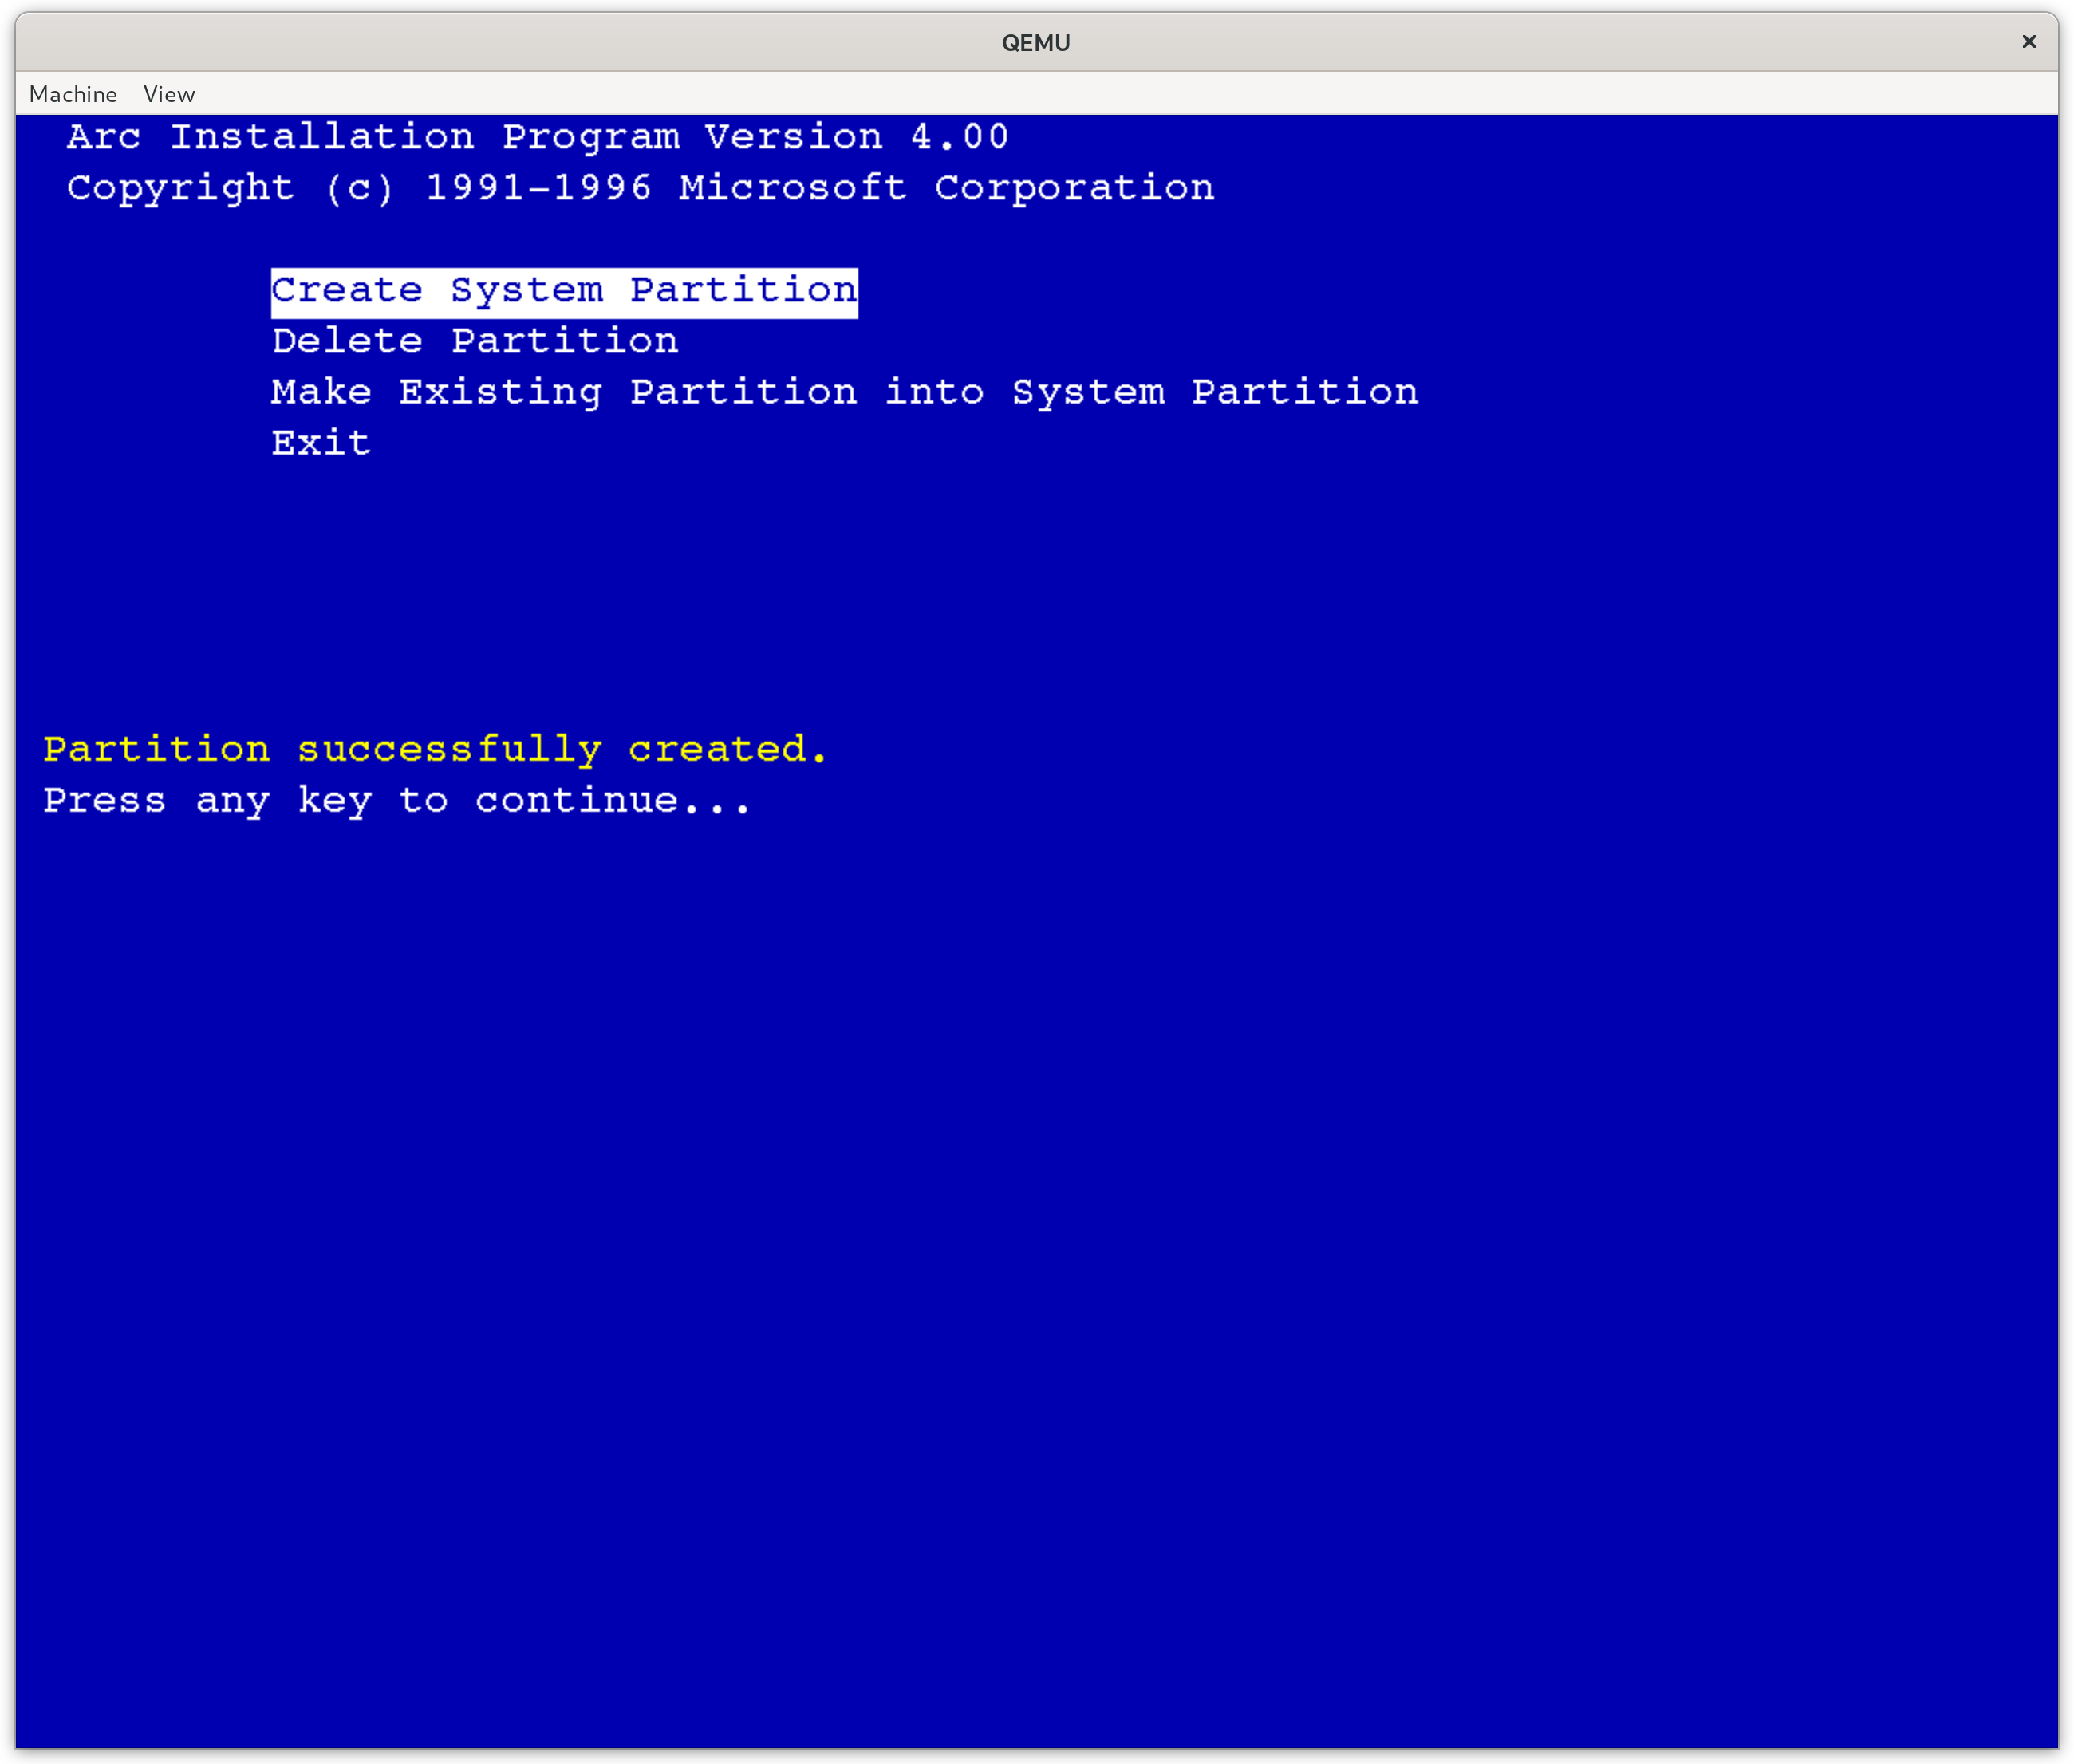
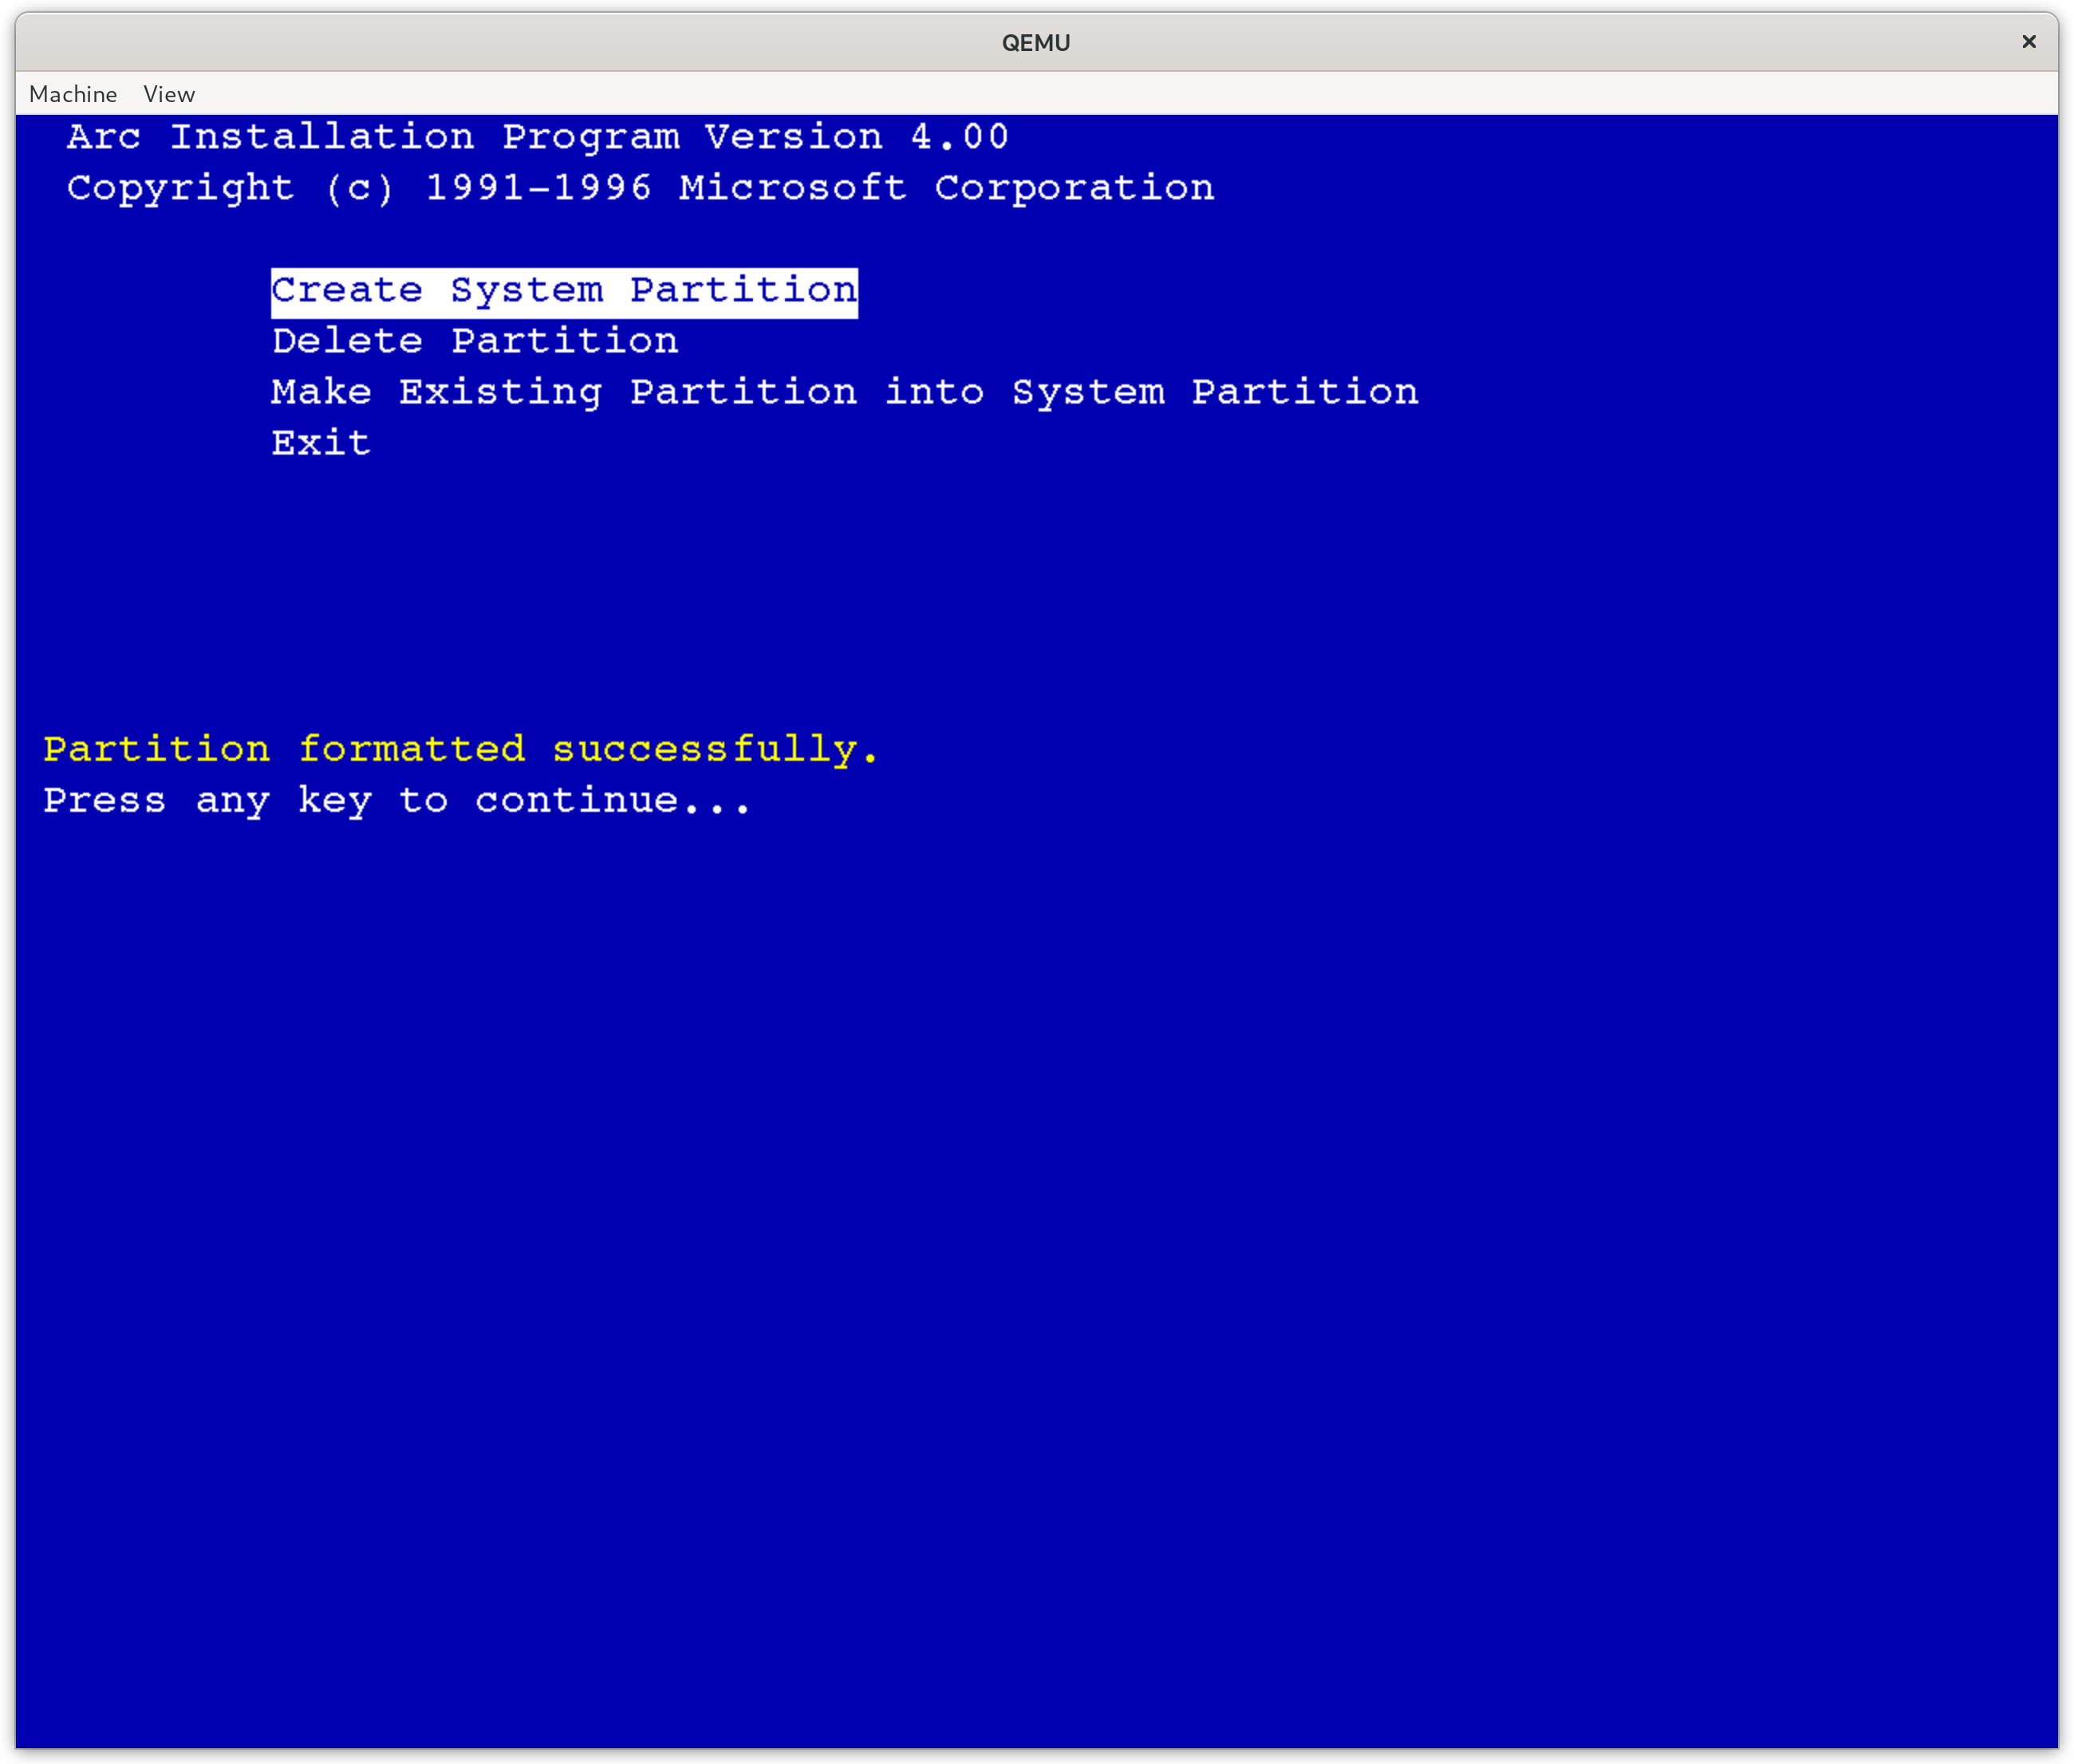
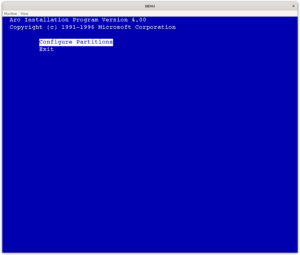
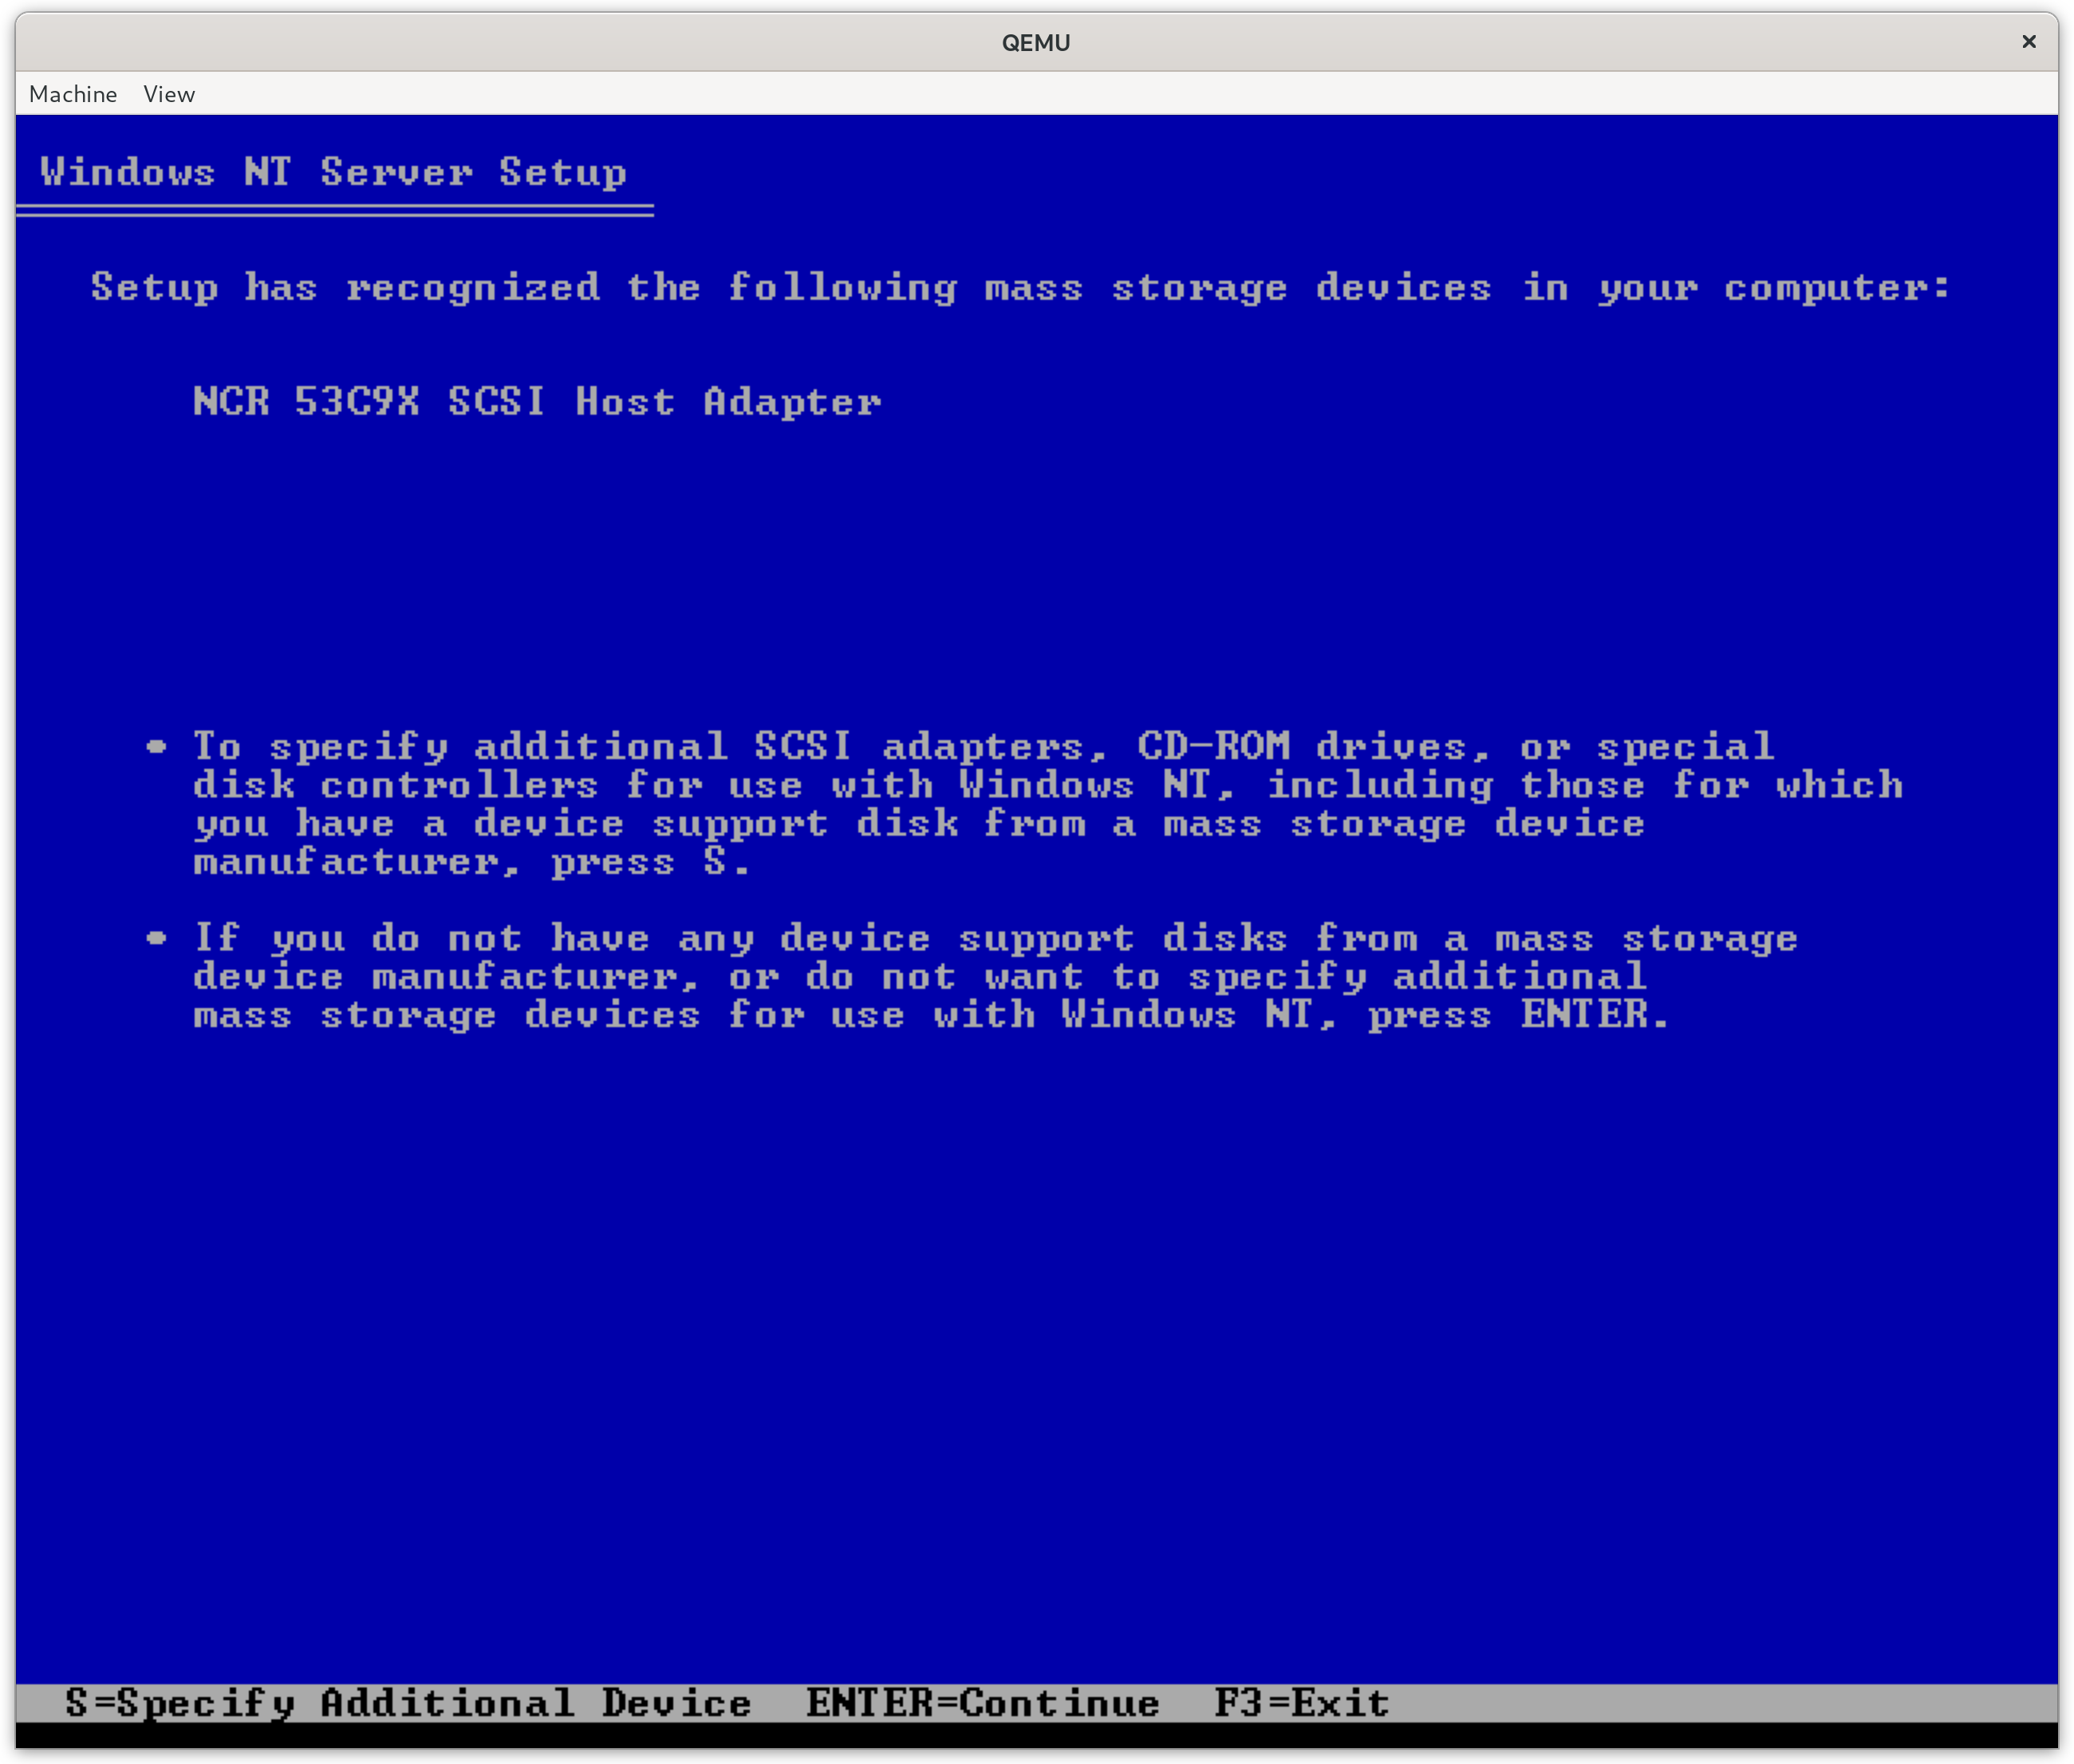
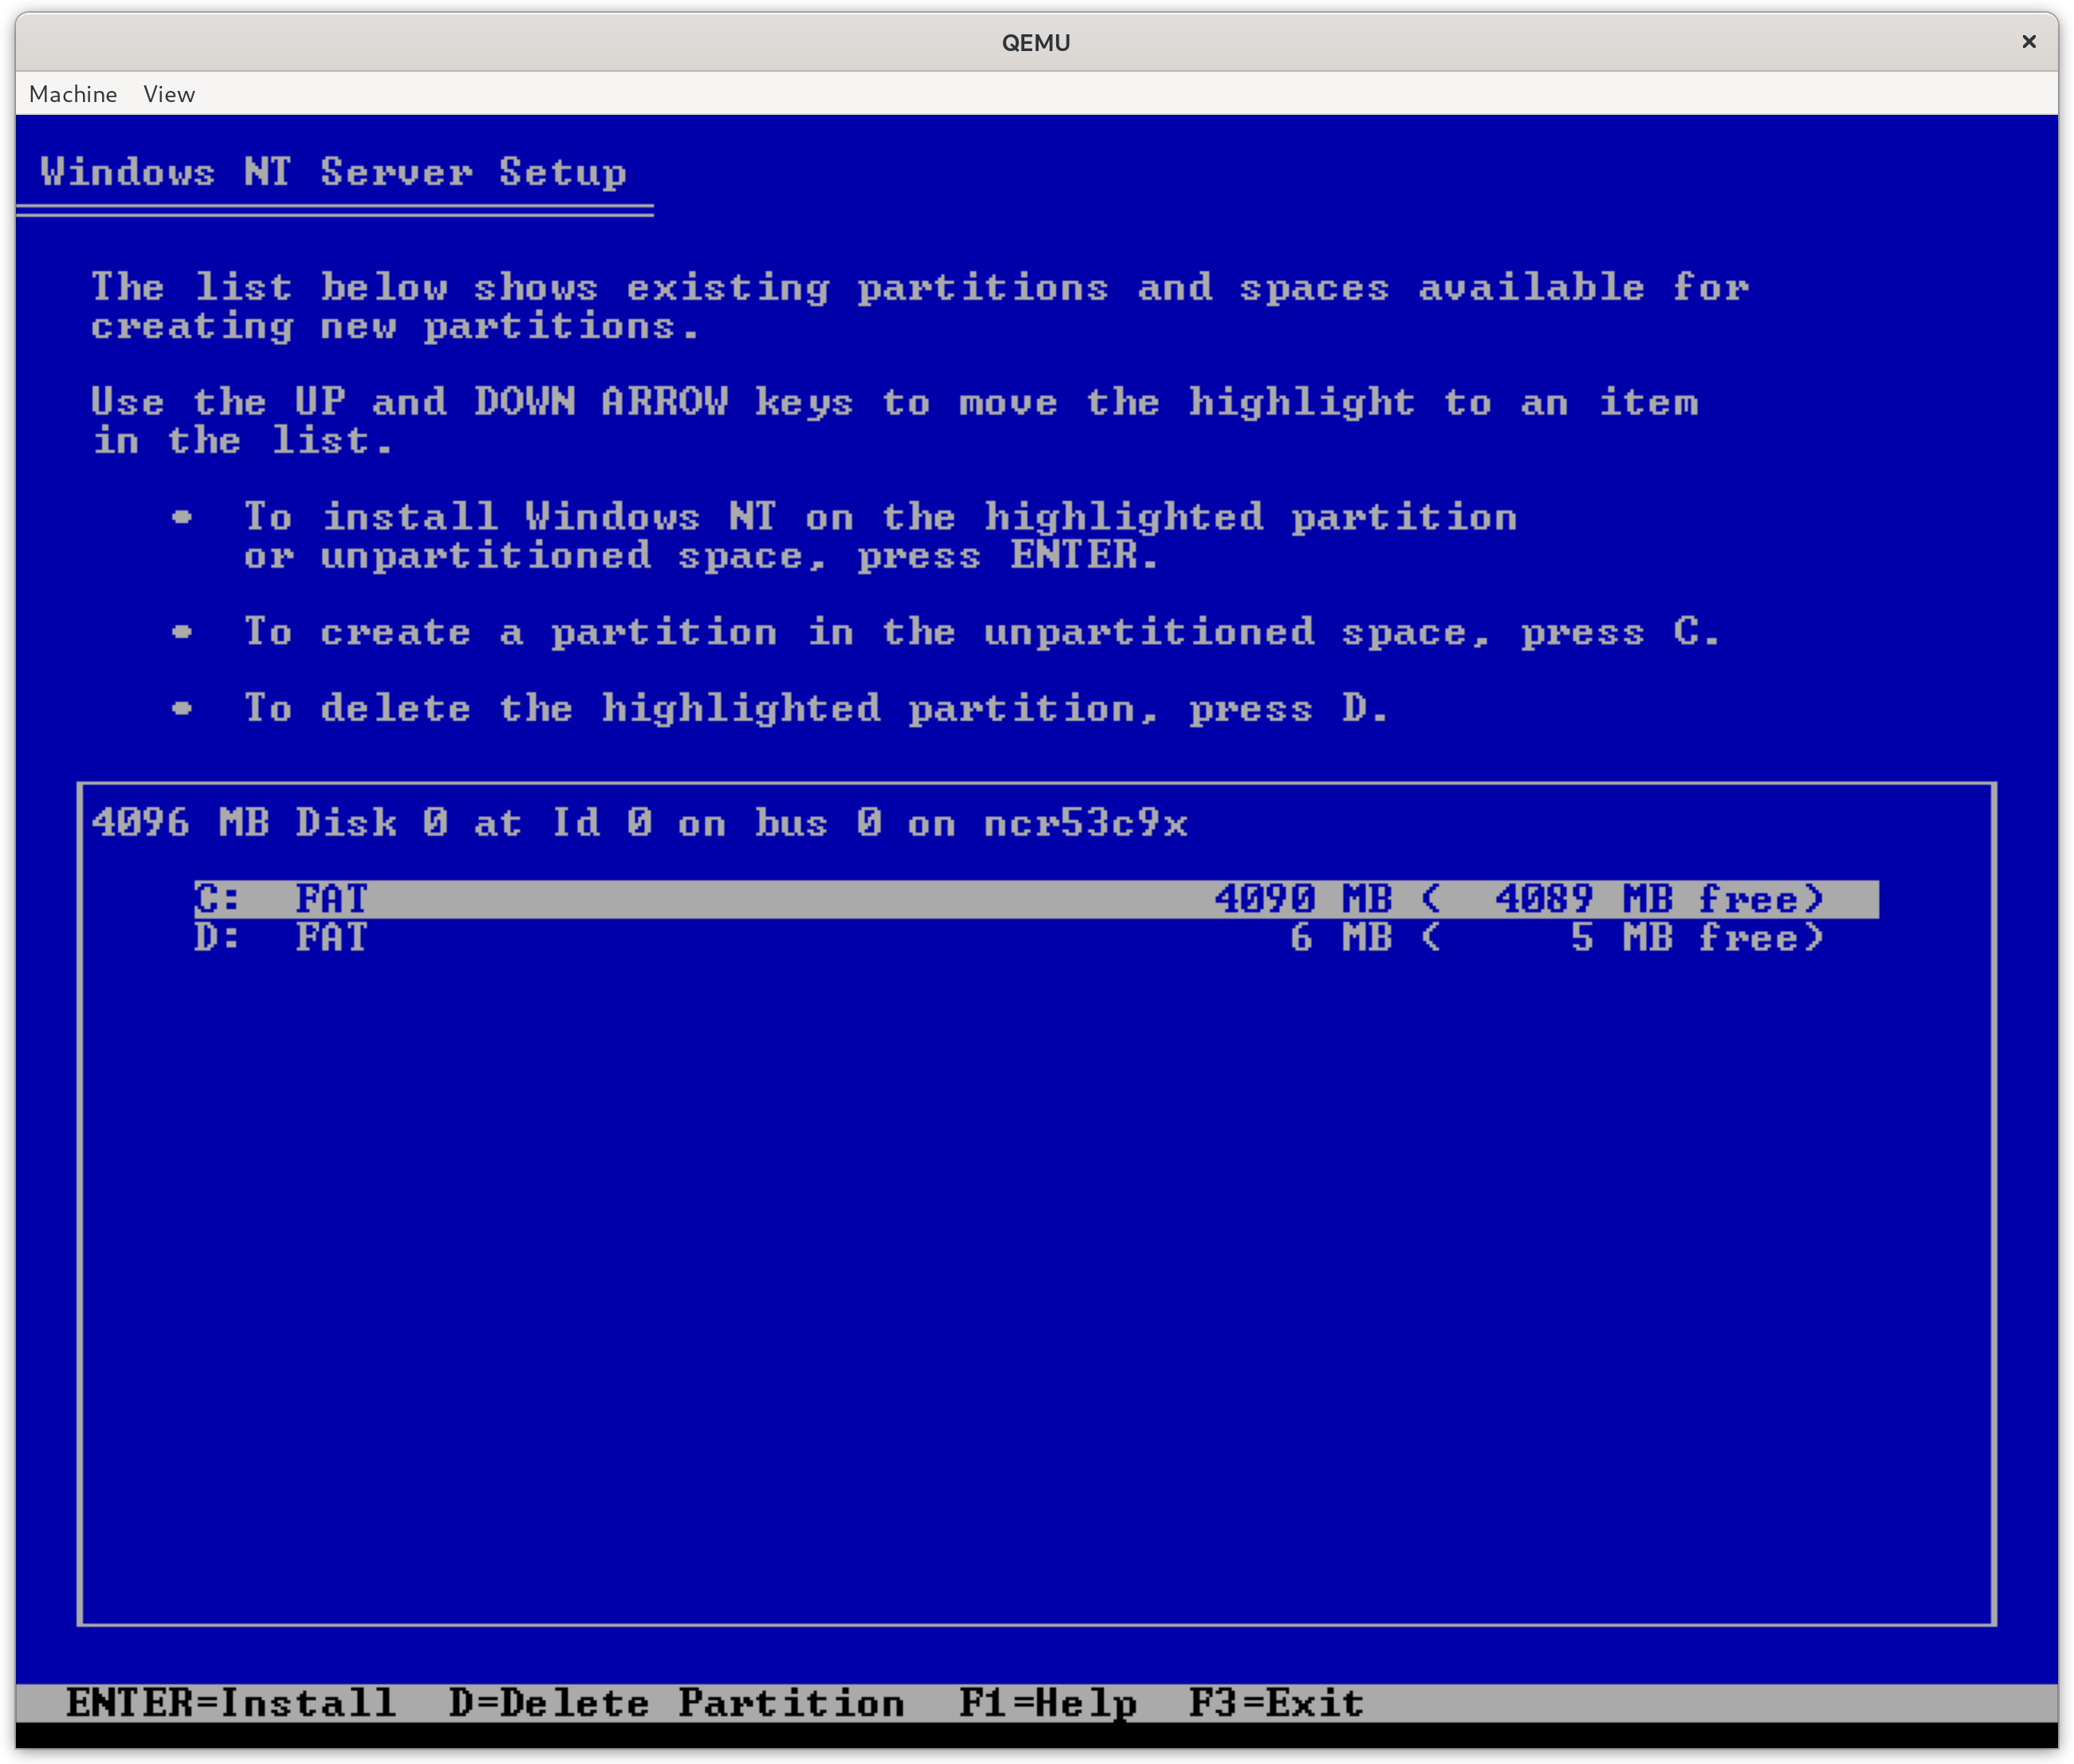
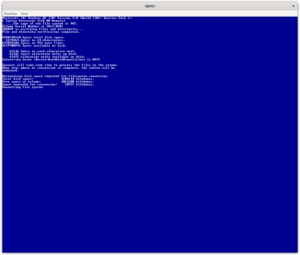
As with most systems the hard drive of the system has to be partitioned. As the Magnum system is an ARC based system the way to do this is with a program called arcinst.exe shipped on the Windows NT install disks.
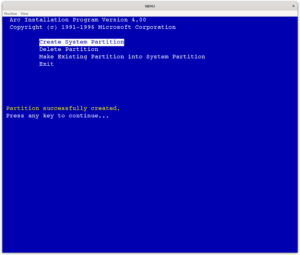
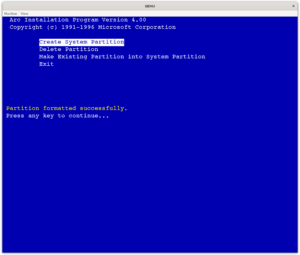
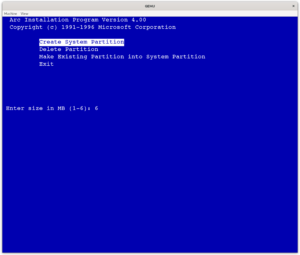
At first glance there doesn’t appear to be anything particularly strange going on. The ARC system reads configuration from a FAT filesystem on a DOS MBR drive. What makes the partitioning process a little special is that the ARC firmware has a concept of a system partition. This is somewhat similar to how UEFI has a system partition. UEFI can find system partitions on the boot medium by looking for a specific GUID in the GPT. On ARC based systems which partitions are system partitions are stored in NVRAM. What arcinst.exe does is thus creating a FAT partition, formats it, and adds the partition to a list in NVRAM.
While I’ve never used any ARC based system when they were relevant it appears that at least on Qemu there are some bugs in arcinst. What we want to achieve is the following:
- A C:\ drive, formatted as NTFS for Windows NT to be installed on.
- A D:\ drive, formatted as FAT for the ARC firmware to use.
When following the prompts in arcinst this is however not what we get. Arcinst will only create system partitions and adds all partitions as system partitions to NVRAM. When a partition is mentioned in NVRAM Windows will refuse to format it as NTFS (even if it claims to) because it is worried that the system will become unbootable if a system partition is not formatted as FAT.
It also appears that the Windows NT setup is unwilling to create partitions unless already created by arcinst before setup starts. What we must do is create all the partitions using arcinst, then change the boot environment variables such that only partition number 2 is a system partition. Once this is done we can install Windows NT like normal.
This is the result we are looking for. Note there are no ‘bootable’ flags here!
# fdisk -l /dev/nbd0
Disk /dev/nbd0: 4 GiB, 4294967296 bytes, 8388608 sectors
Units: sectors of 1 * 512 = 512 bytes
Sector size (logical/physical): 512 bytes / 512 bytes
I/O size (minimum/optimal): 512 bytes / 512 bytes
Disklabel type: dos
Disk identifier: 0x00000000

Device      Boot   Start     End Sectors Size Id Type
/dev/nbd0p1           32 8376319 8376288   4G  7 HPFS/NTFS/exFAT
/dev/nbd0p2      8376320 8388607   12288   6M  5 Extended
/dev/nbd0p5      8376352 8388607   12256   6M  6 FAT16
The steps we need to follow are as follows:
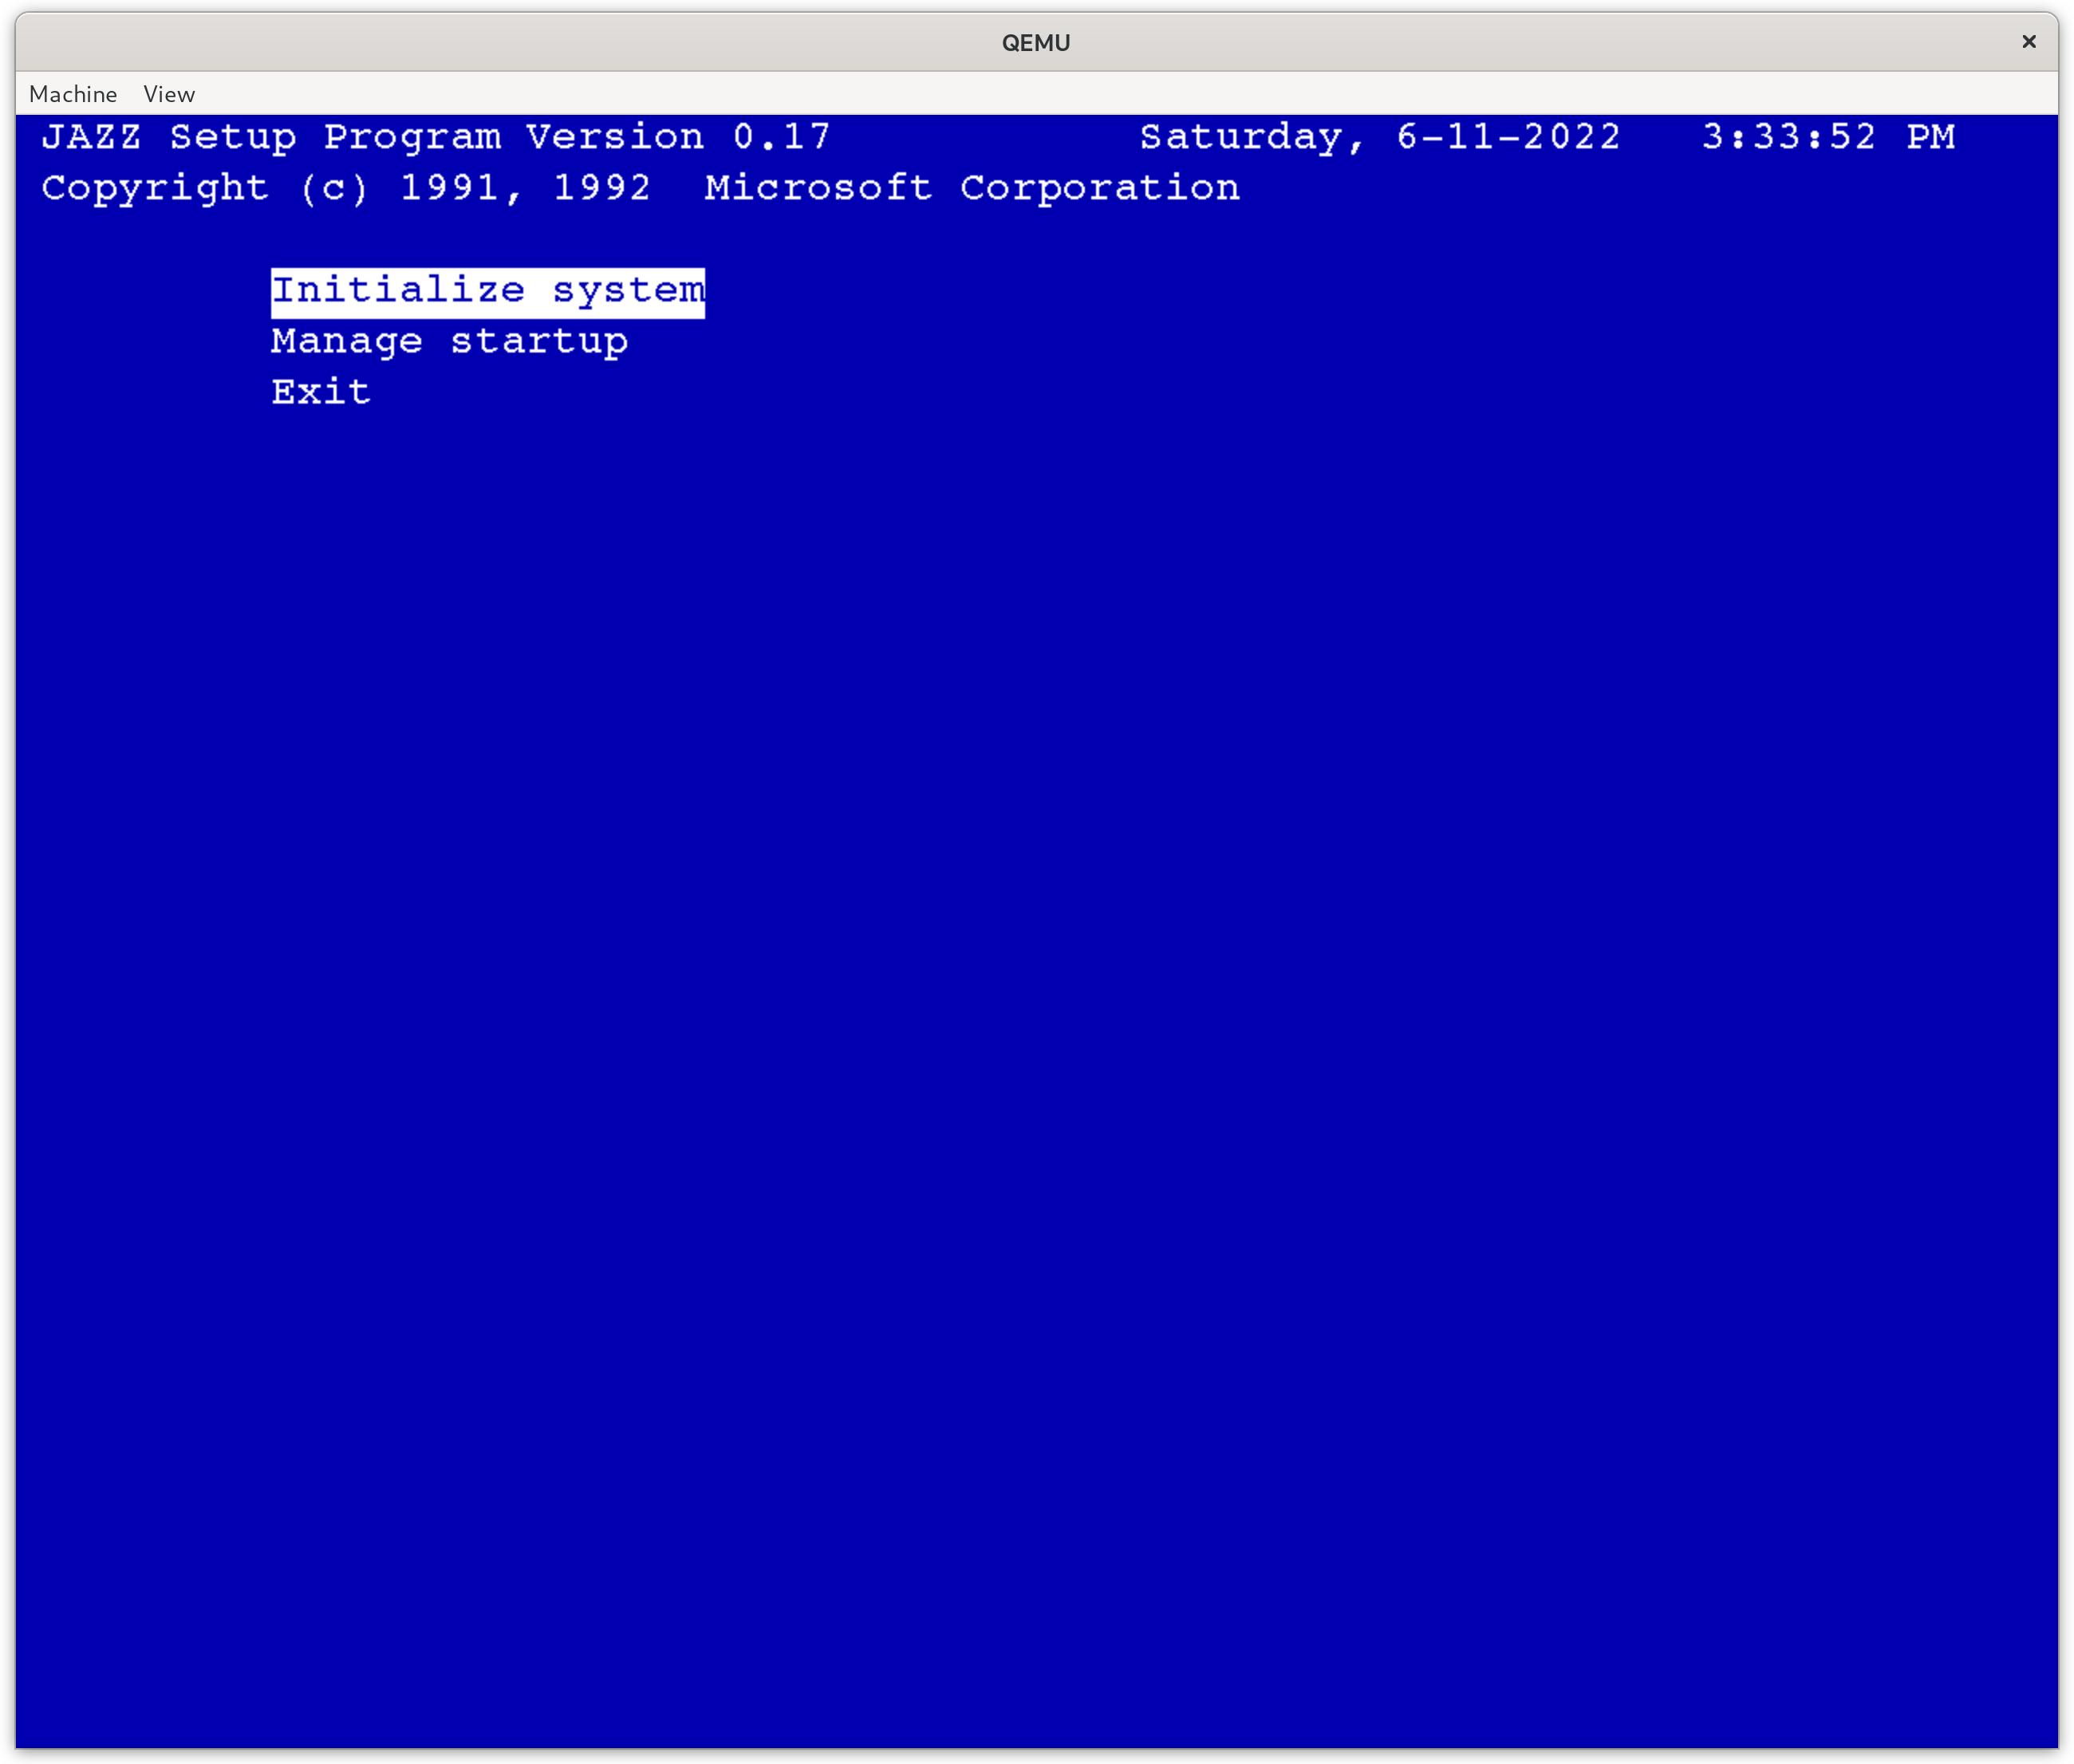
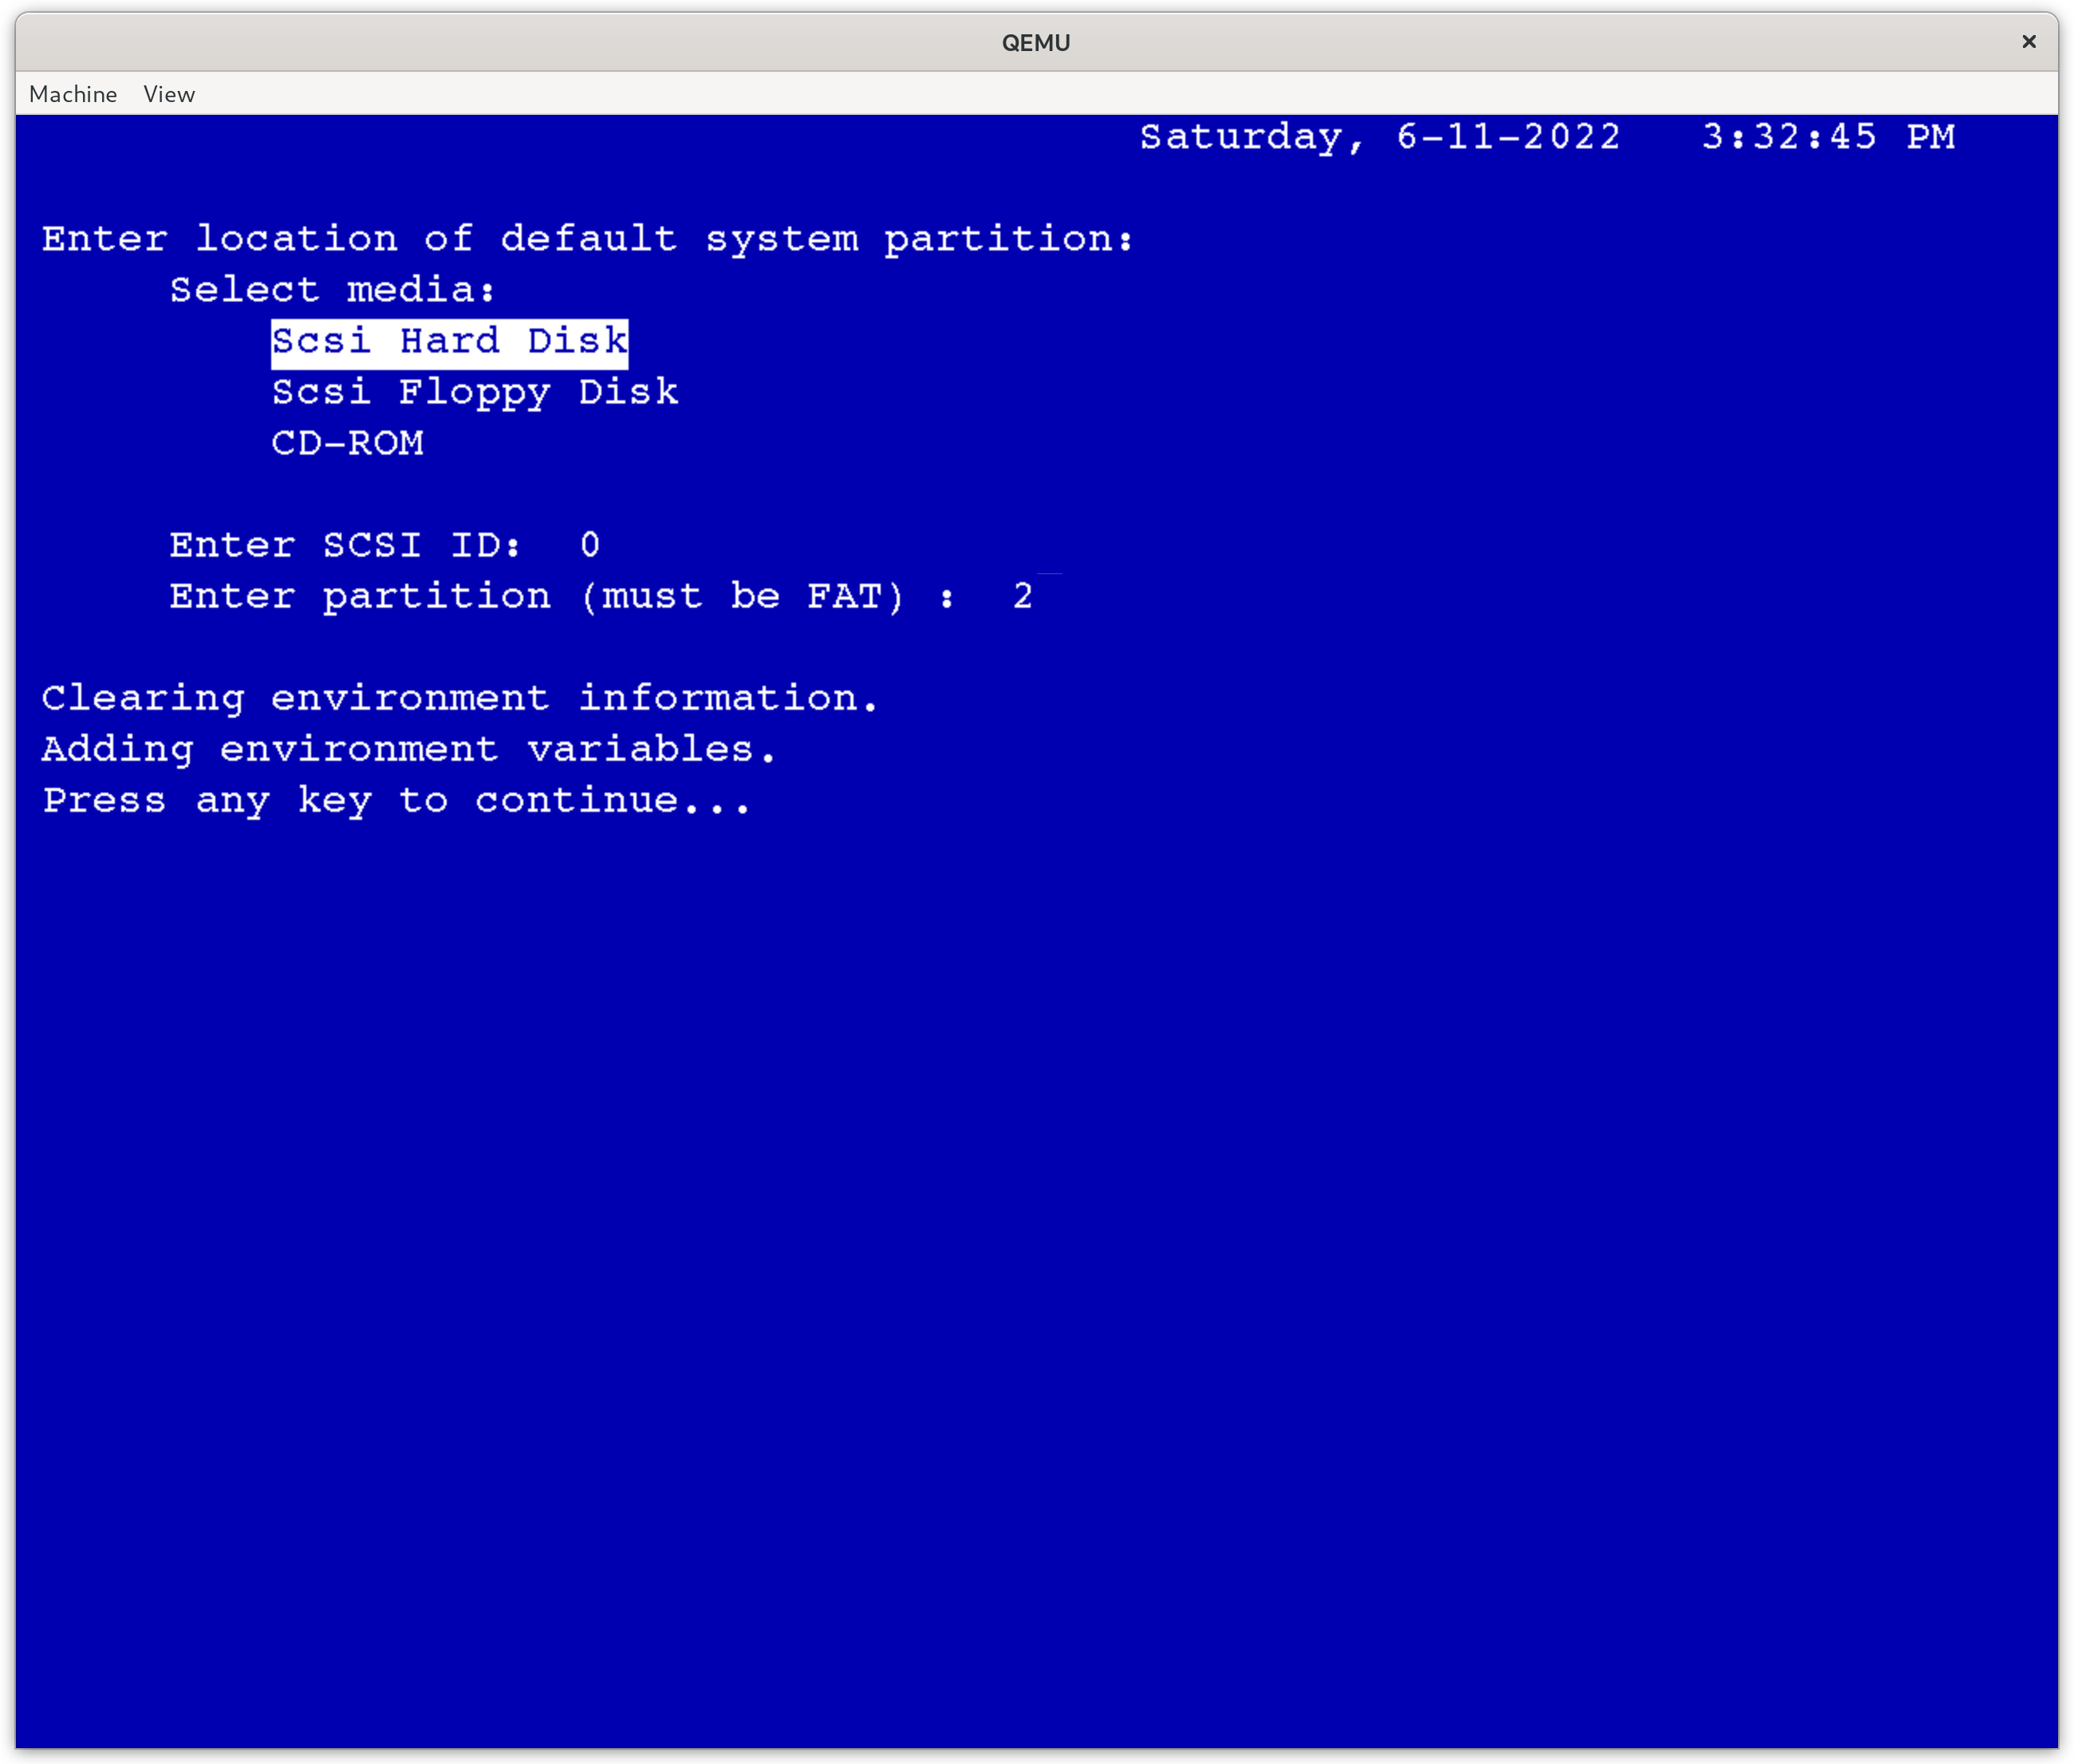
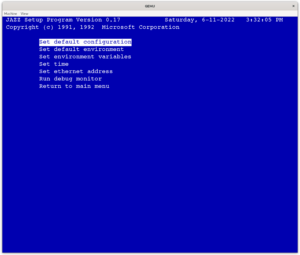
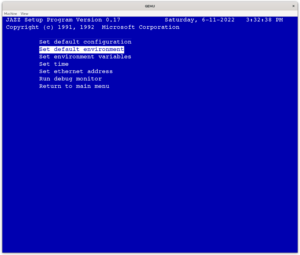
- Set defaults for the system (resolution, floppy drives, scsi devices)
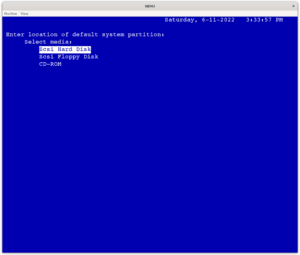
- Set the “default environment” for the system, this is essentially the boot drive and selects what partition to use as the system partition.
- Run
arcinstto create the partitions - Create a 4090MB partition for Windows (Later to be formatted as NTFS)
- Create a 6MB partition for ARC
- Set the “default environment” again, making sure to set partition 2 as the system partition


Note that after first creating the system partitions several “junk” boot entries appear. I have no real explanation for this other than that I suspect that the unformatted/large space confuses the ARC bootloader. When the default environment is set back to the small partition the junk entries disappear again.
What is also interesting is that if you do not clear these when the Windows NT installation is complete there will be between 4 and 6 entries for “Windows NT 4.0” in the boot menu. They all appear to function and managing boot entries only shows one. I have no way of knowing whether this bug appears on real hardware as well but given how many layers away from the virtualized hardware we are at this stage I suspect that most of these problems would appear on real hardware as well.
At this stage the partitioning looks as follows:
# fdisk -l /dev/nbd0
Disk /dev/nbd0: 4 GiB, 4294967296 bytes, 8388608 sectors
Units: sectors of 1 * 512 = 512 bytes
Sector size (logical/physical): 512 bytes / 512 bytes
I/O size (minimum/optimal): 512 bytes / 512 bytes
Disklabel type: dos
Disk identifier: 0x00000000

Device      Boot   Start     End Sectors Size Id Type
/dev/nbd0p1           32 8376319 8376288   4G  6 FAT16
/dev/nbd0p2      8376320 8388607   12288   6M  5 Extended
/dev/nbd0p5      8376352 8388607   12256   6M  6 FAT16
Step two: Installing Windows NT (stage 1)
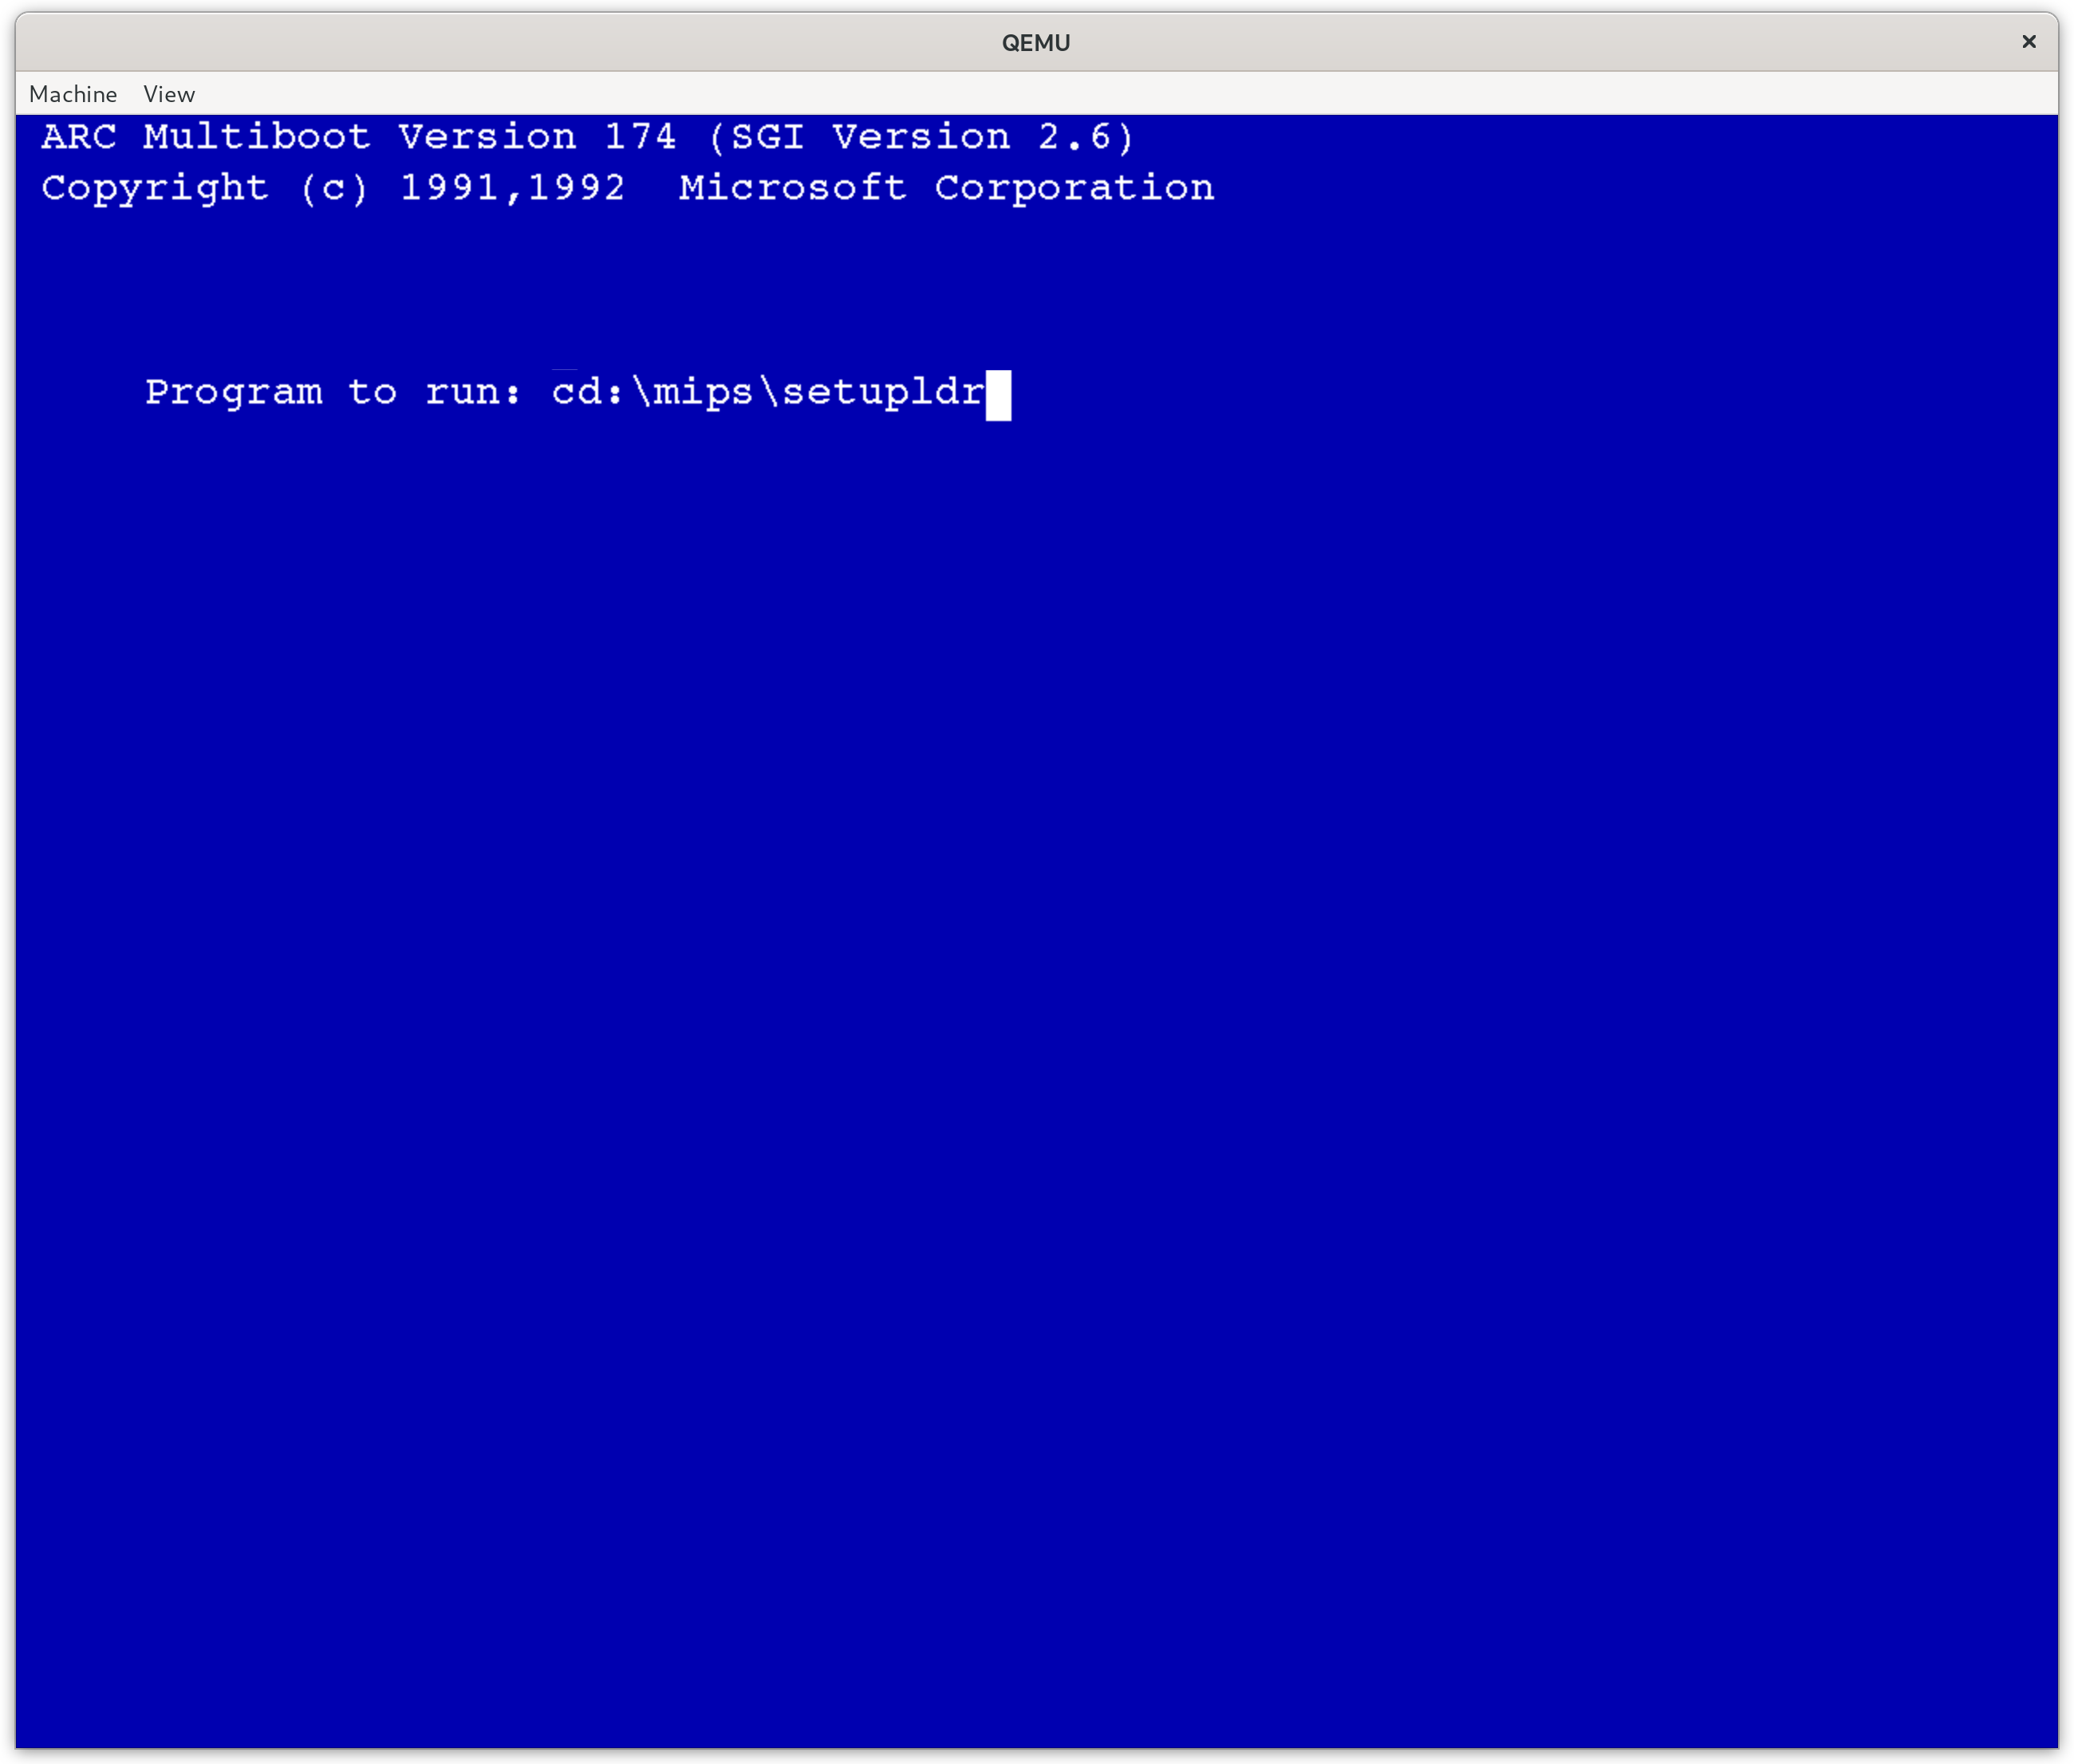
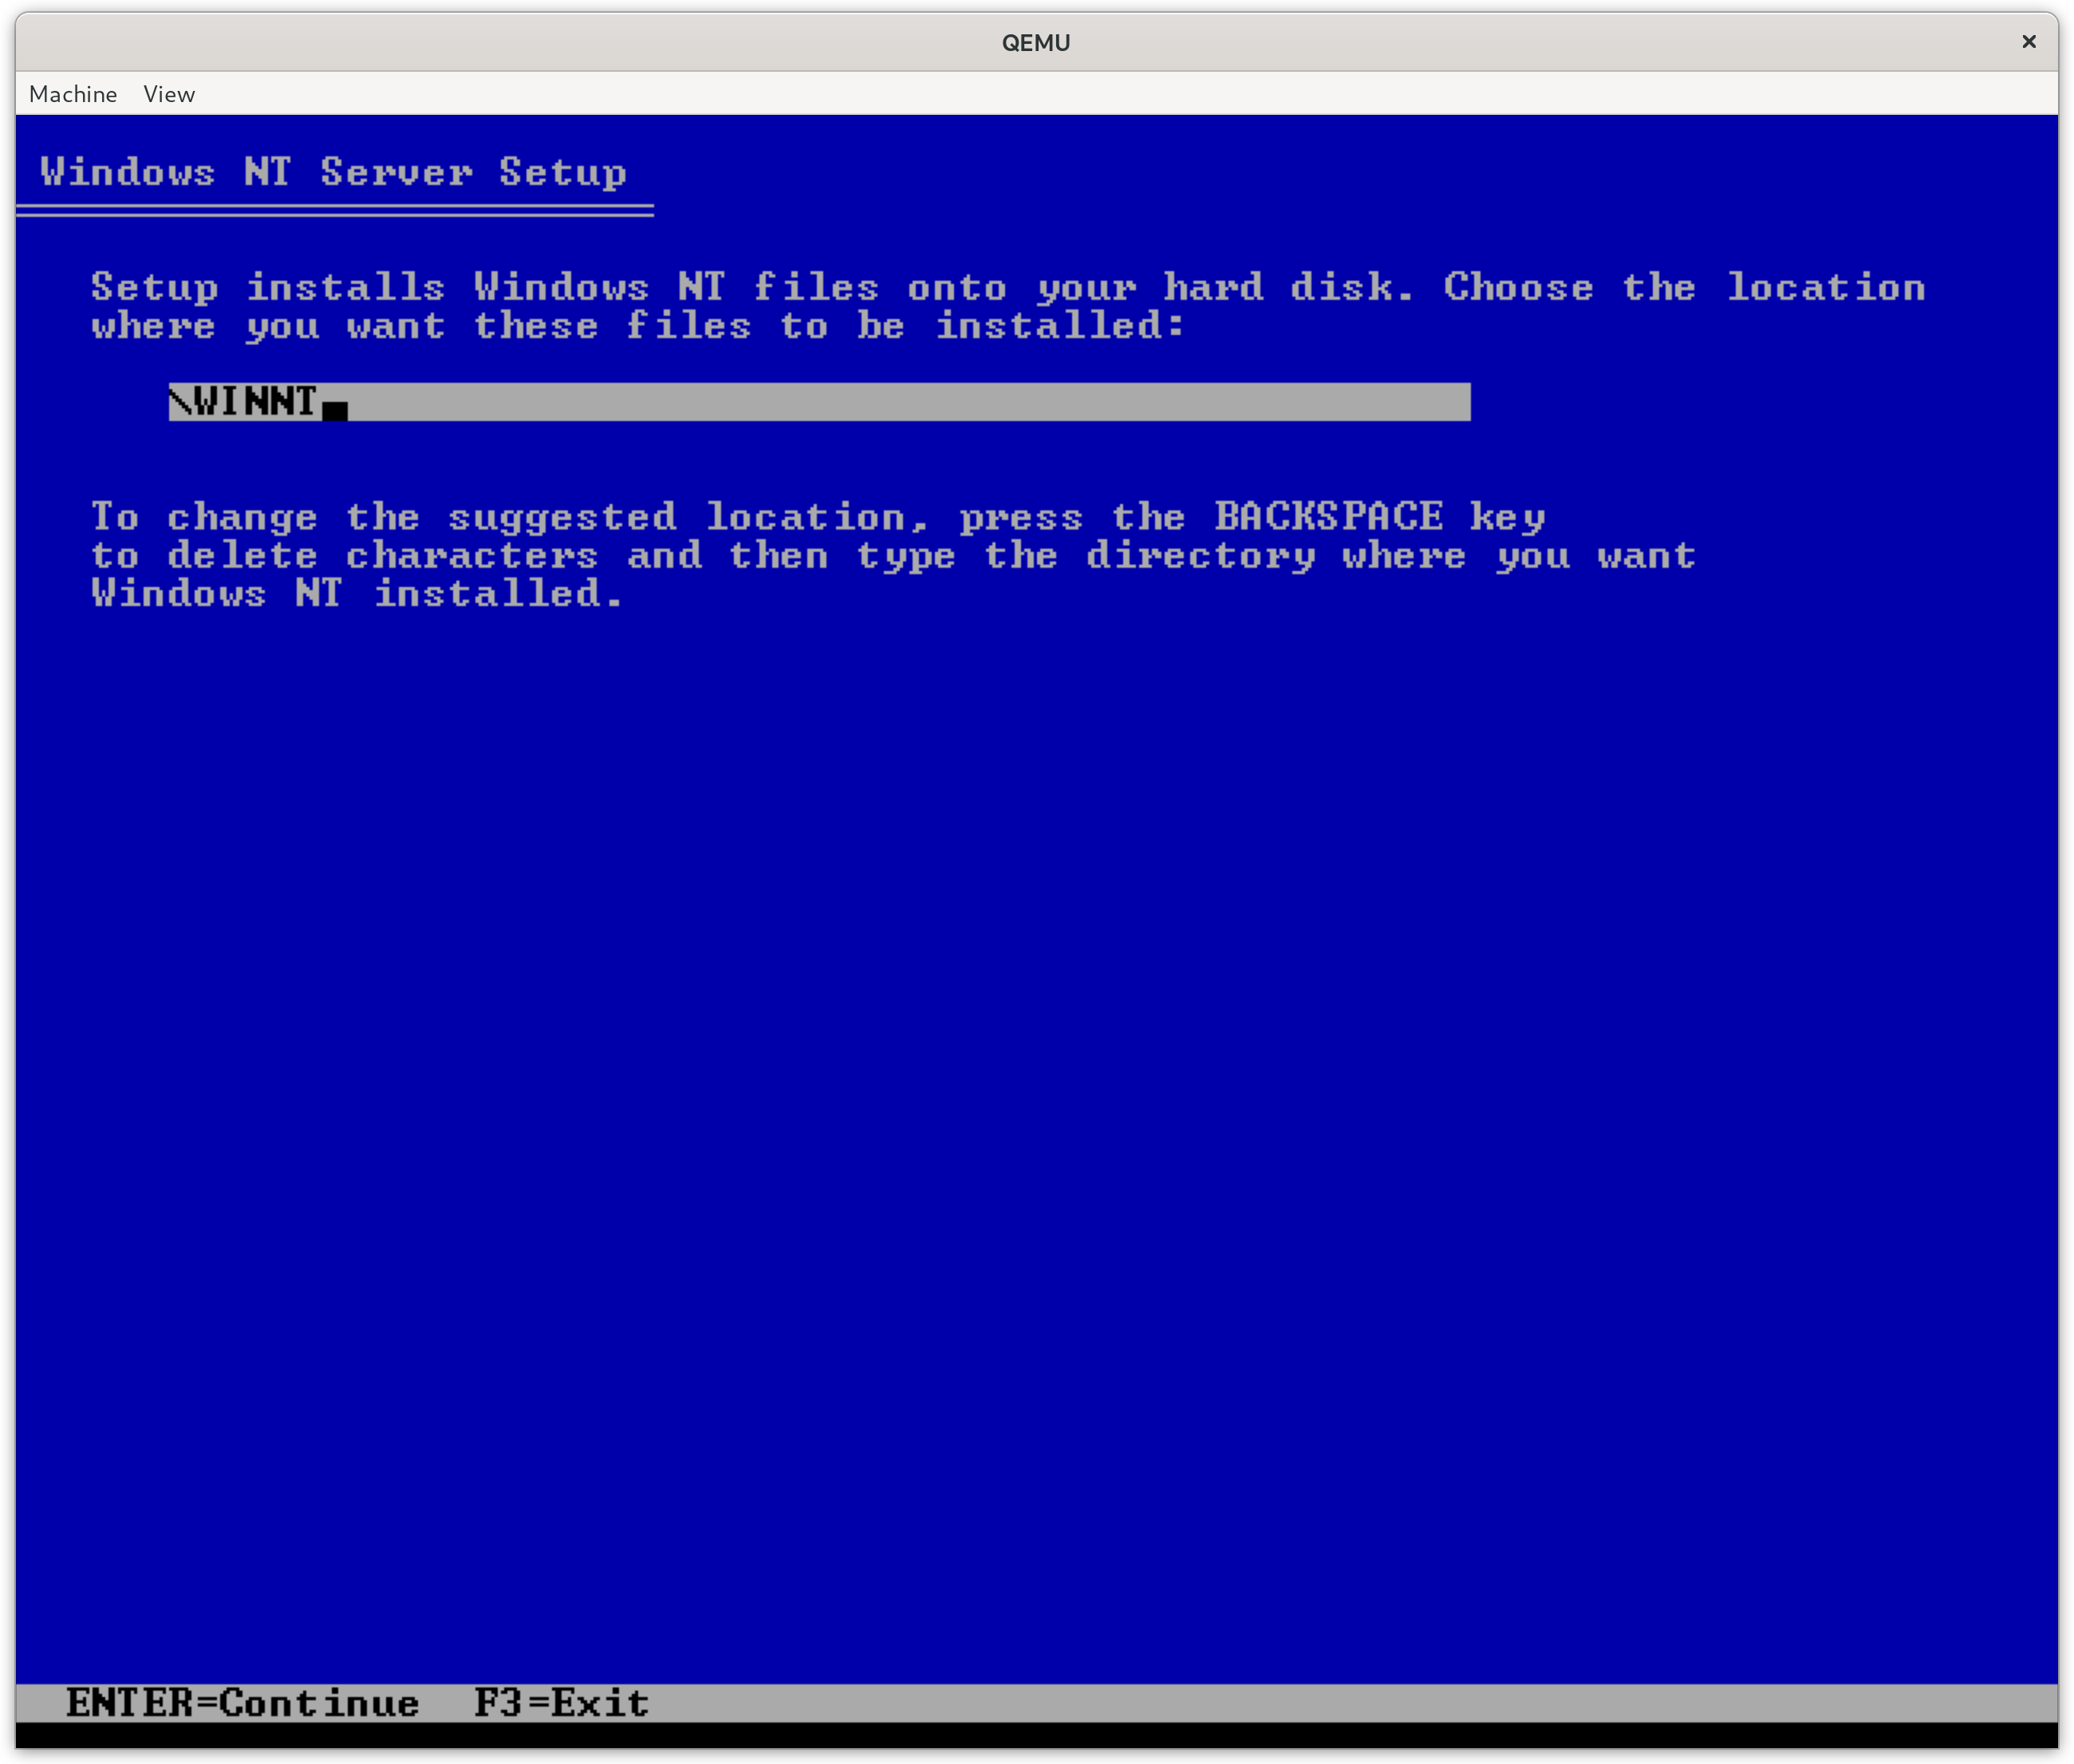
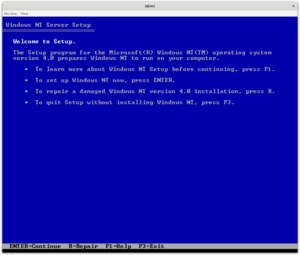
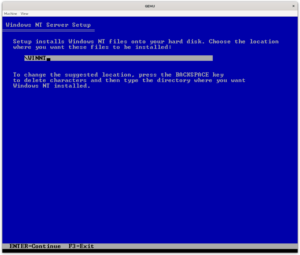
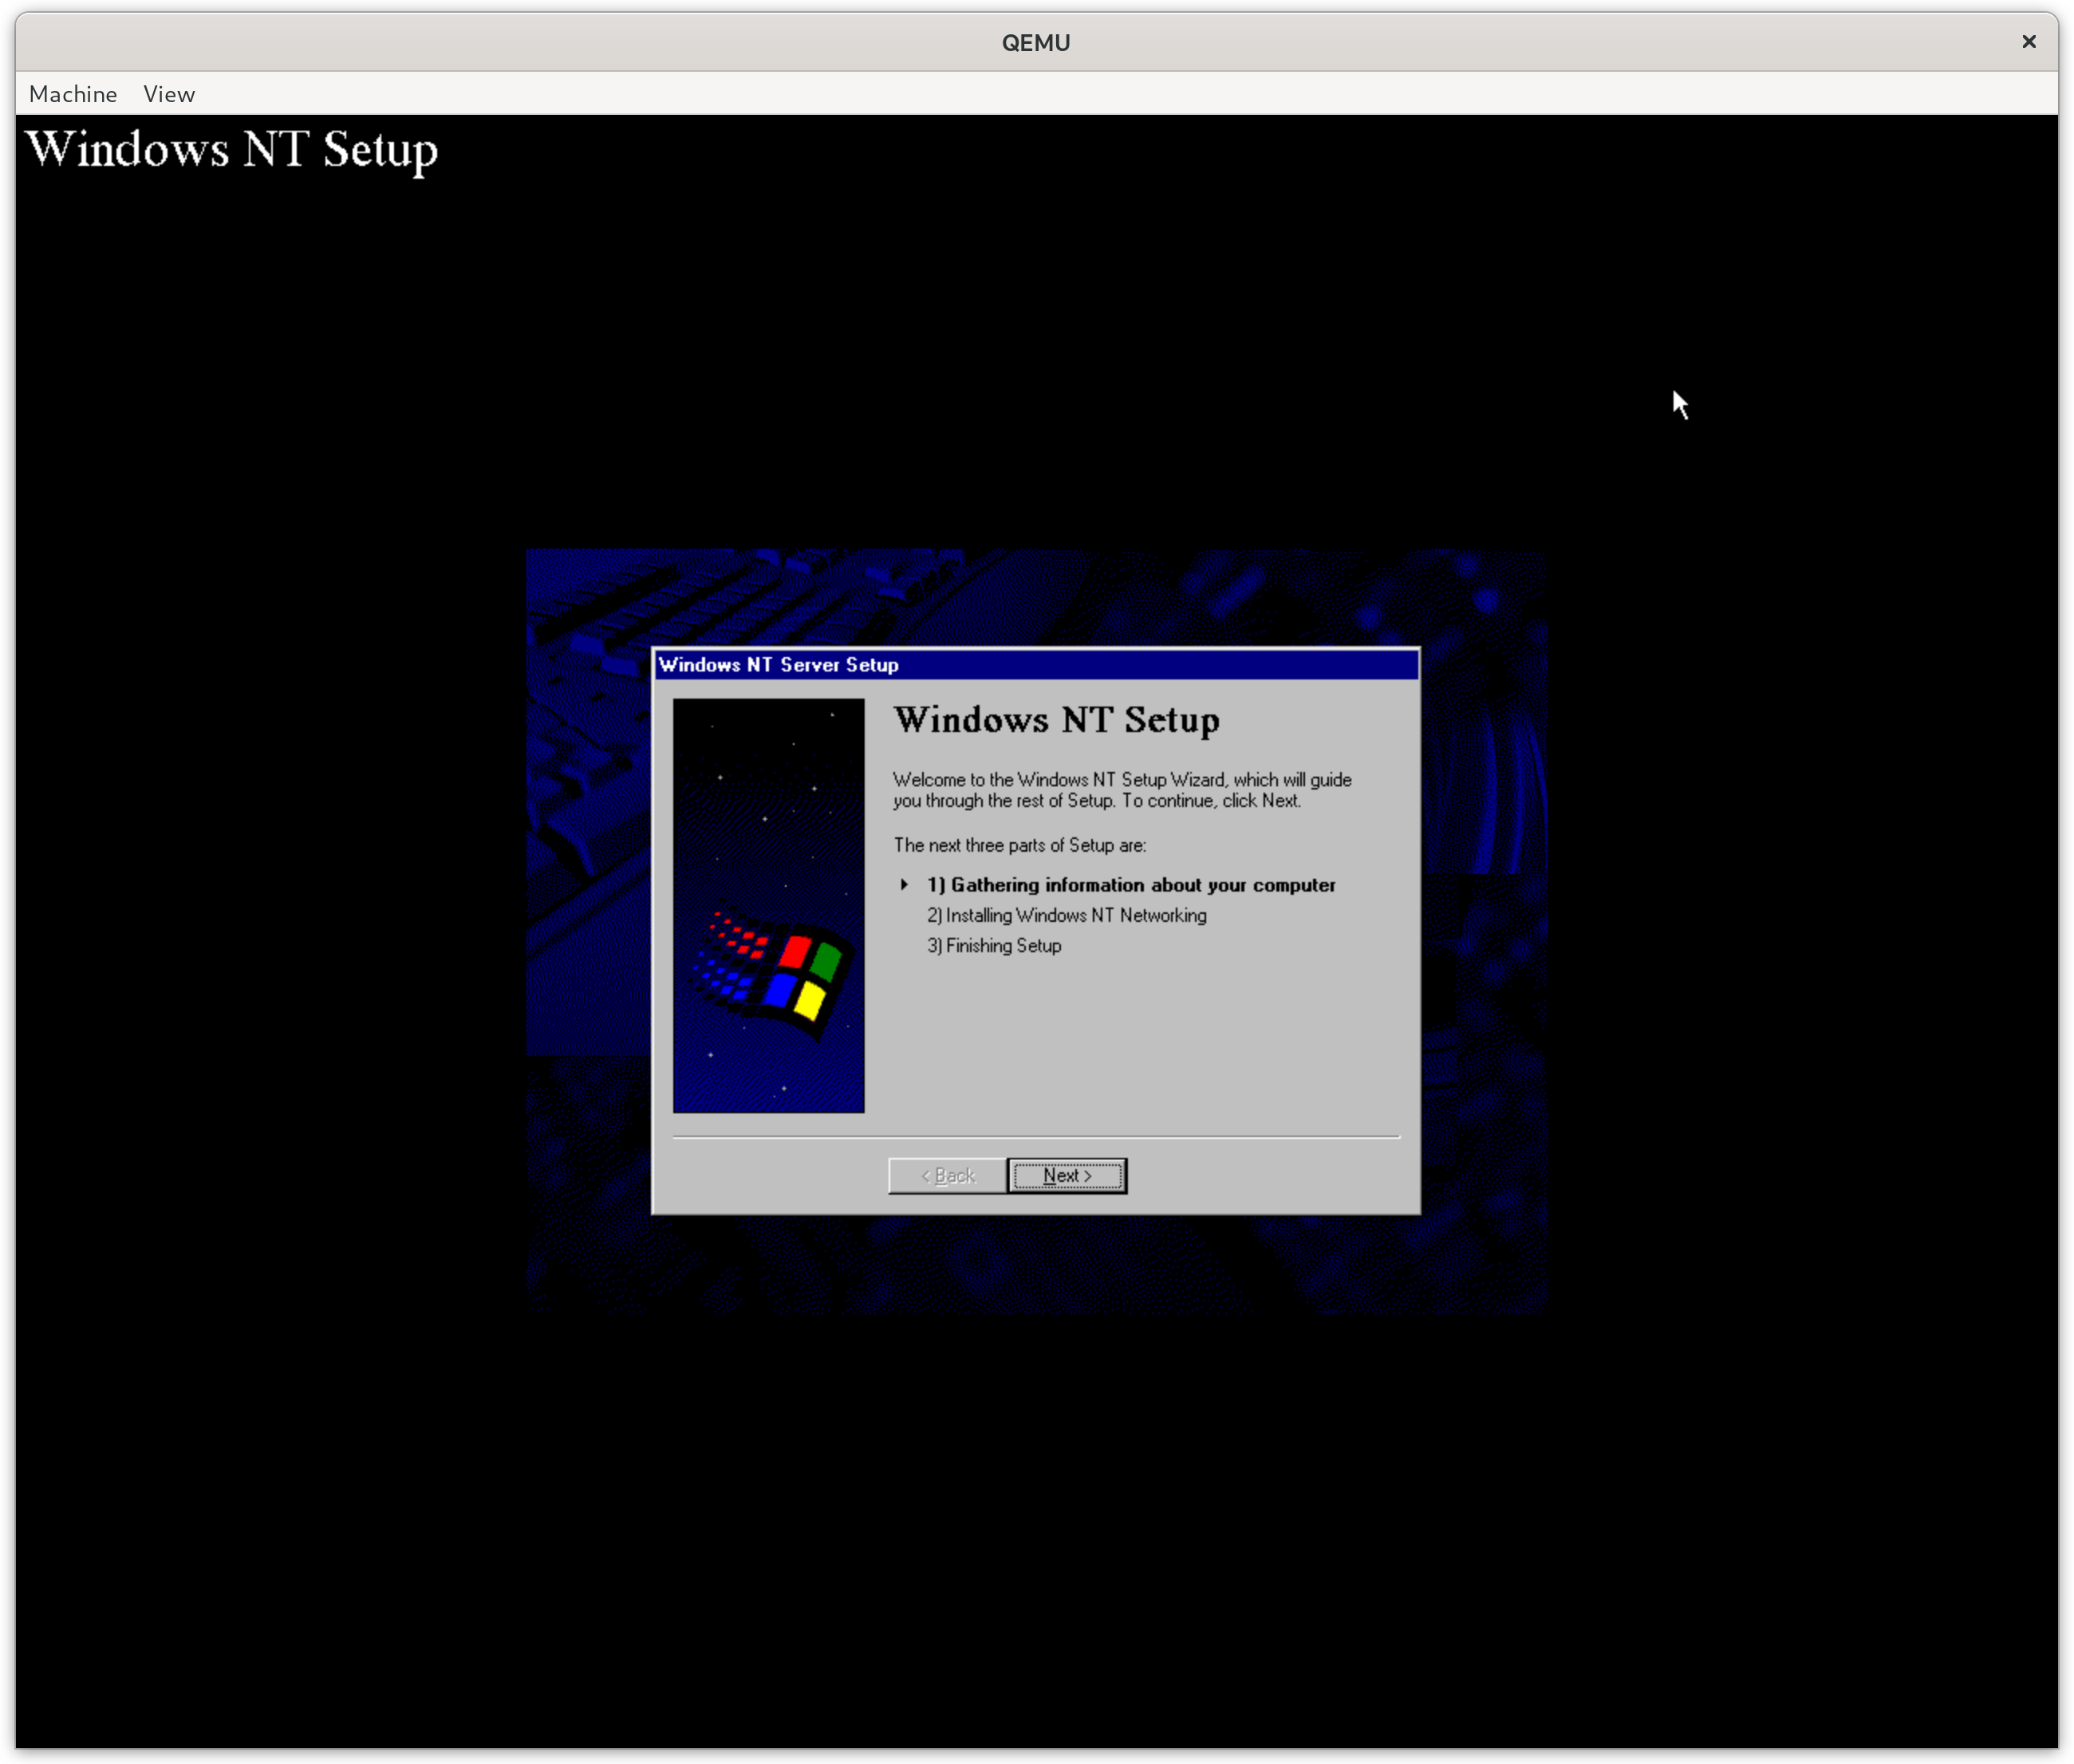
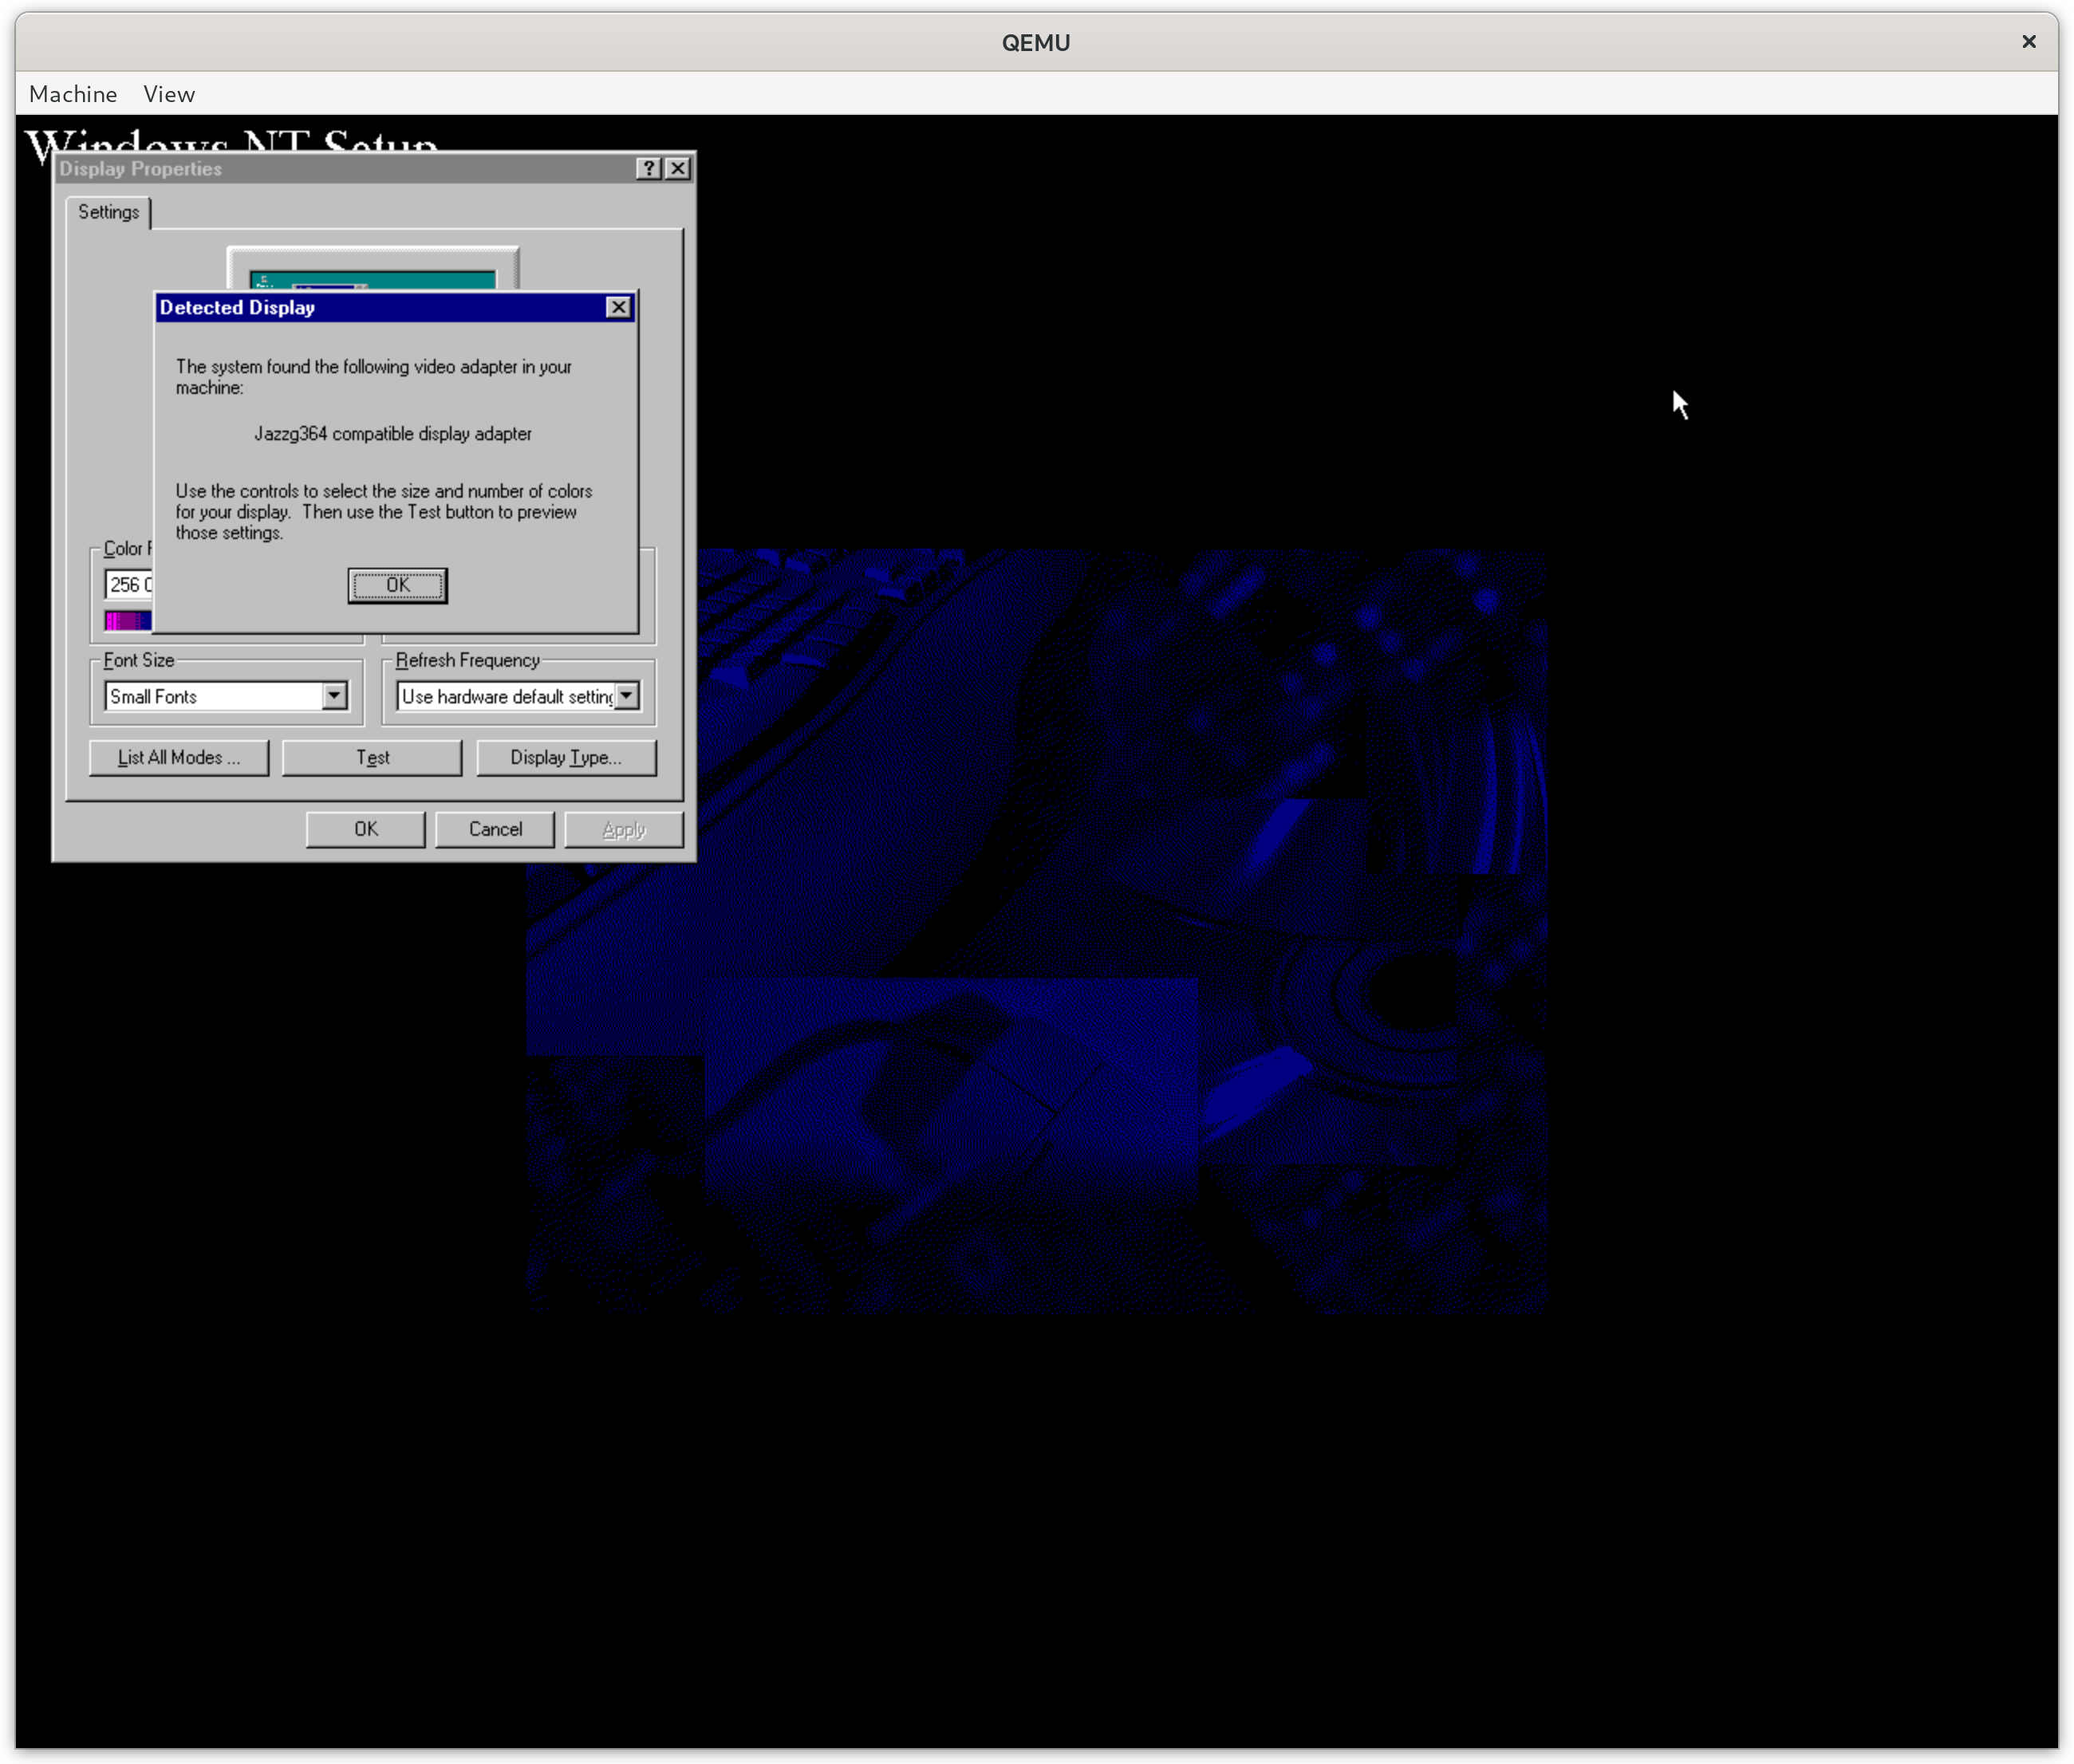
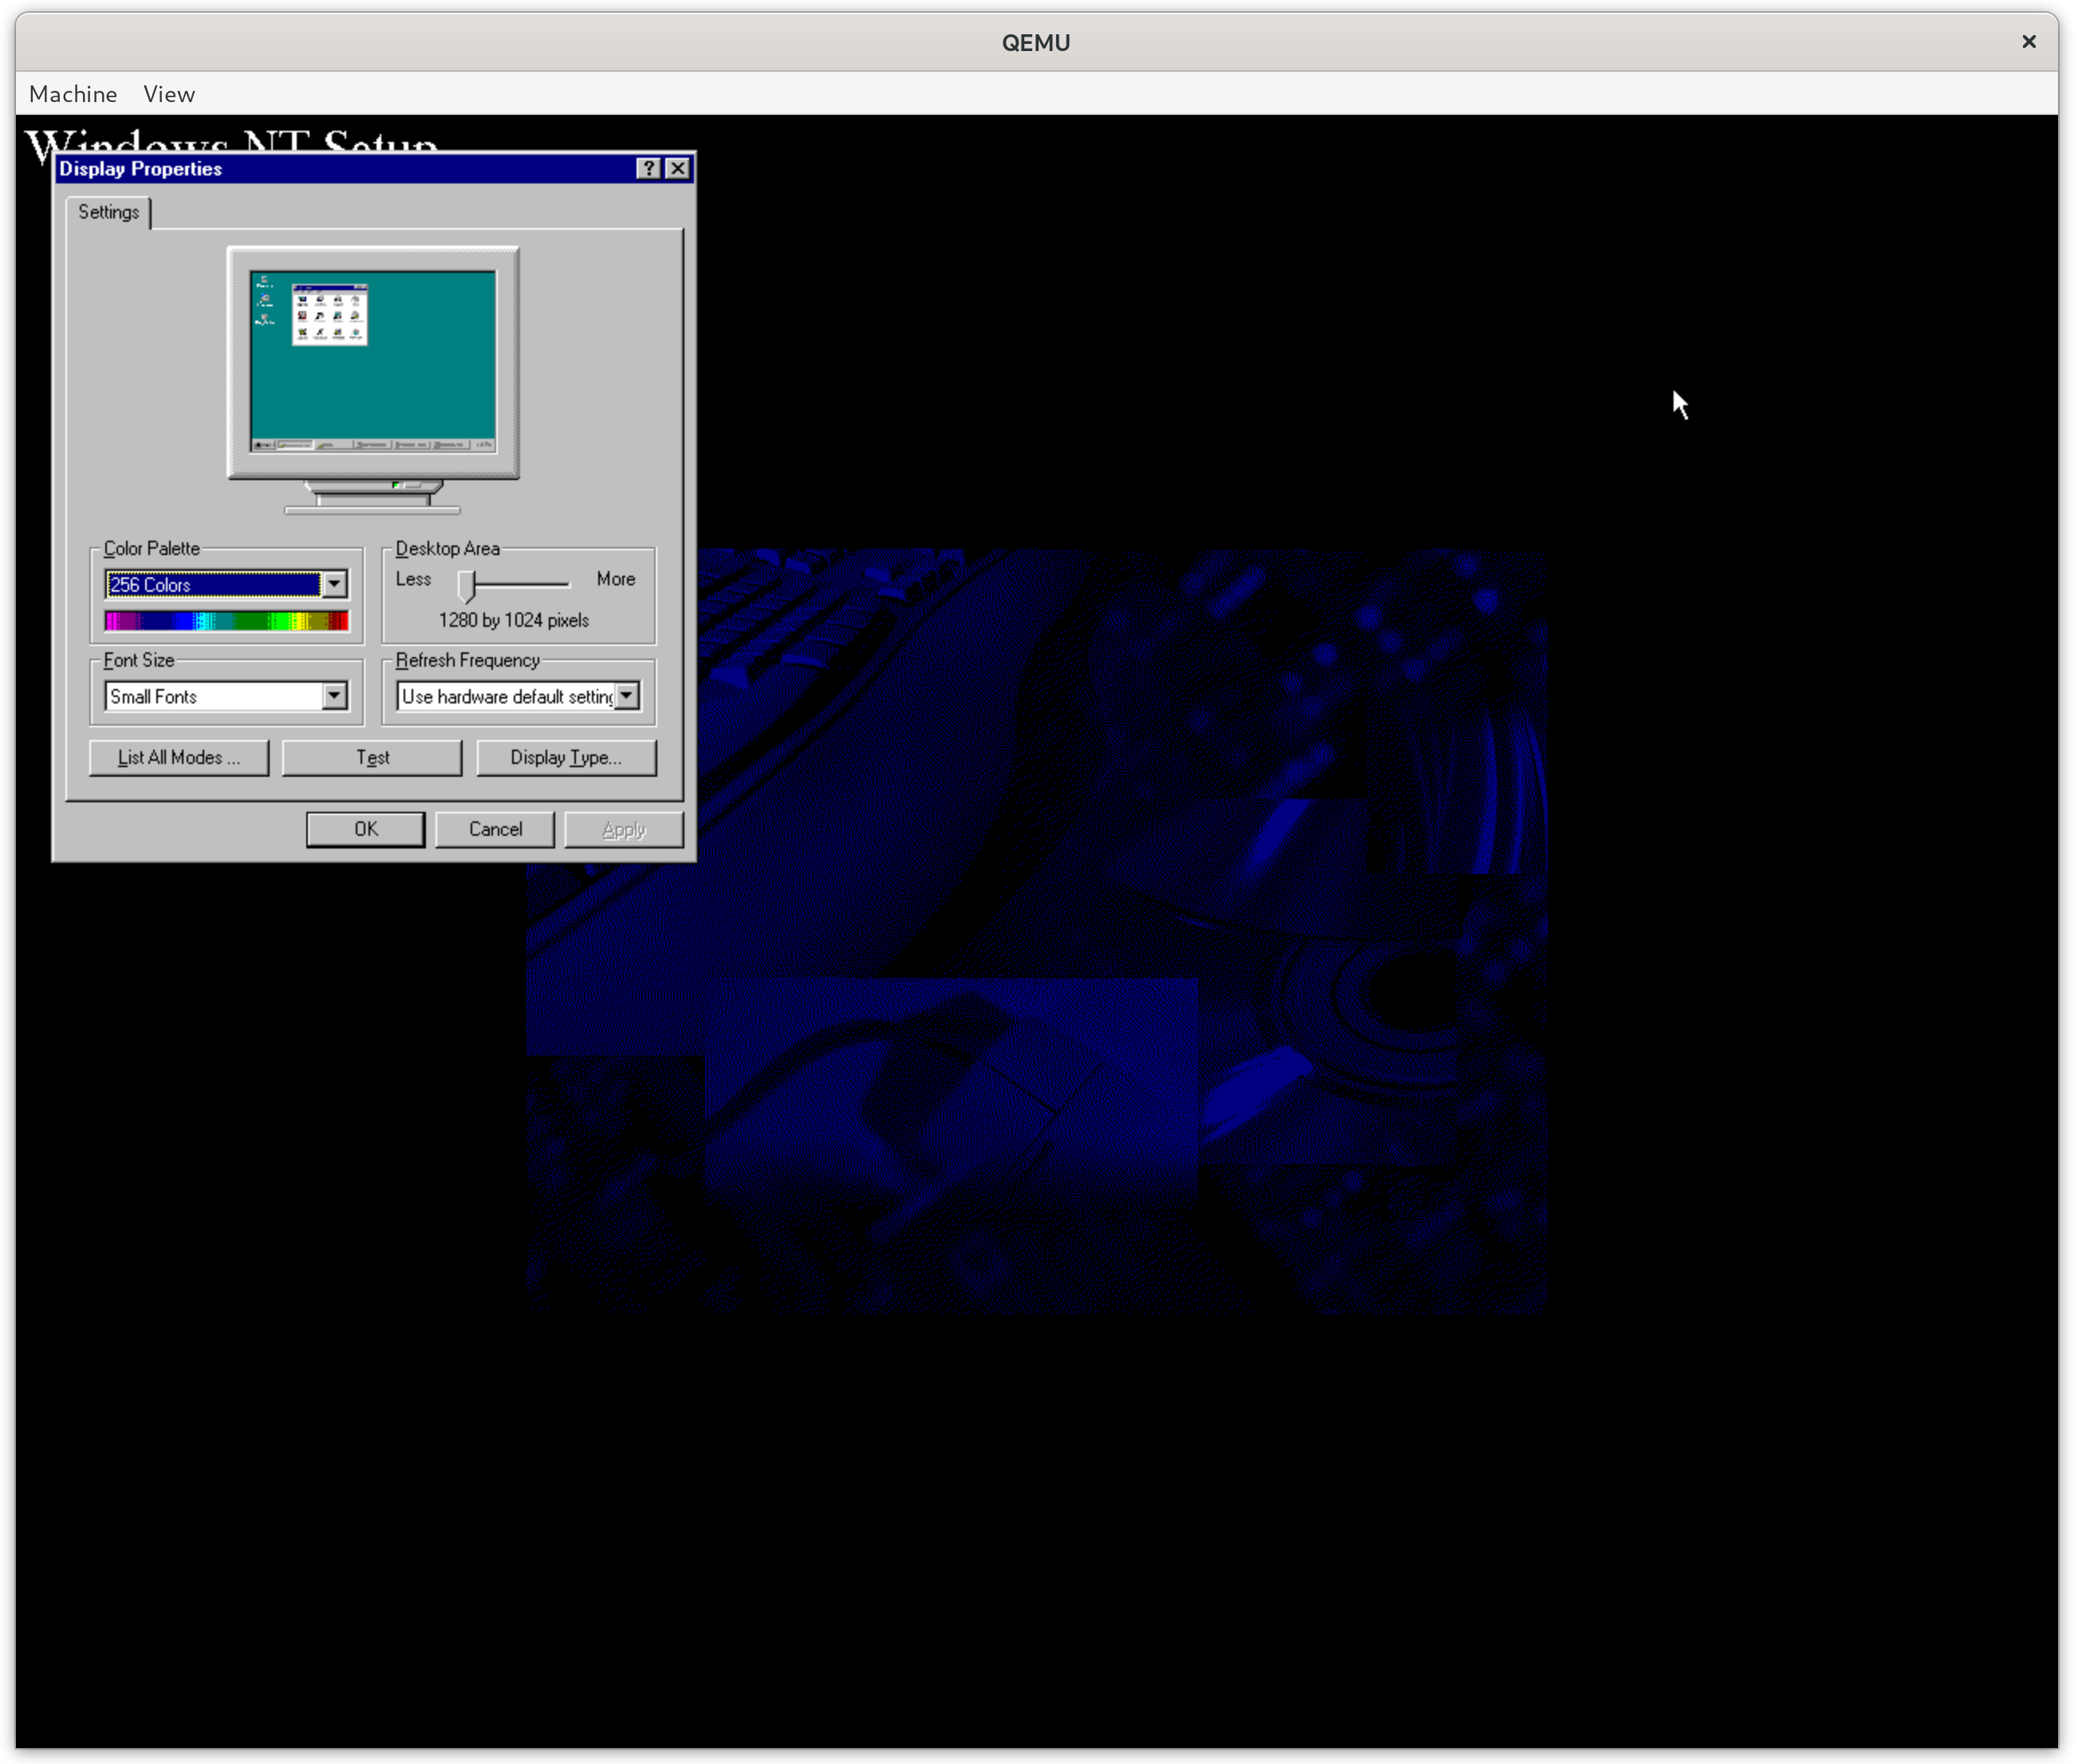
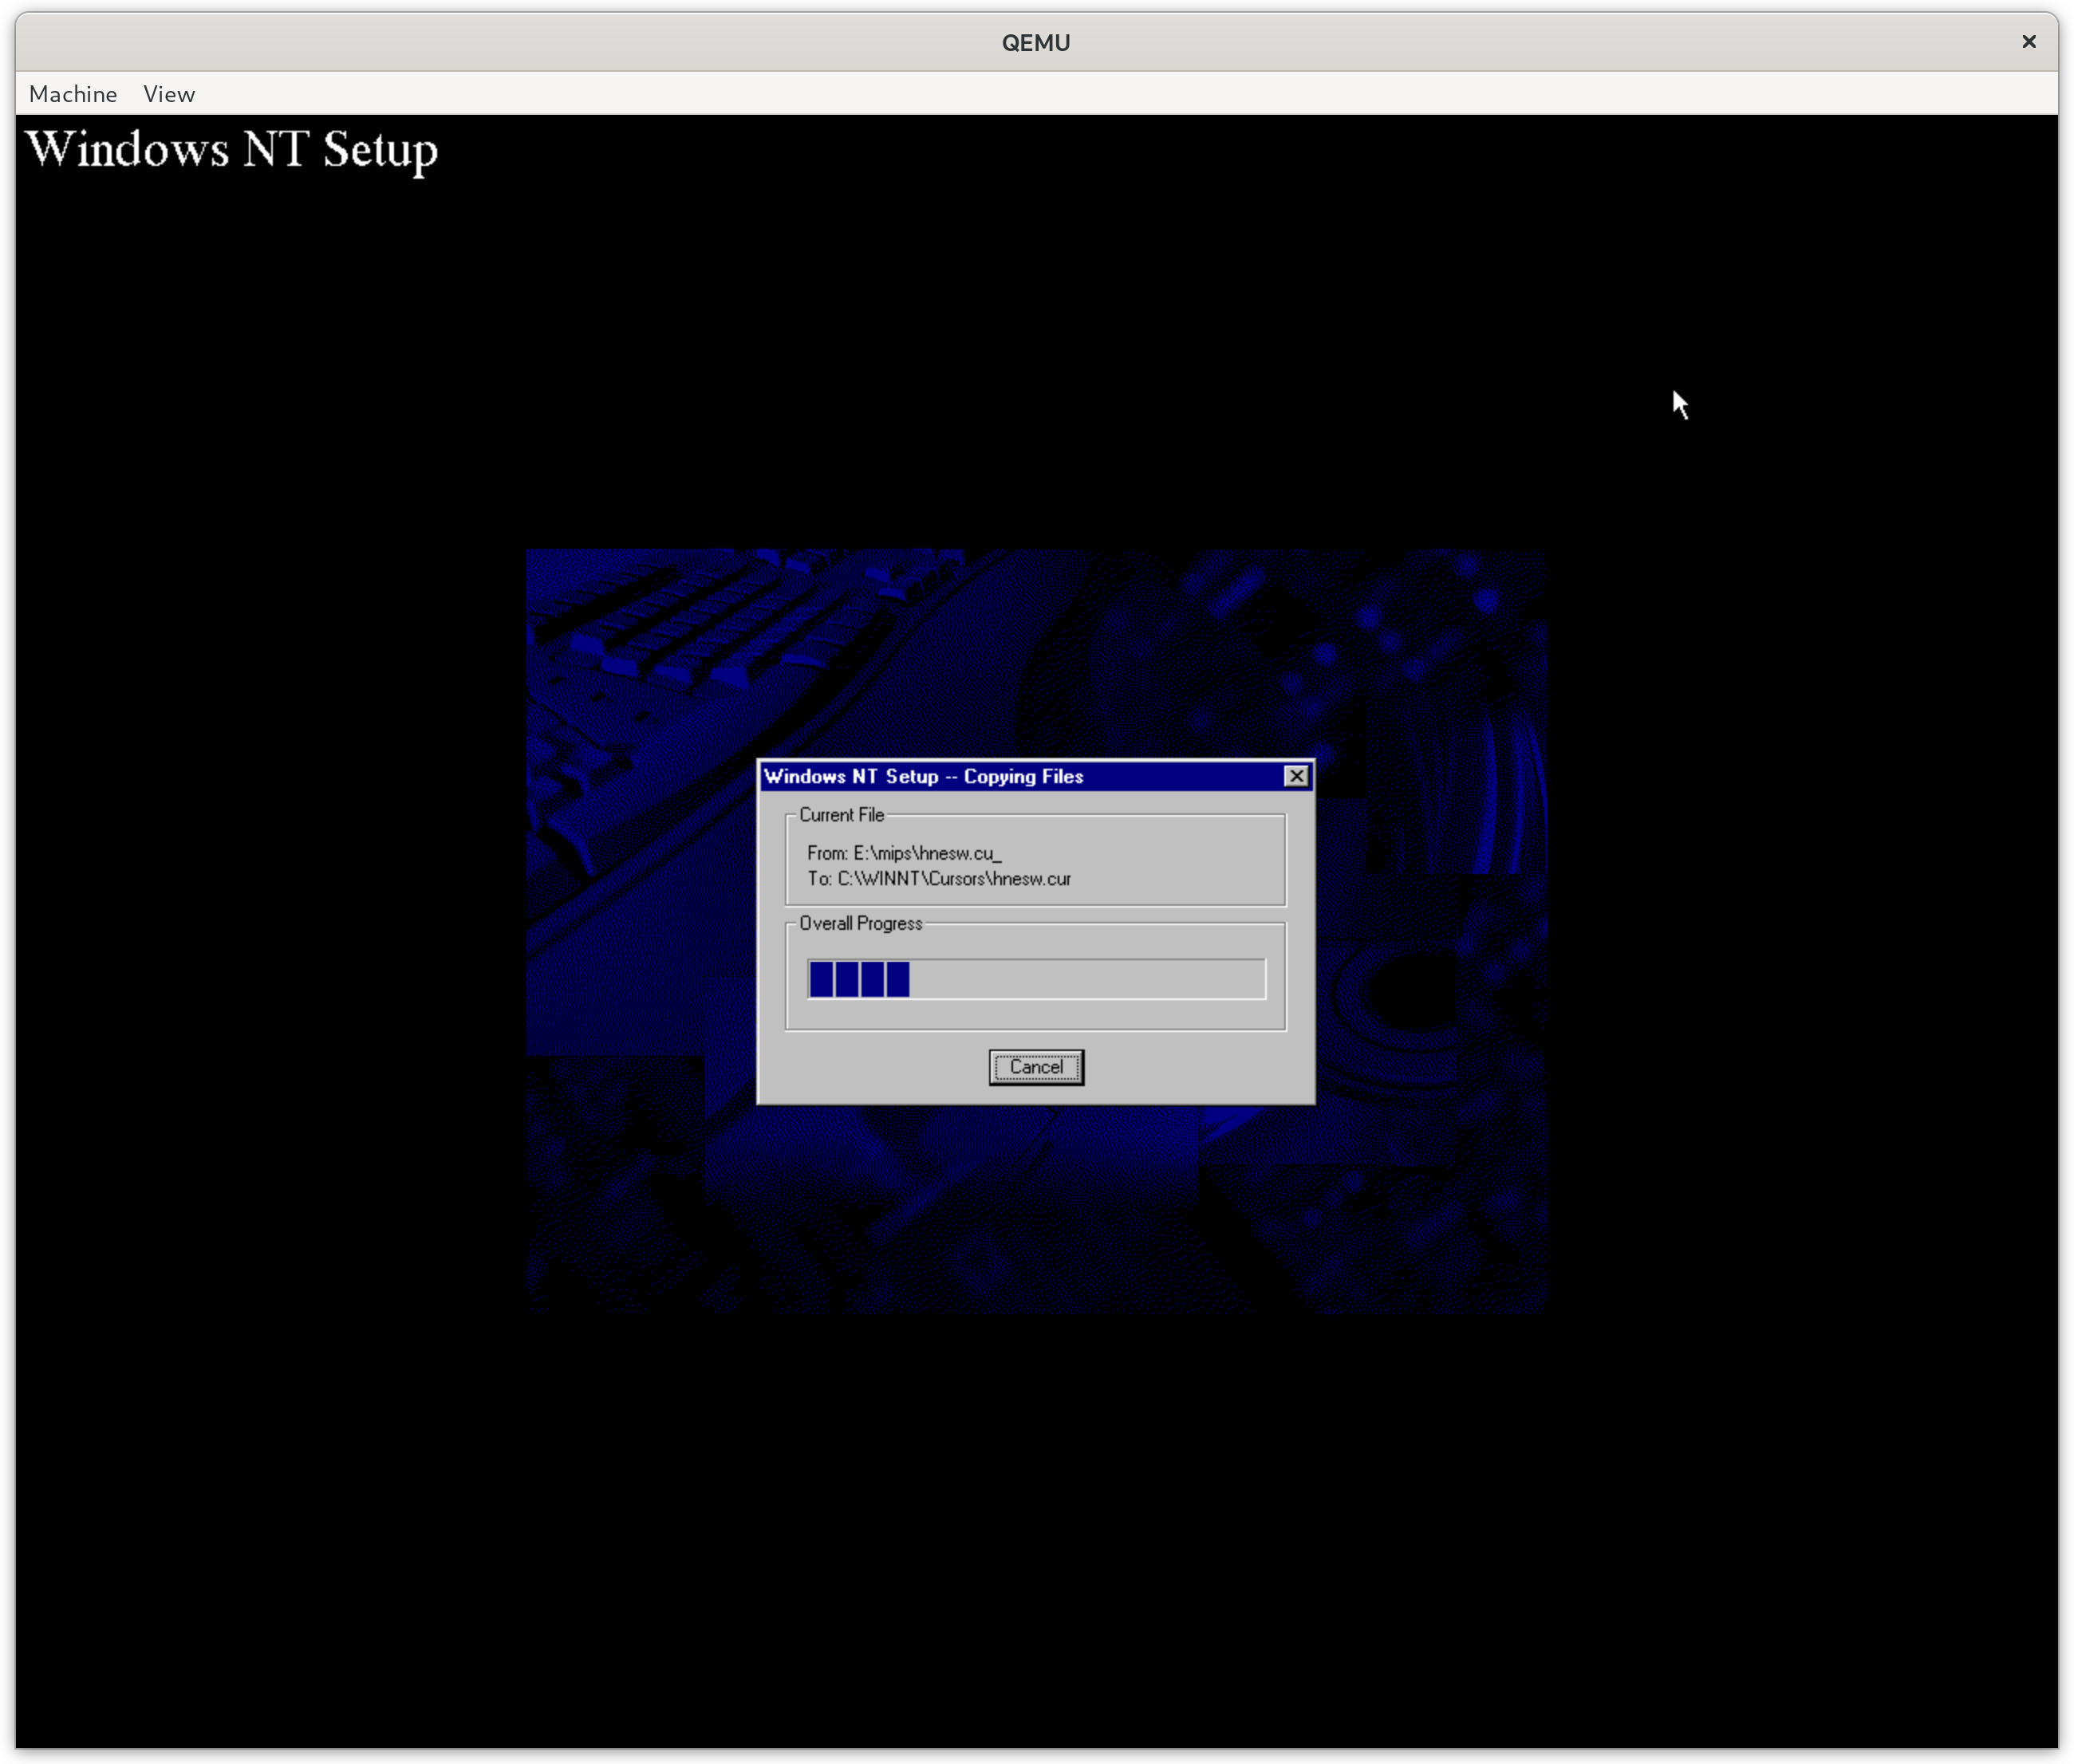
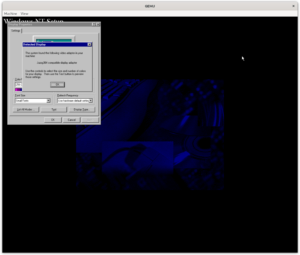
Now that we have a partitioning scheme that Windows setup can handle we can start the installation. We do this by running cd:\mips\setupldr. The Windows NT setup starts and is, somewhat disappointingly, almost identical to a Windows NT setup on PC hardware.
The steps are as follows:
- Start
setupldrfrom the installation CD - Select the large partition we made using
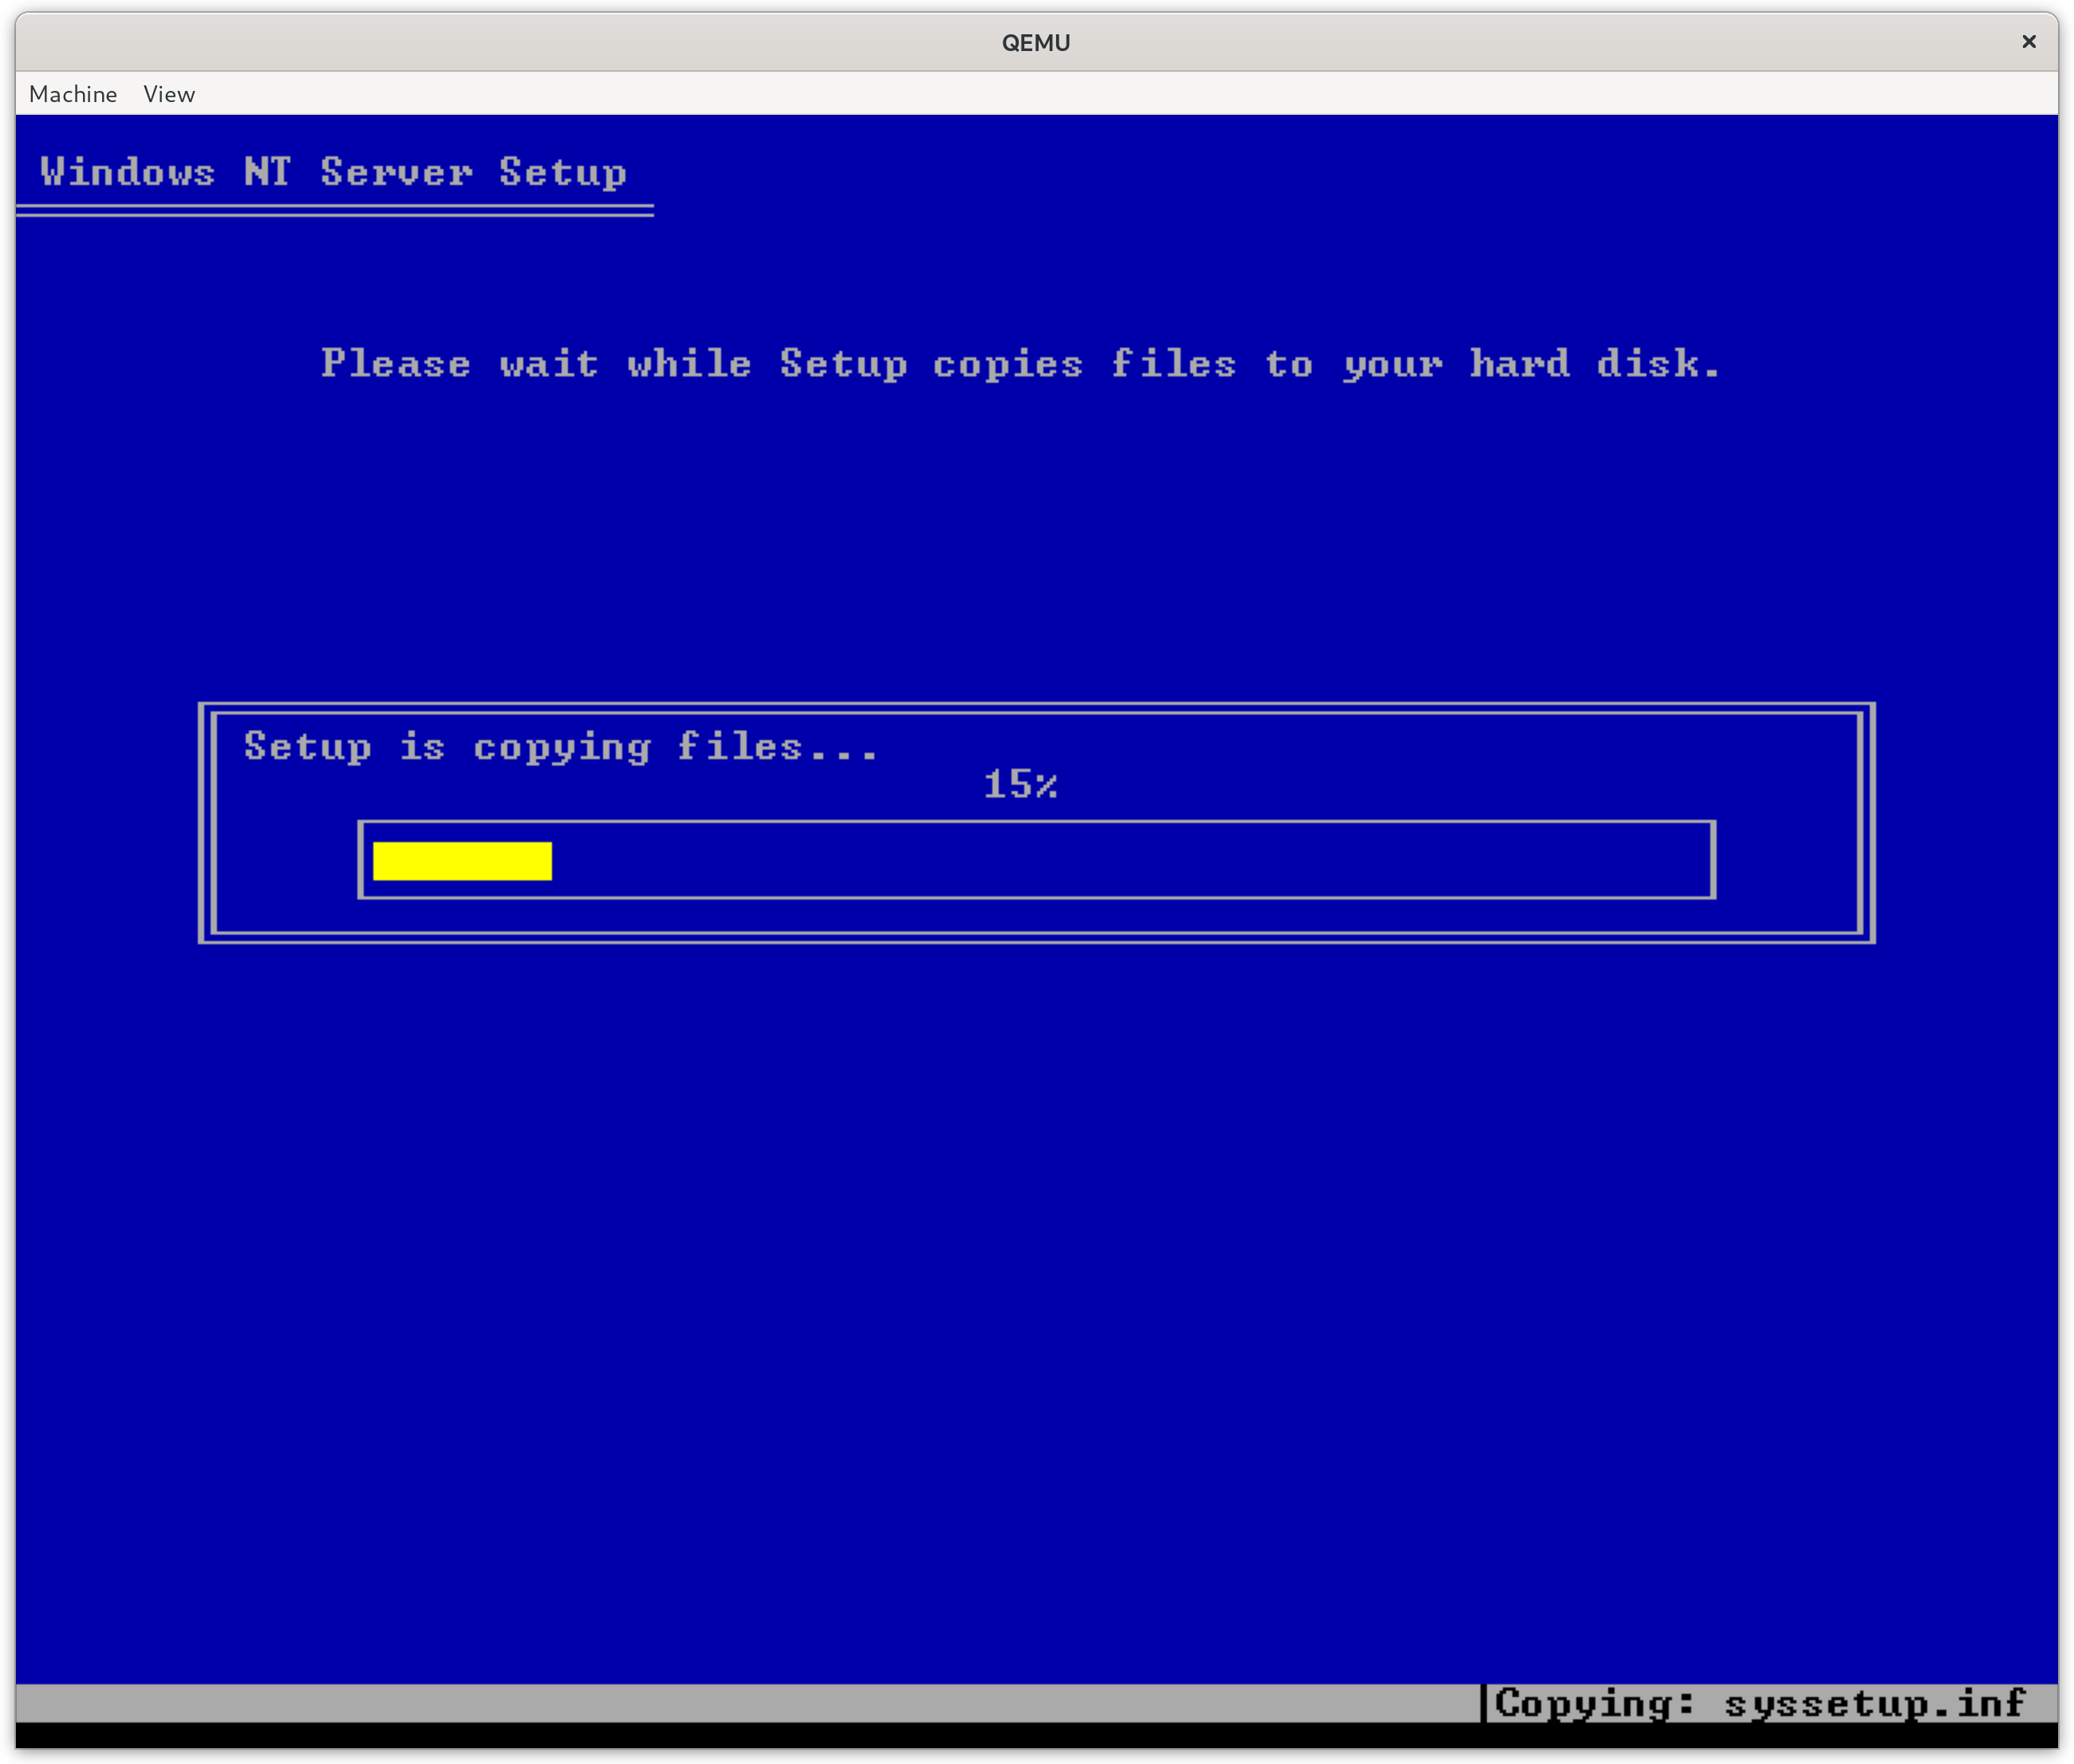
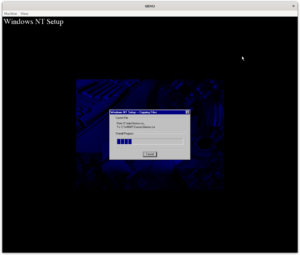
arcinstand have setup format it as NTFS - Wait for files to copy
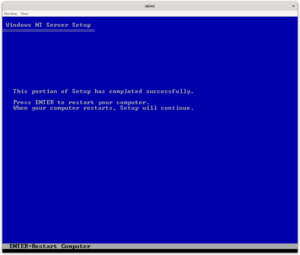
- Reboot
- Wait for the FAT filesystem to be converted to NTFS
- Reboot again


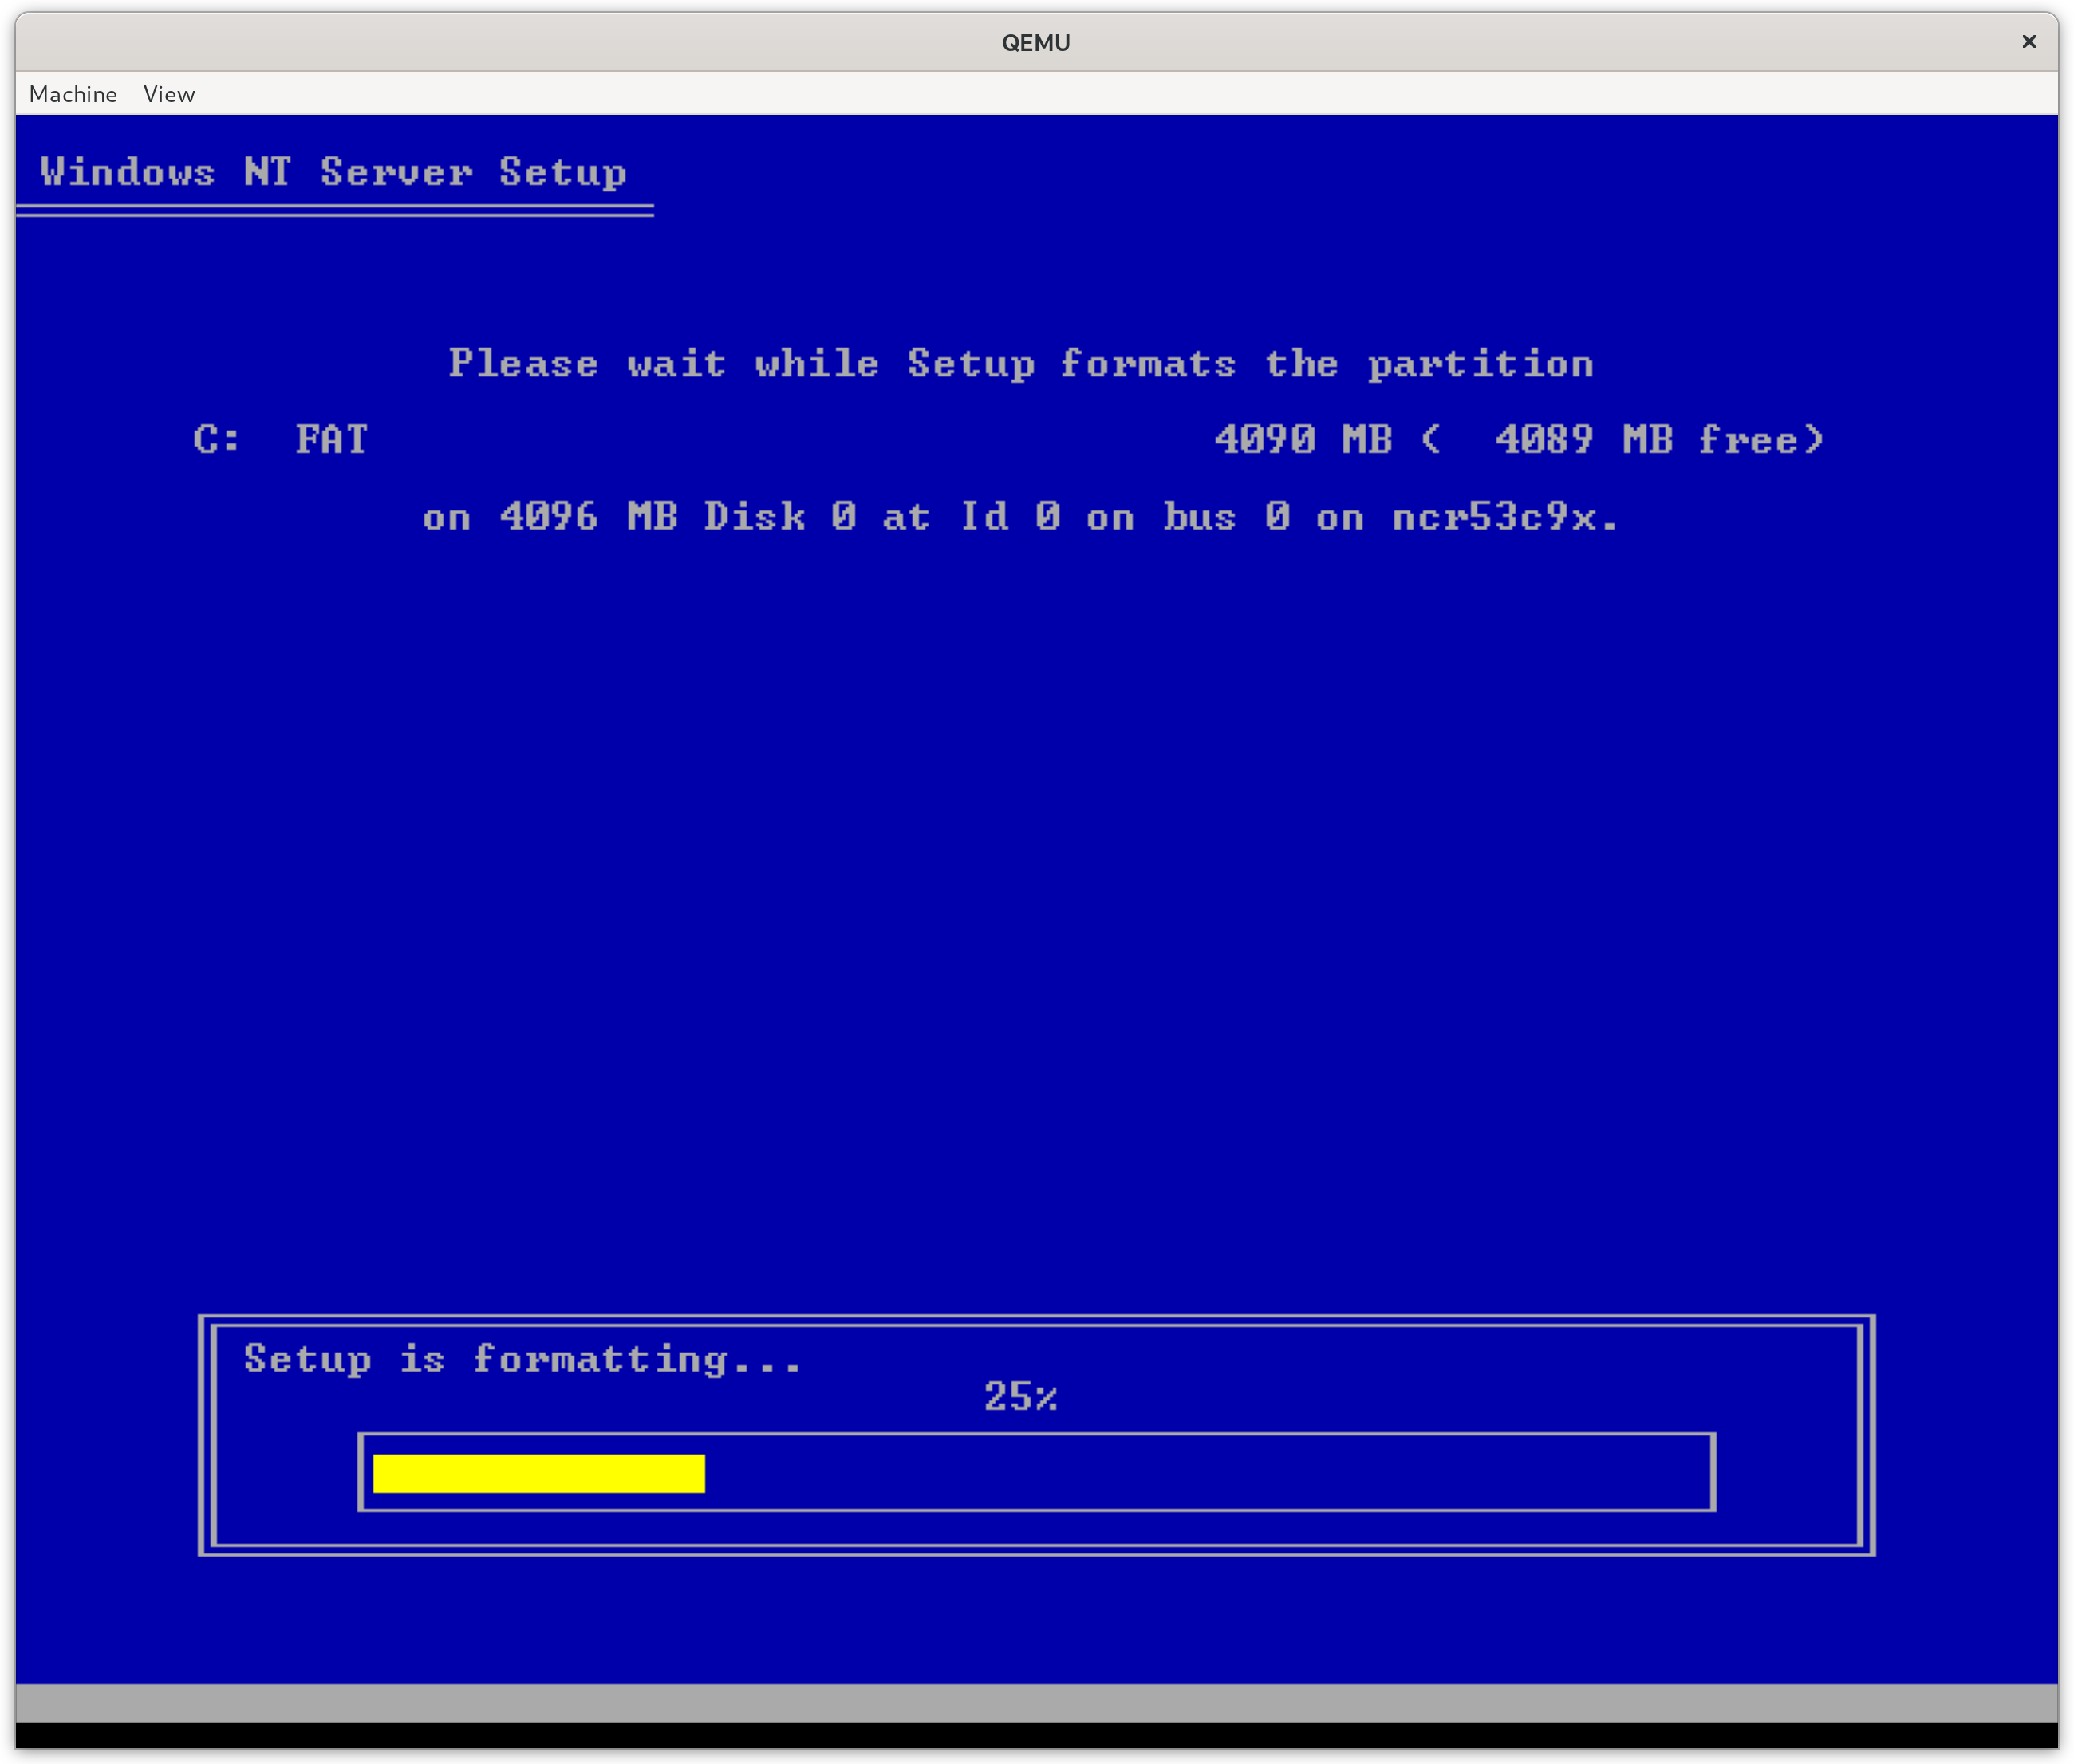


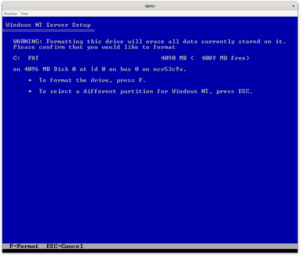


Somewhat surprisingly to me is that the stage 1 setup apparently creates a FAT filesystem, on first boot the partition gets converted from FAT to NTFS. I suspect that this simplifies the code for the setup a little. This also explains why if the system partitions are not configured correctly that Windows will simply continue using the FAT filesystem created by stage 1 setup.
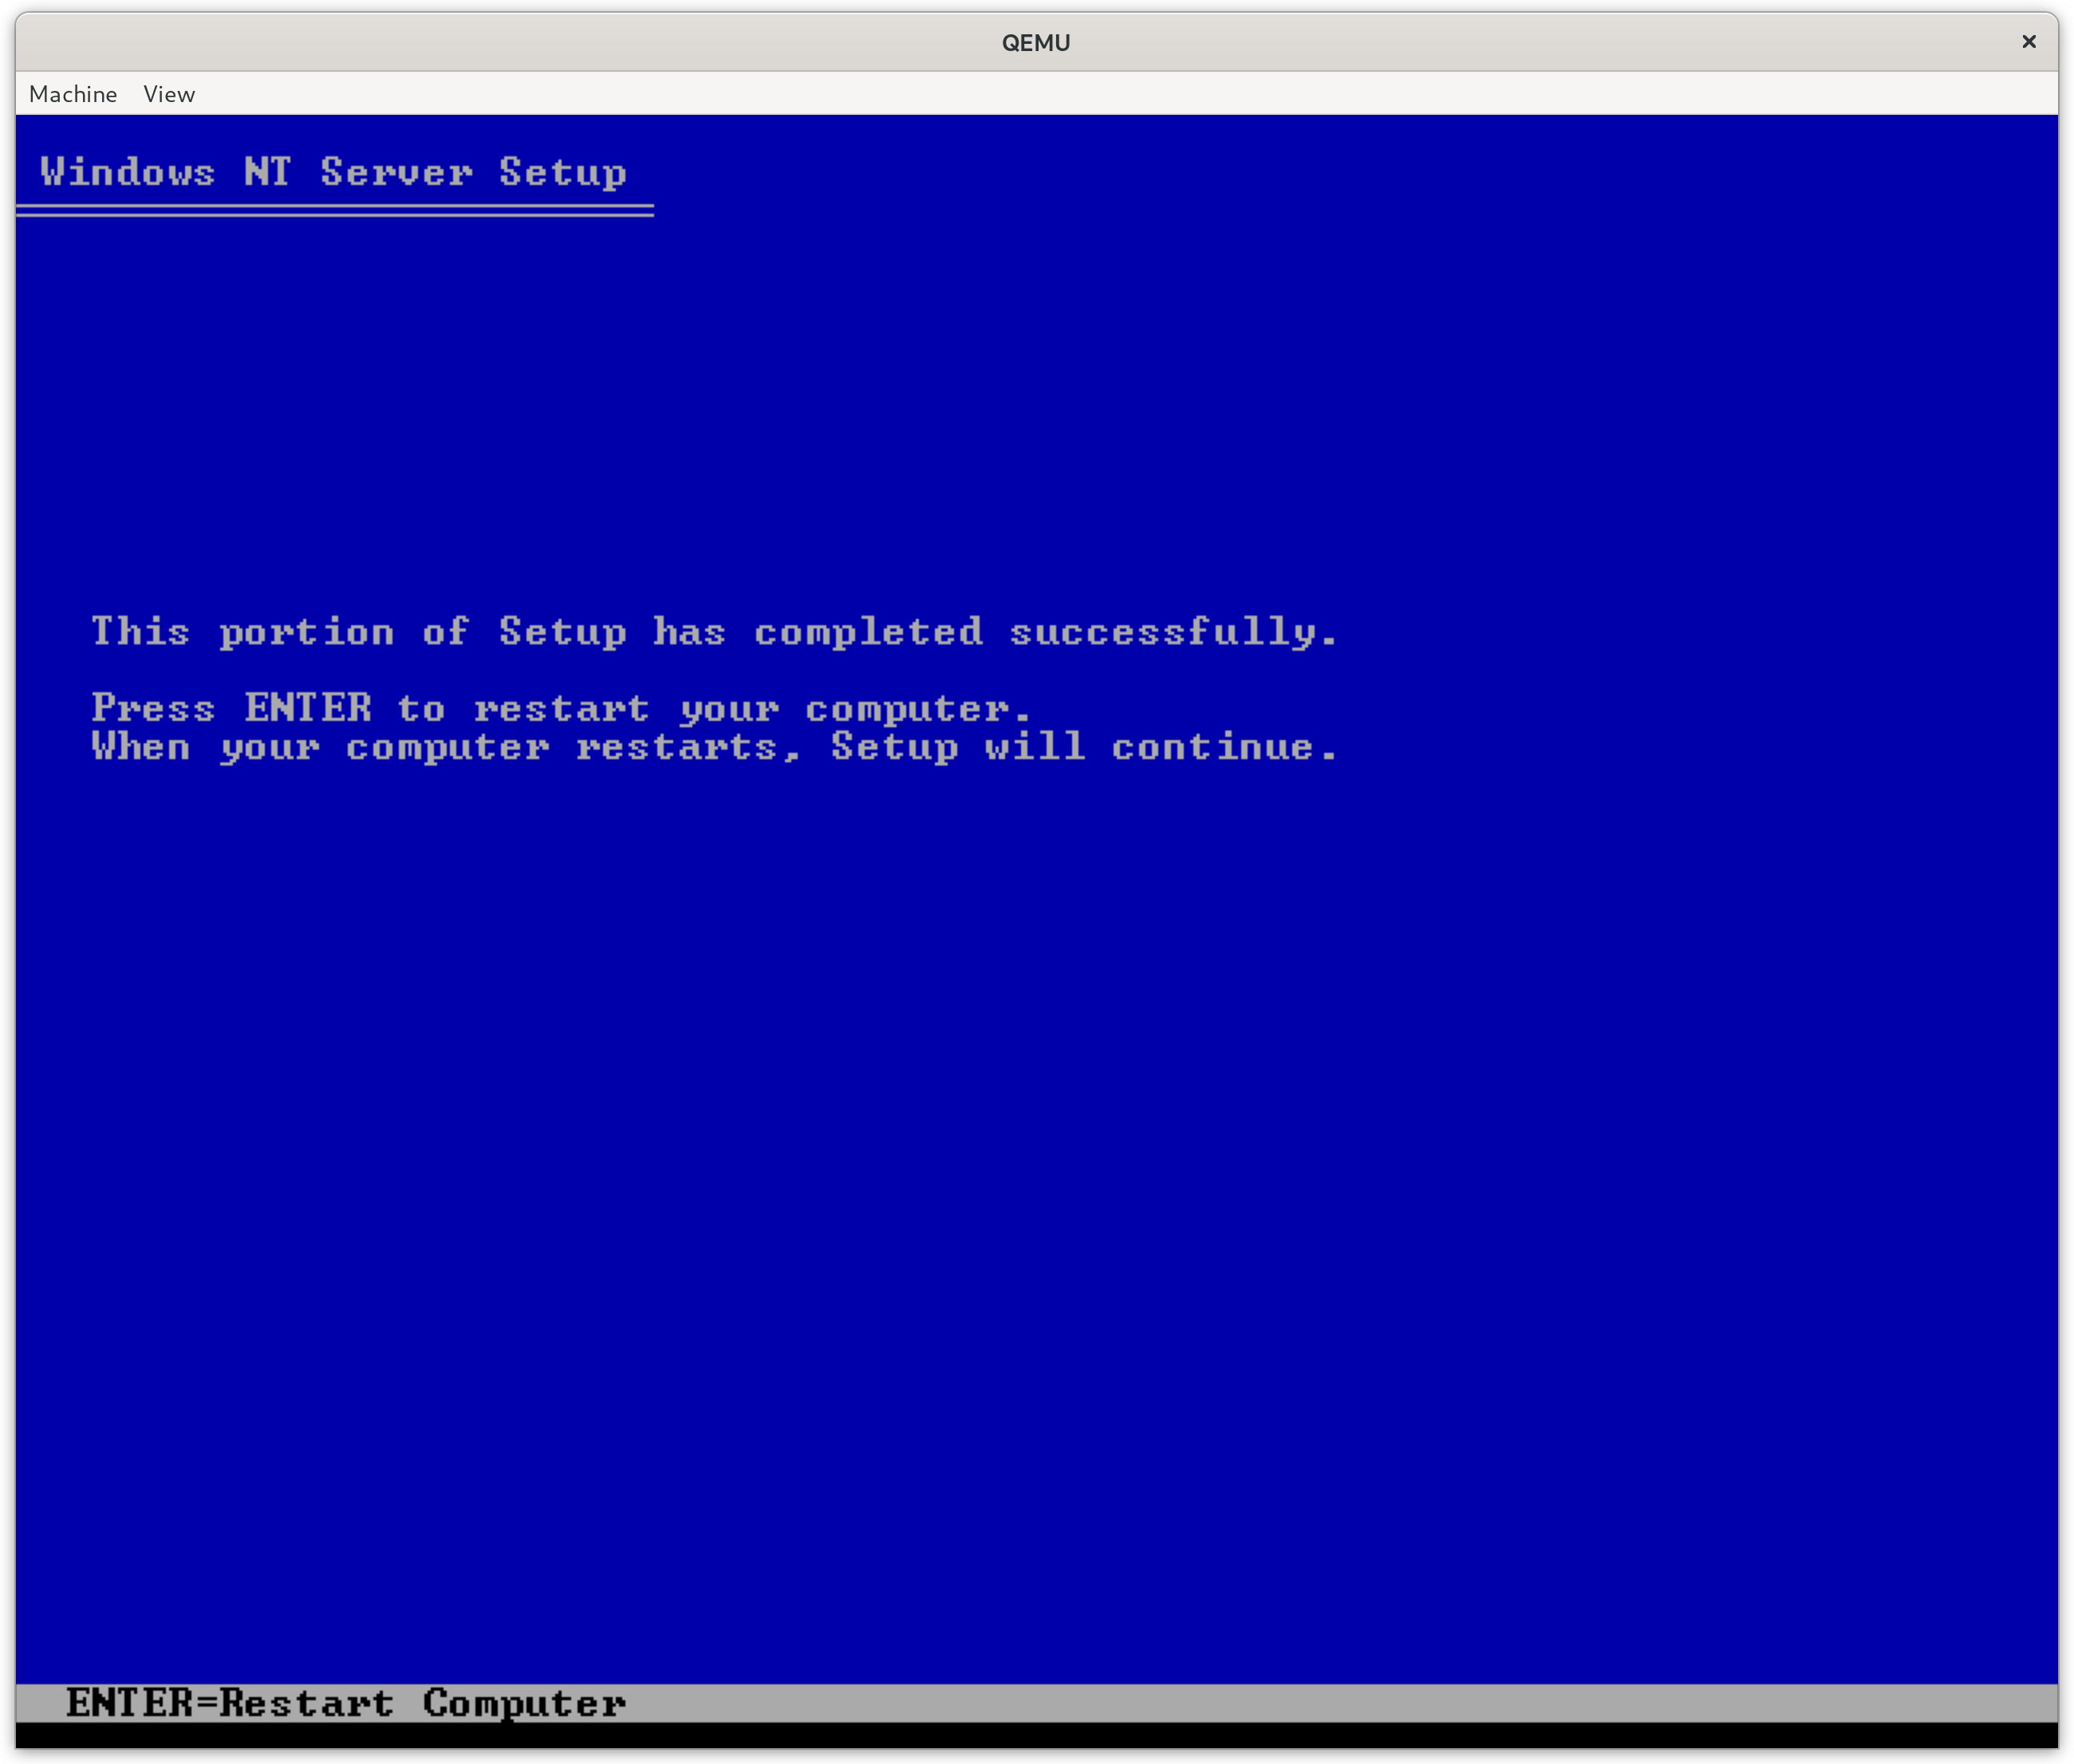
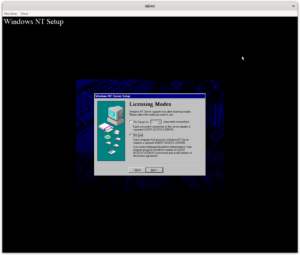
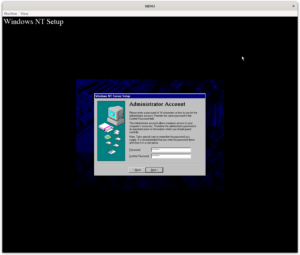
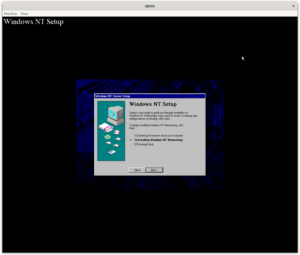
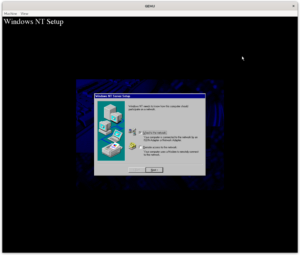
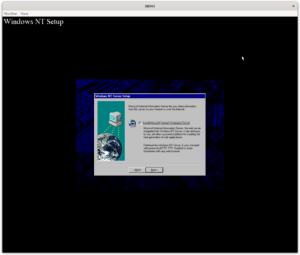
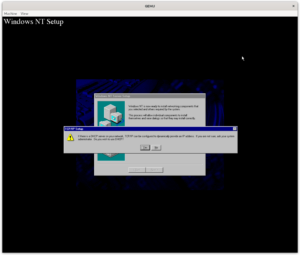
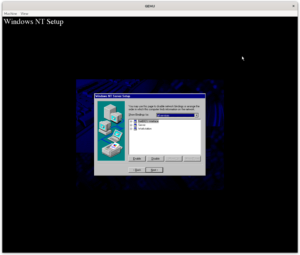
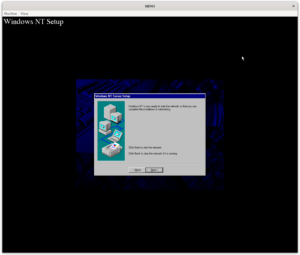
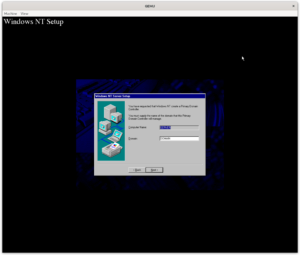
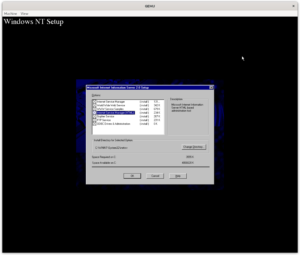
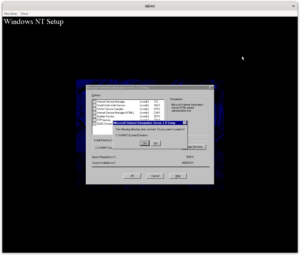
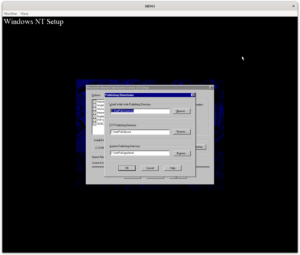
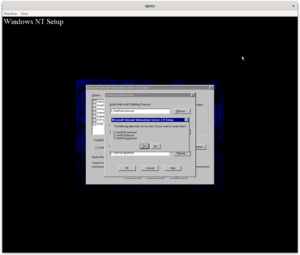
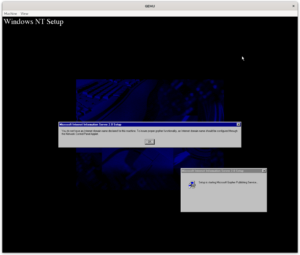
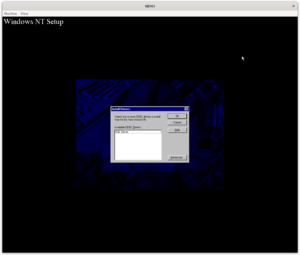
Step three: Installing Windows NT (stage 2)
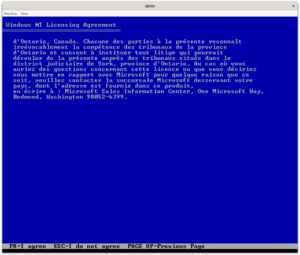
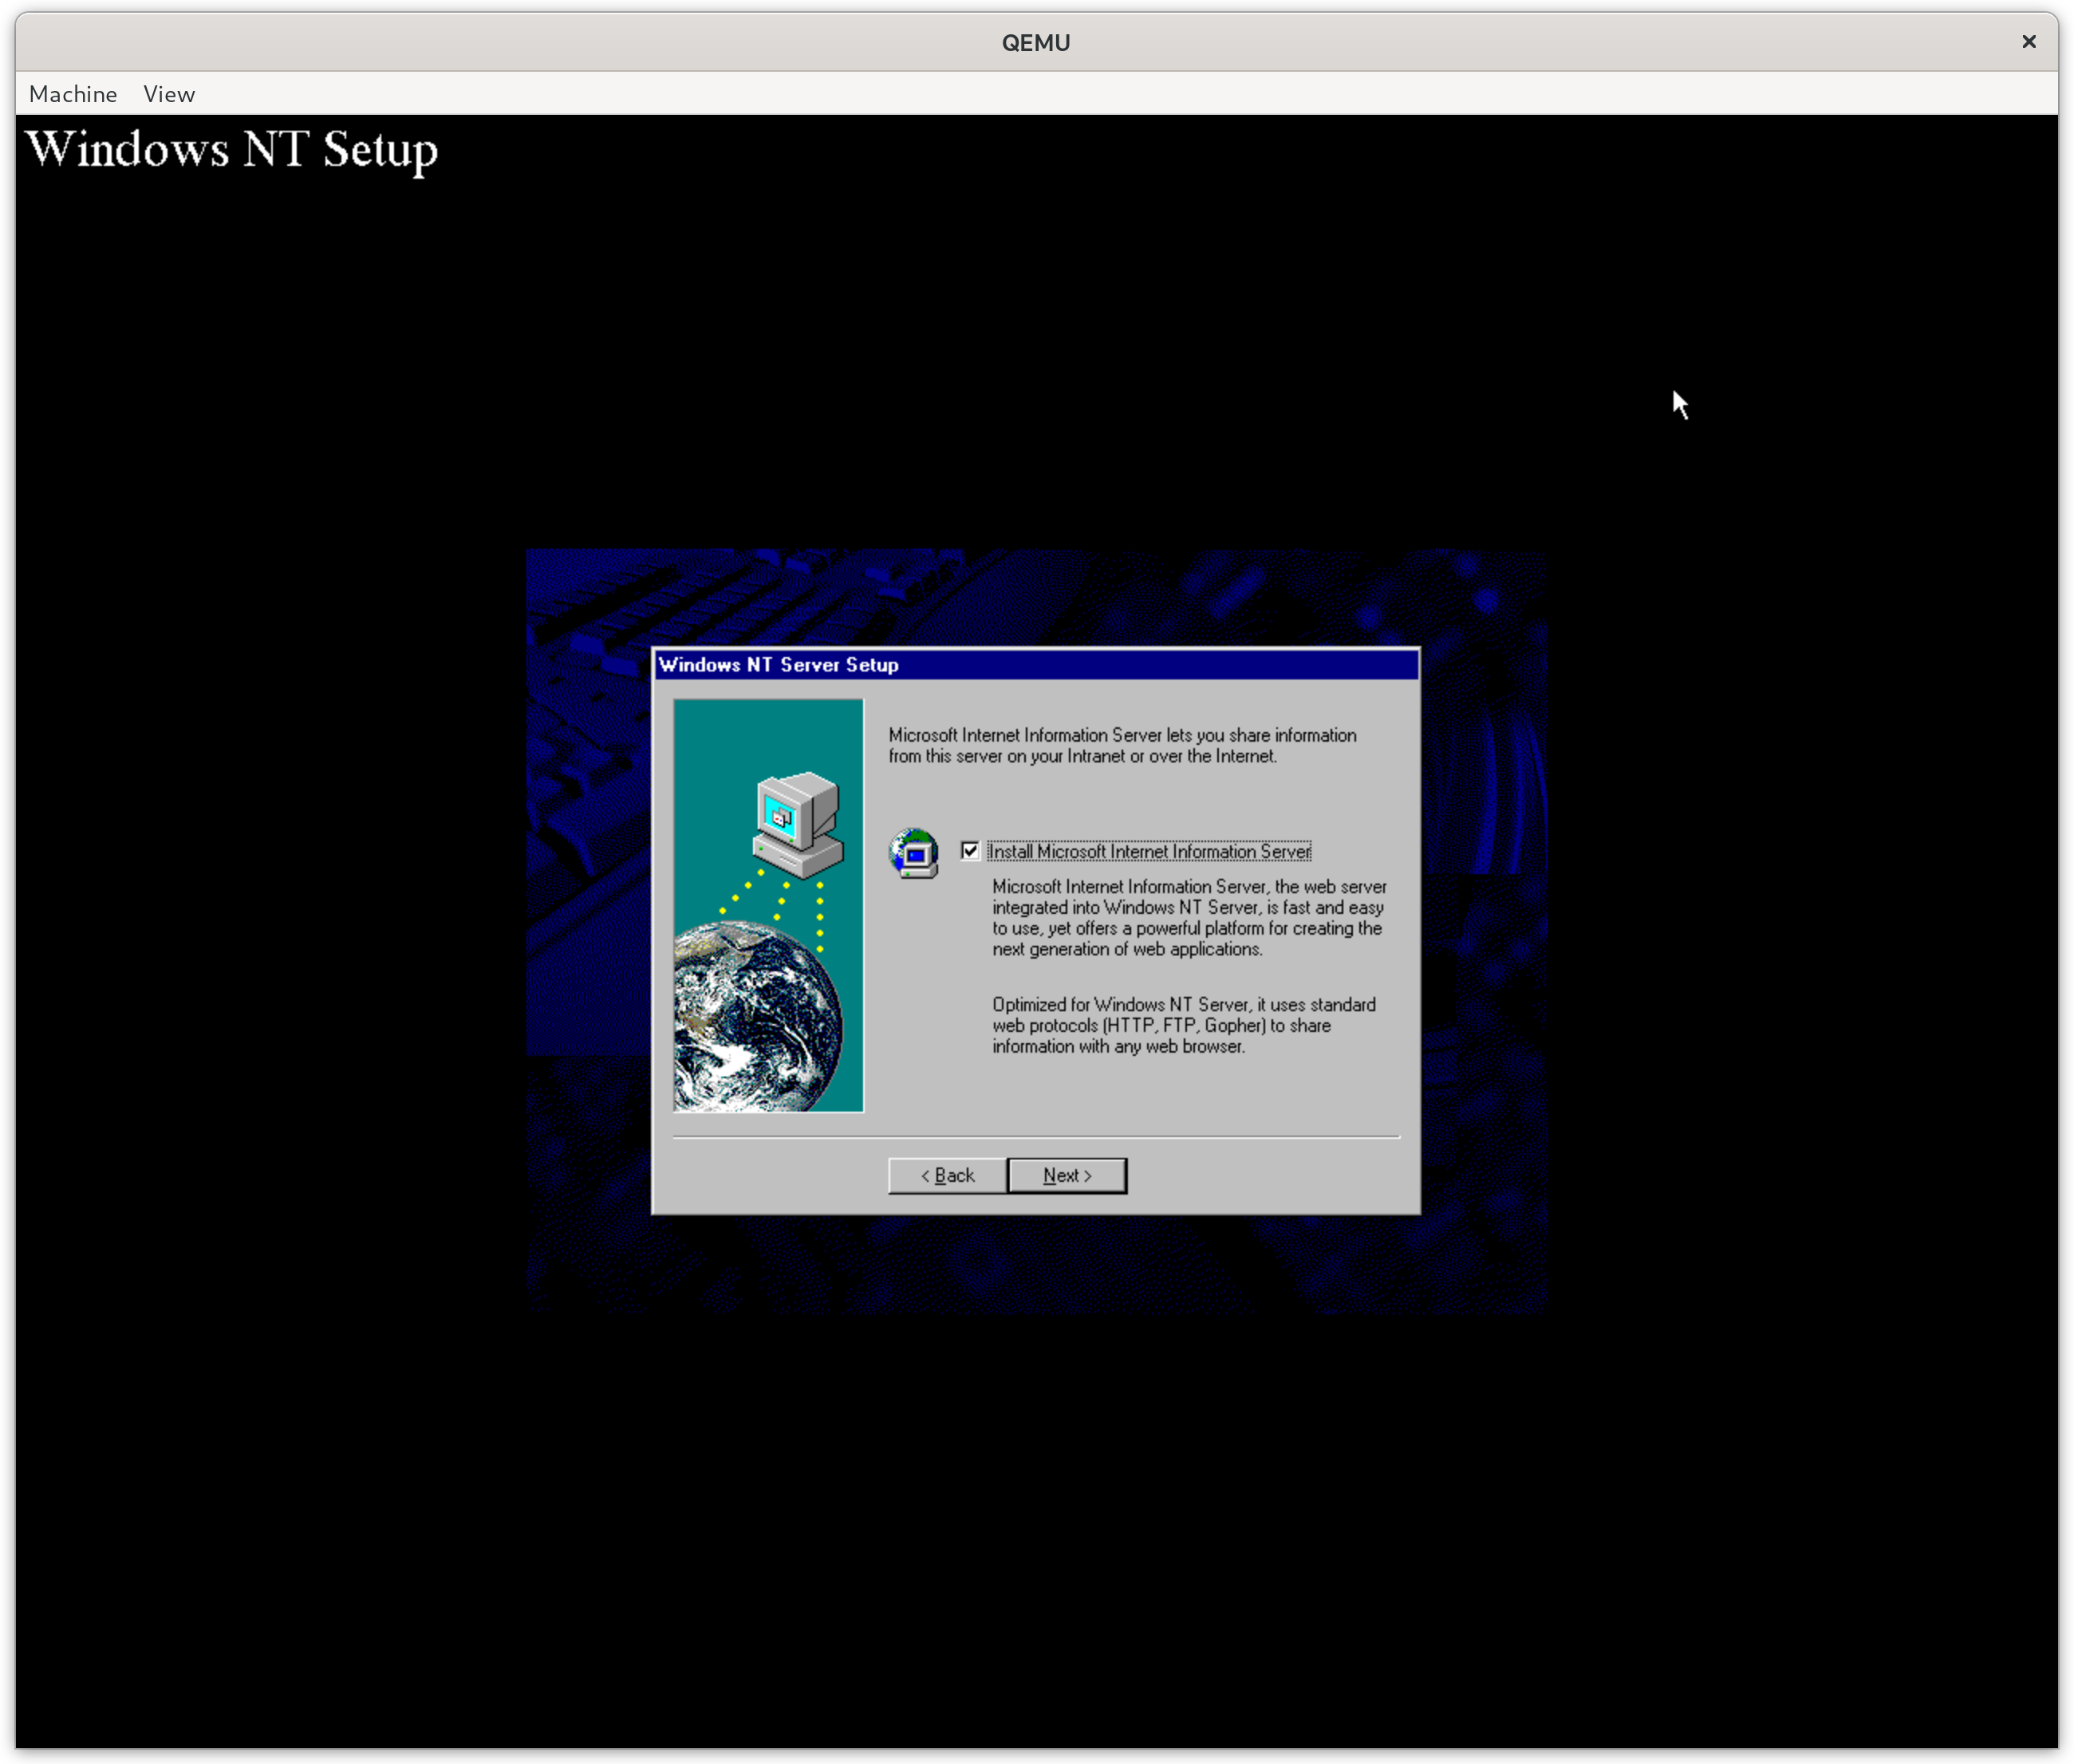
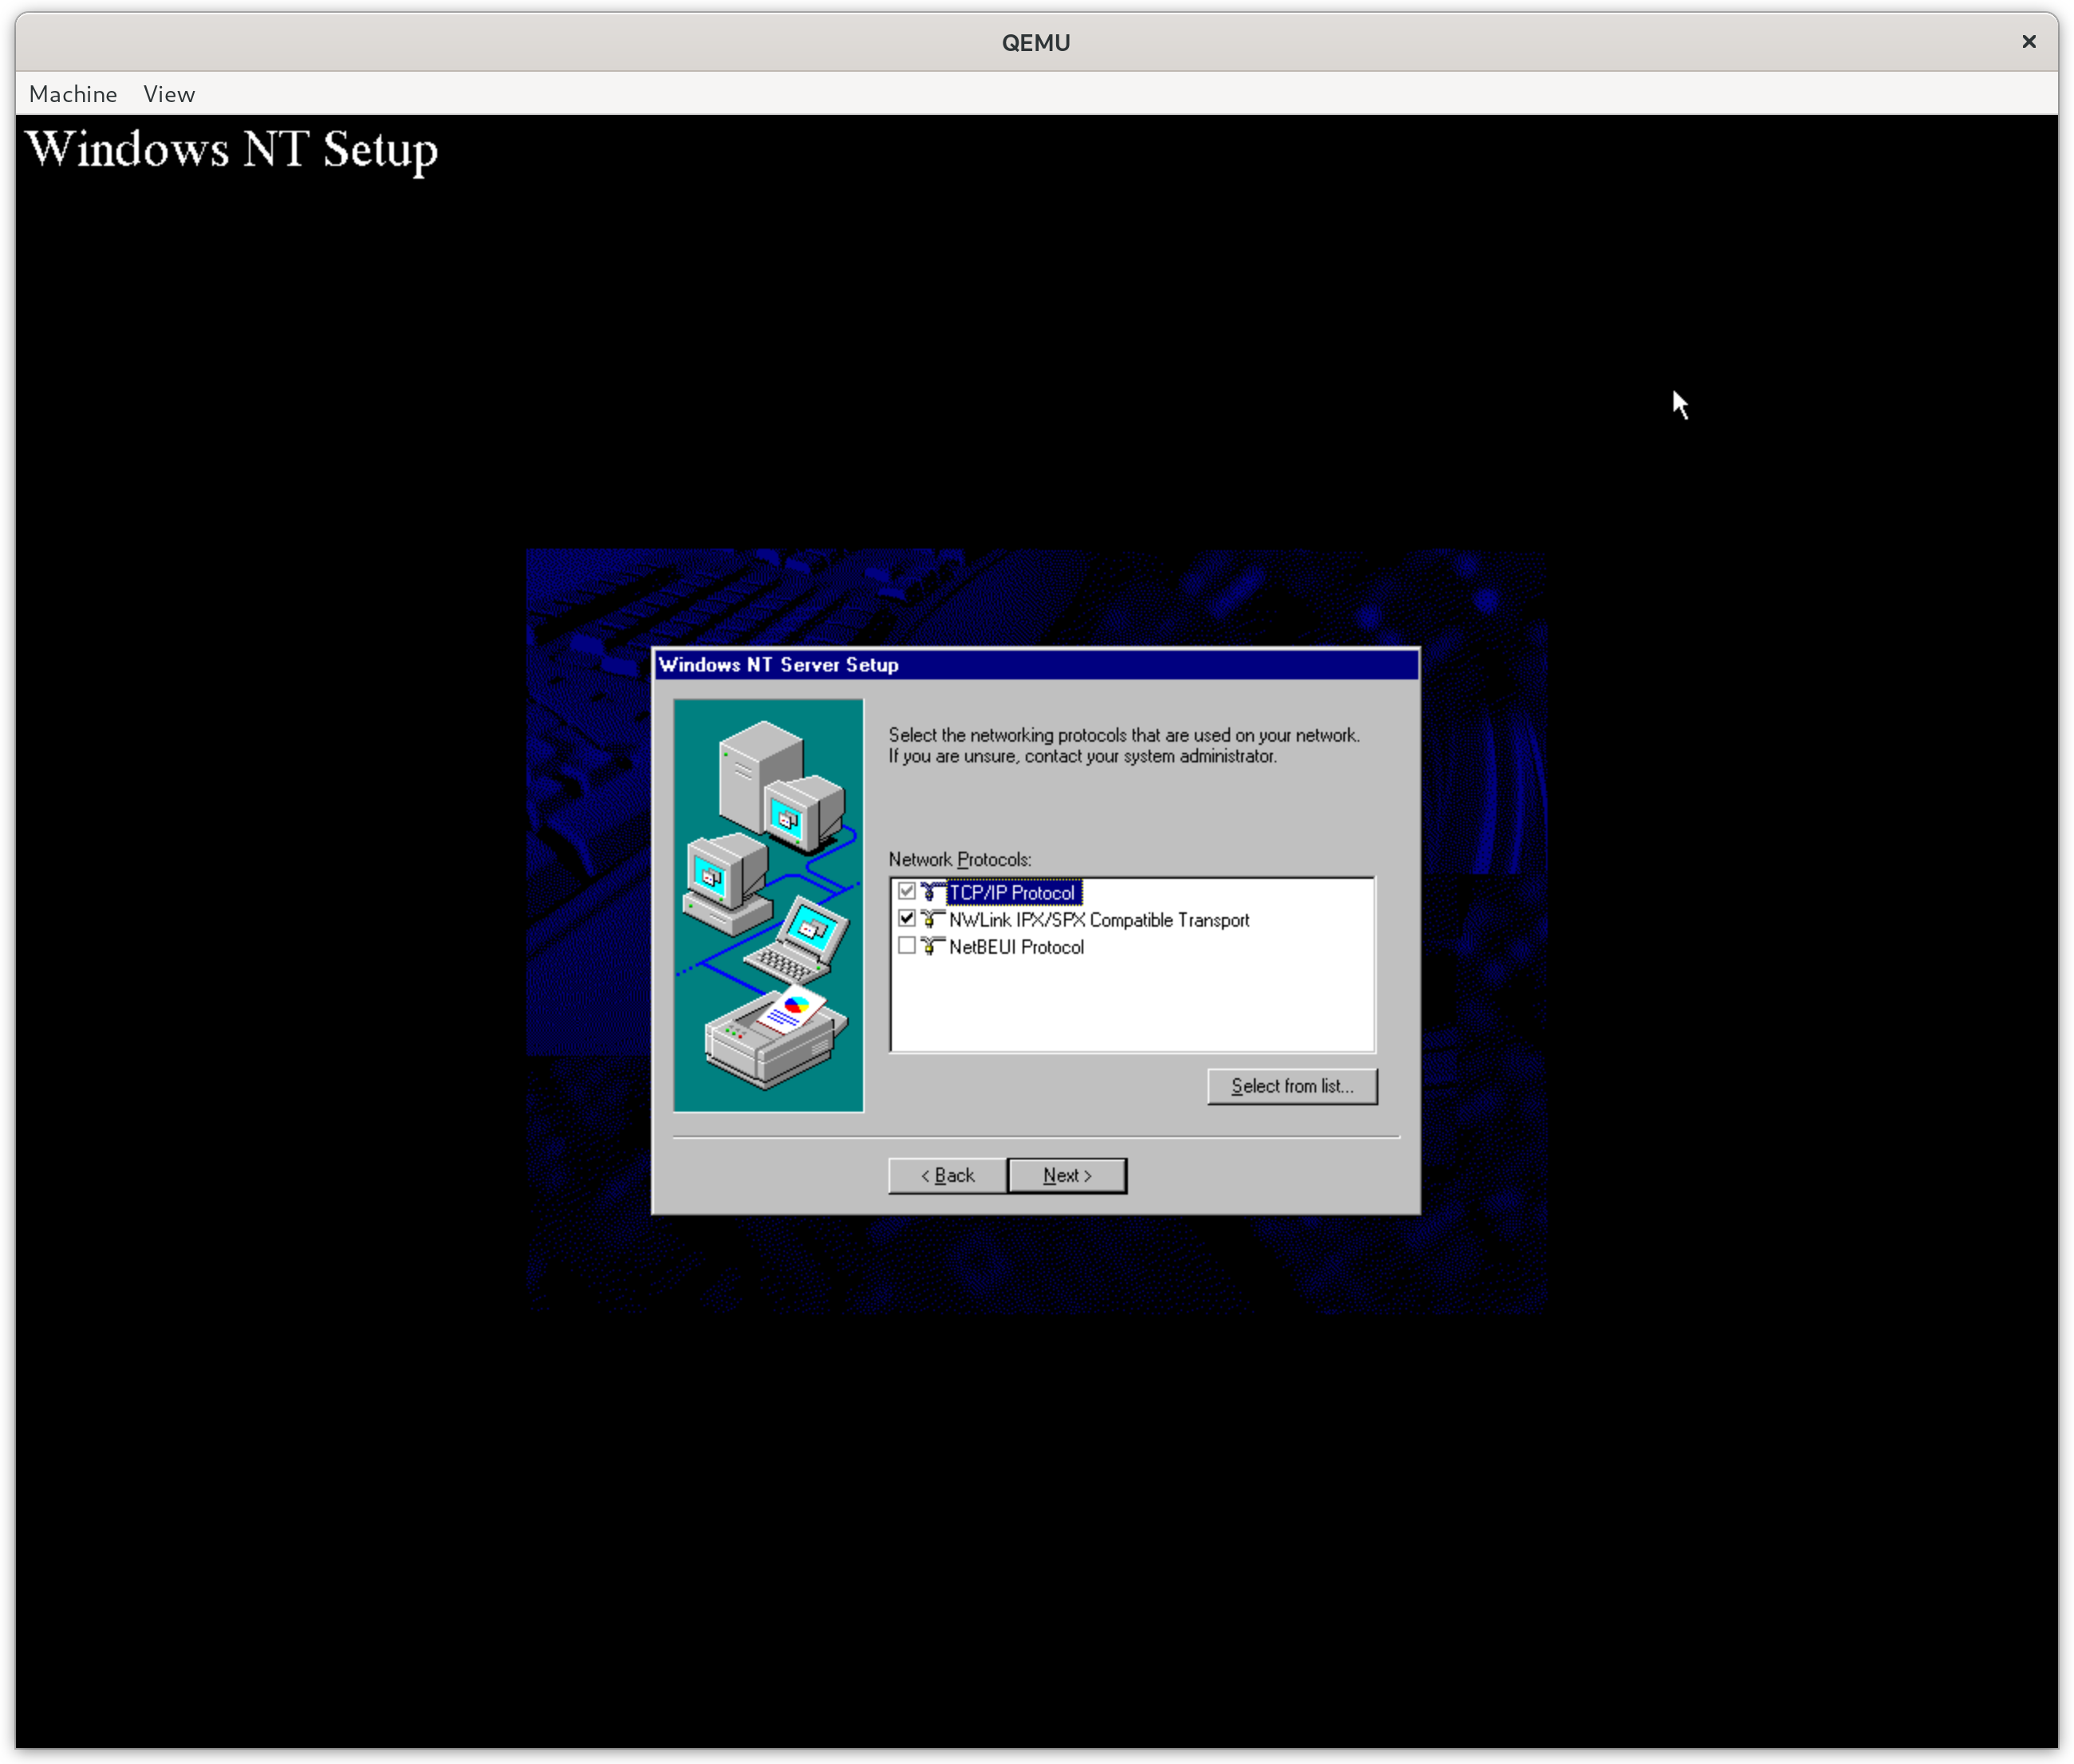
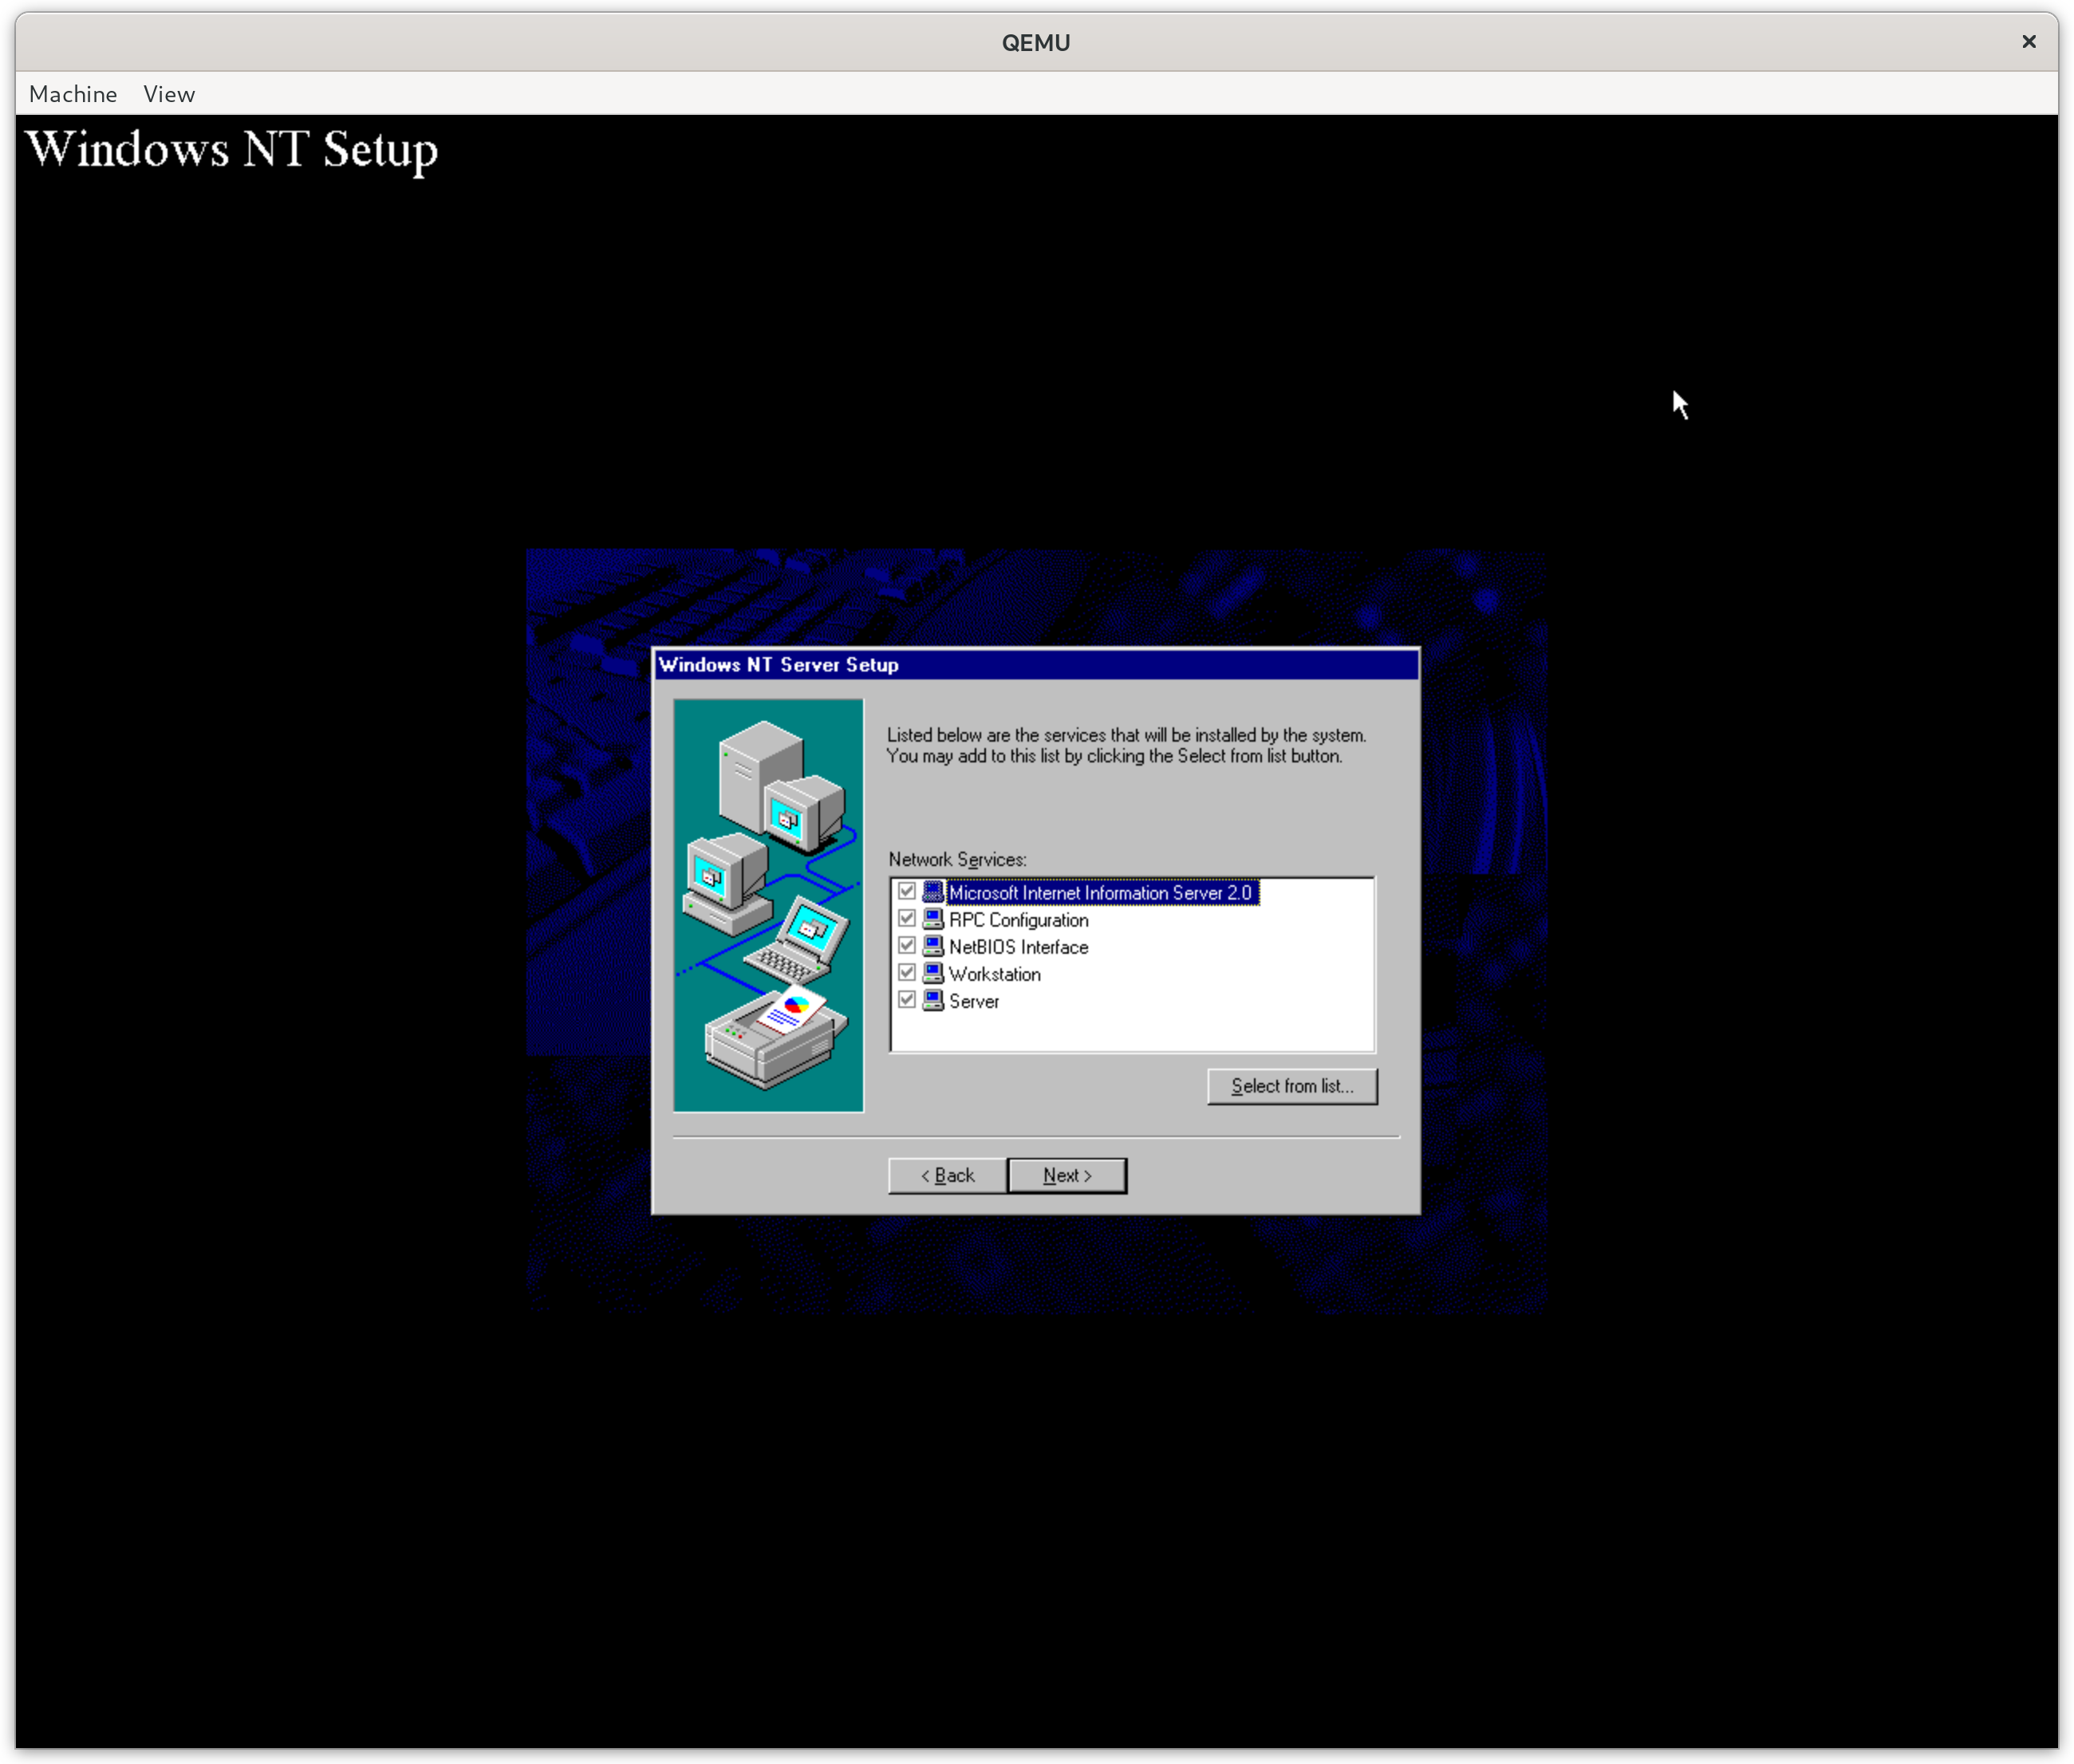
After the stage 1 setup and conversion of the C:\ drive a pretty normal Windows NT second stage install takes place. There’s not a lot to say about it, it looks identical to all Windows NT 4 installations I have done in the past. For completeness sake below you will find all of the steps and settings I used.
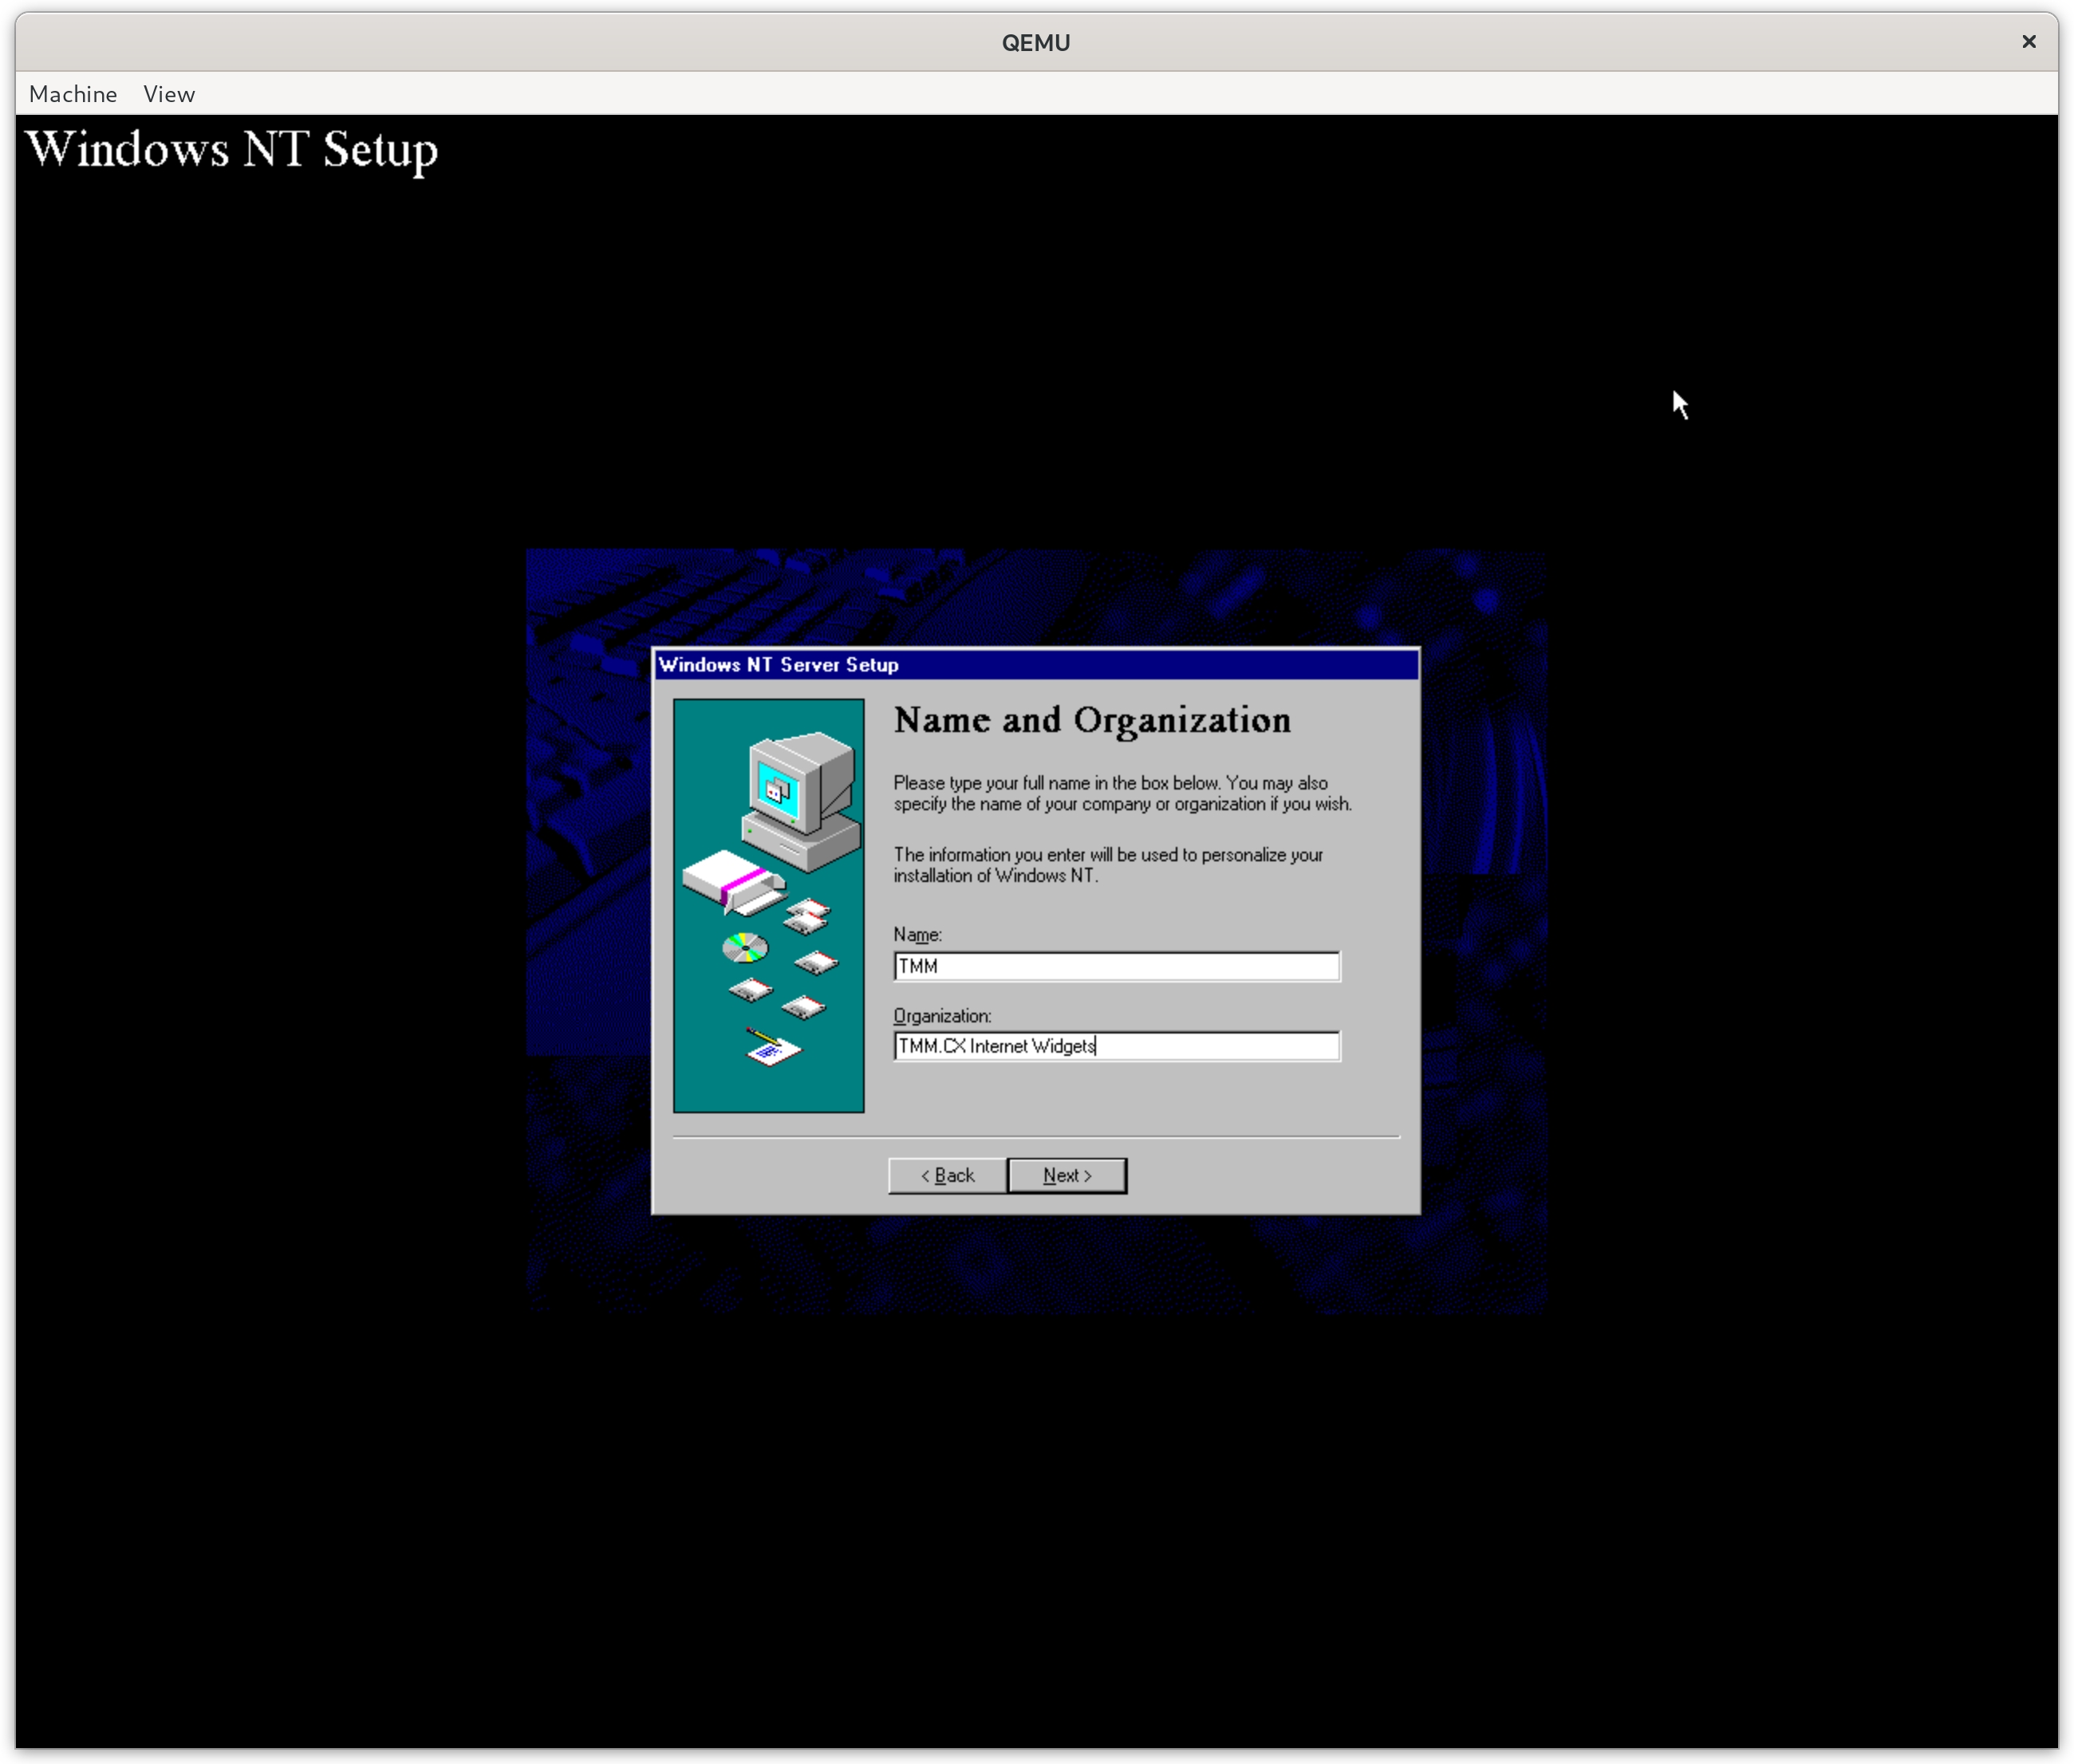


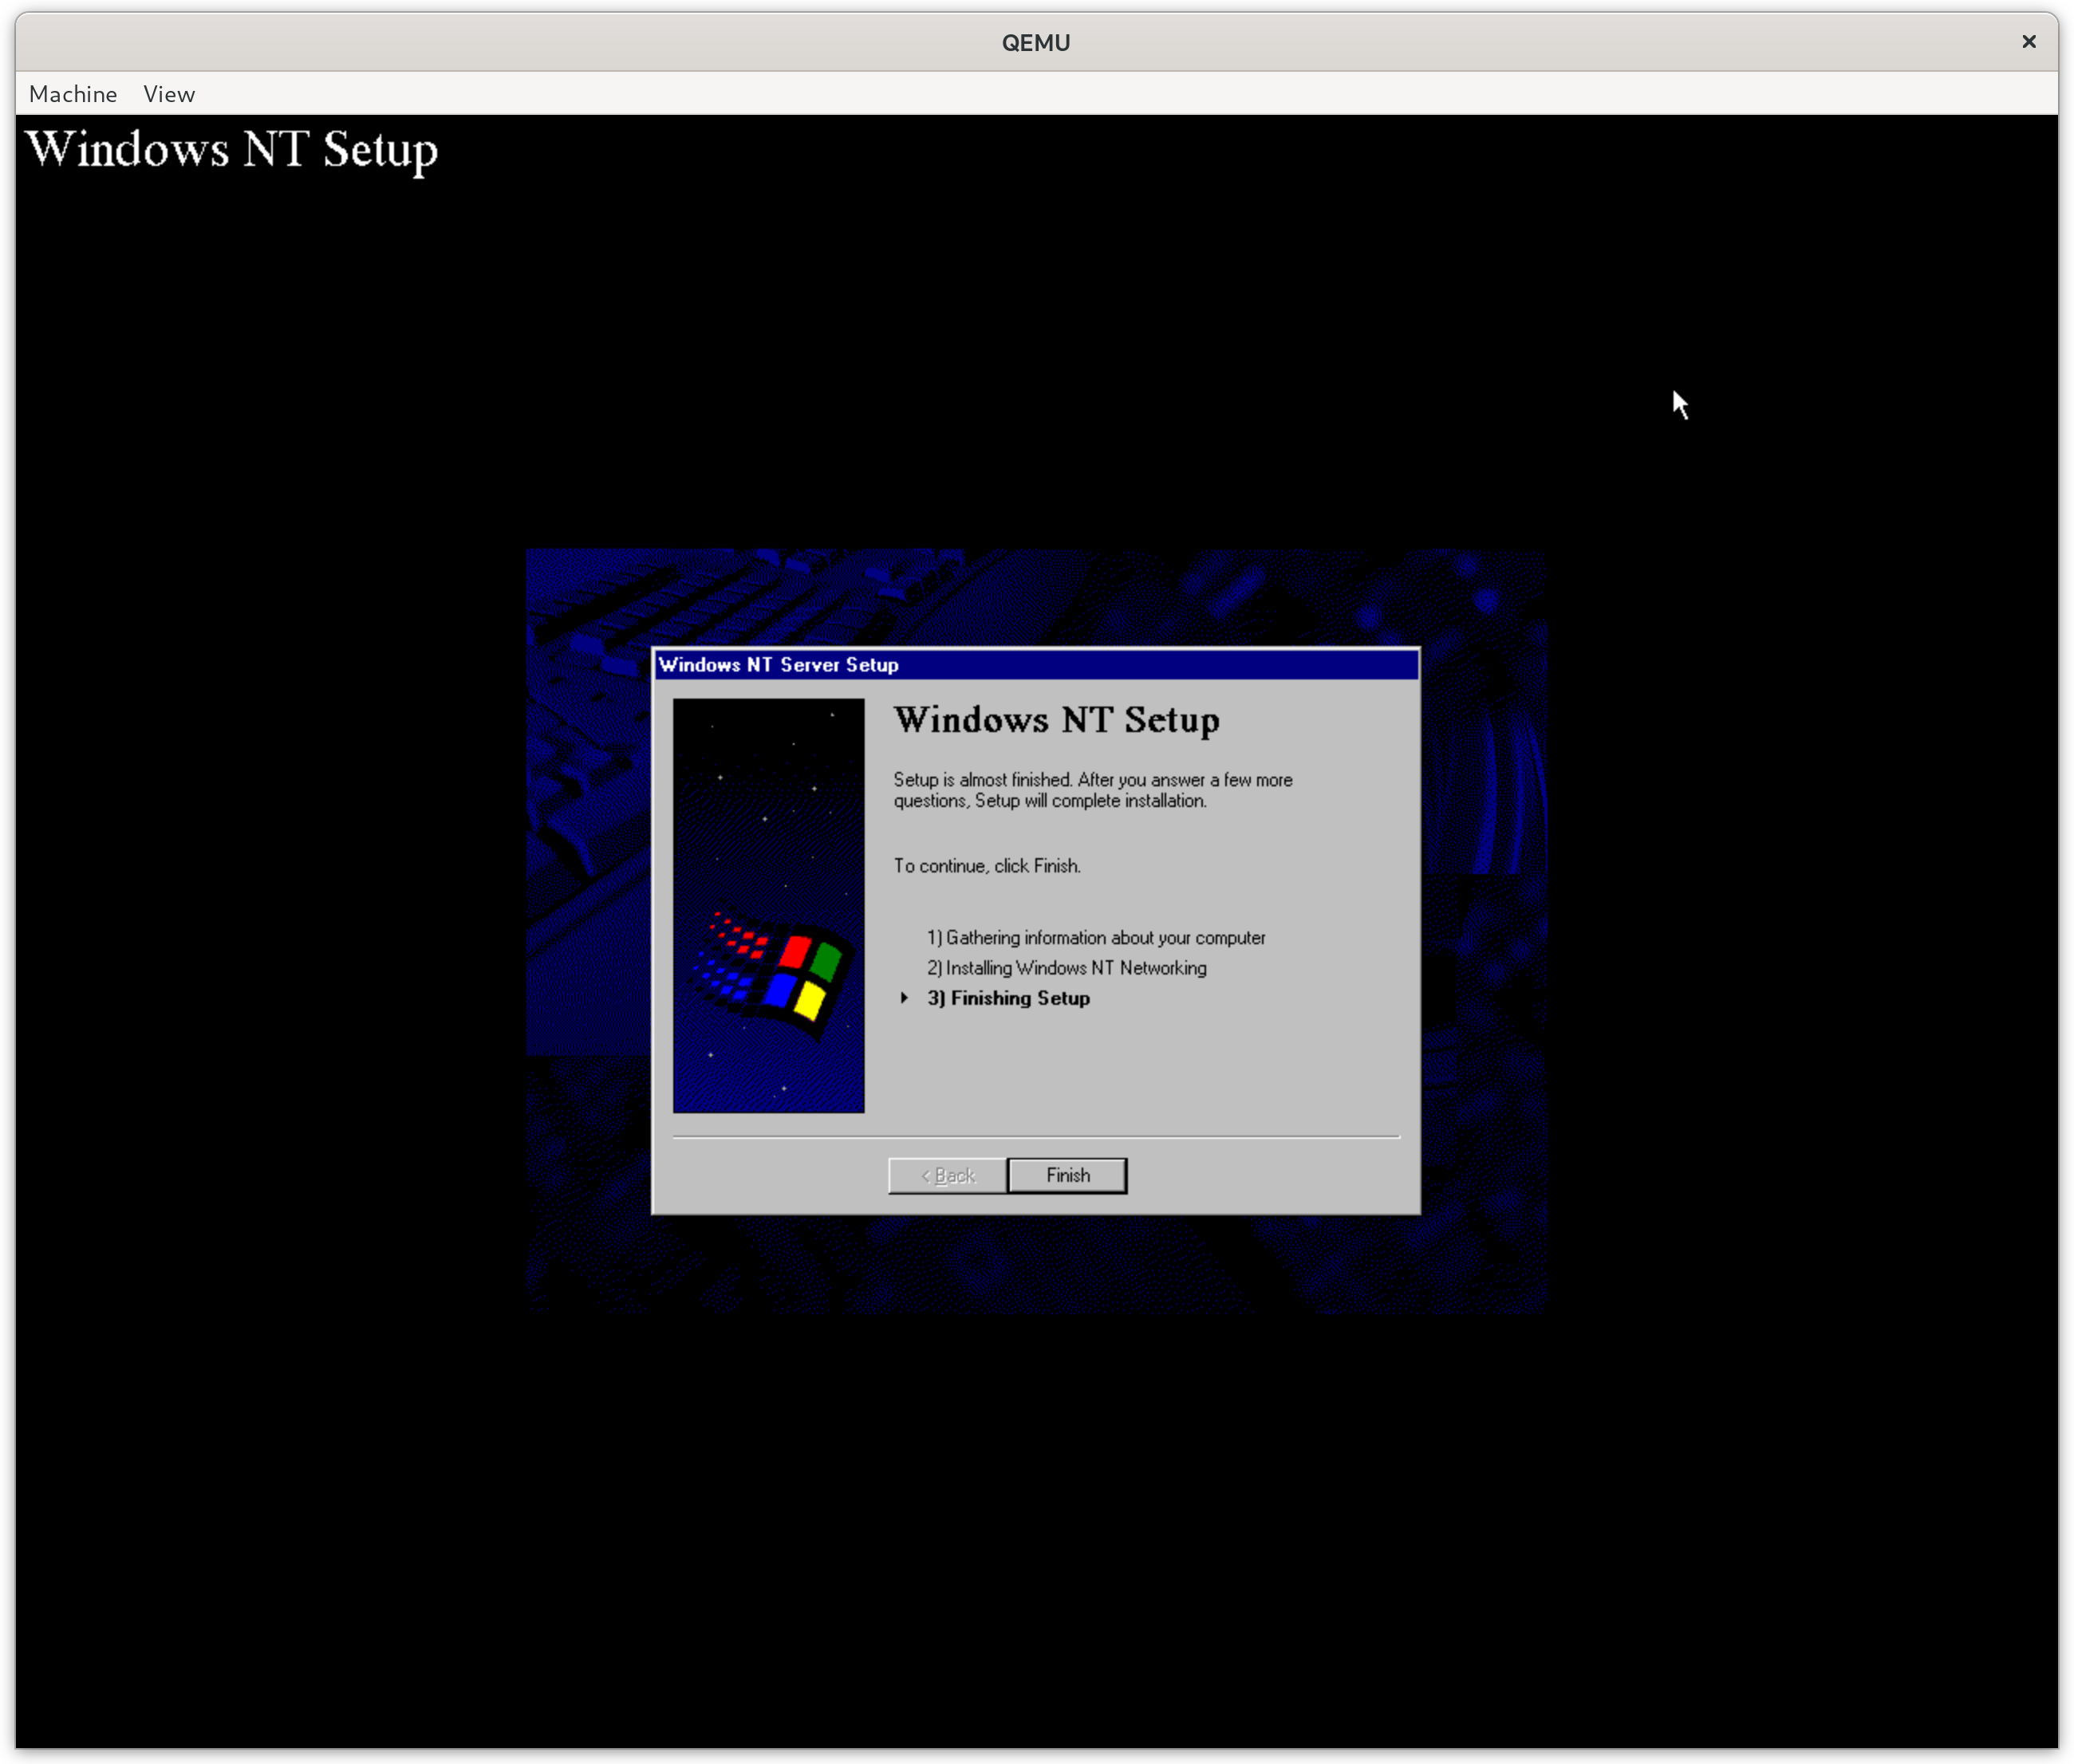


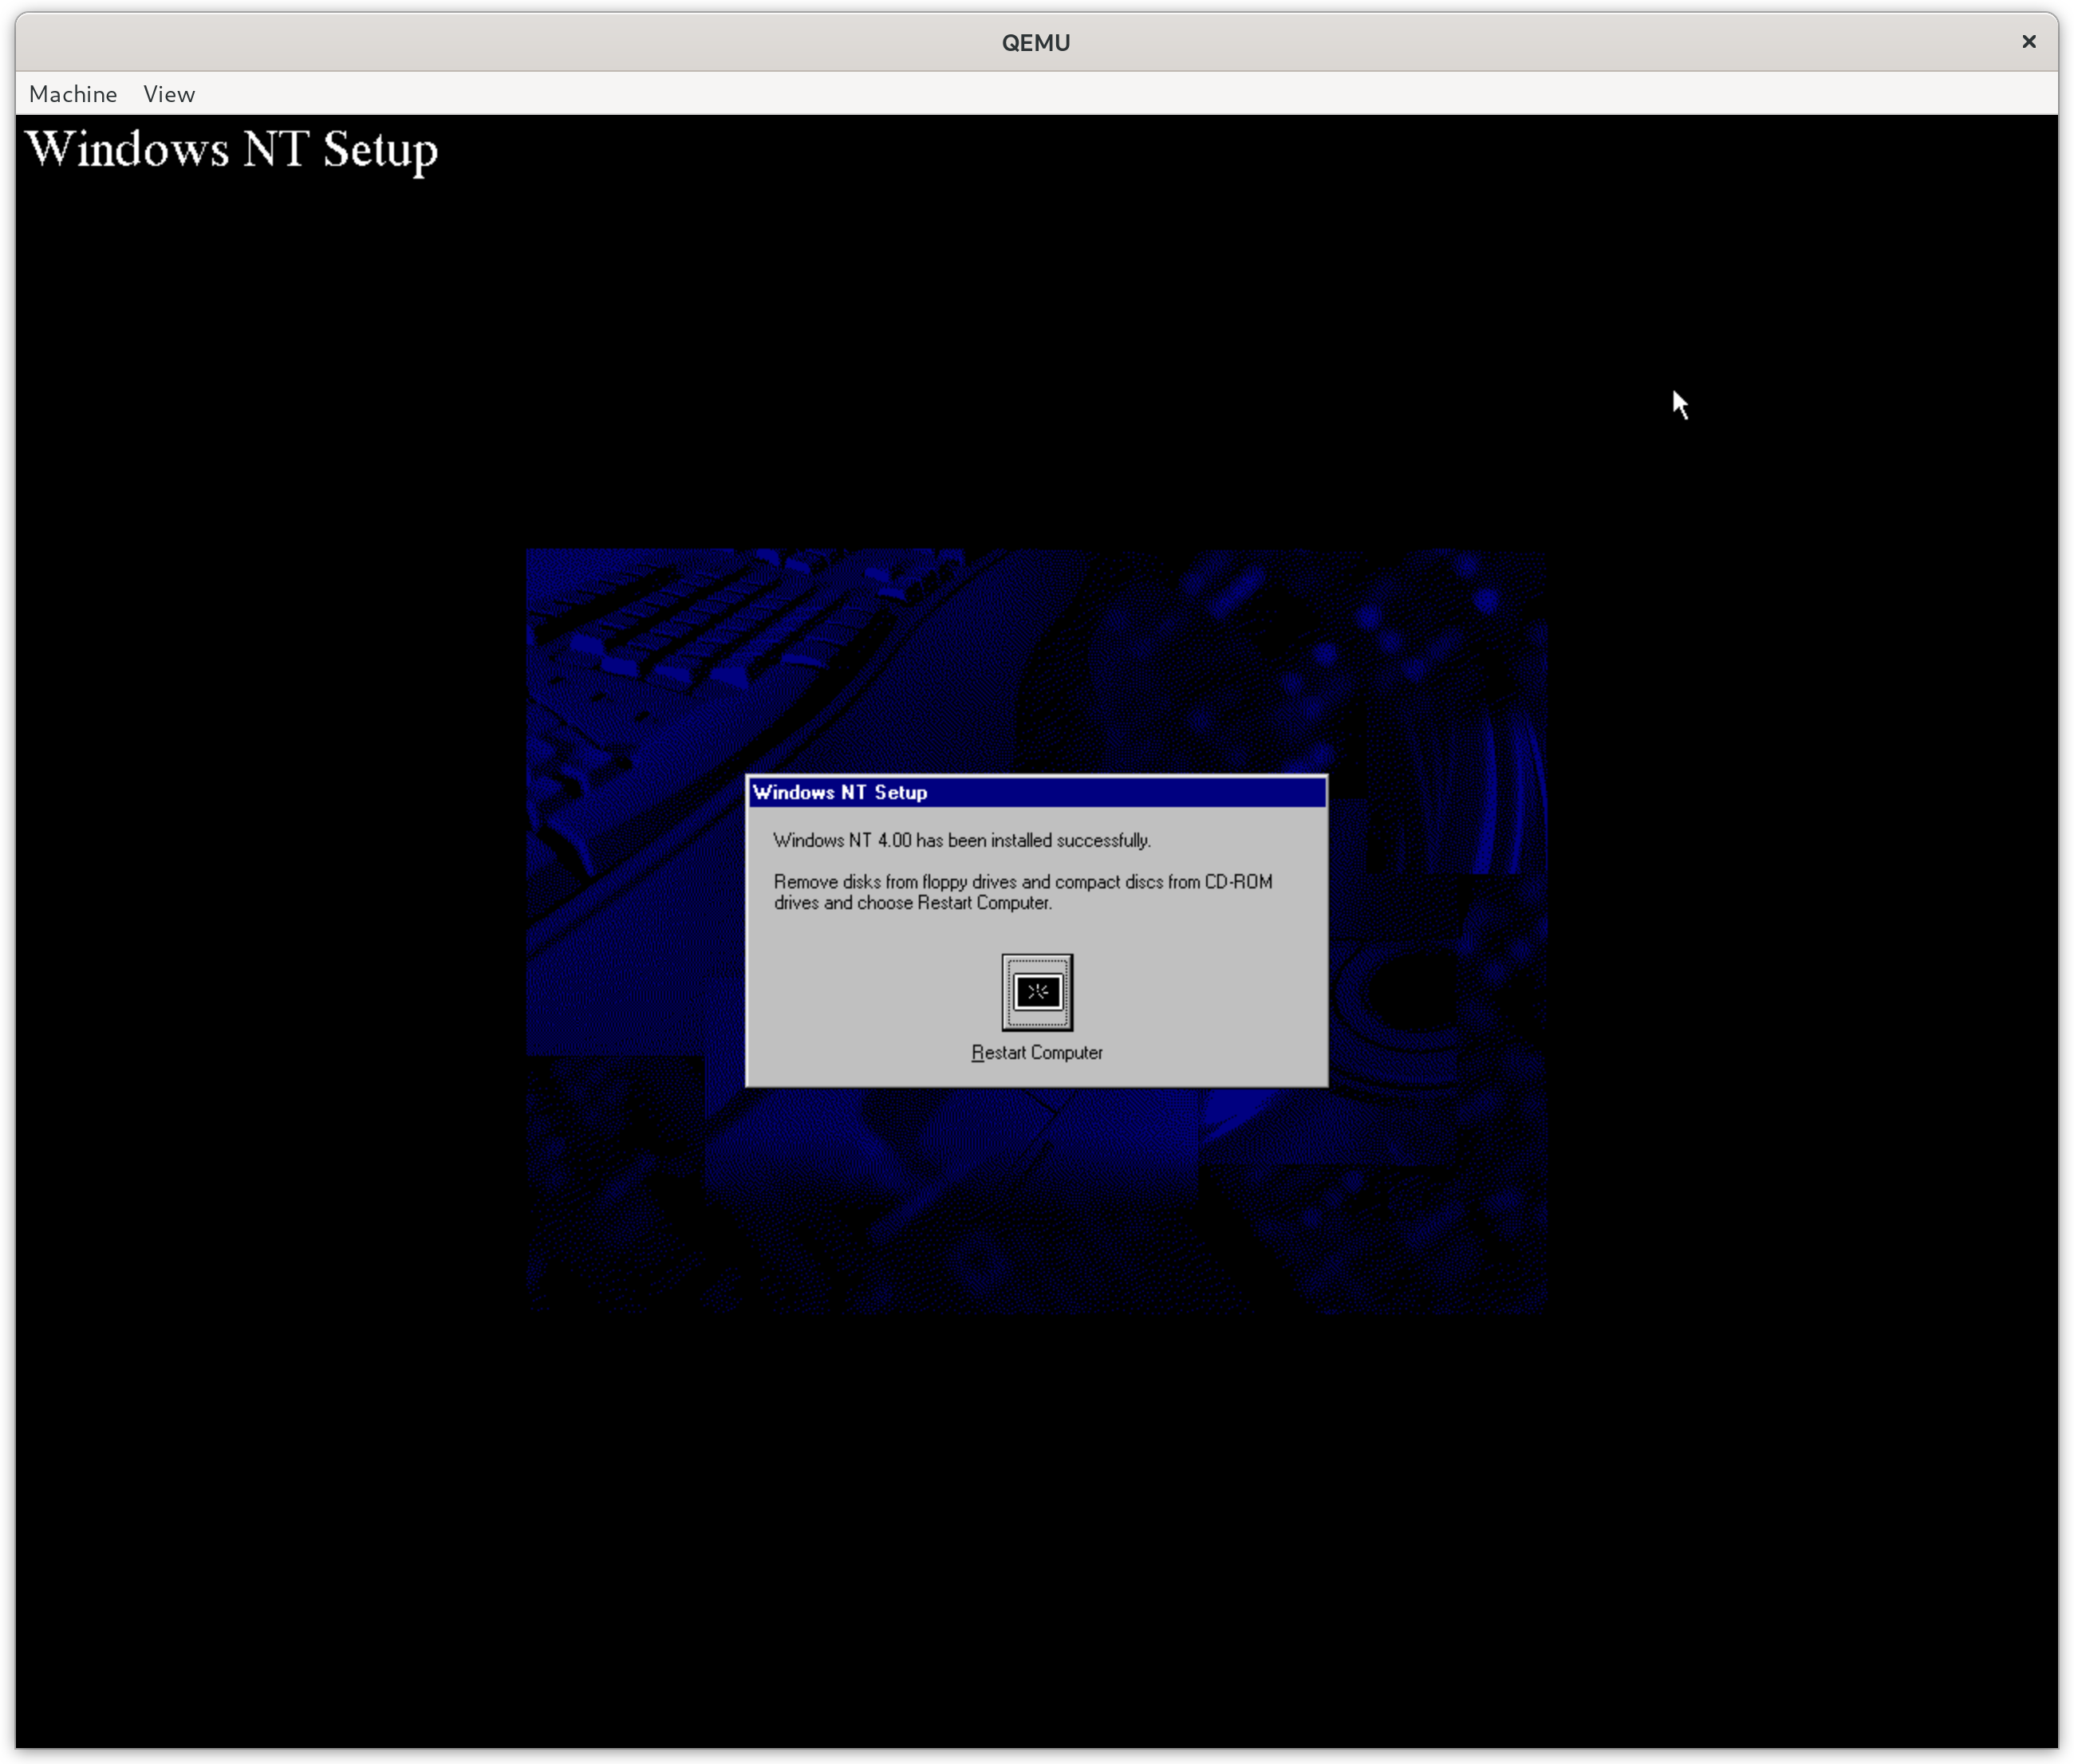


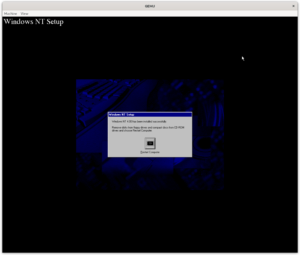
After this step you should have a working Windows NT4 on MIPS! The partition table has also been altered to be the way we want it to be. For what it is worth in 2022 it is now “production ready” 🙂
Conclusion
I had a lot of fun figuring out how ARC works and fighting with the partitioning/filesystem issues. I’m somewhat amazed at how “not strange” this whole setup is once it is completed. To a very large extent the feeling is very similar to installing GNU/Linux of a very strange system. Most of the strangeness lies in the installation procedure, once that is taken care of the system itself works like any other. Given that this is kind of the point of having operating systems at all I shouldn’t be that surprised!
I was somewhat surprised that the partitioning and system partition creation system didn’t really work as I expected. I can only imagine that at the time operators knew about this and did what I did above. Other options include: Windows NT on MIPS operators usually installed everything on one big FAT partition, or it was common to install Windows on the D:\ drive instead of the C:\ drive. I have no idea which of these three it is.
If anyone is interested in some explanation of how I modified the ARC firmware to work on older versions of Qemu send me a comment below, if you have any information on what the common installation practice on ARC based MIPS system was please also chime in. (You can sign in using existing credentials).
Acknowledgements
Figuring out how to put all of these pieces together was helped a lot by other blog posts and wikis. Specifically:
https://computernewb.com/wiki/How_to_install_Windows_NT_on_MIPS_in_QEMU
http://gunkies.org/wiki/Installing_Windows_NT_4.0_on_Qemu%28MIPS%29