When running a Linux desktop it sometimes becomes necessary to run a Windows system. When GPU acceleration is necessary, dual booting often becomes the solution. But dual booting is kind of cumbersome so it would be ideal if we could get GPU acceleration in a Windows 10 VM.
Intel has a solution for this – GVT-g. From the GVT-g project website:
Intel GVT-g is a full GPU virtualization solution with mediated pass-through (VFIO mediated device framework based), starting from 5th generation Intel Core(TM) processors with Intel Graphics processors. GVT-g supports both Xen and KVM (a.k.a XenGT & a.k.a KVMGT). A virtual GPU instance is maintained for each VM, with part of performance critical resources directly assigned. The capability of running native graphics driver inside a VM, without hypervisor intervention in performance critical paths, achieves a good balance among performance, feature, and sharing capability.
In this post I’ll be focusing on getting GVT-g working on KVM. My main system runs Fedora 32 but this guide should also work on recent versions of Ubuntu or other distributions with recent kernel and Qemu versions.
If you follow this tutorial to the end you should have a Windows 10 VM with GPU acceleration in a window on your Linux desktop, all without requiring a second GPU or disabling the GPU output of your Linux system. However, keep in mind that running a 3D load on Windows and Linux at the same time will still cause slowdowns though.
Steps to setup GVT-g
- Setup the host machine to support GVT-g
- Create the virtual GPU
- Install a Windows 10 VM with Virtio hardware
- Re-configure the Windows 10 VM to use the virtualized GPU
Getting started
First we will need to download several things to make this process go smoothly.
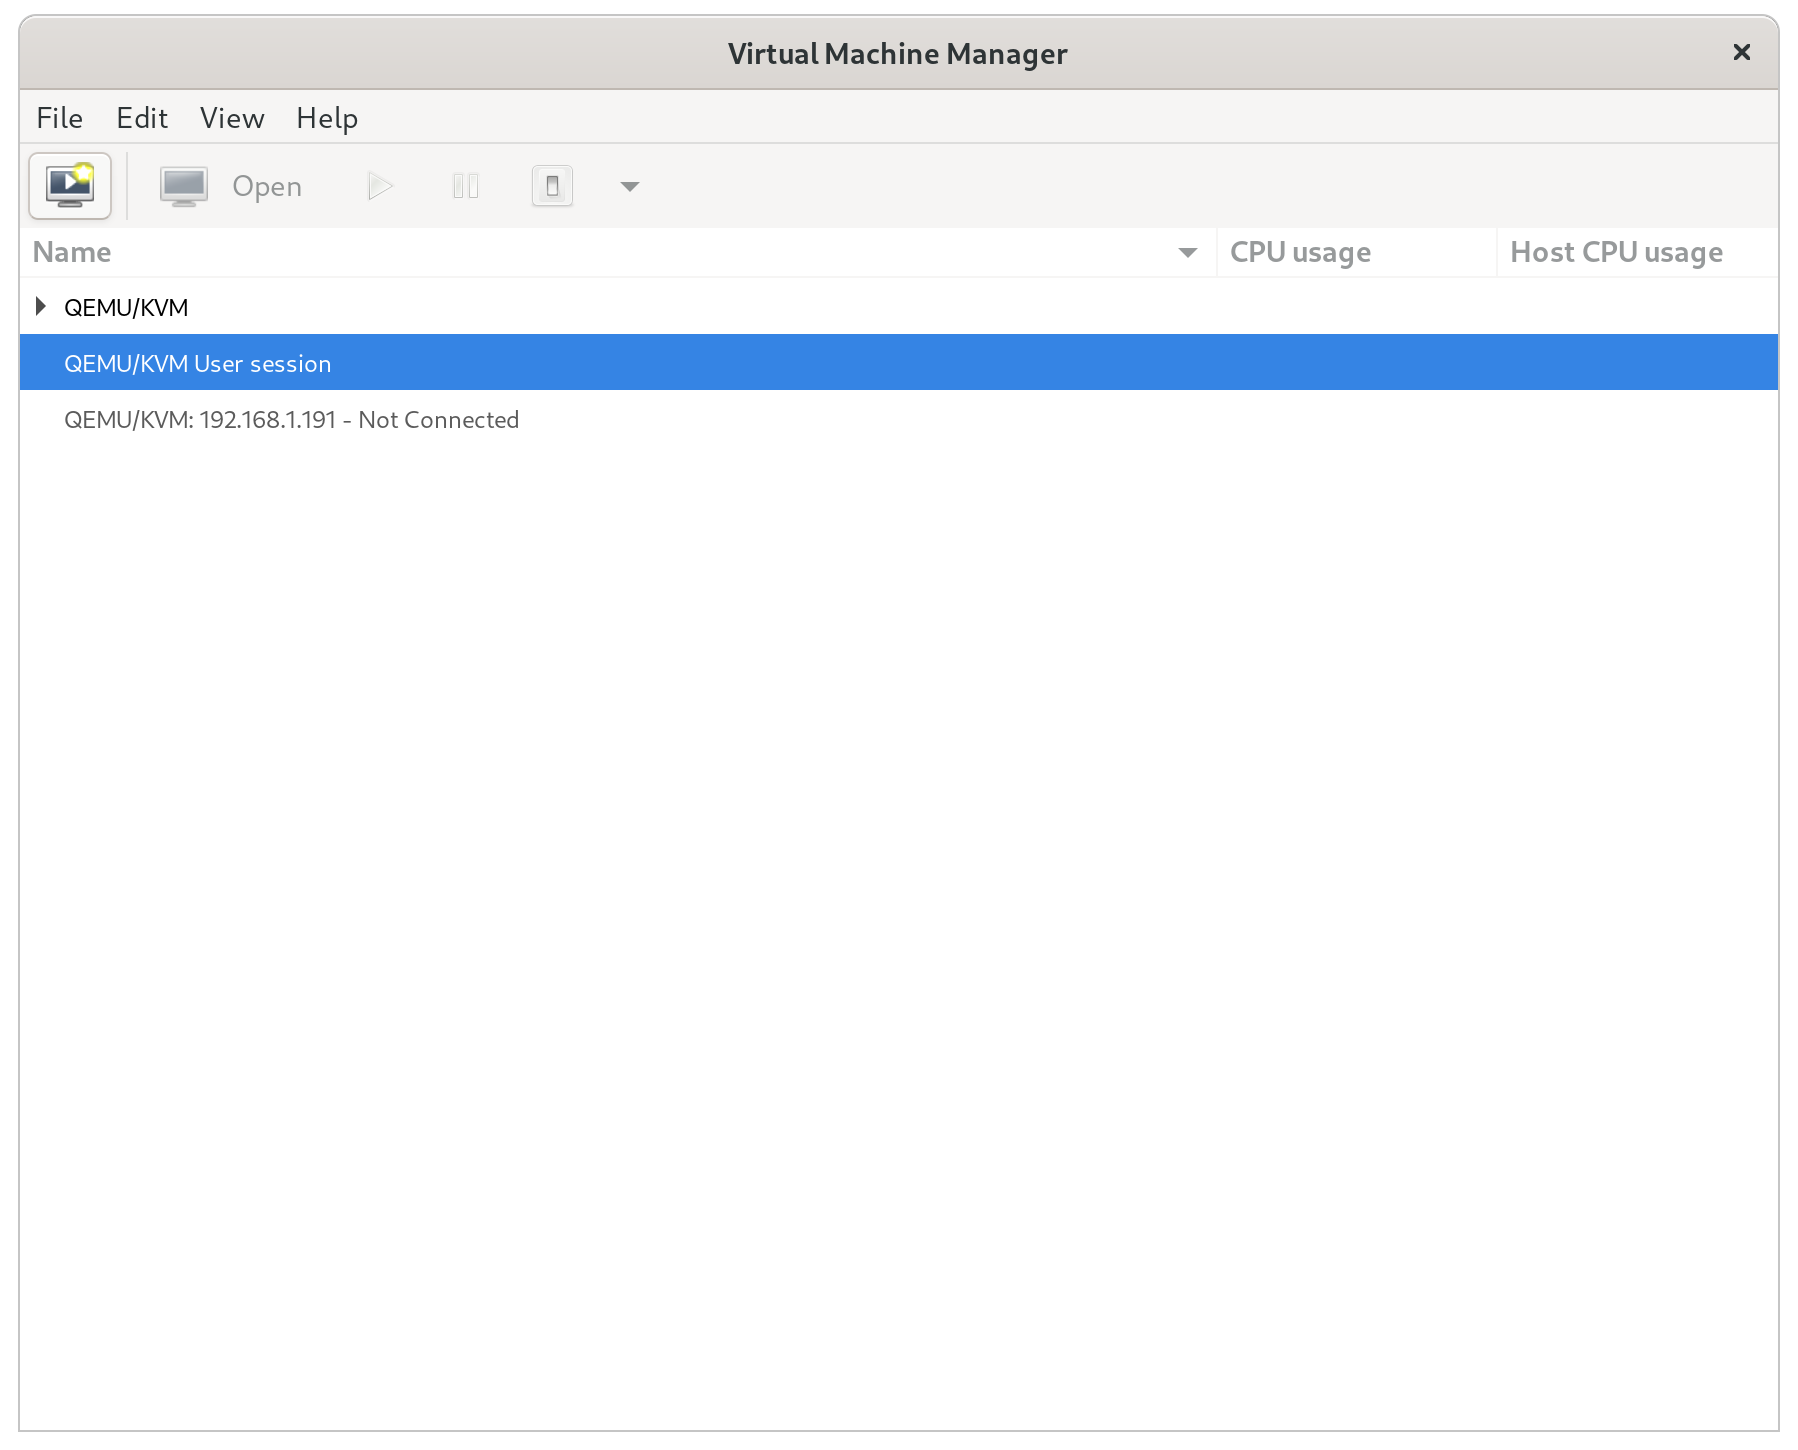
We will also need to make sure that we have virt-manager and virsh installed on your host Linux system:
On Fedora: dnf install virt-manager libvirt-client
On Ubunut: apt-get install libvirt-bin virt-manager libvirt-clients gir1.2-spiceclientgtk-3.0
After the installation we need to ensure that libvirt and qemu are new enough on your system.
$ libvirtd -V
libvirtd (libvirt) 6.1.0
Libvirt should output at a minimum version 4.6.0. If the version reported here is older than that this tutorial will not work.
$ qemu-system-x86_64 --version
QEMU emulator version 4.2.0 (qemu-4.2.0-7.fc32)
Copyright (c) 2003-2019 Fabrice Bellard and the QEMU Project developers
Qemu should output at minimum version 4.0.0. If the version reported here is older than that this tutorial will not work.
It may also be a good idea to add your own user to the libvirt and kvm groups:sudo usermod $(id -un) -a -G kvm,libvirt
This isn’t strictly necessary but it makes using virt-manager easier. Without doing this you will have to type your password every time you want to start a VM.
Configuring the host to support GVT-g
In order to support GVT-g we need to add a parameter to the boot loader, add several modules to be automatically loaded at boot, and create a simple systemd-unit to automatically create the virtualized GPU at boot. We will also need to reboot the system; while you could reboot the system after each step, when following this guide only one reboot should be necessary.
Configuring the bootloader
Open /etc/default/grub using your favorite text editor and find the line that starts with GRUB_CMDLINE_LINUX and add i915.enable_gvt=1 i915.enable_fbc=0 at the end of the line. On my system the file looks like this after the edit:
GRUB_TIMEOUT=5
GRUB_DISTRIBUTOR="$(sed 's, release .*$,,g' /etc/system-release)"
GRUB_DEFAULT=saved
GRUB_DISABLE_SUBMENU=true
GRUB_TERMINAL_OUTPUT="gfxterm"
GRUB_CMDLINE_LINUX="resume=/dev/mapper/vg_isla-swap rd.luks.uuid=luks-123568b4-82fb-4cb0-aeed-7cfd3c2603f2 rd.md.uuid=8d843e1d:c4eda4f4:3622e122:9ef0c927 rd.lvm.lv=vg_isla/root rd.md.uuid=f978b92e:db7efe36:2c7037ed:2a6a6dcf rd.lvm.lv=vg_isla/swap rhgb quiet i915.enable_gvt=1 i915.enable_fbc=0 amdgpu.dc=0"
GRUB_DISABLE_RECOVERY="true"
GRUB_ENABLE_BLSCFG=true
GRUB_FONT="/boot/grub2/fonts/DejaVuSansMono.pf2"
After making the change we need to regenerate the grub2.cfg file.
On Fedora with UEFI boot: sudo grub2-mkconfig -o /etc/grub2-efi.cfg
On Fedora with BIOS boot: sudo grub2-mkconfig -o /etc/grub2.cfg
On Ubuntu: sudo update-grub
If you don’t know whether you are BIOS booted or UEFI booted see if the directory/sys/firmware/efi/efivars/ exists. If it does not, you are BIOS booted.
If your system does not use Grub please refer to your distribution’s documentation on how to change kernel parameters.
Loading the GVT-g modules at boot
Use your favorite text editor to create a file called /etc/modules-load.d/kvm-gvt-g.conf and place the following content in it:
kvmgt
vfio-iommu-type1
vfio-mdev
At this point you have to reboot your host machine.
Checking whether GVT-G is working
We first need to find out what the PCI address of our Intel GPU is. The easiest way to do this is to run the lspci tool and note the PCI address. On my system the output looks like this:
lspci | grep VGA
00:02.0 VGA compatible controller: Intel Corporation UHD Graphics 630 (Mobile) (rev 02)
01:00.0 VGA compatible controller: Advanced Micro Devices, Inc. [AMD/ATI] Ellesmere [Radeon Pro WX 7100 Mobile]
In this case the Intel GPU’s PCI address is 00:02.0. Keep a note of it as we will need this address several times in the future. We now need to go to the device directory of the GPU in /sys and check whether GVT-G is enabled.
cd /sys/bus/pci/devices/0000\:00:02.0
There should be a directory called mdev_supported_types in this device entry. If there is not, check /proc/cmdline and see if the bootloader changes were applied.
Creating the virtual GPU
Creating a virtual GPU works by putting a UUID value into the create virtual file of a virtual GPU type. We first need to check what GPU sizes your GPU supports (assuming you are still in the GPU’s device directory in /sys):
$ ls -l mdev_supported_types/
total 0
drwxr-xr-x. 3 root root 0 May 15 03:32 i915-GVTg_V5_4
drwxr-xr-x. 3 root root 0 May 15 03:32 i915-GVTg_V5_8
This means that my system supports two sizes of virtual GPU V5_4 and V5_8. The size determines how much video RAM the virtual GPU will have. I have tested the two models in my system and I couldn’t find any performance difference so I’m going to continue assuming it doesn’t matter for this post and create the smallest vGPU. Note the larger the numbers the smaller the vGPUs. In this case V5_8 being the smallest.
Each vGPU needs a UUID. The easiest way to generate a UUID is by running the uuidgen tool. For instance:
$ uuidgen
cb33ec6d-ad44-4702-b80f-c176f56afea1
Keep a note of your UUID or just use the one here. It doesn’t matter that much if you only need one vGPU.
echo cb33ec6d-ad44-4702-b80f-c176f56afea1 | sudo tee mdev_supported_types/i915-GVTg_V5_8/createIf you get an error like No space left on device you may not have enough vRAM assigned to your Intel GPU in your firmware. You will need to go into your system’s configuration utility and raise it. You will need to refer to your system’s documentation on how to do this. Firmware configuration utilities vary wildly per vendor but in general you will be able to enter it by pressing F2 or DEL during early boot.
If the command succeeded you should now have a directory named after the UUID in the GPU’s /sys directory.
$ ls
ari_enabled                           class                     current_link_width  driver           firmware_node  i2c-3  iommu        link            max_link_width        msi_irqs   rescan     resource2     rom               uevent
boot_vga                              config                    d3cold_allowed      driver_override  graphics       i2c-4  iommu_group  local_cpulist   mdev_supported_types  numa_node  reset      resource2_wc  subsystem         vendor
broken_parity_status                  consistent_dma_mask_bits  device              drm              gvt_firmware   i2c-5  irq          local_cpus      modalias              power      resource   resource4     subsystem_device
cb33ec6d-ad44-4702-b80f-c176f56afea1  current_link_speed        dma_mask_bits       enable           i2c-2          index  label        max_link_speed  msi_bus               remove     resource0  revision      subsystem_vendor
Persist the vGPU creation at boot
Creating the GVT-G device is not permanent, at the next reboot the vGPU just created will need to be recreated. We can create a systemd unit file to automate this process during boot.
Create a new file called /etc/systemd/system/setup-gvt.service and place the following content in it, replacing the UUID, PCI address, and vGPU size with the values we found for your system:
[Unit]
Description=Setup GVT

[Service]
Type=oneshot
ExecStart=/usr/bin/bash -c 'echo cb33ec6d-ad44-4702-b80f-c176f56afea1 > /sys/devices/pci0000:00/0000:00:02.0/mdev_supported_types/i915-GVTg_V5_8/create'

[Install]
WantedBy=multi-user.target
Make sure it starts automatically at boot with sudo systemctl enable setup-gvt
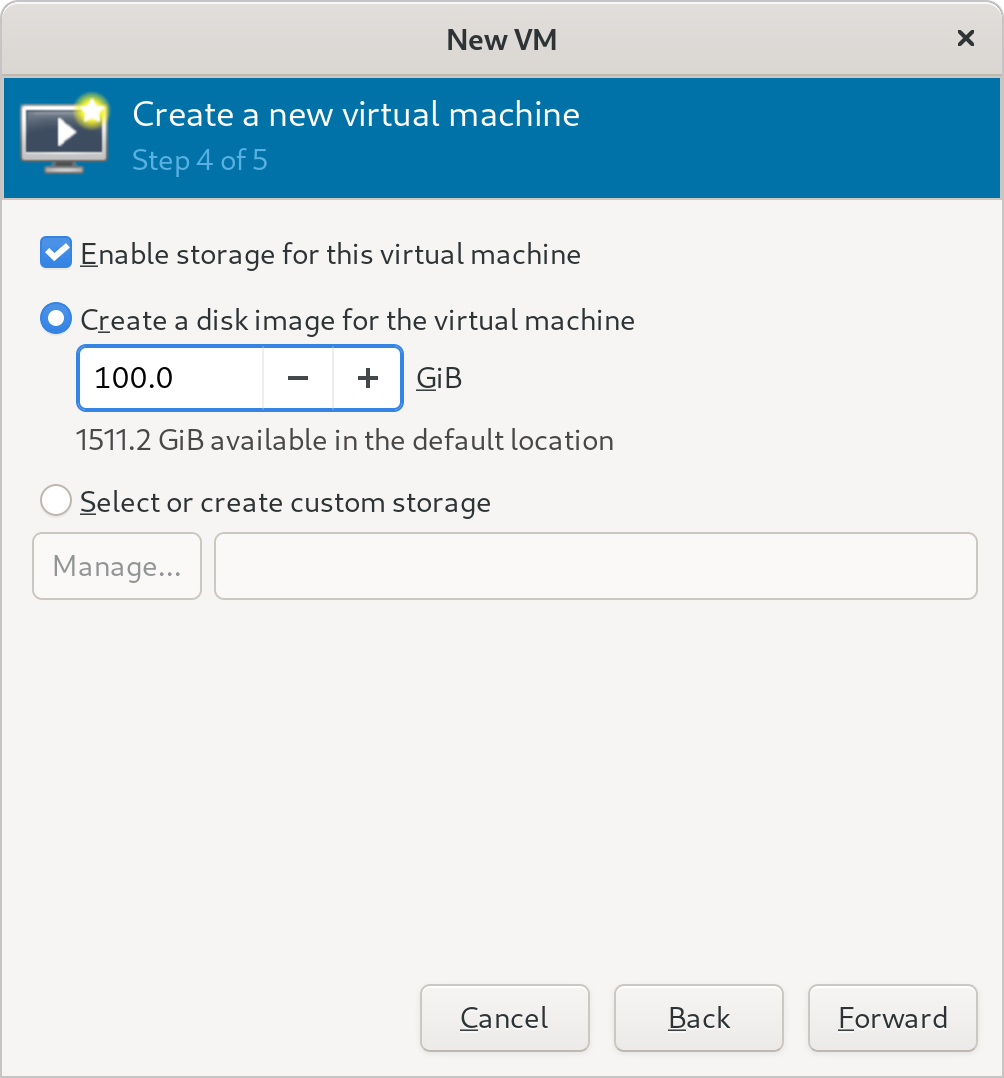
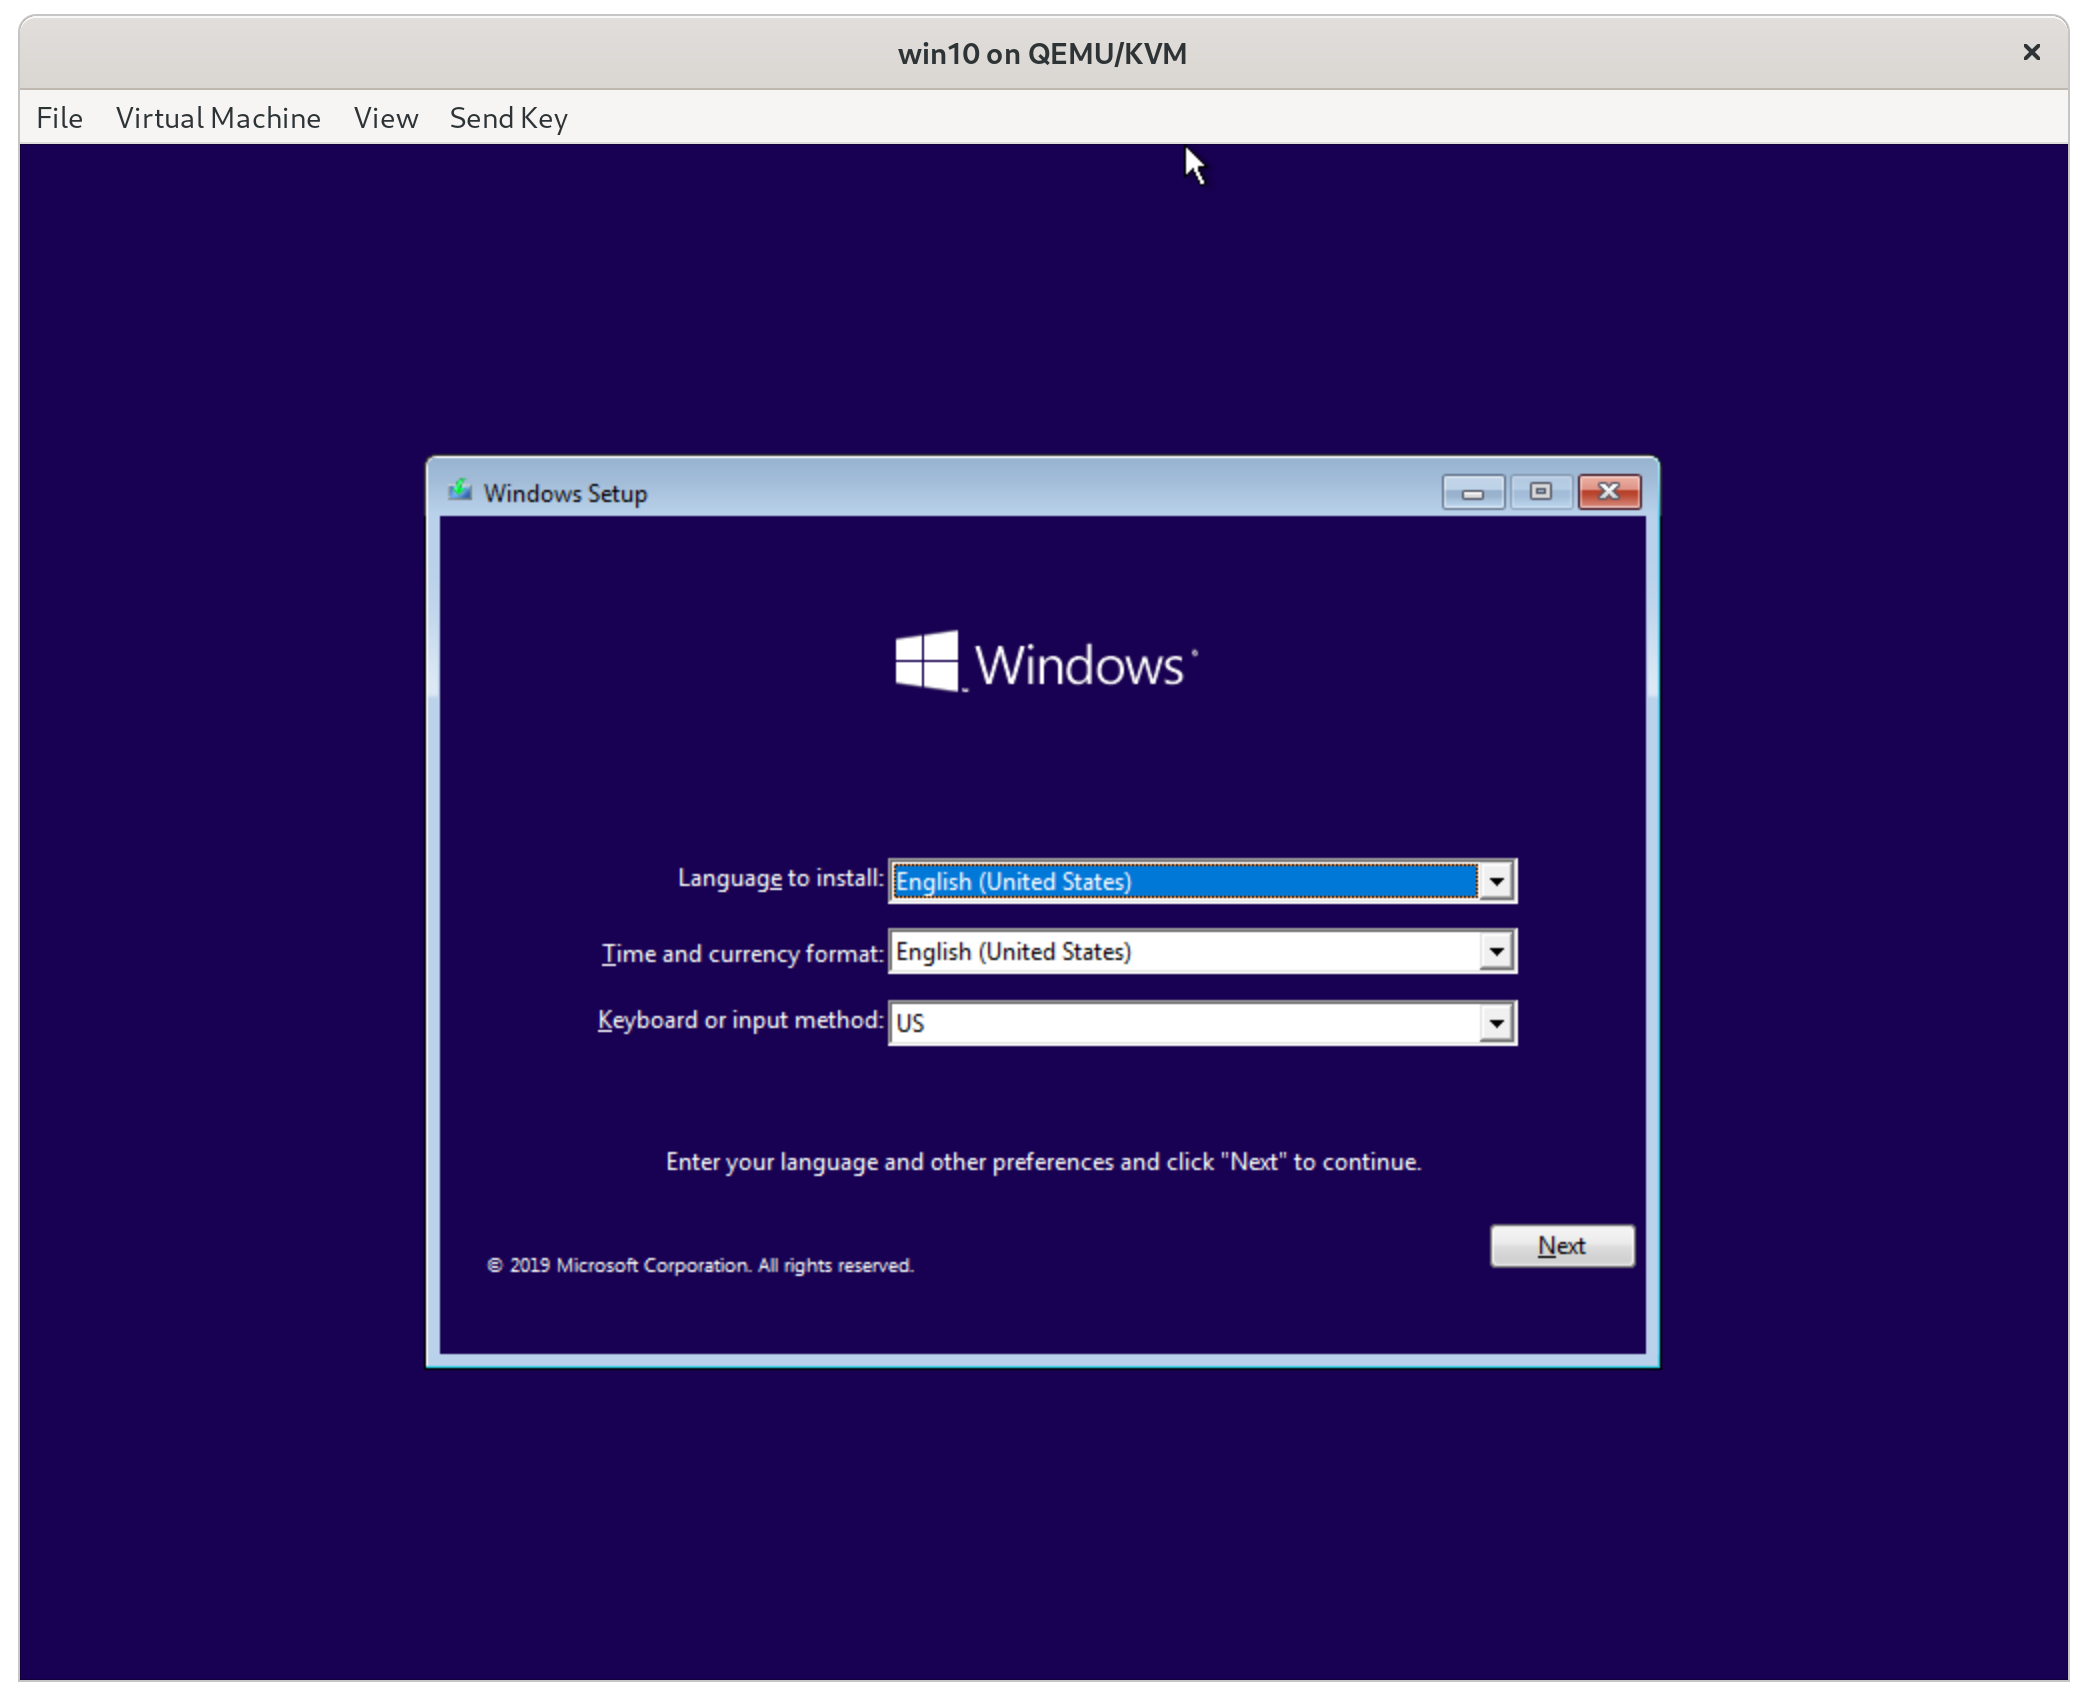
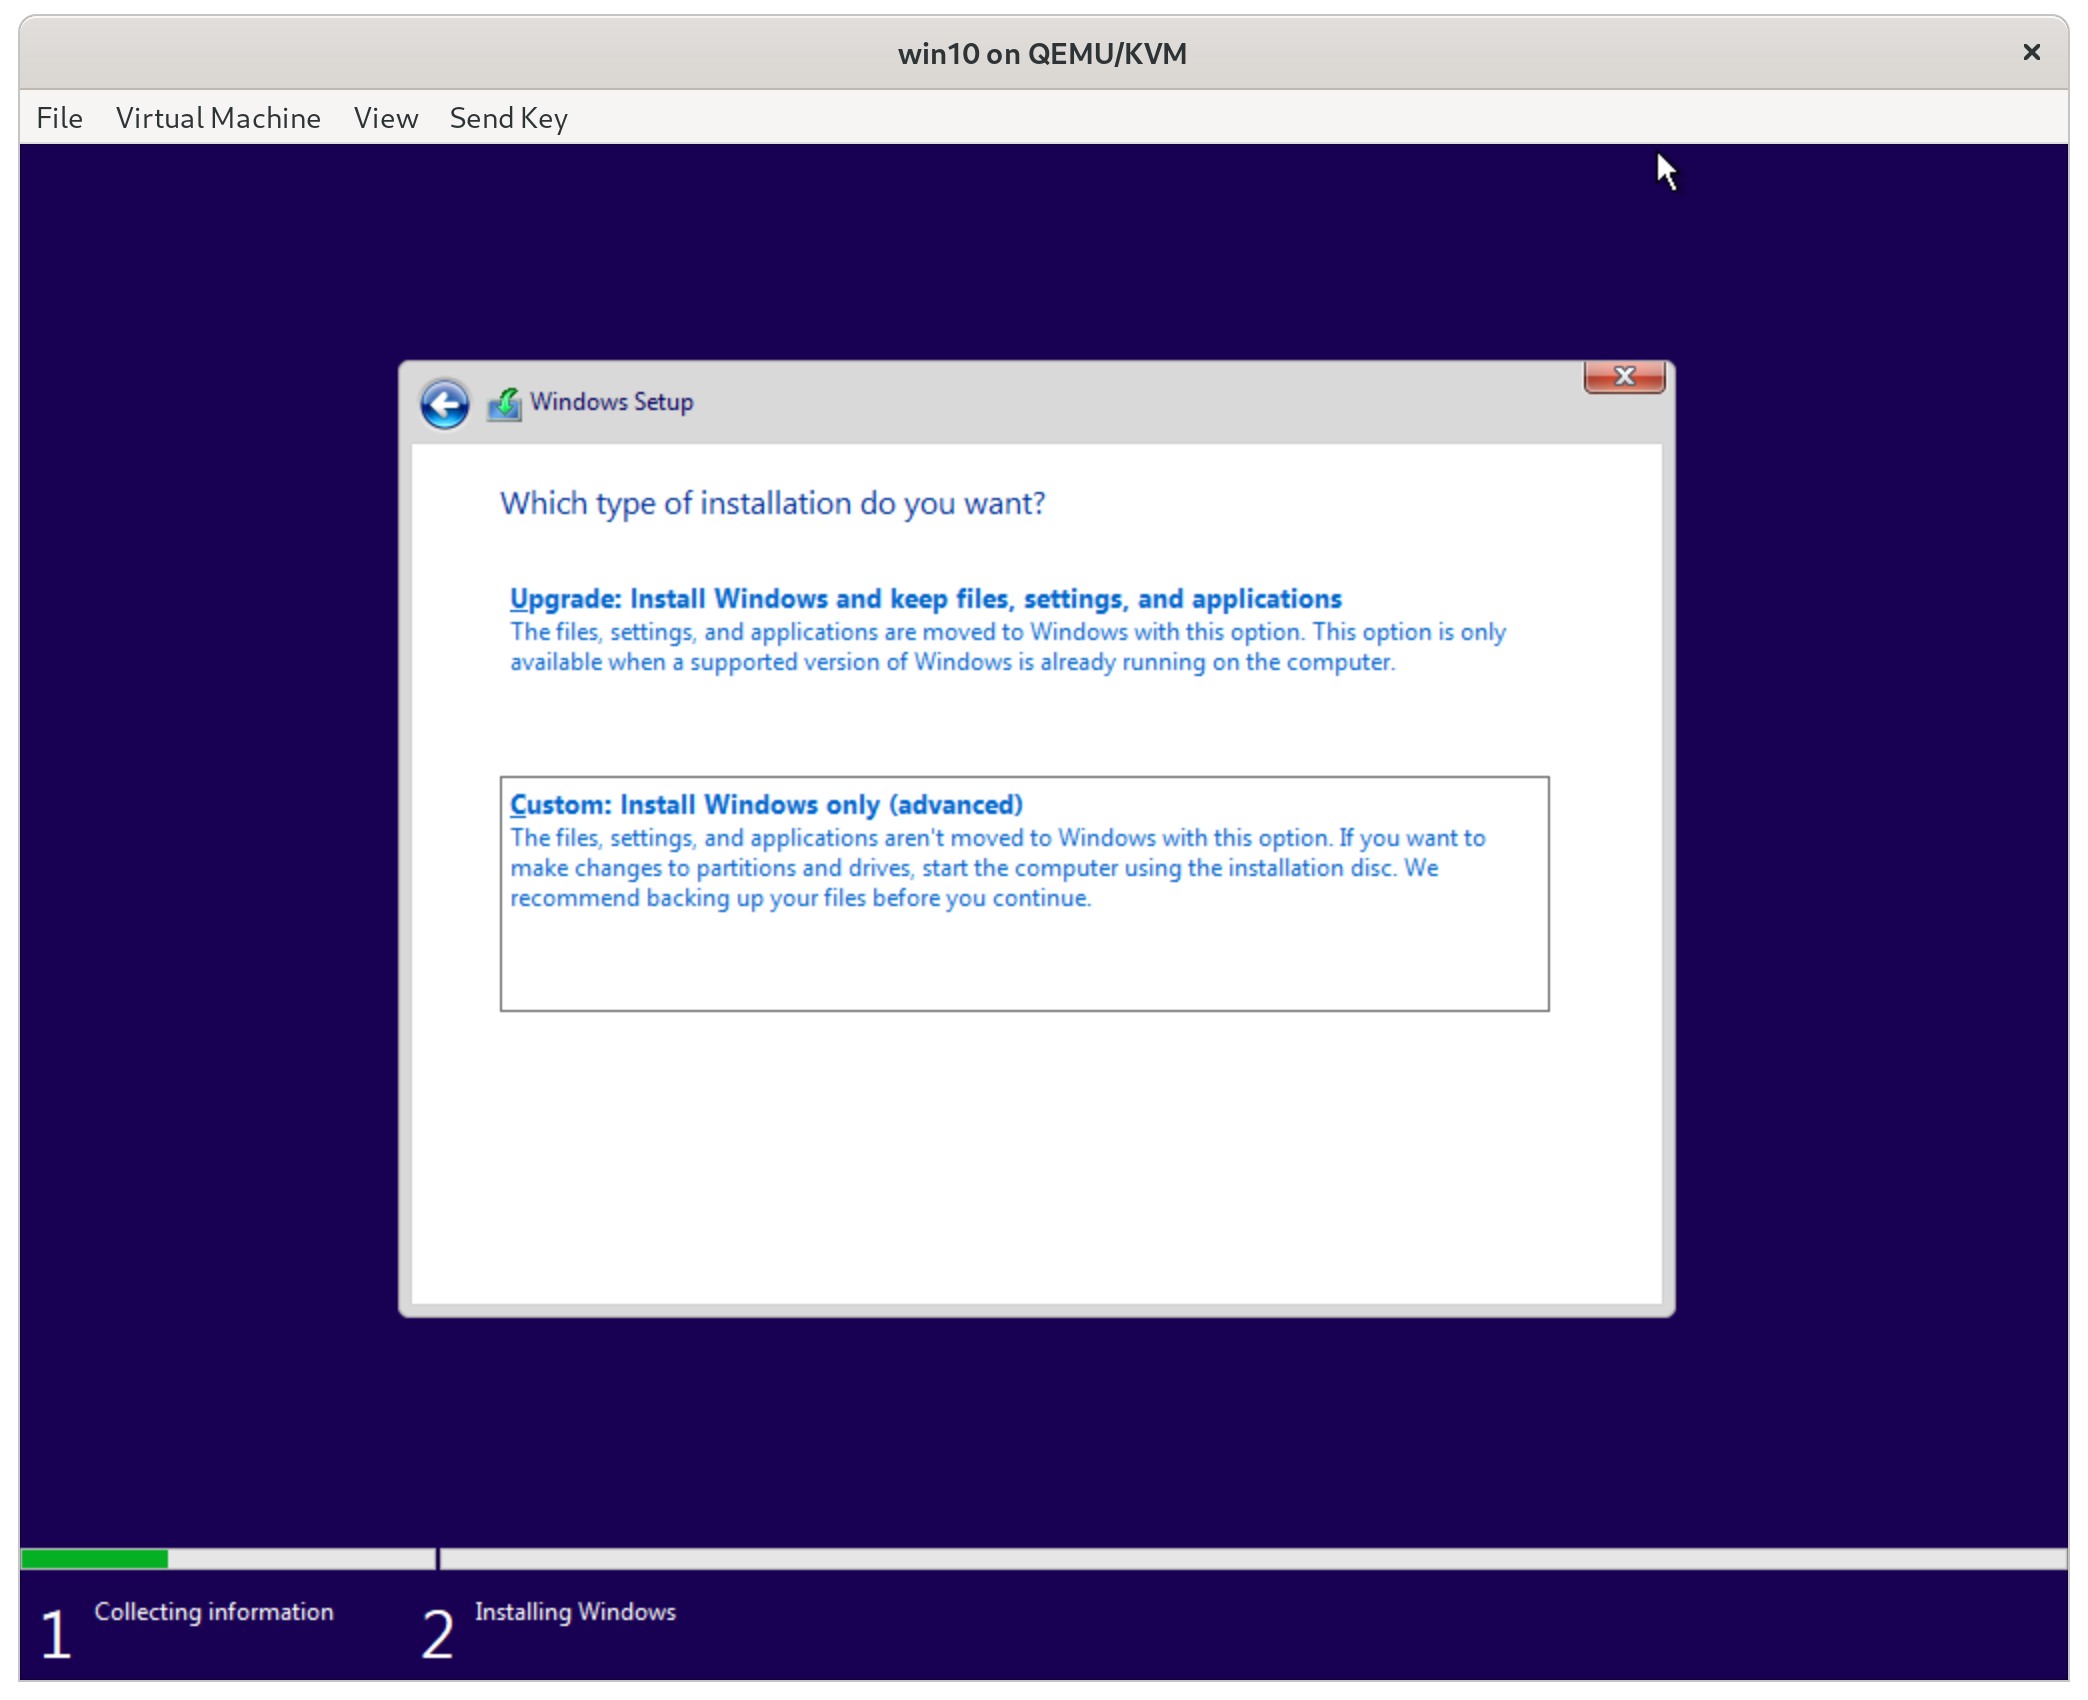
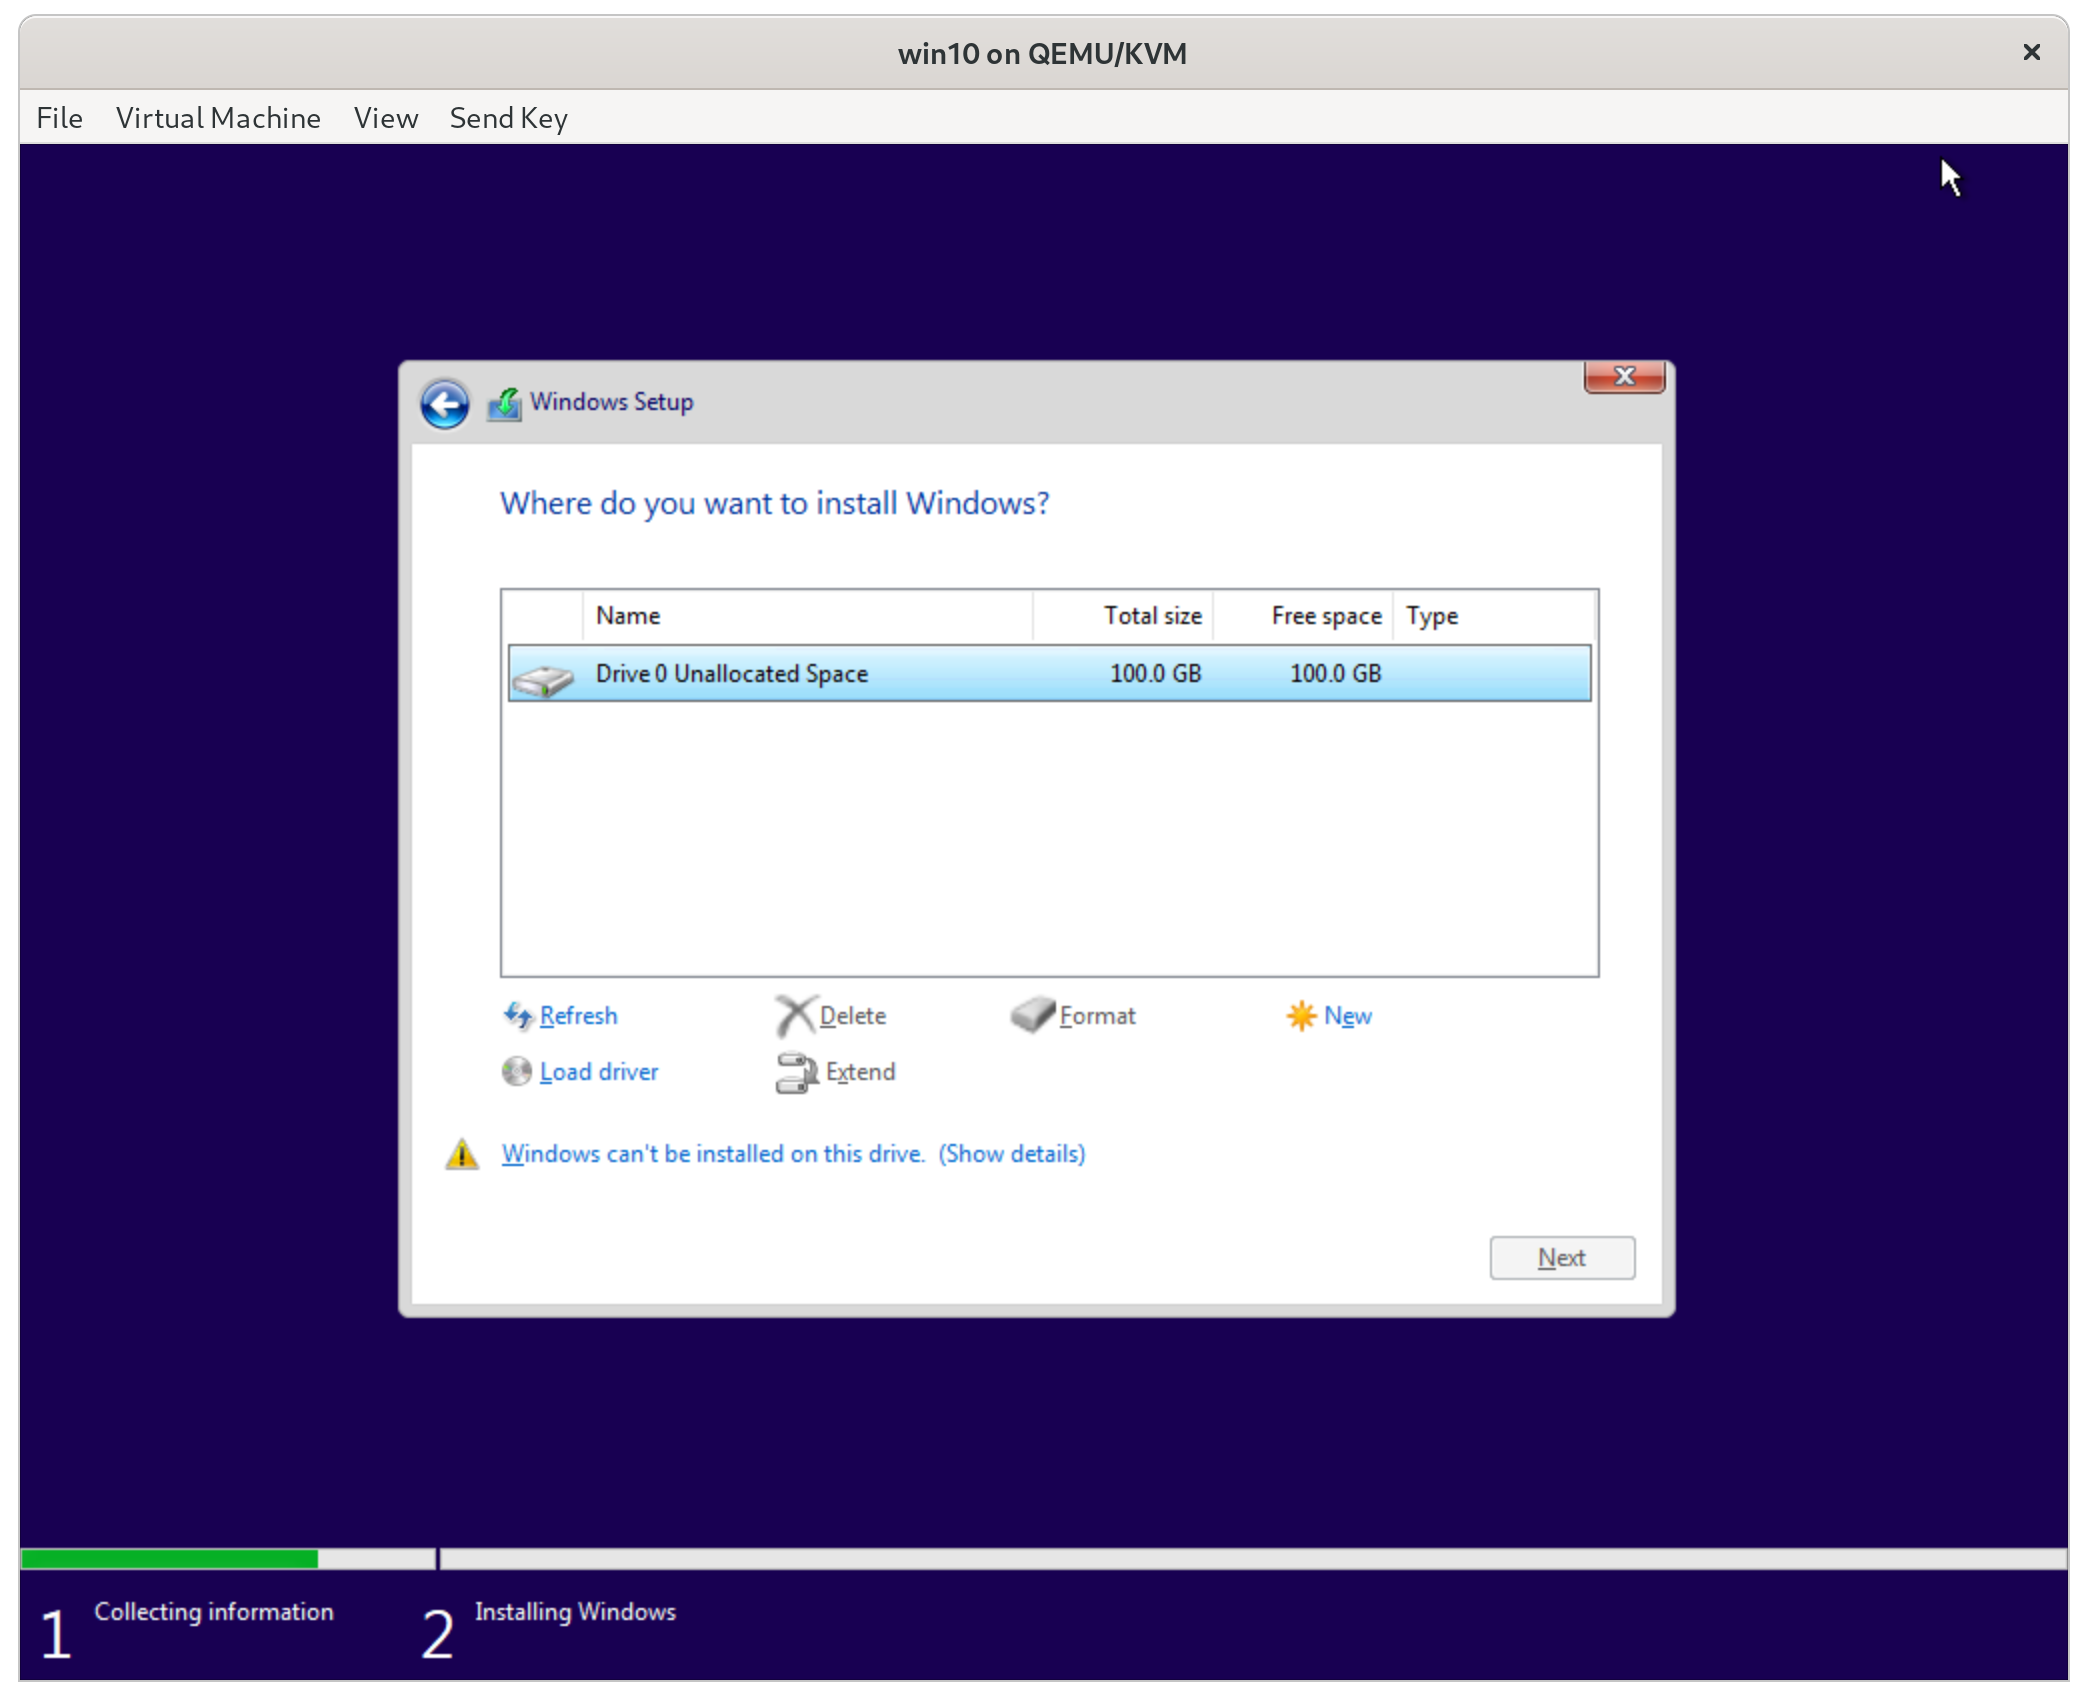
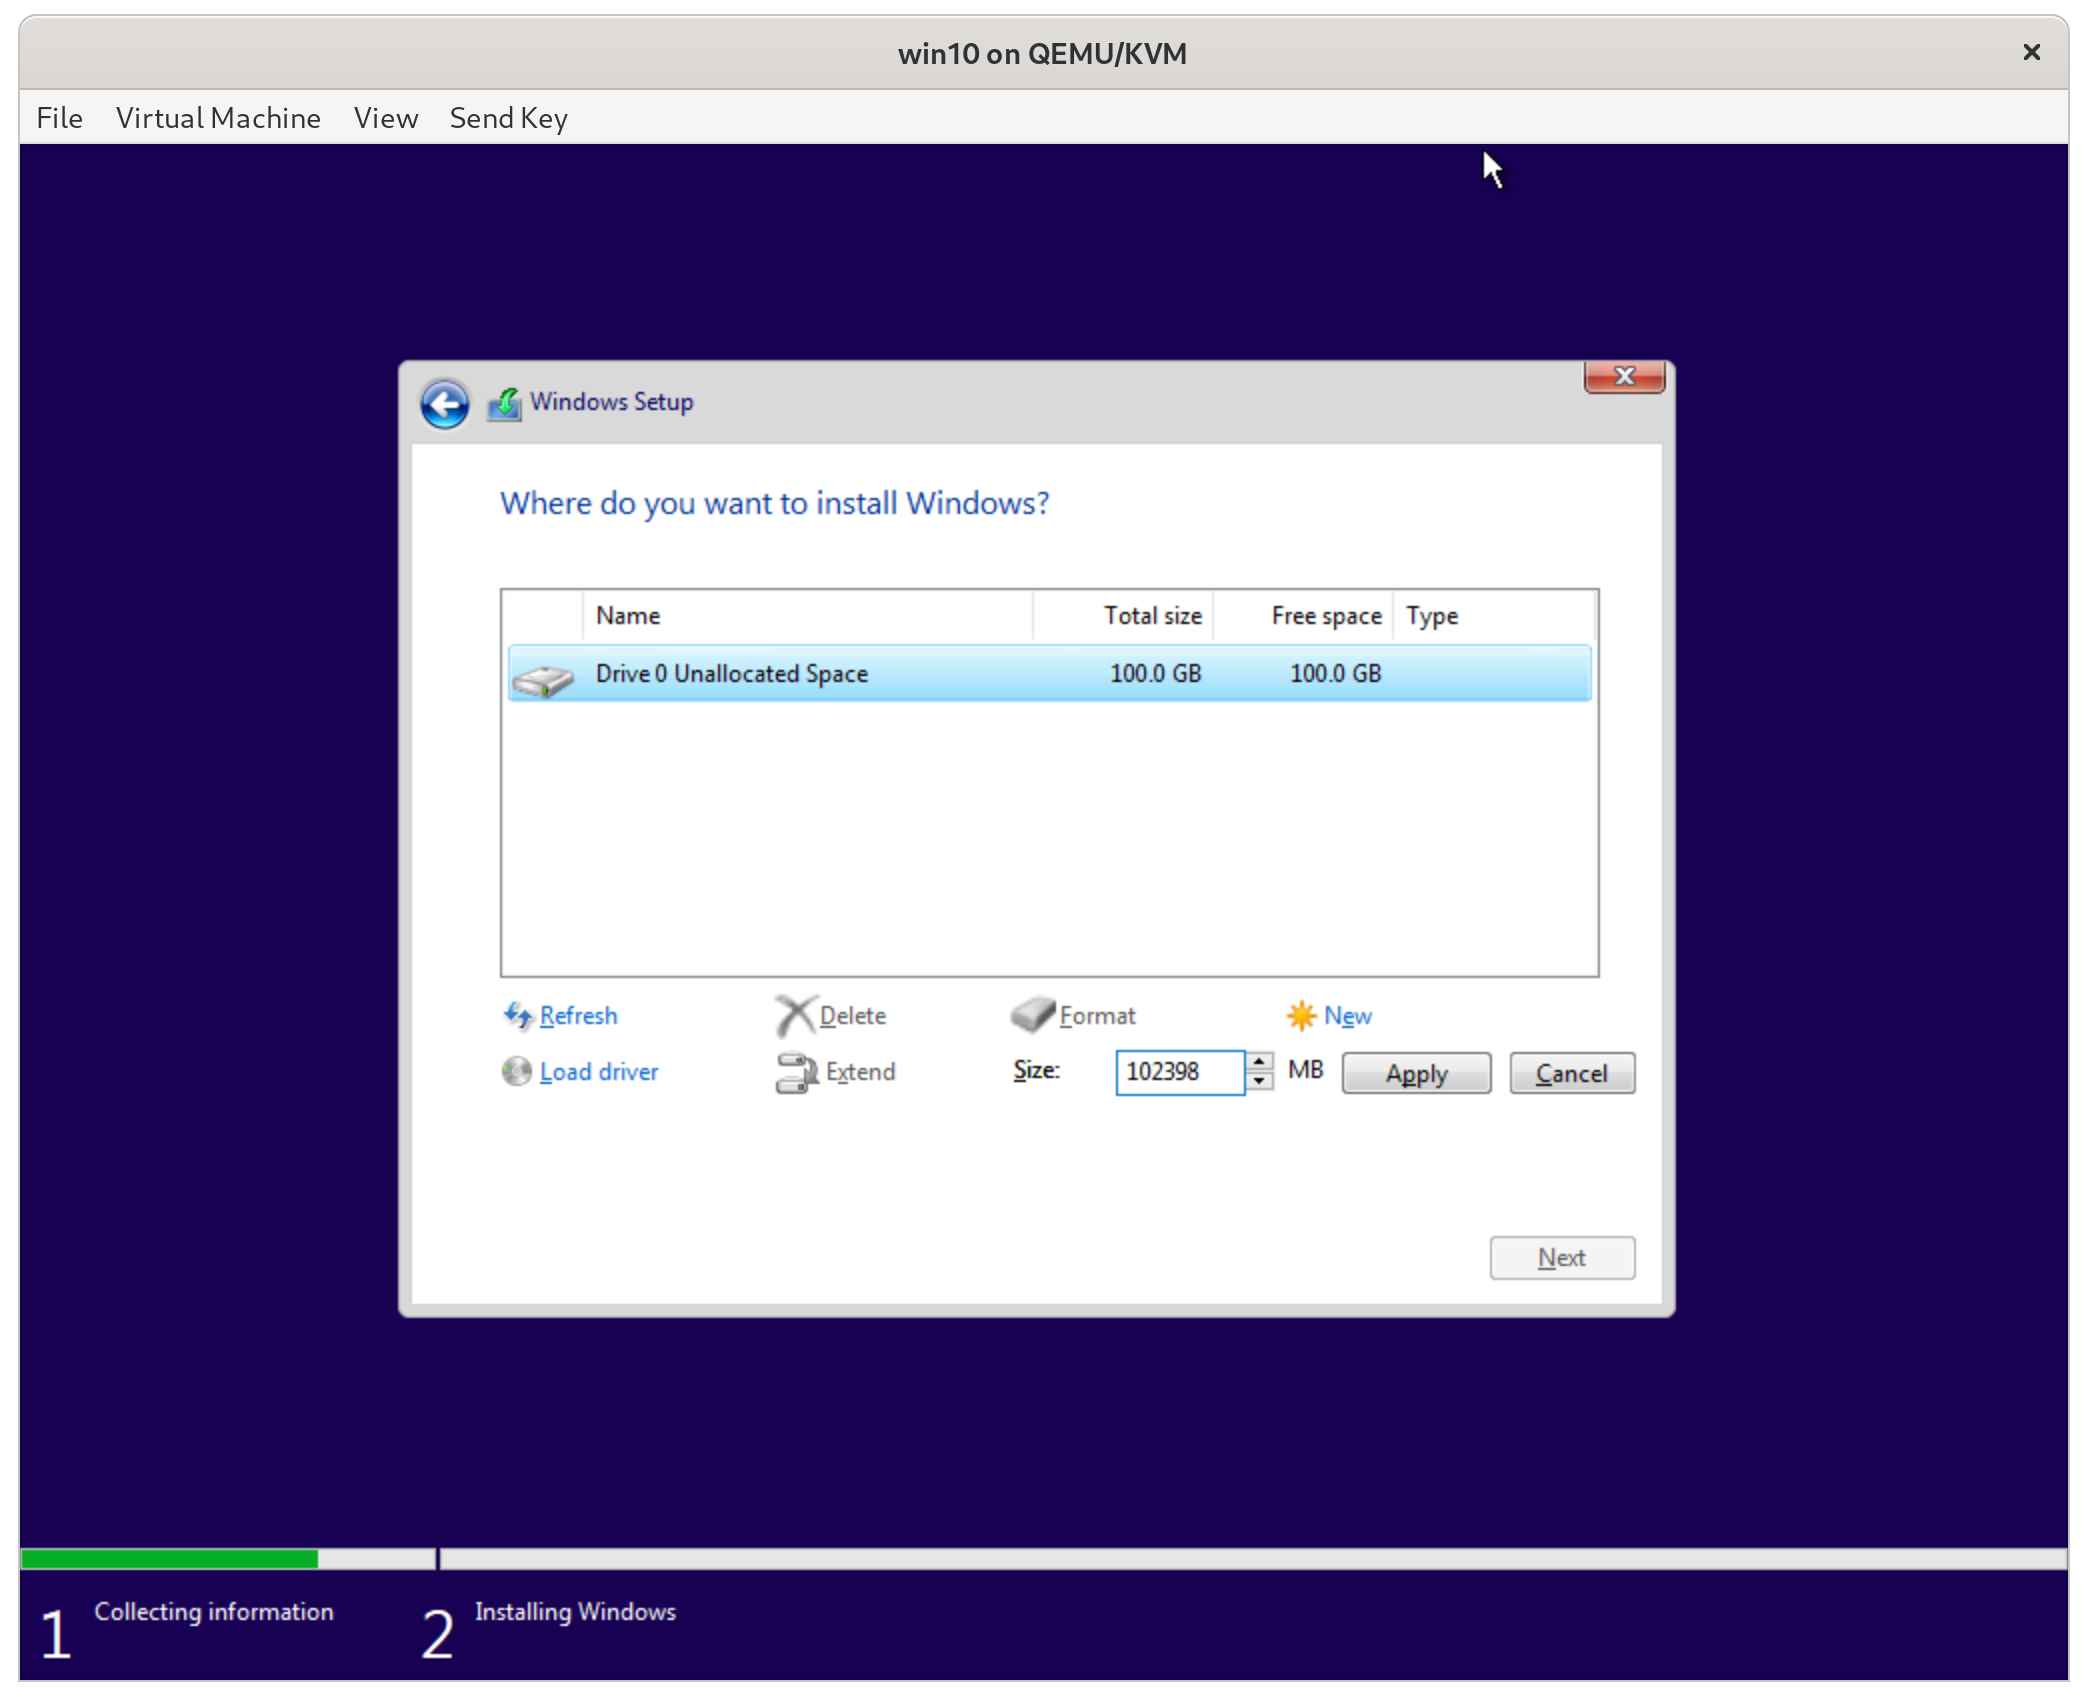
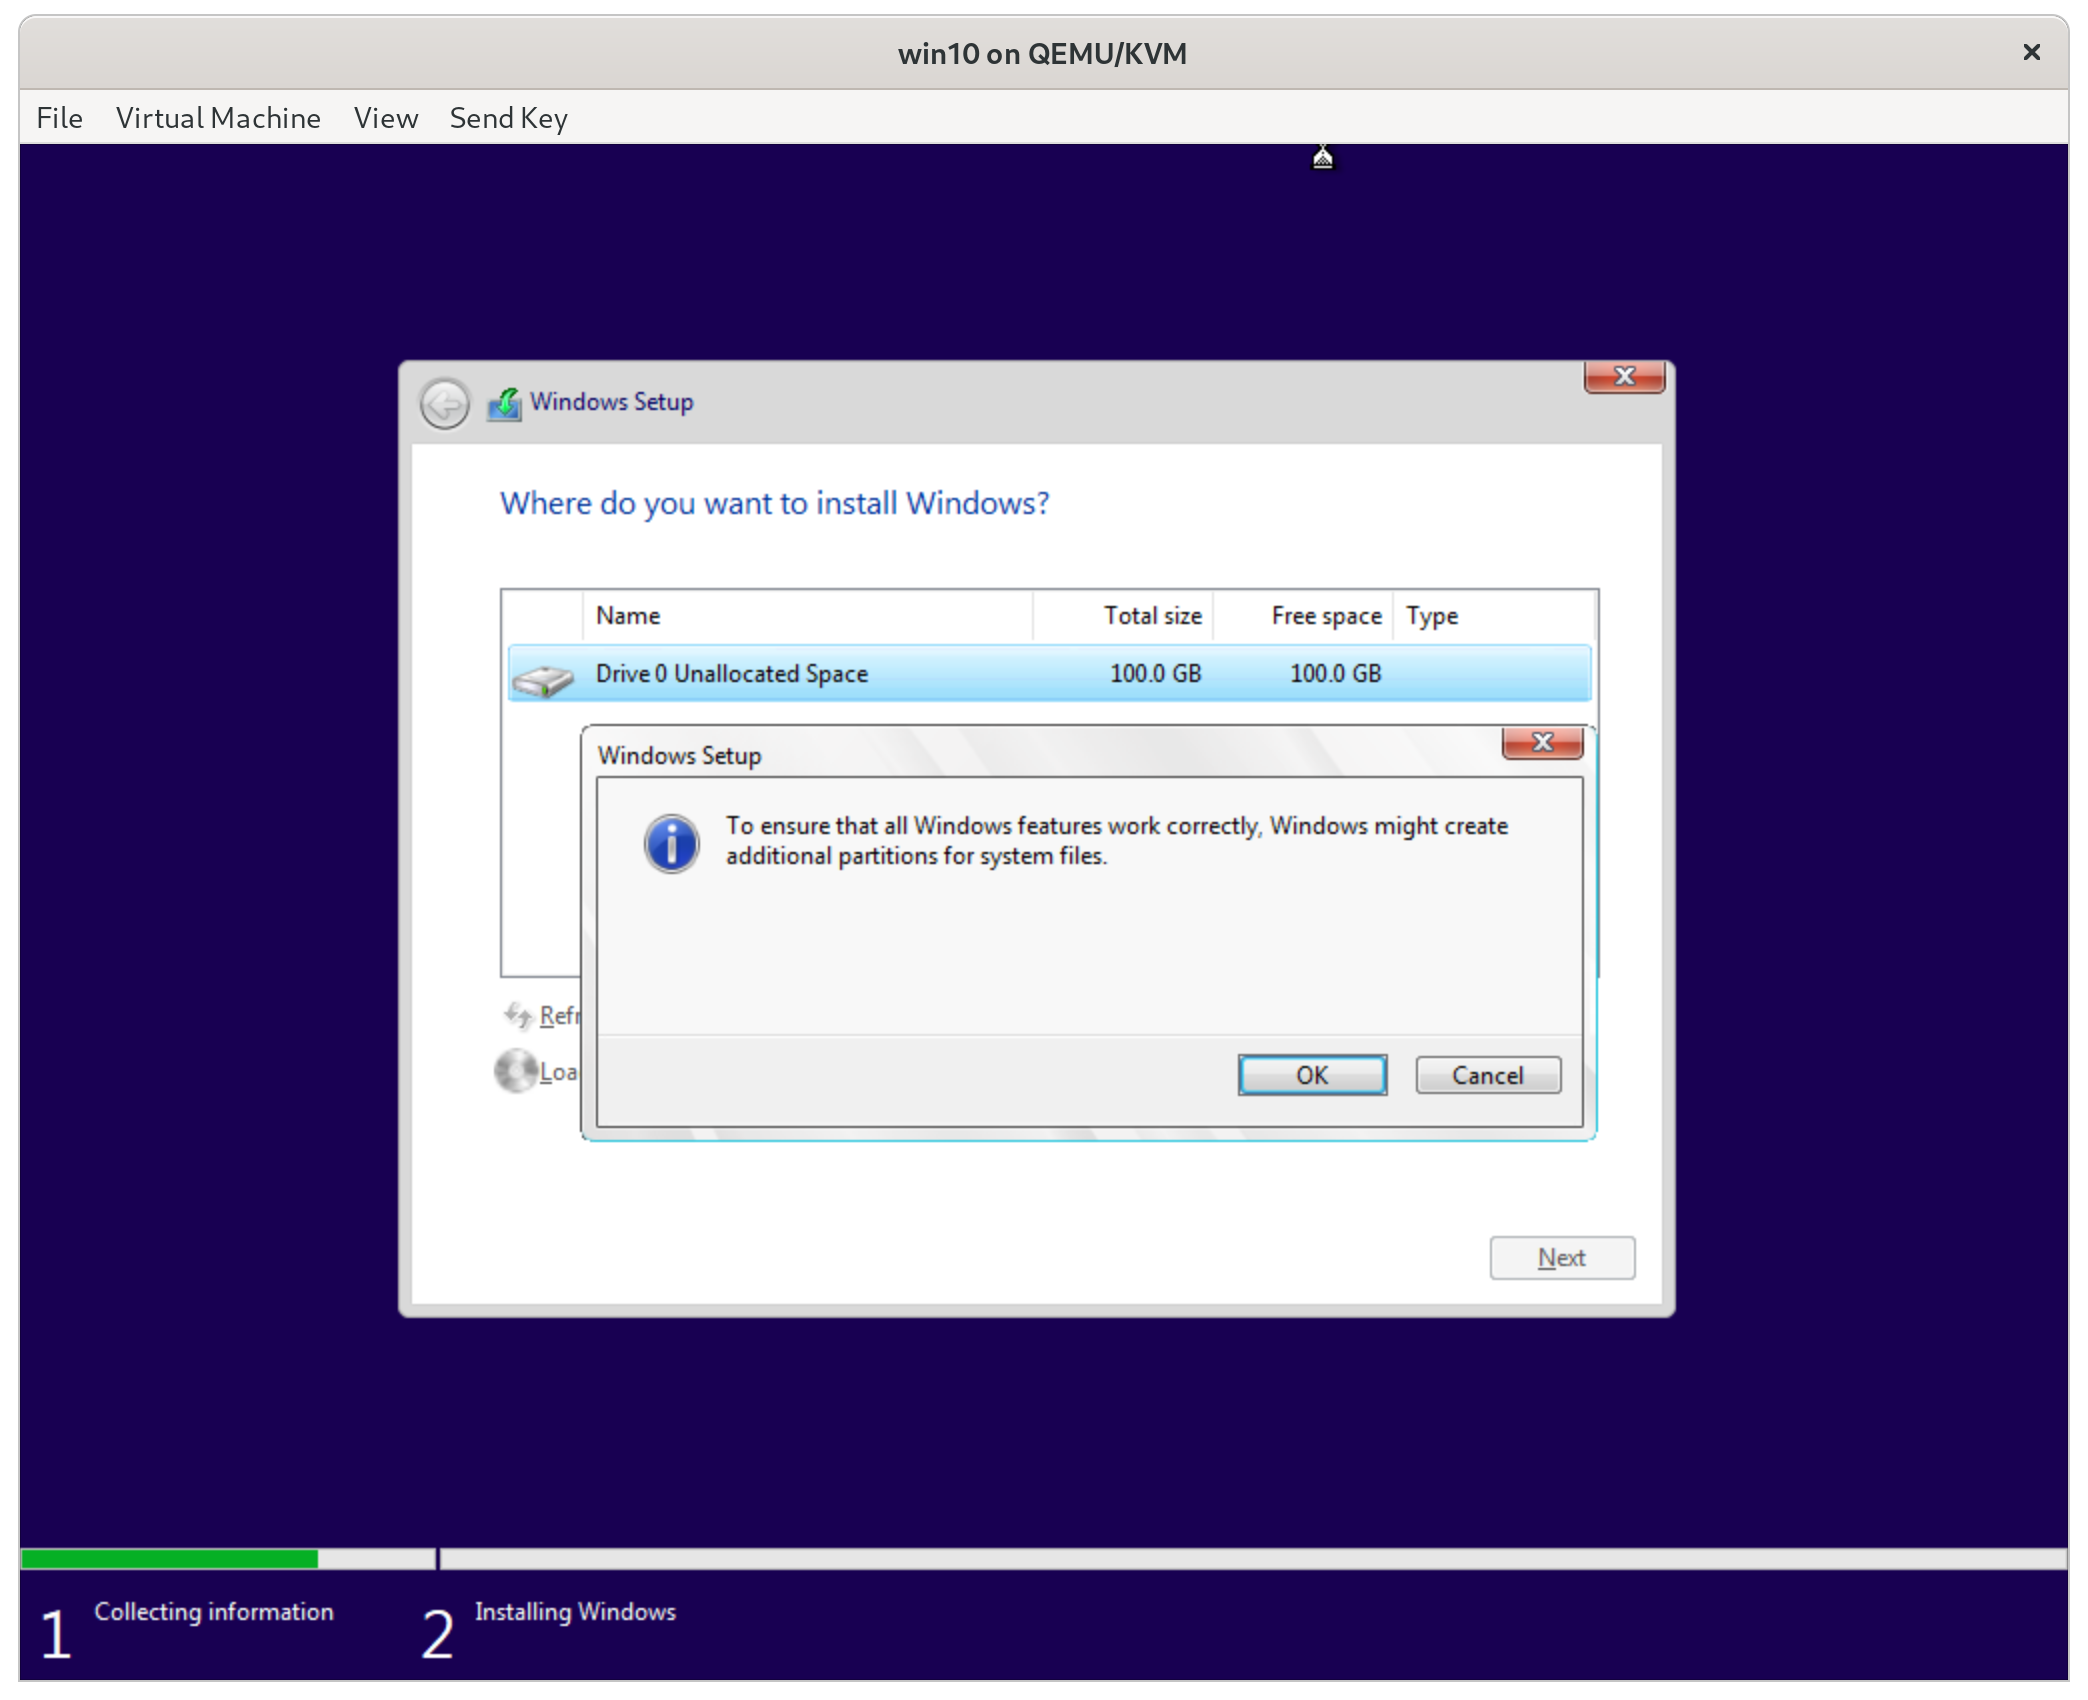
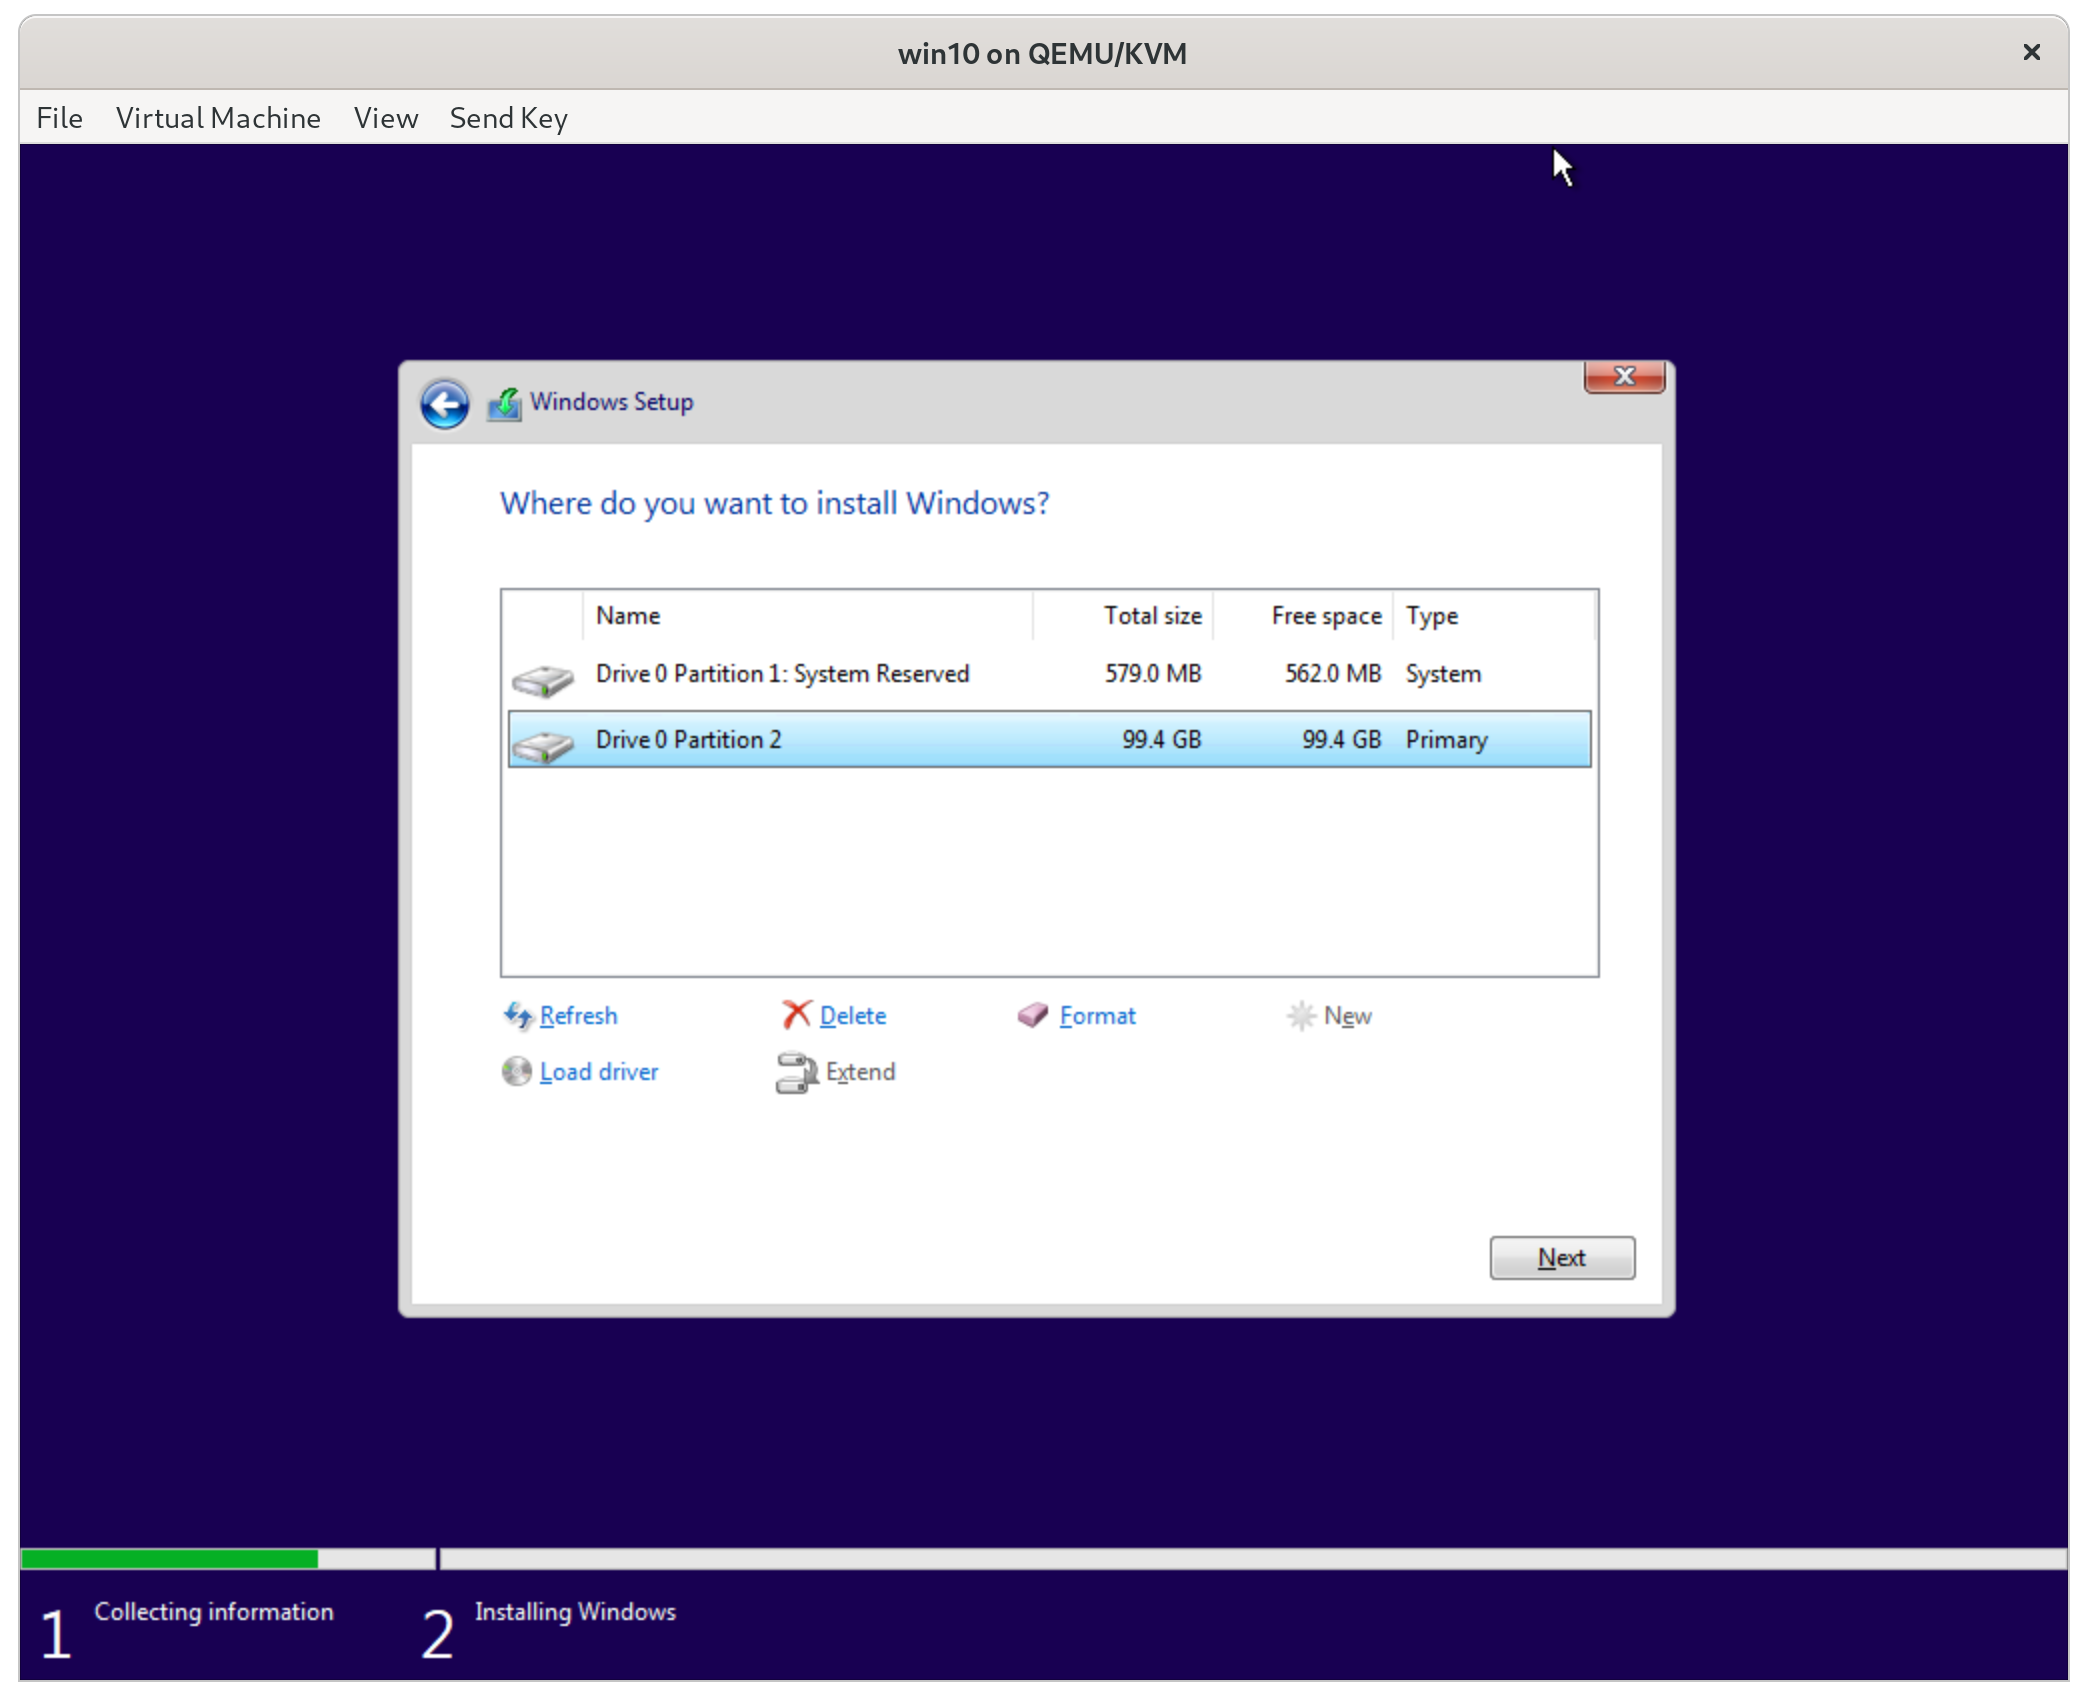
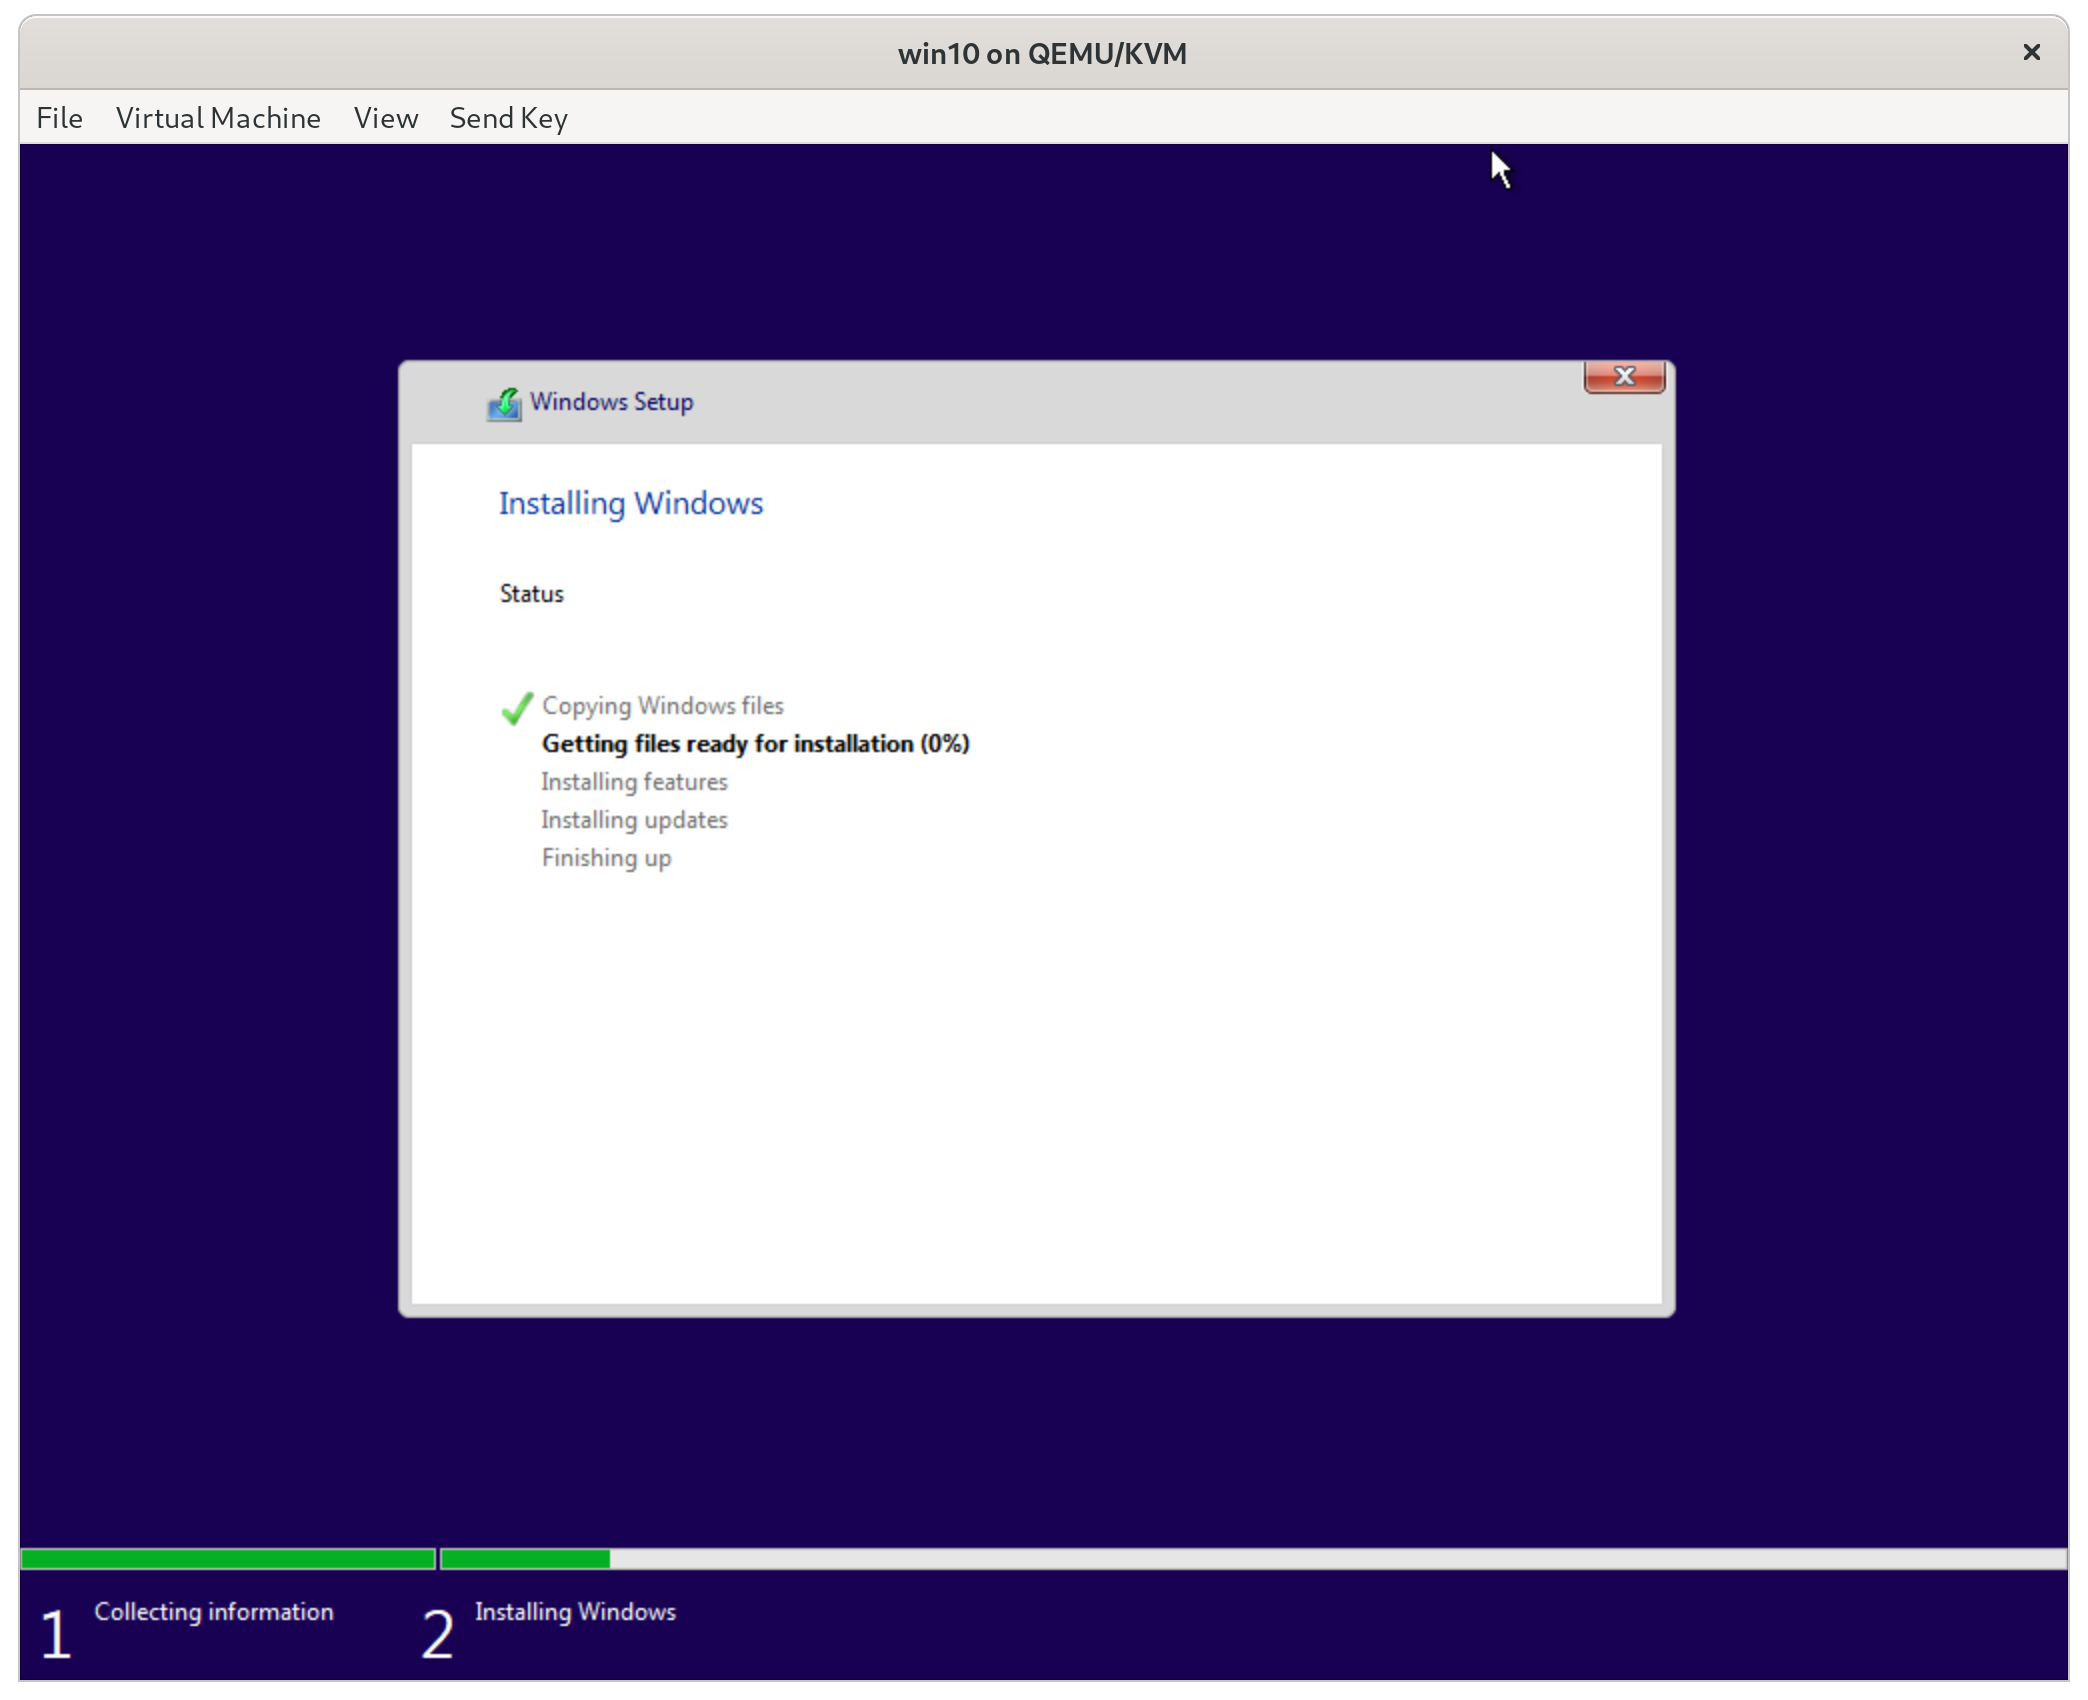
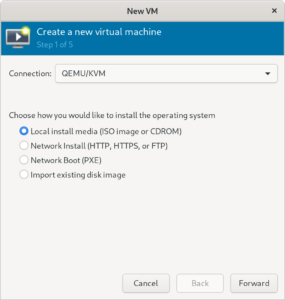
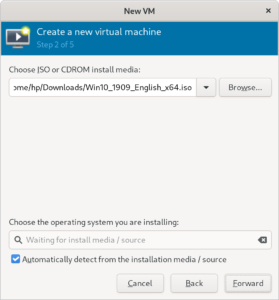
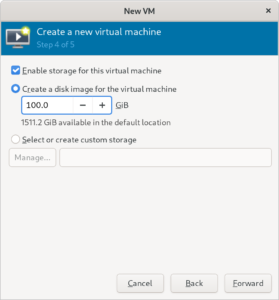
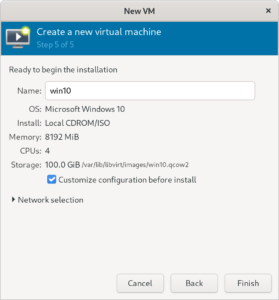
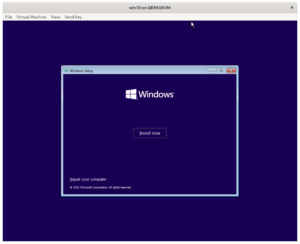
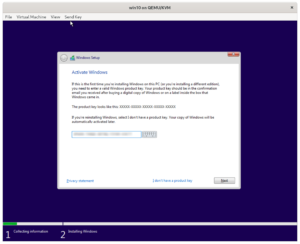
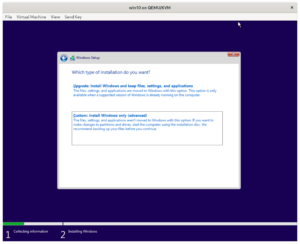
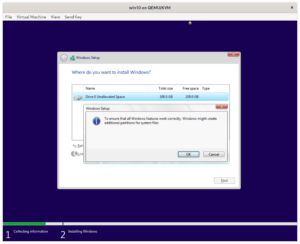
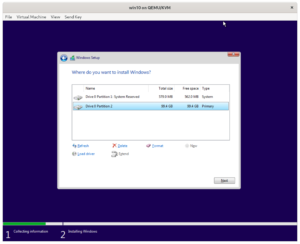
Installing the Windows 10 VM with Virtio hardware
Next I will provide a step-by-step guide with screenshots below. If you’re already familiar with virt-manager and Windows 10 setup these are the highlights:
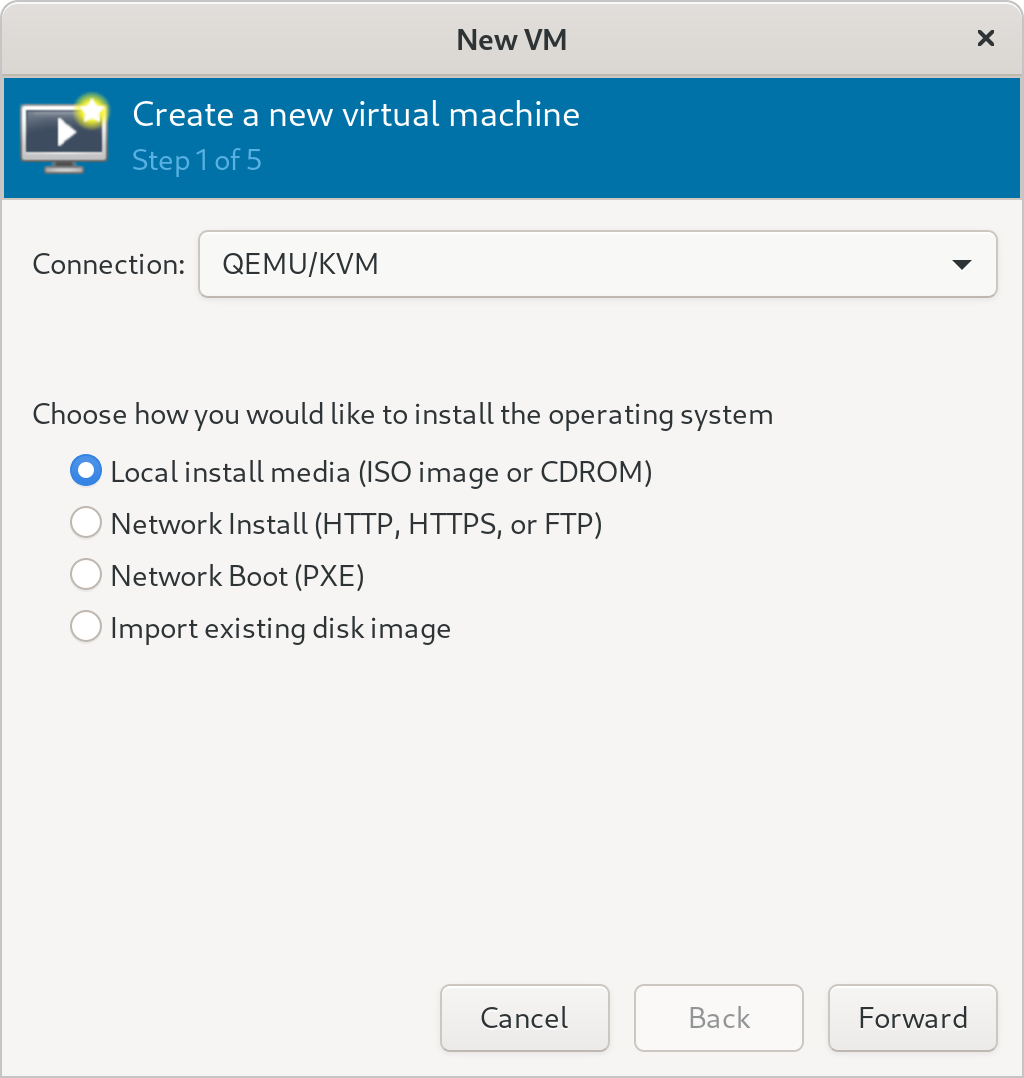
- Create a Qemu/KVM instance (Not a user session)
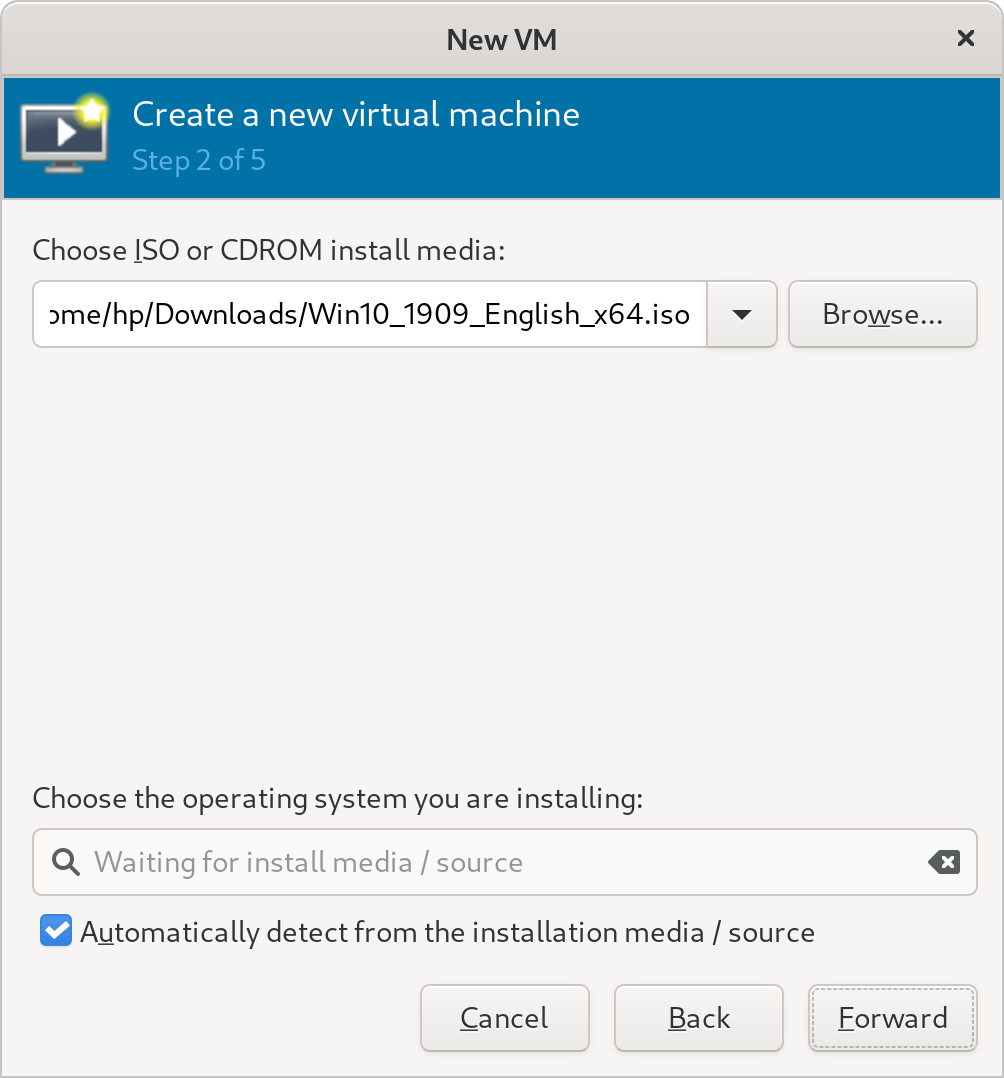
- Select the Windows 10 .iso as installation media
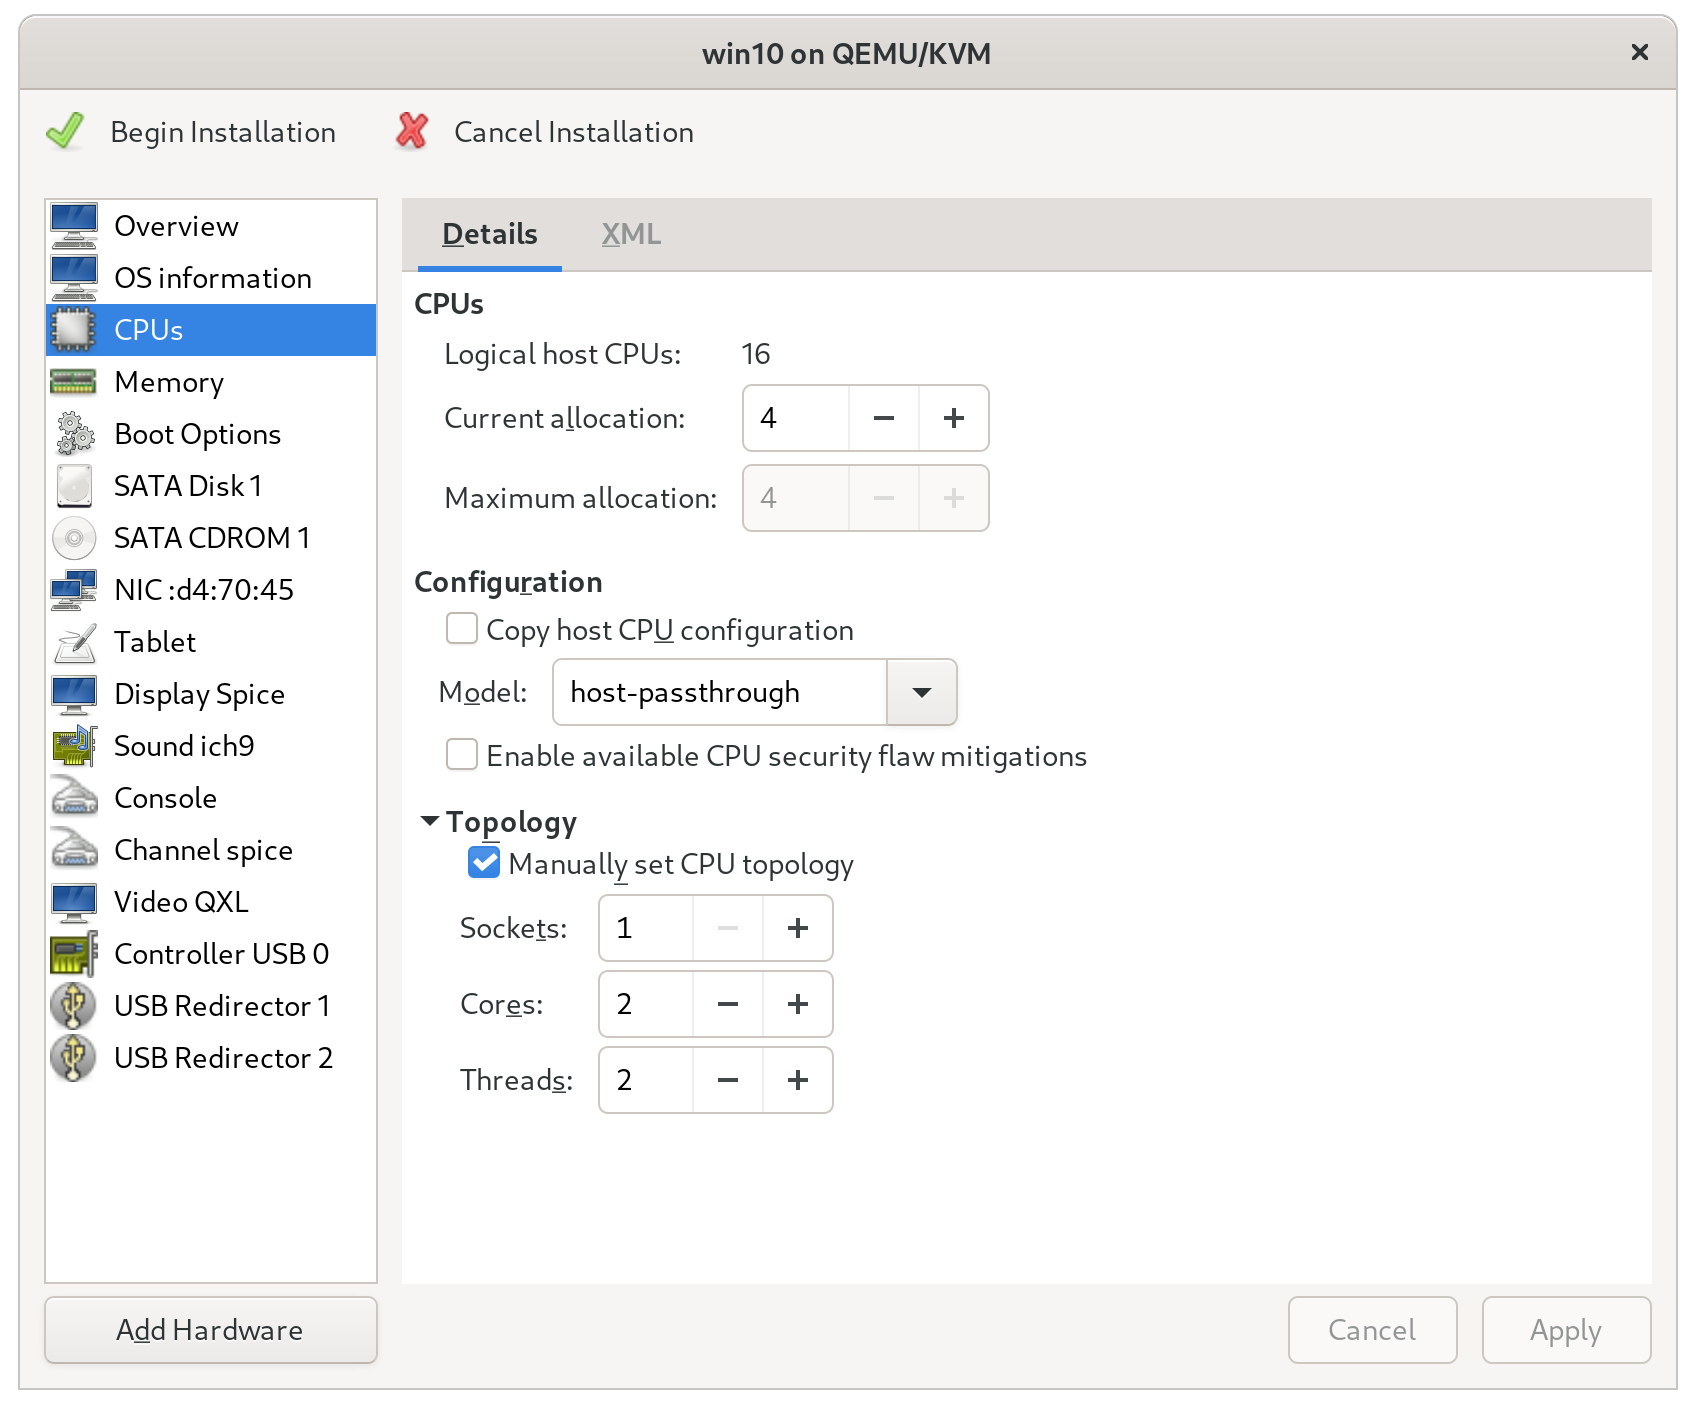
- Make sure to select ‘Customize configuration before install’
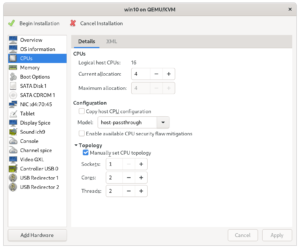
- Set the CPU type to
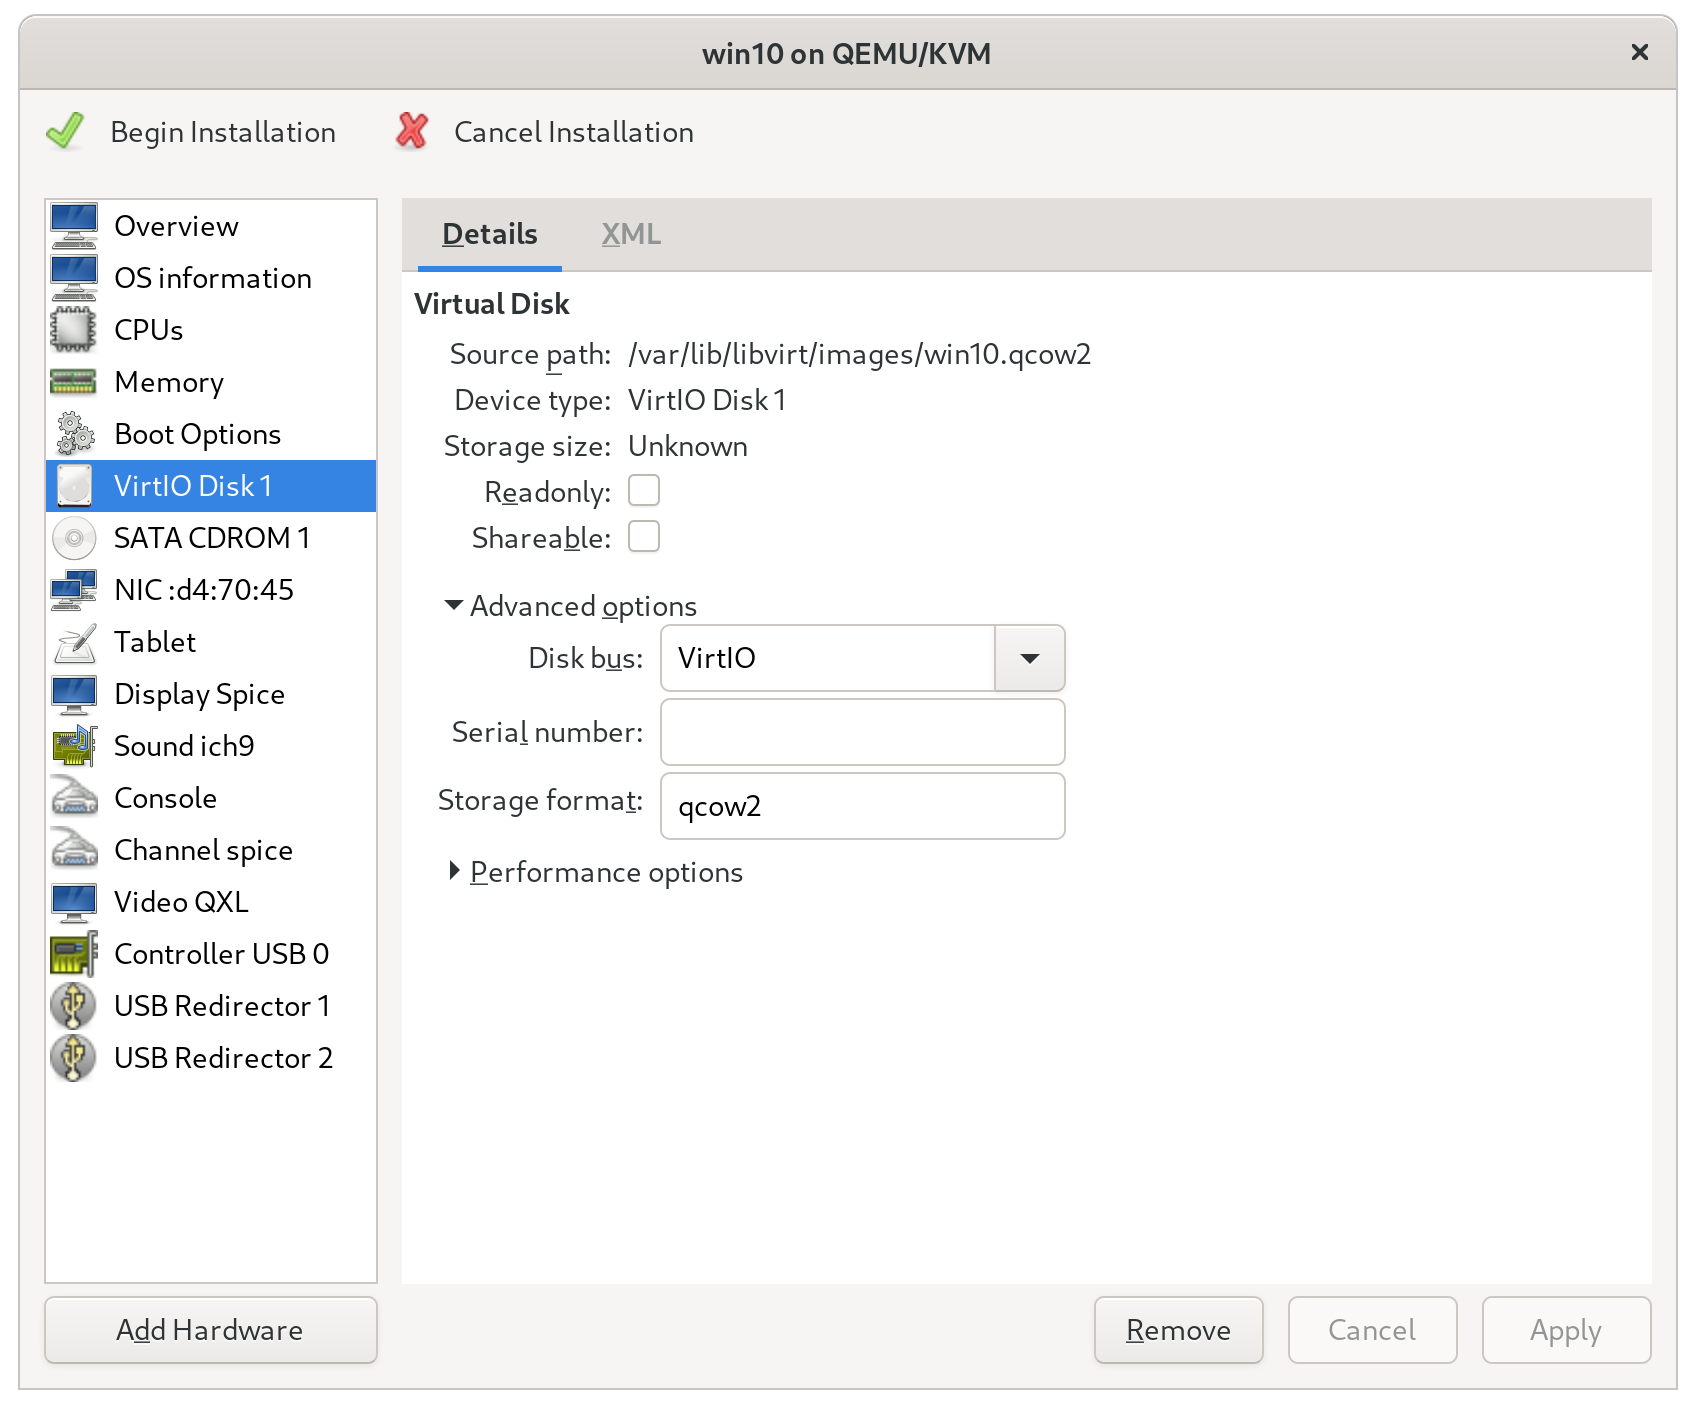
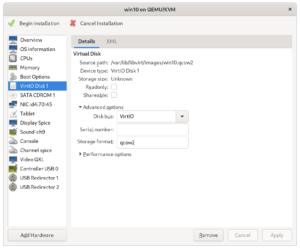
host-passthrough - Set the hard drive type to
VirtIO - Set the network controller type to
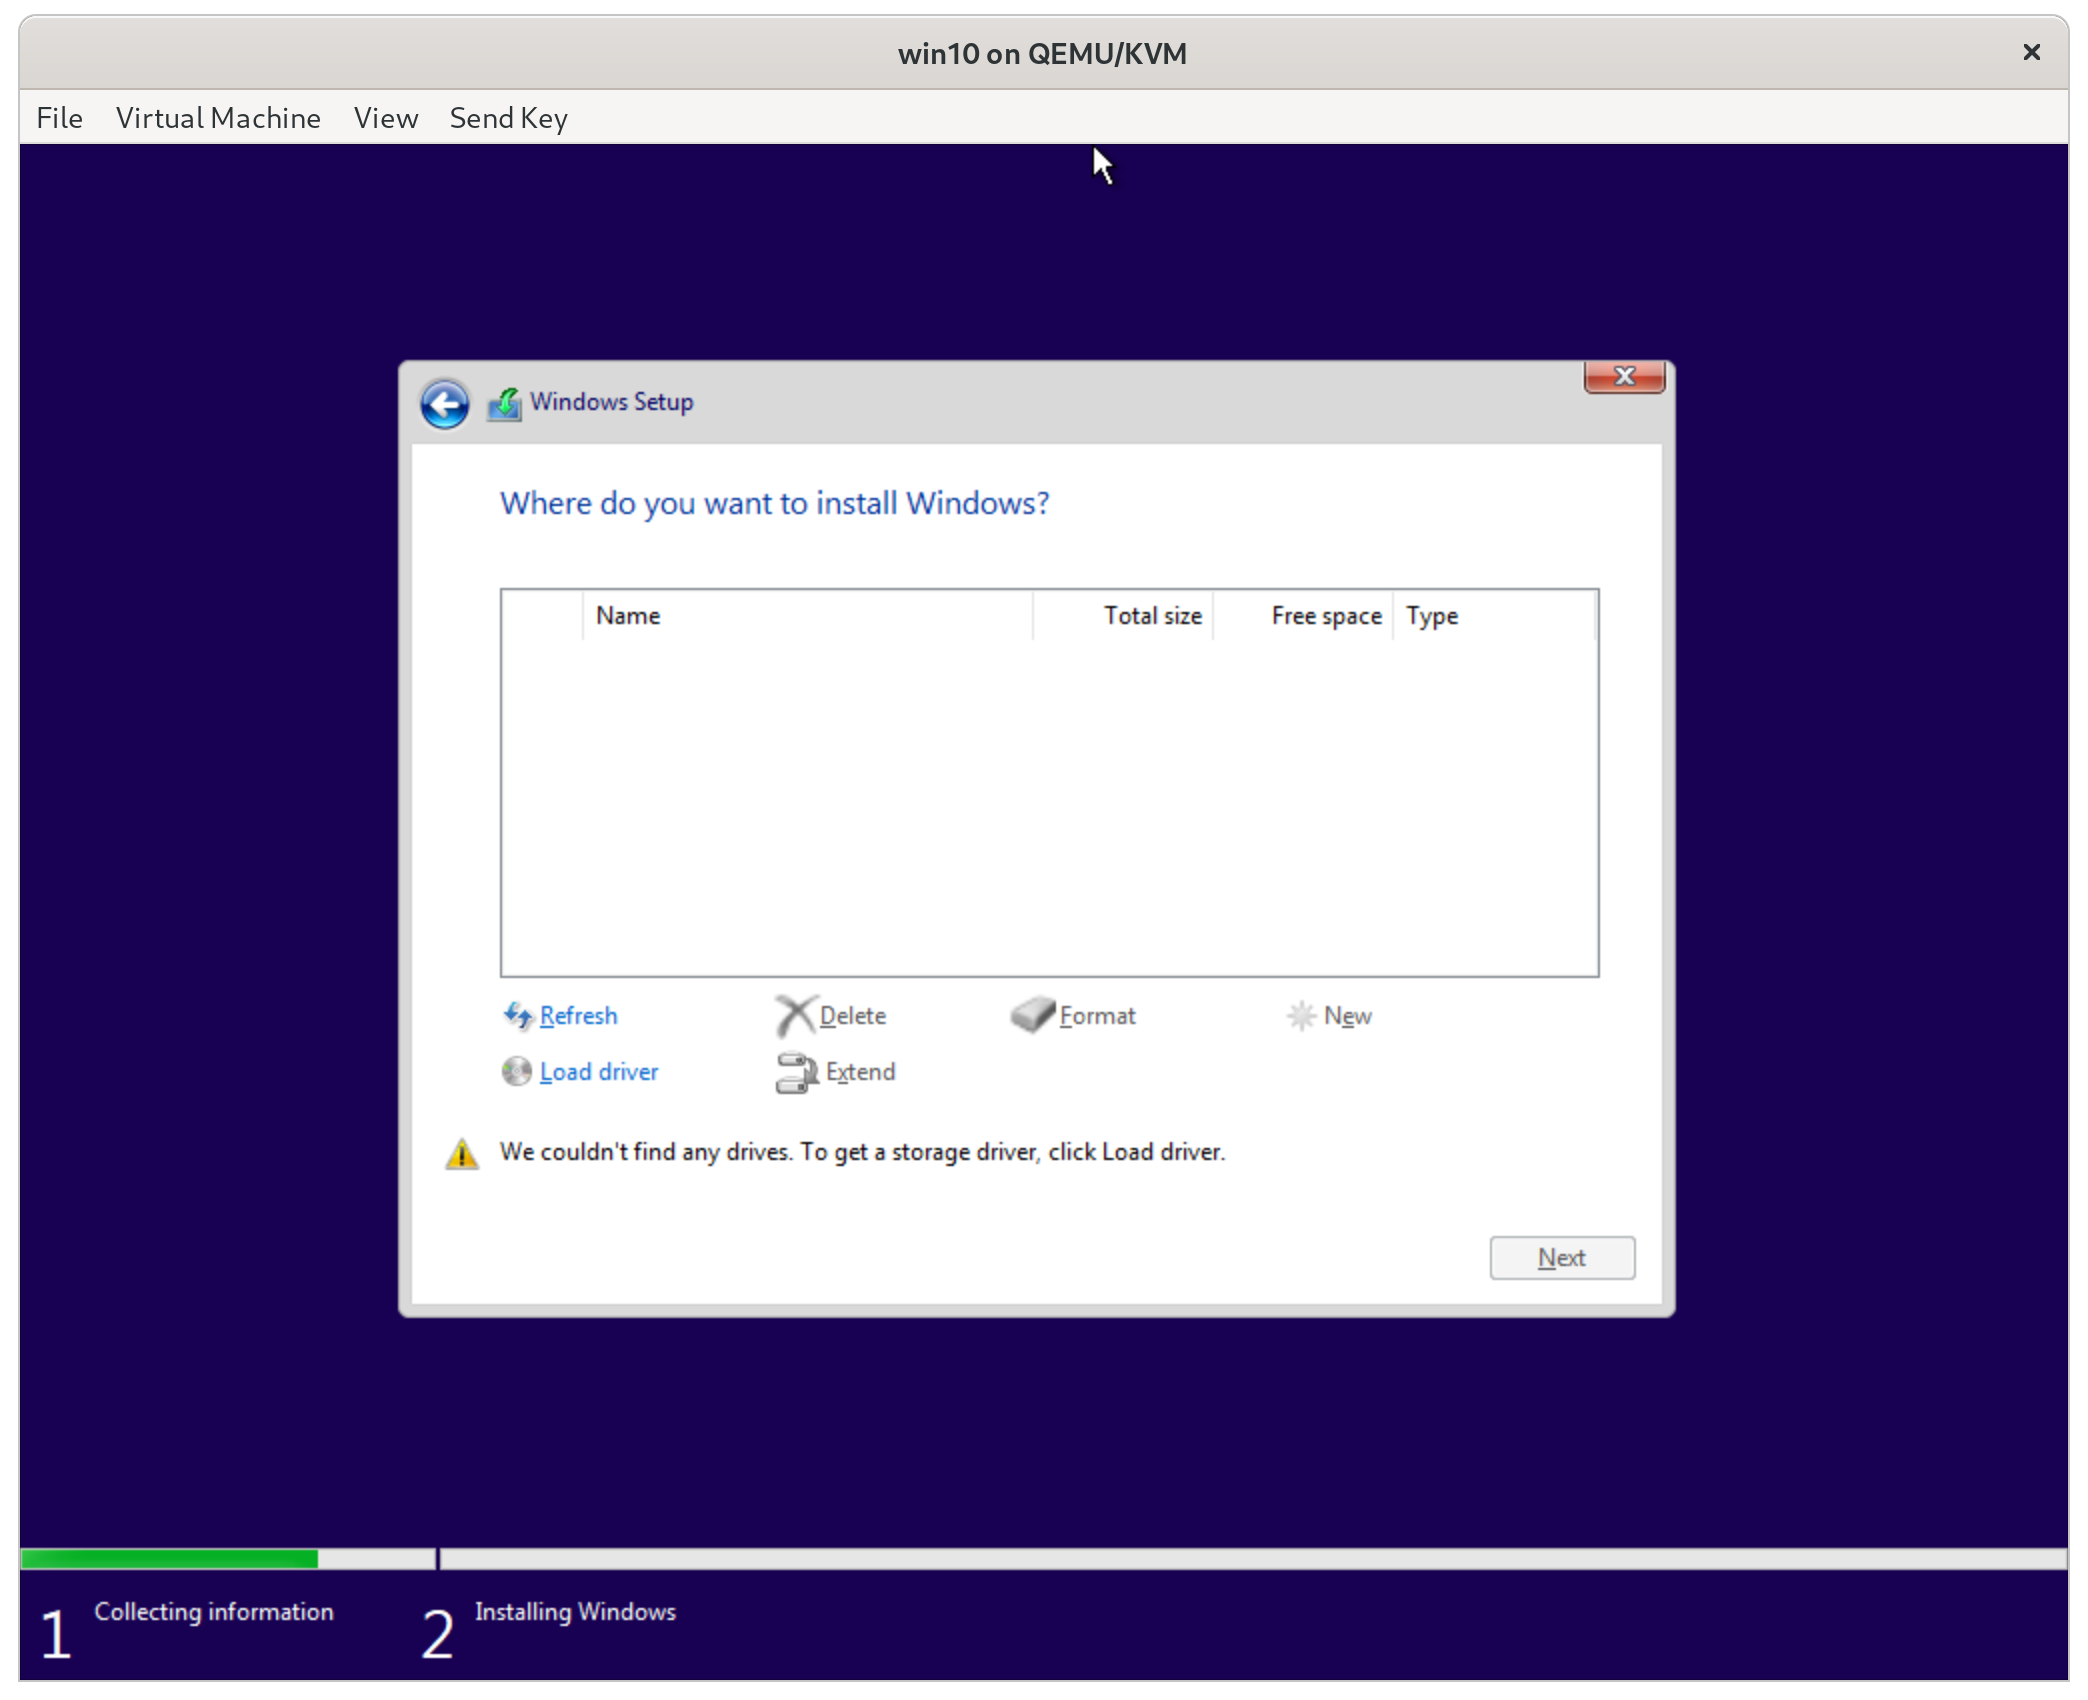
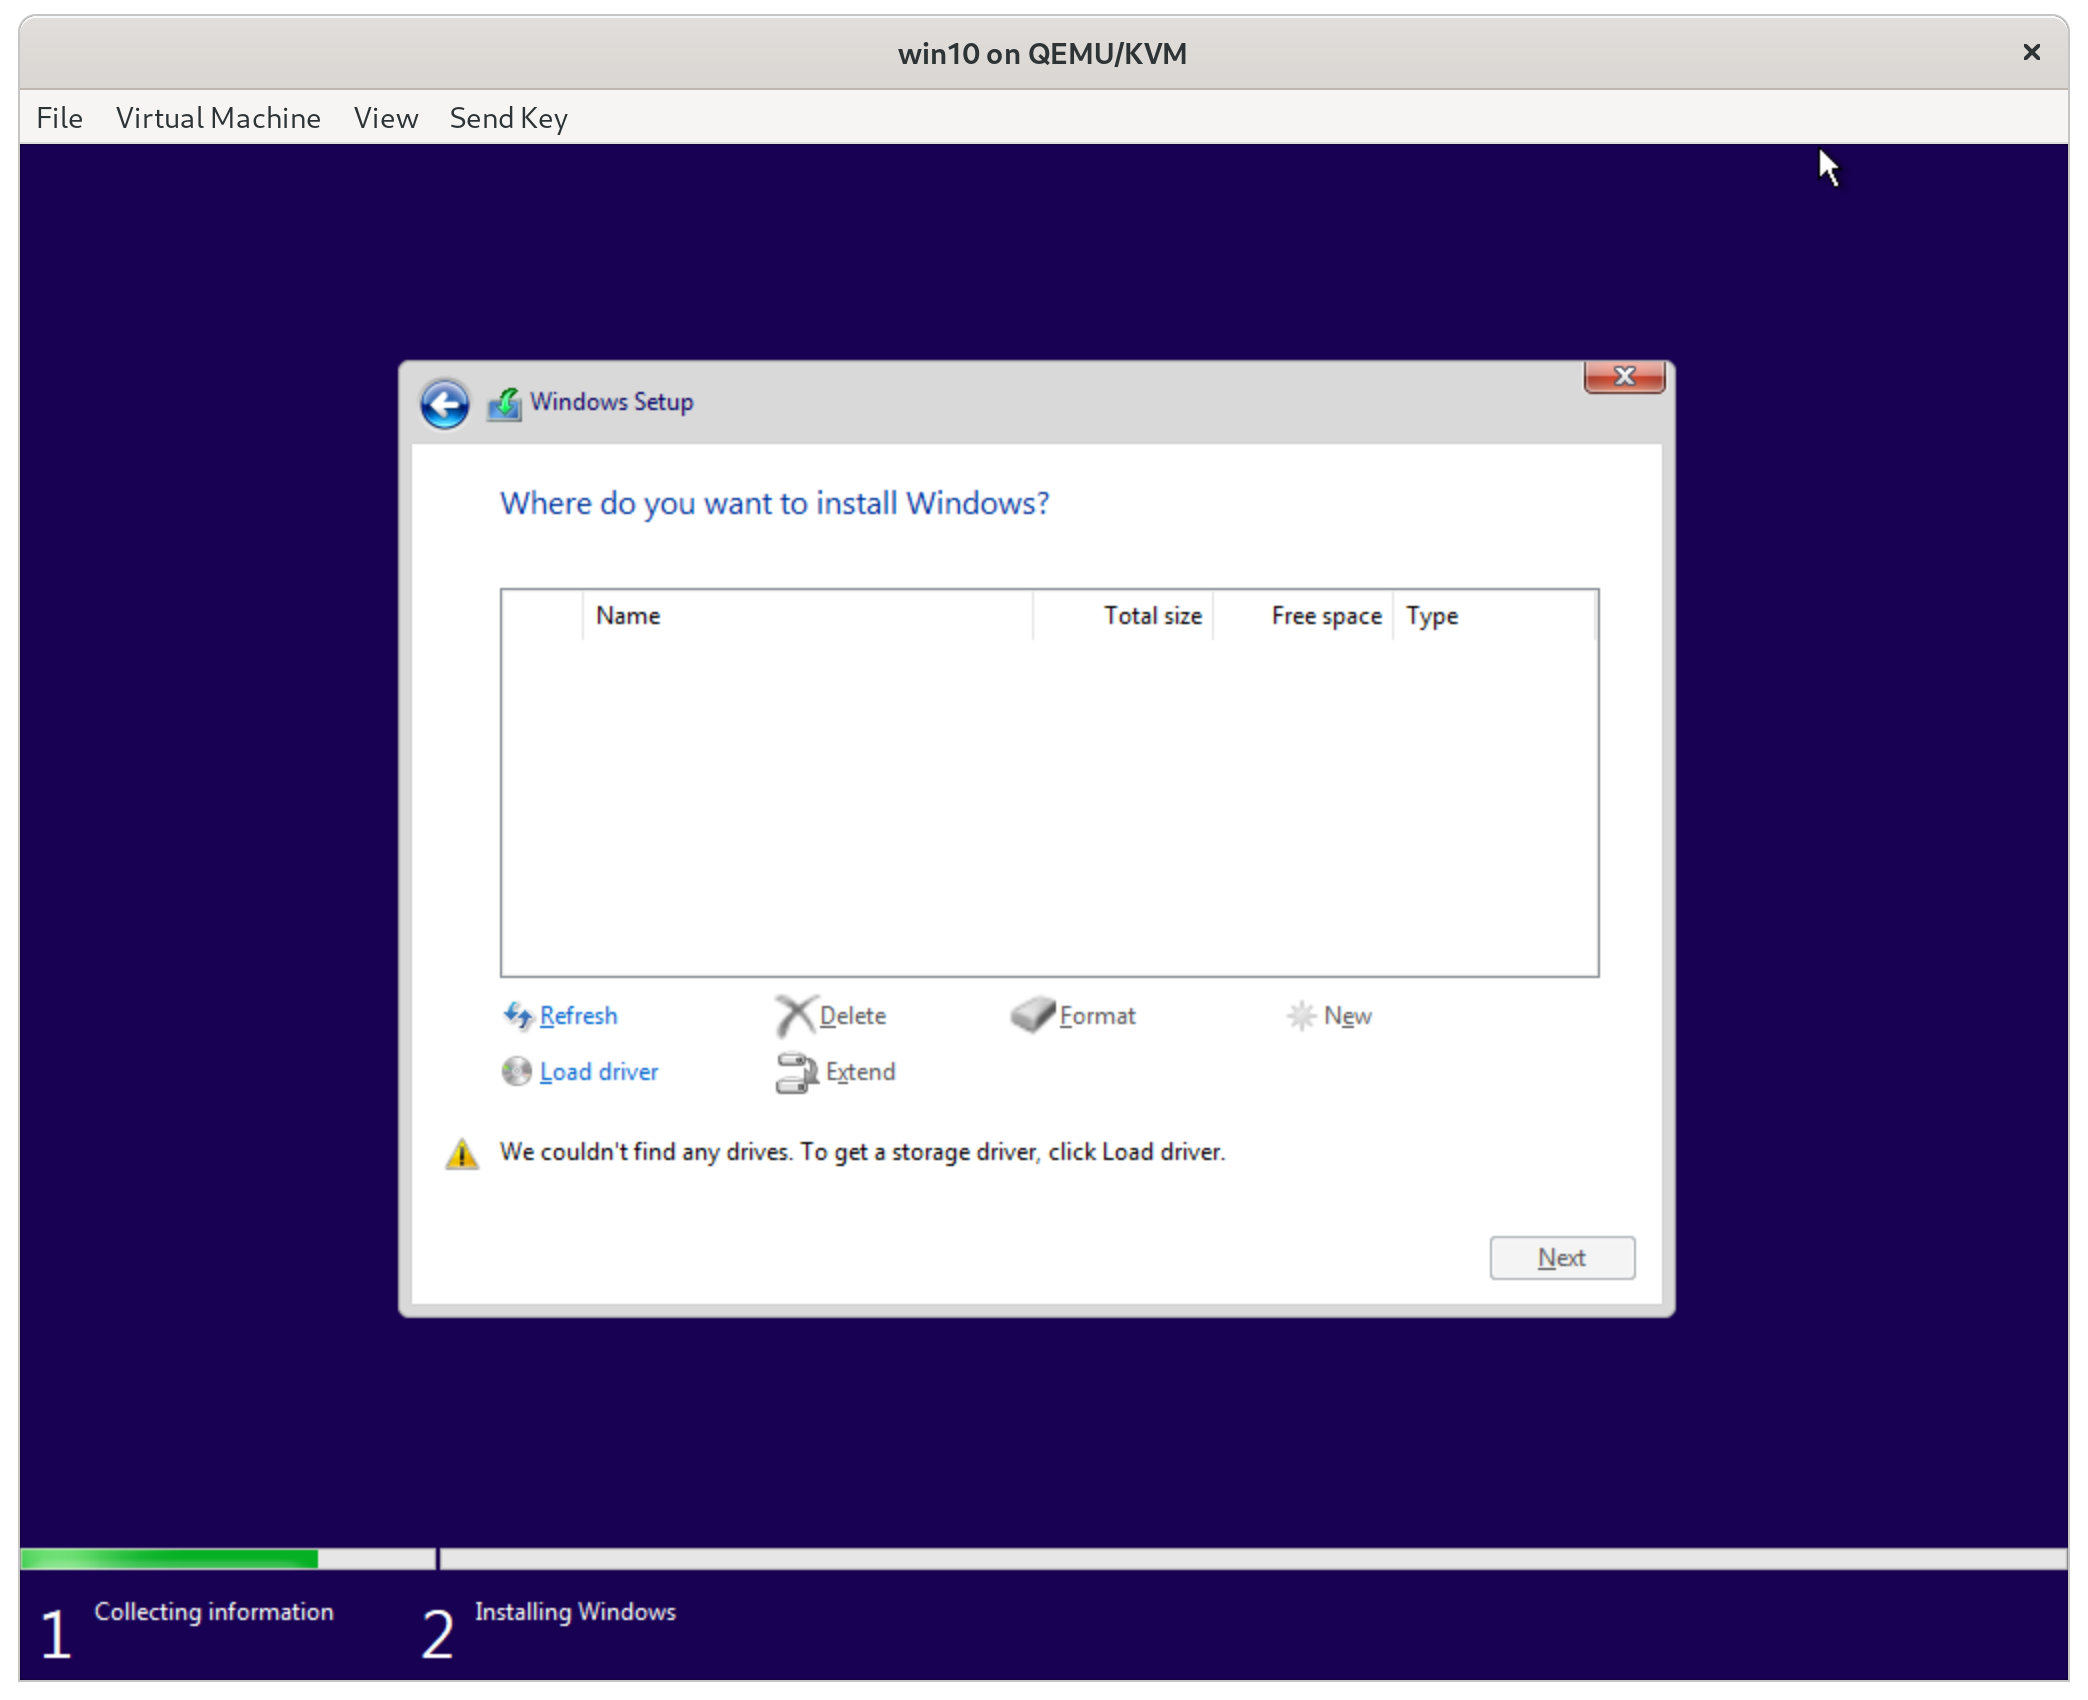
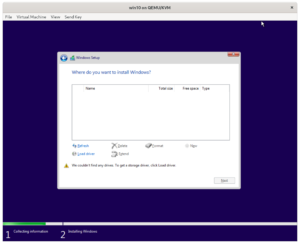
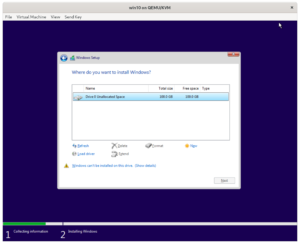
VirtIO - Get to the drive selection screen
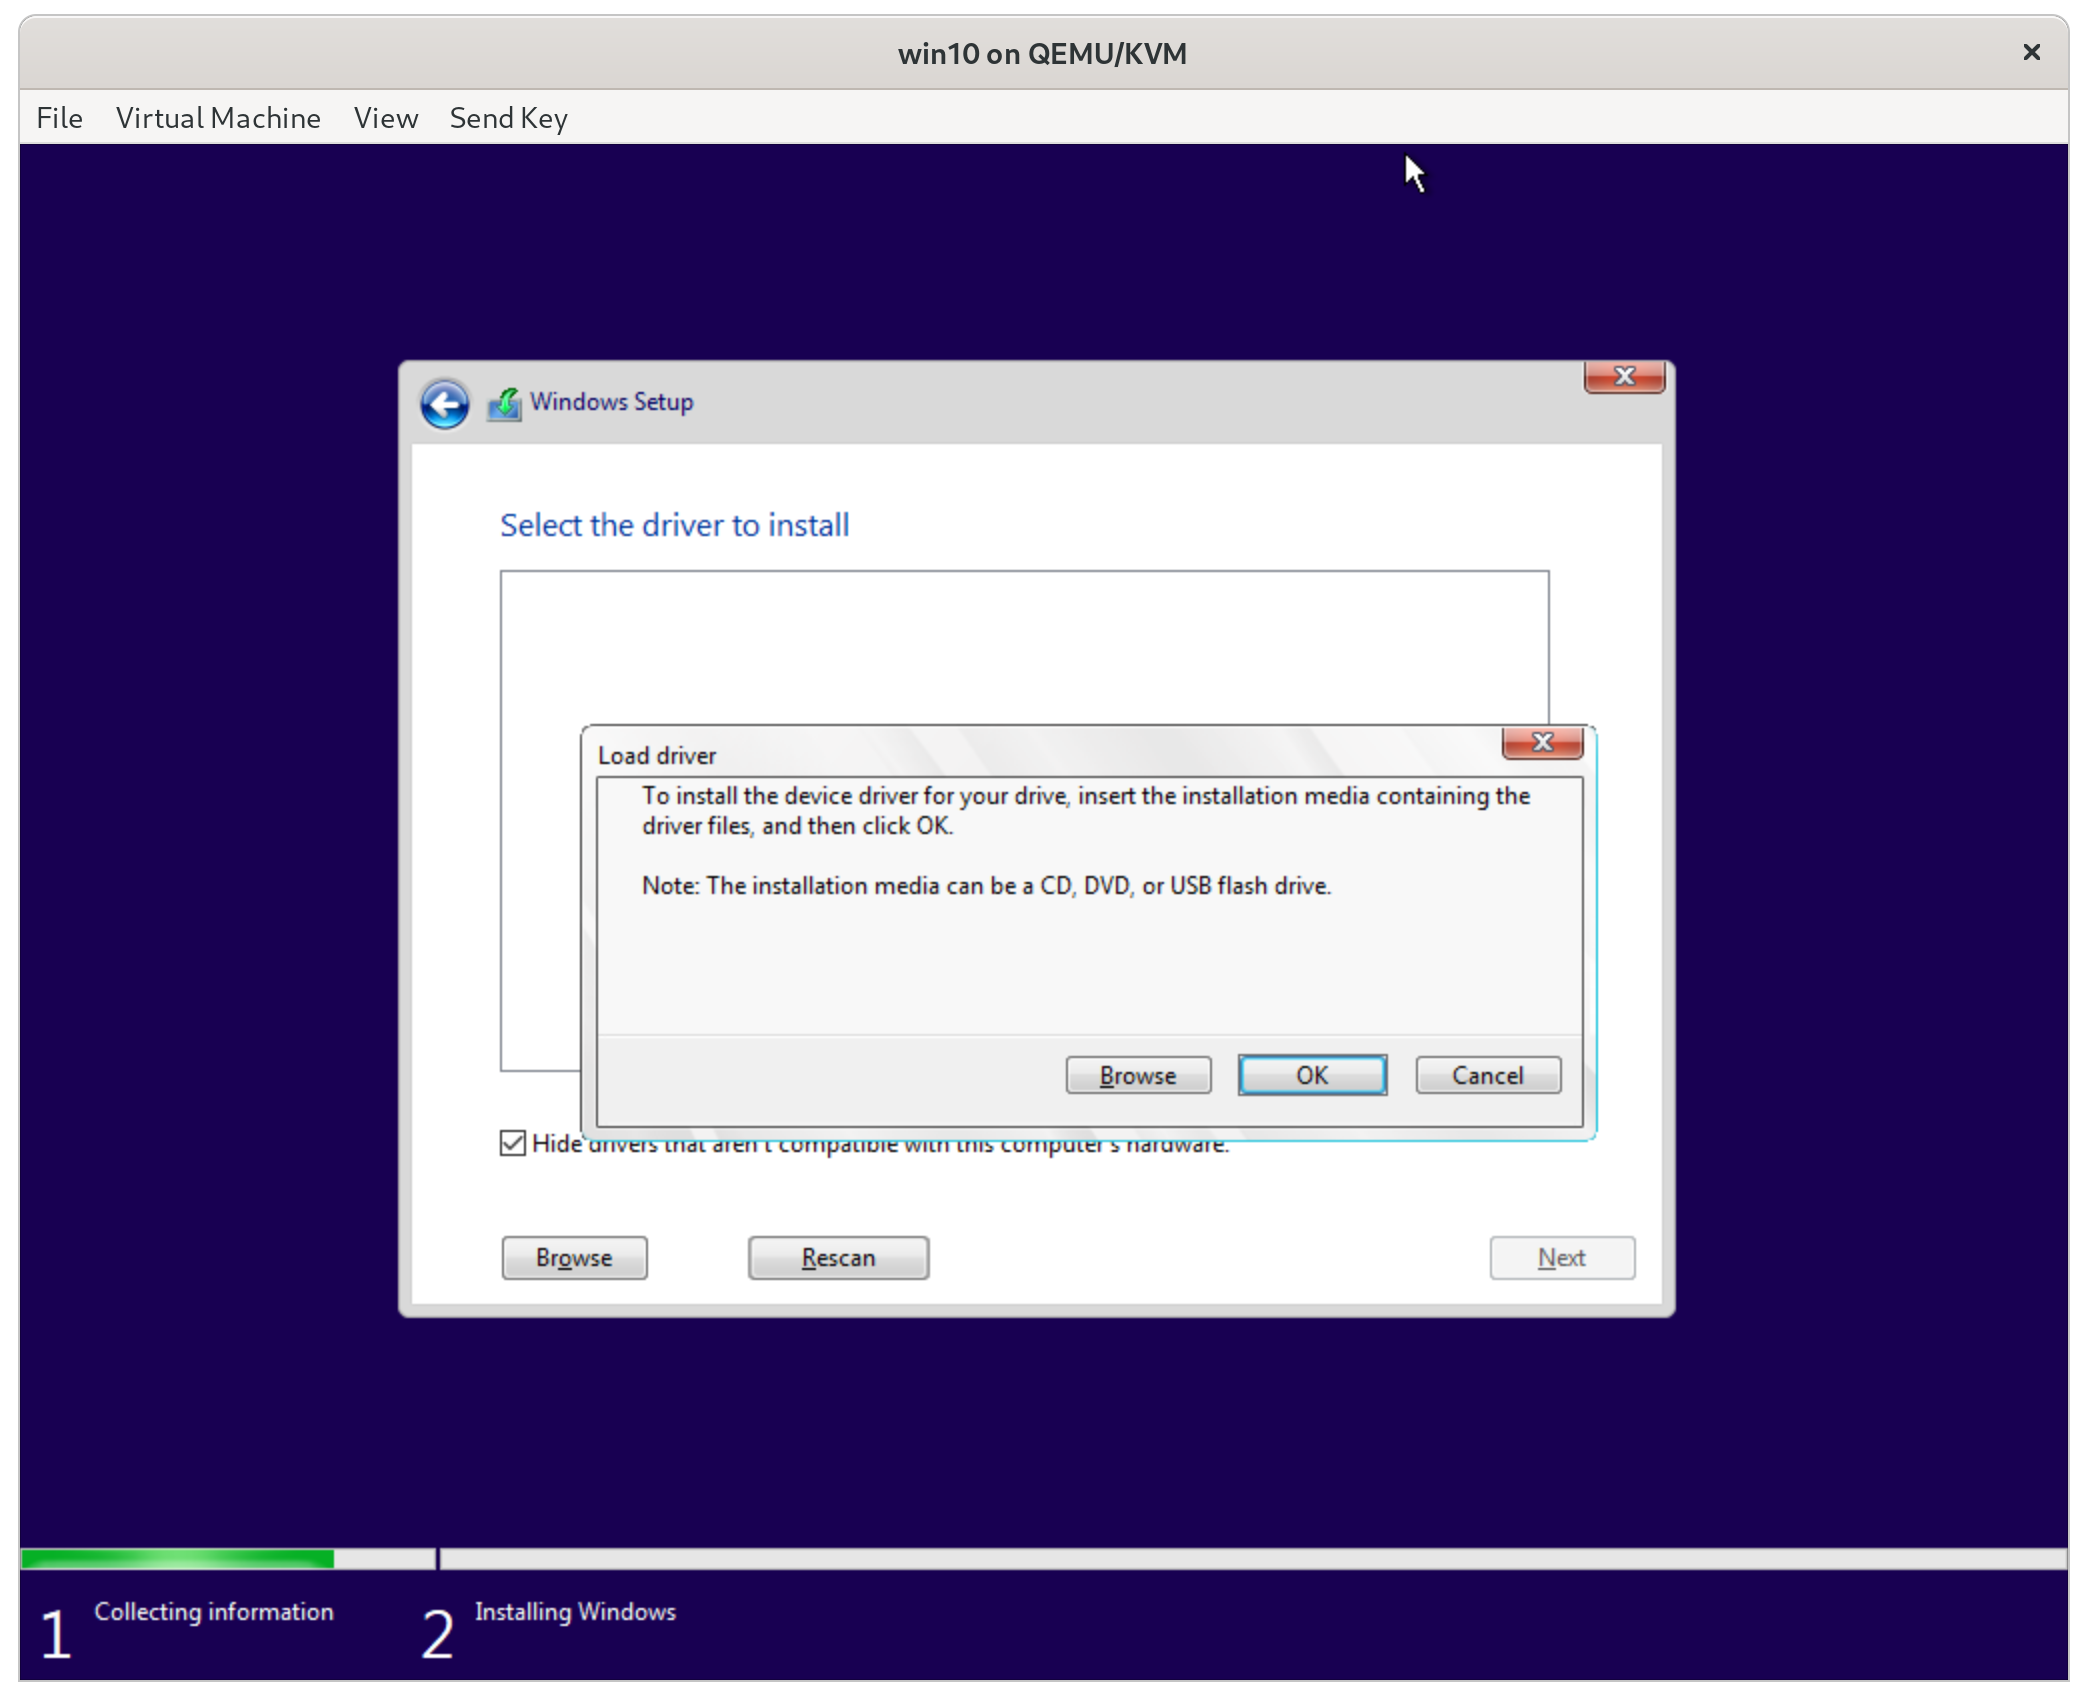
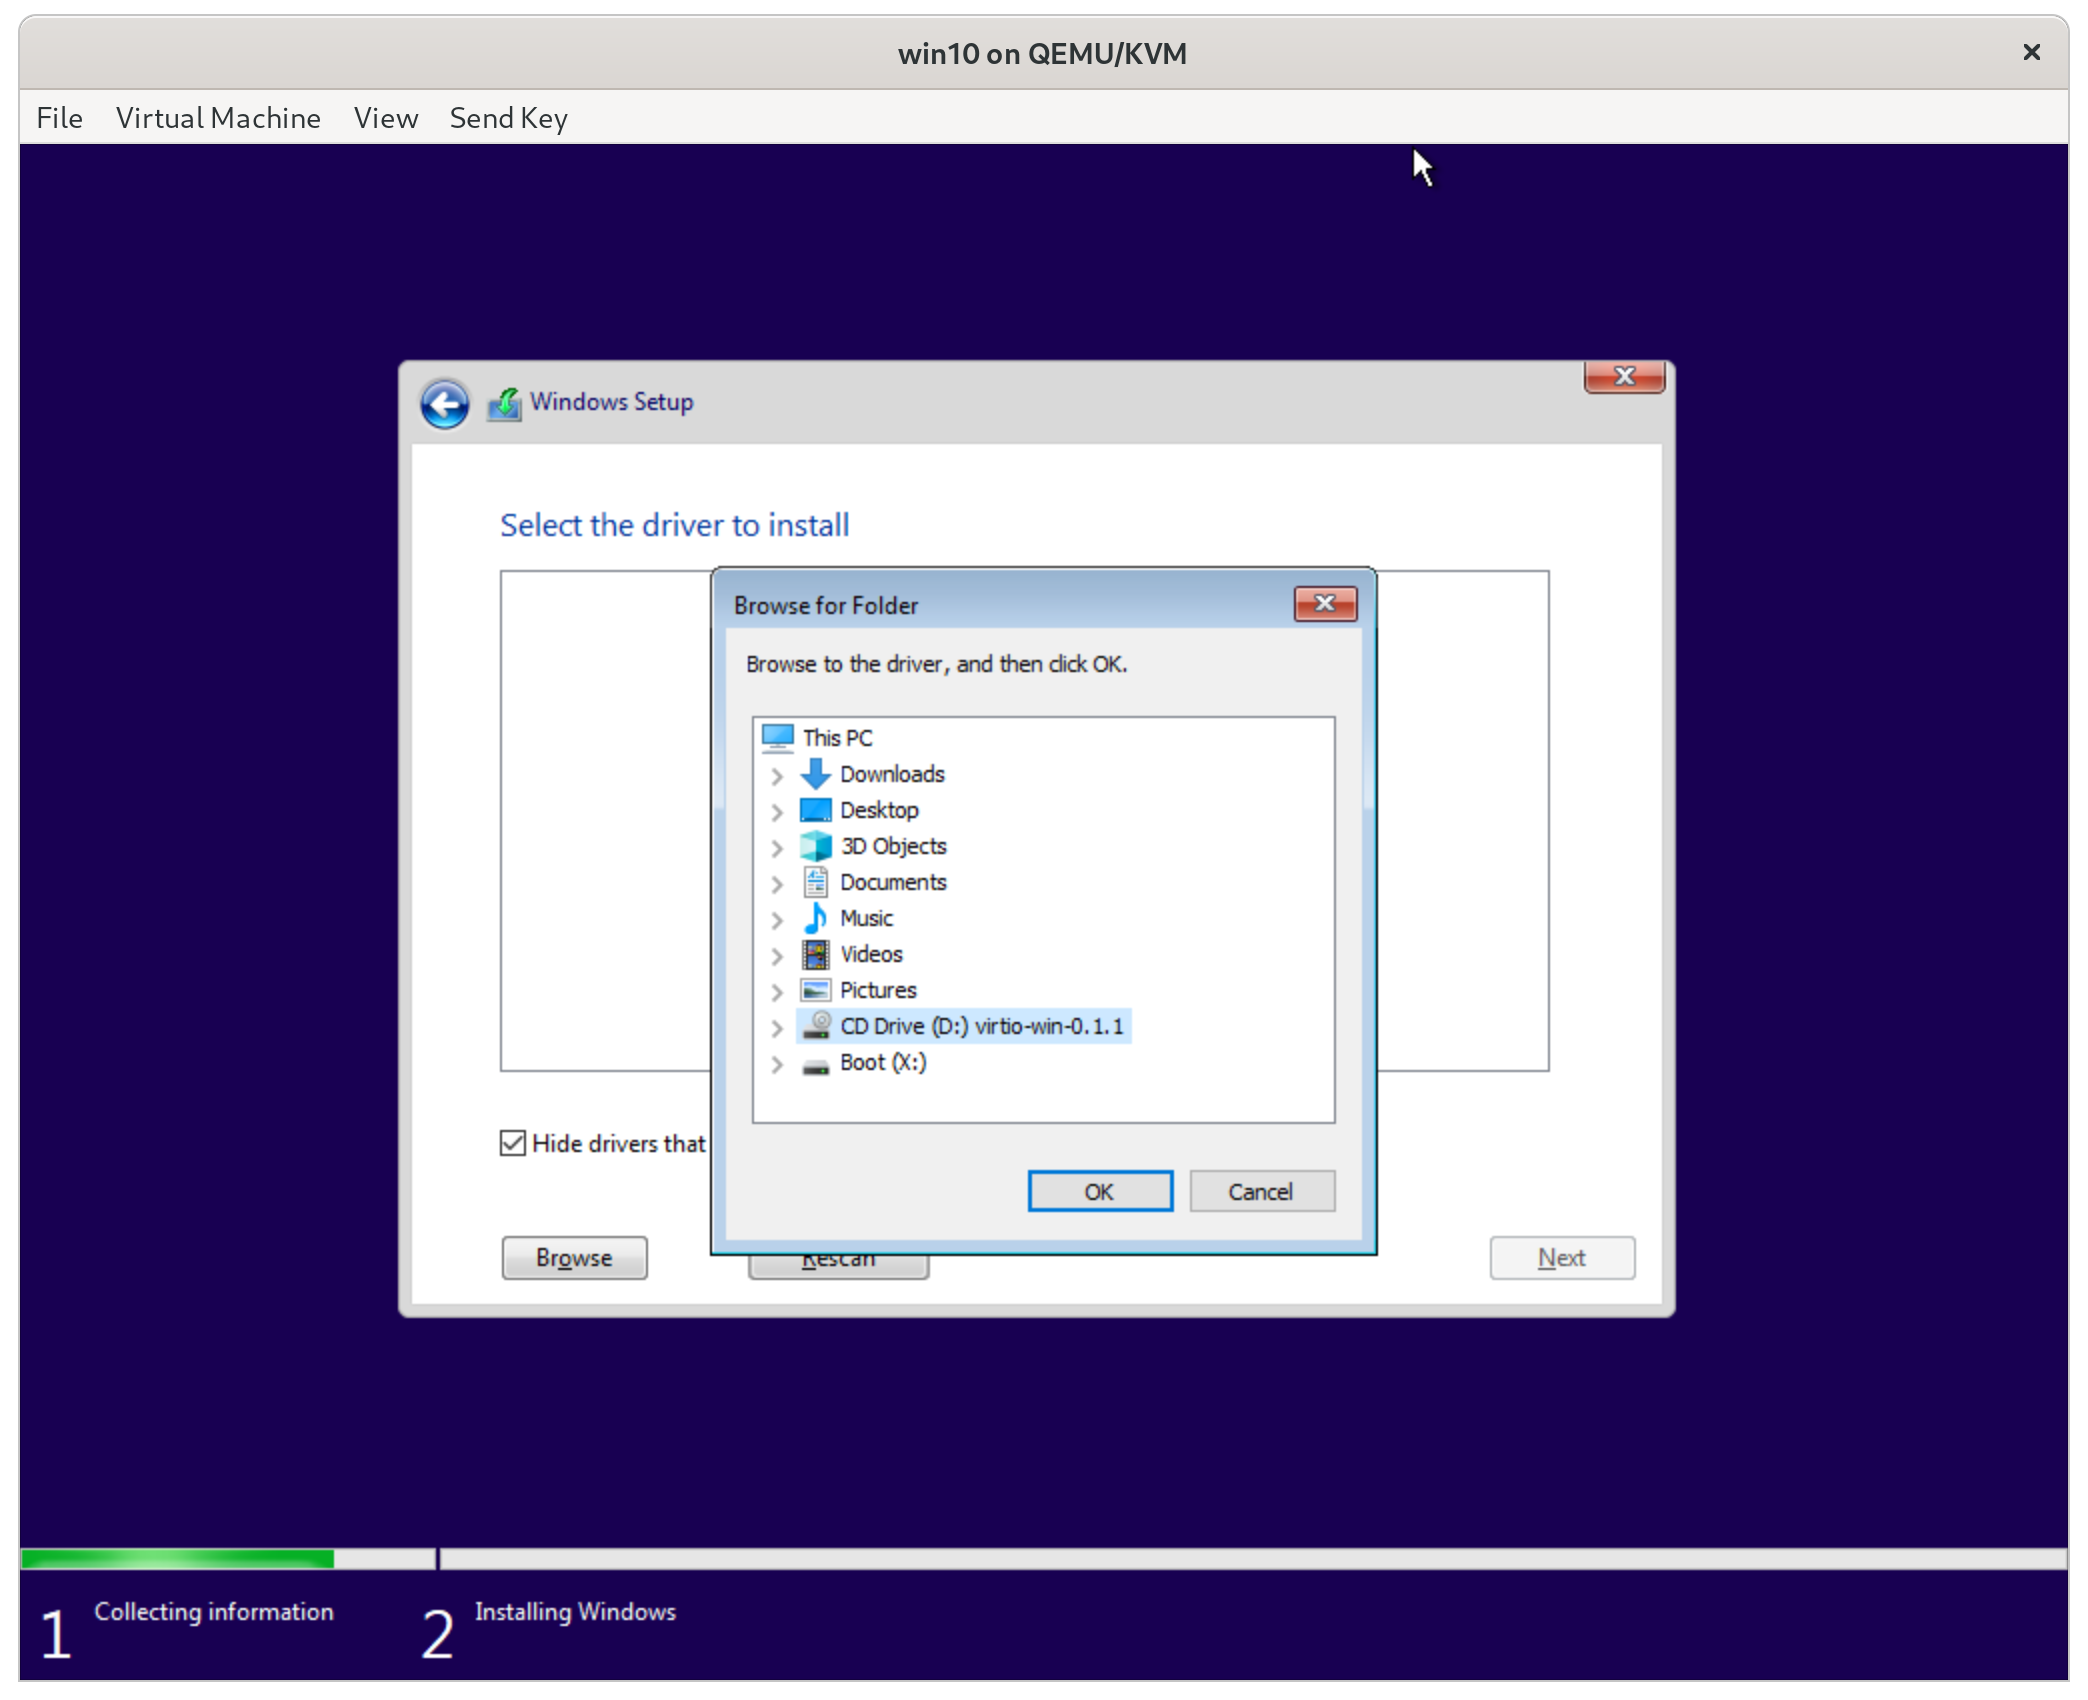
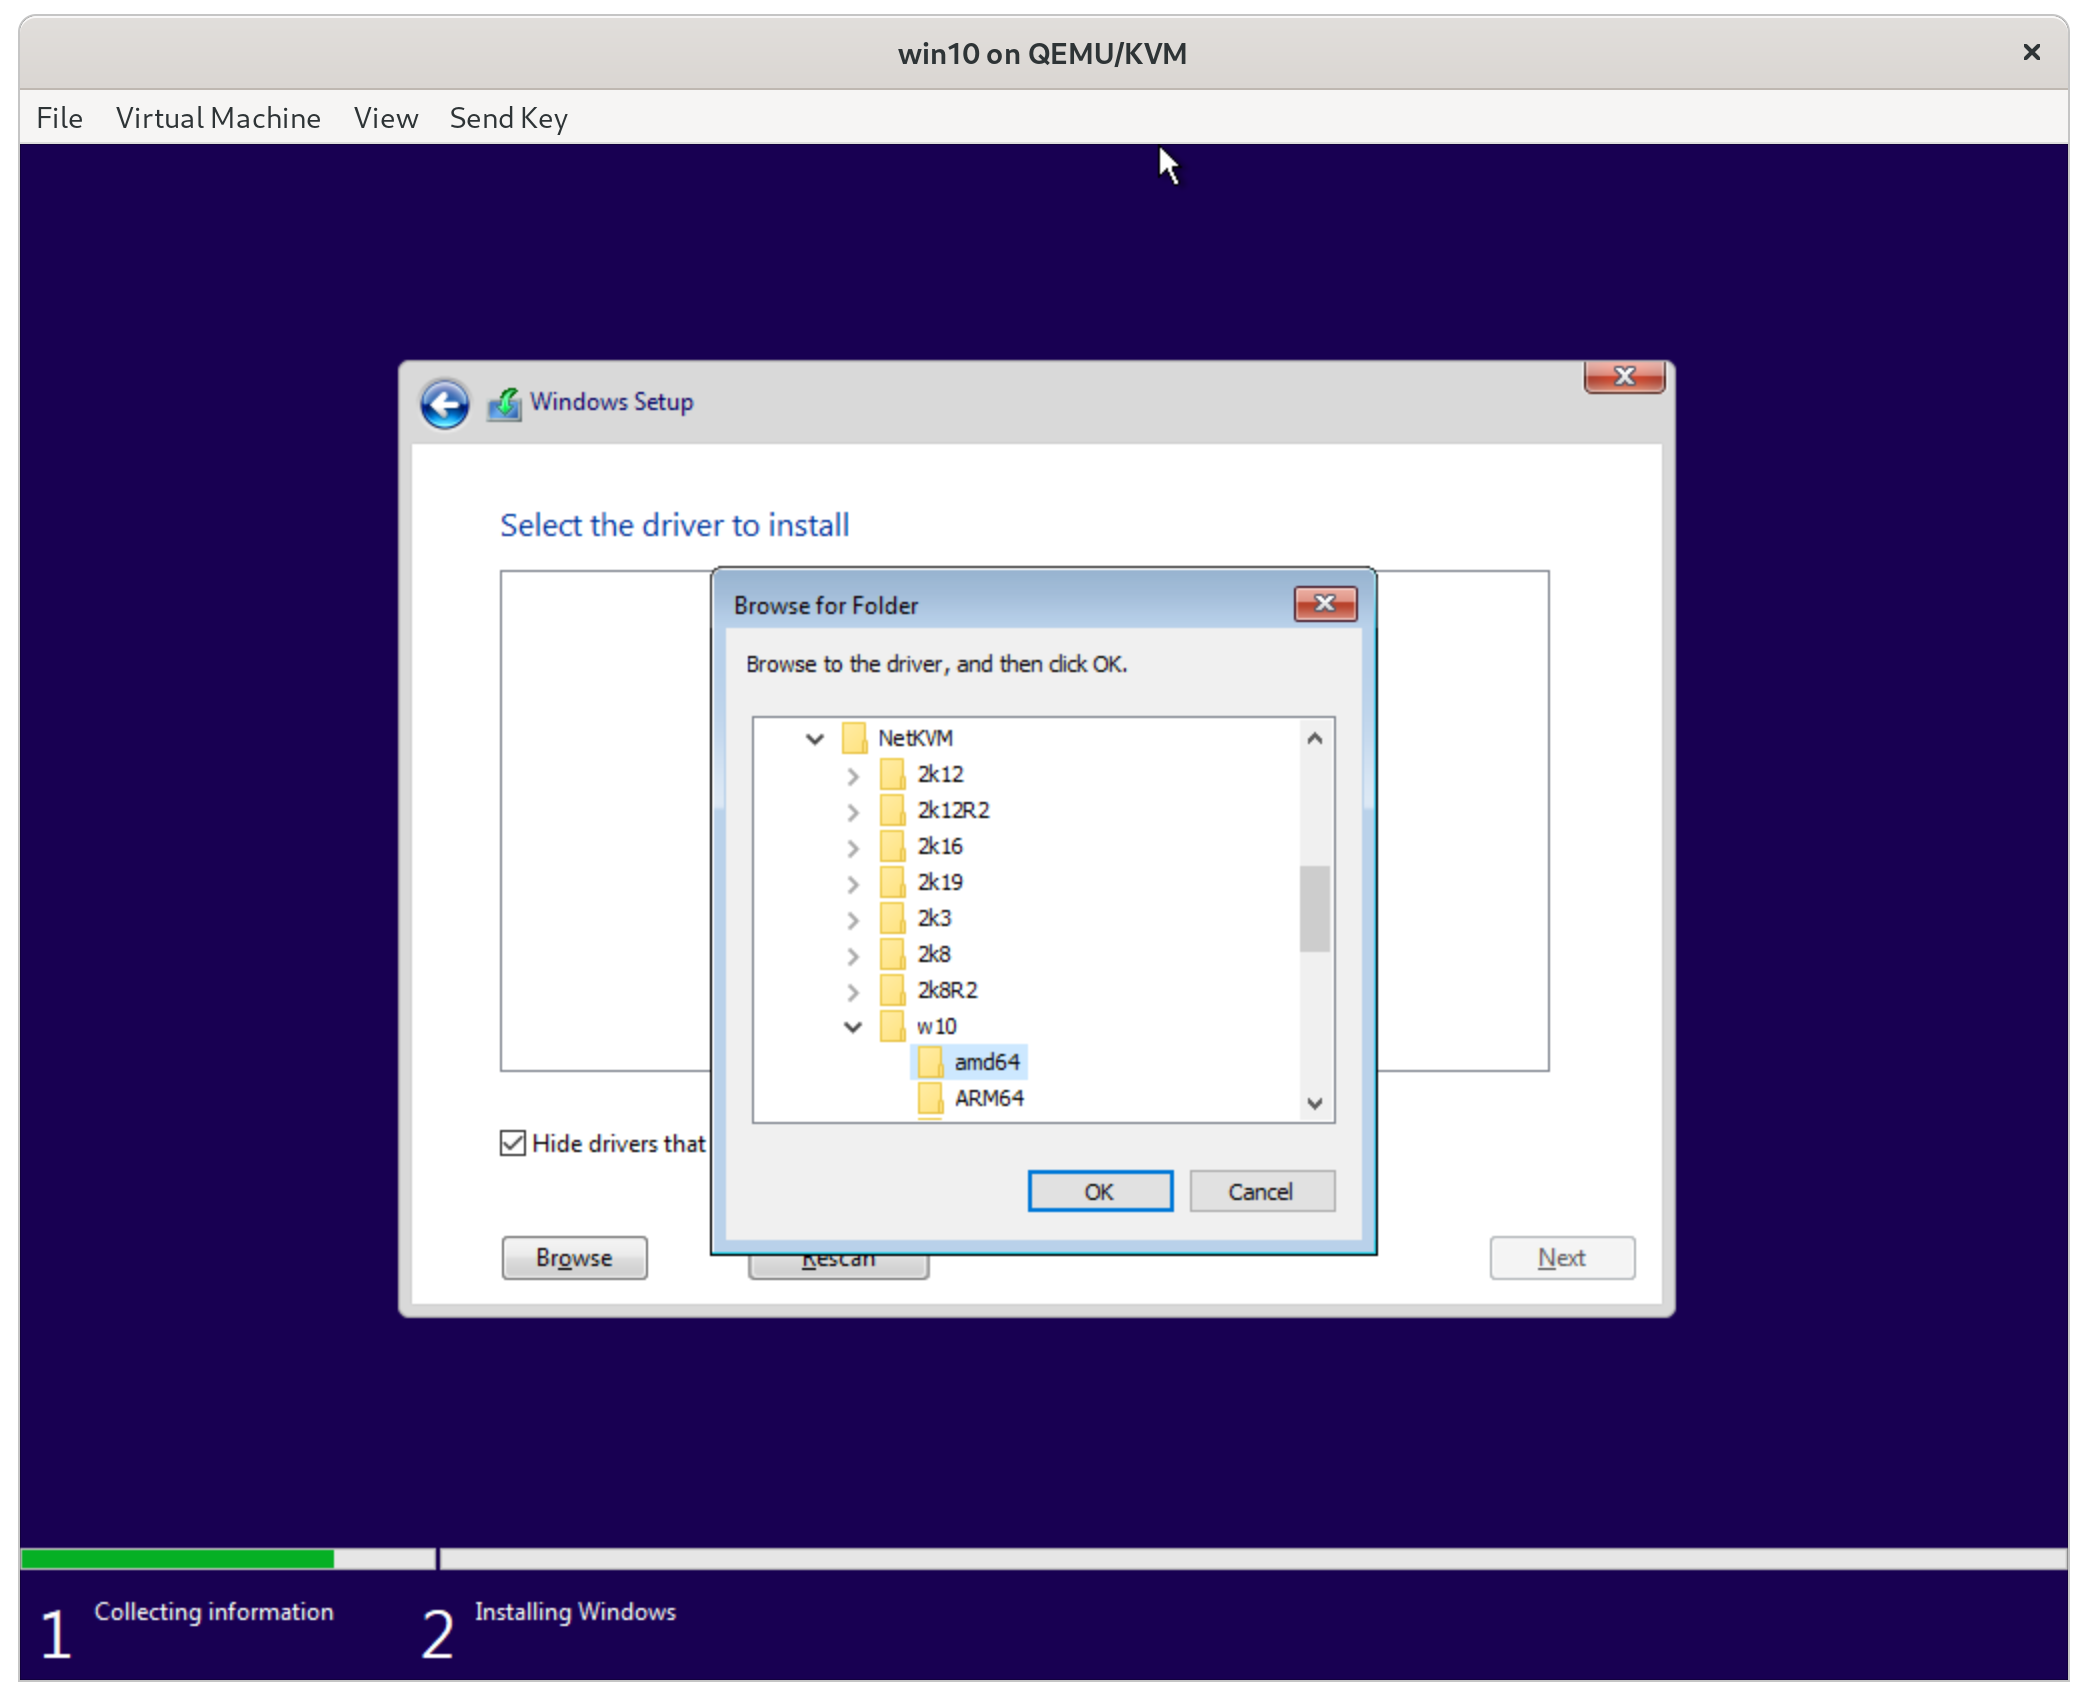
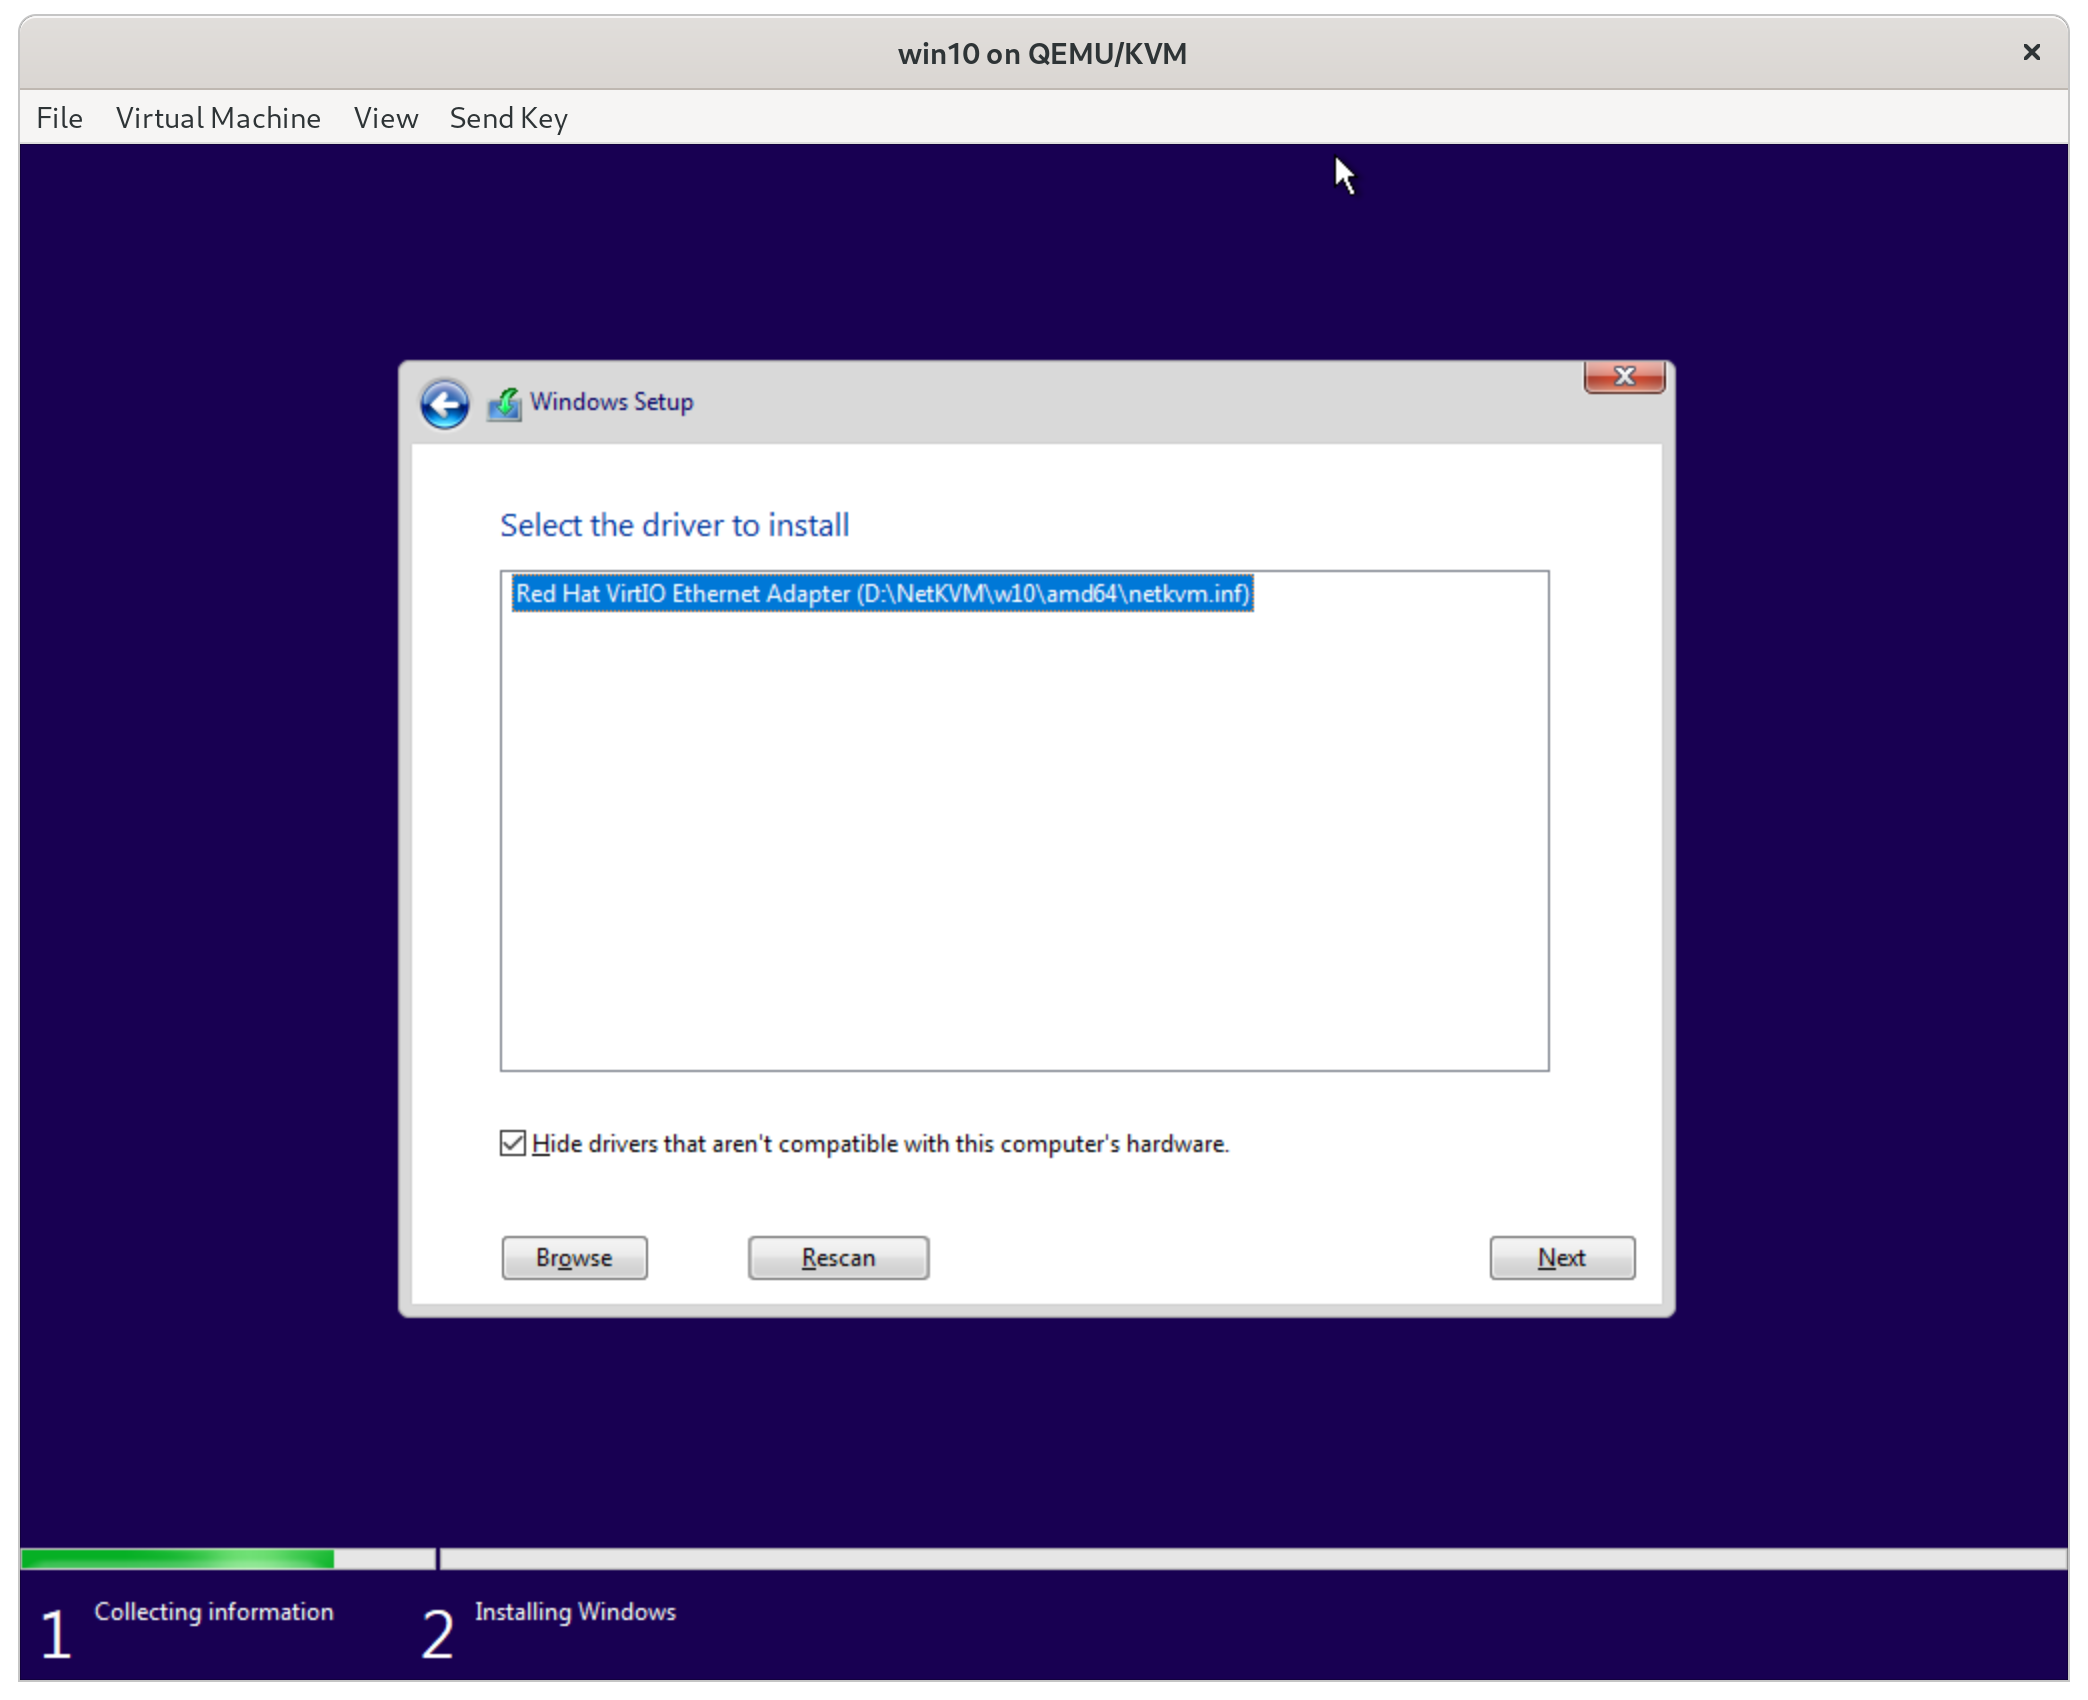
- Swap the Windows 10 iso with the virtio windows driver iso.
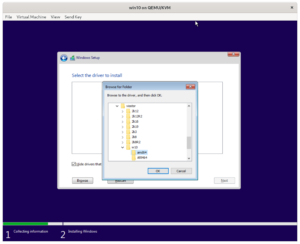
- Select the NETKVM/w10/amd64 directory and install the network controller driver.
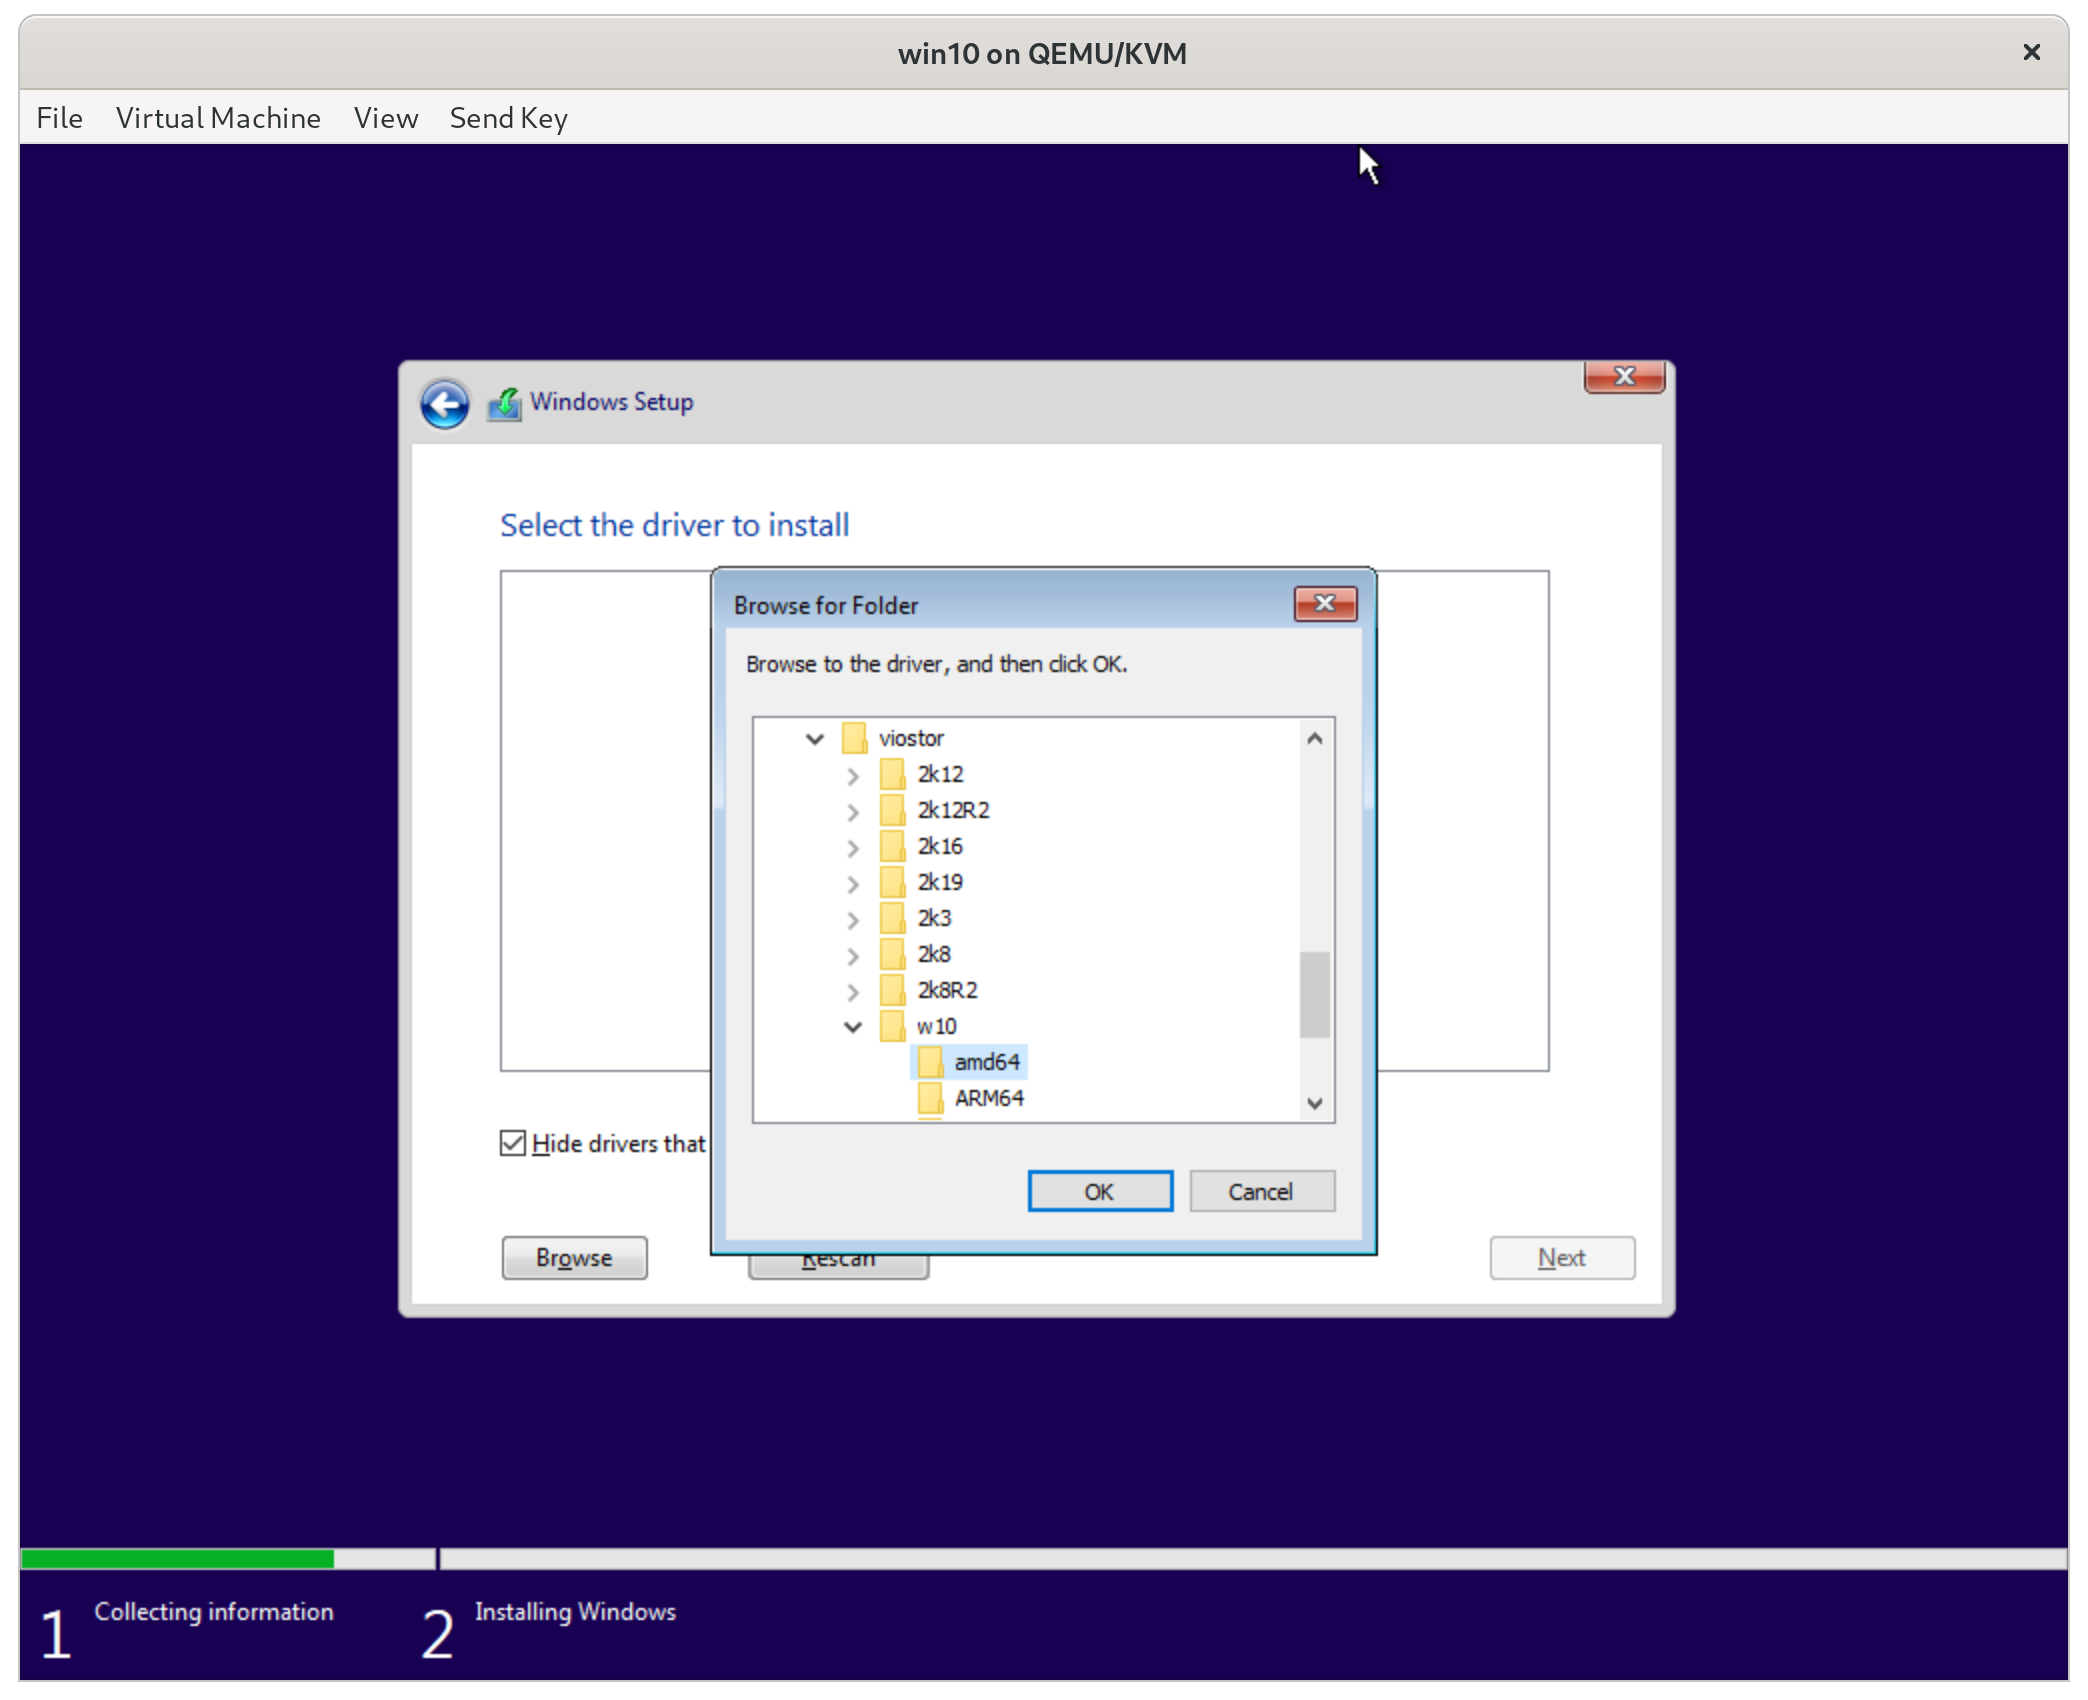
- Select the viostor/w10/amd64 directory and install the virtio SCSI driver.
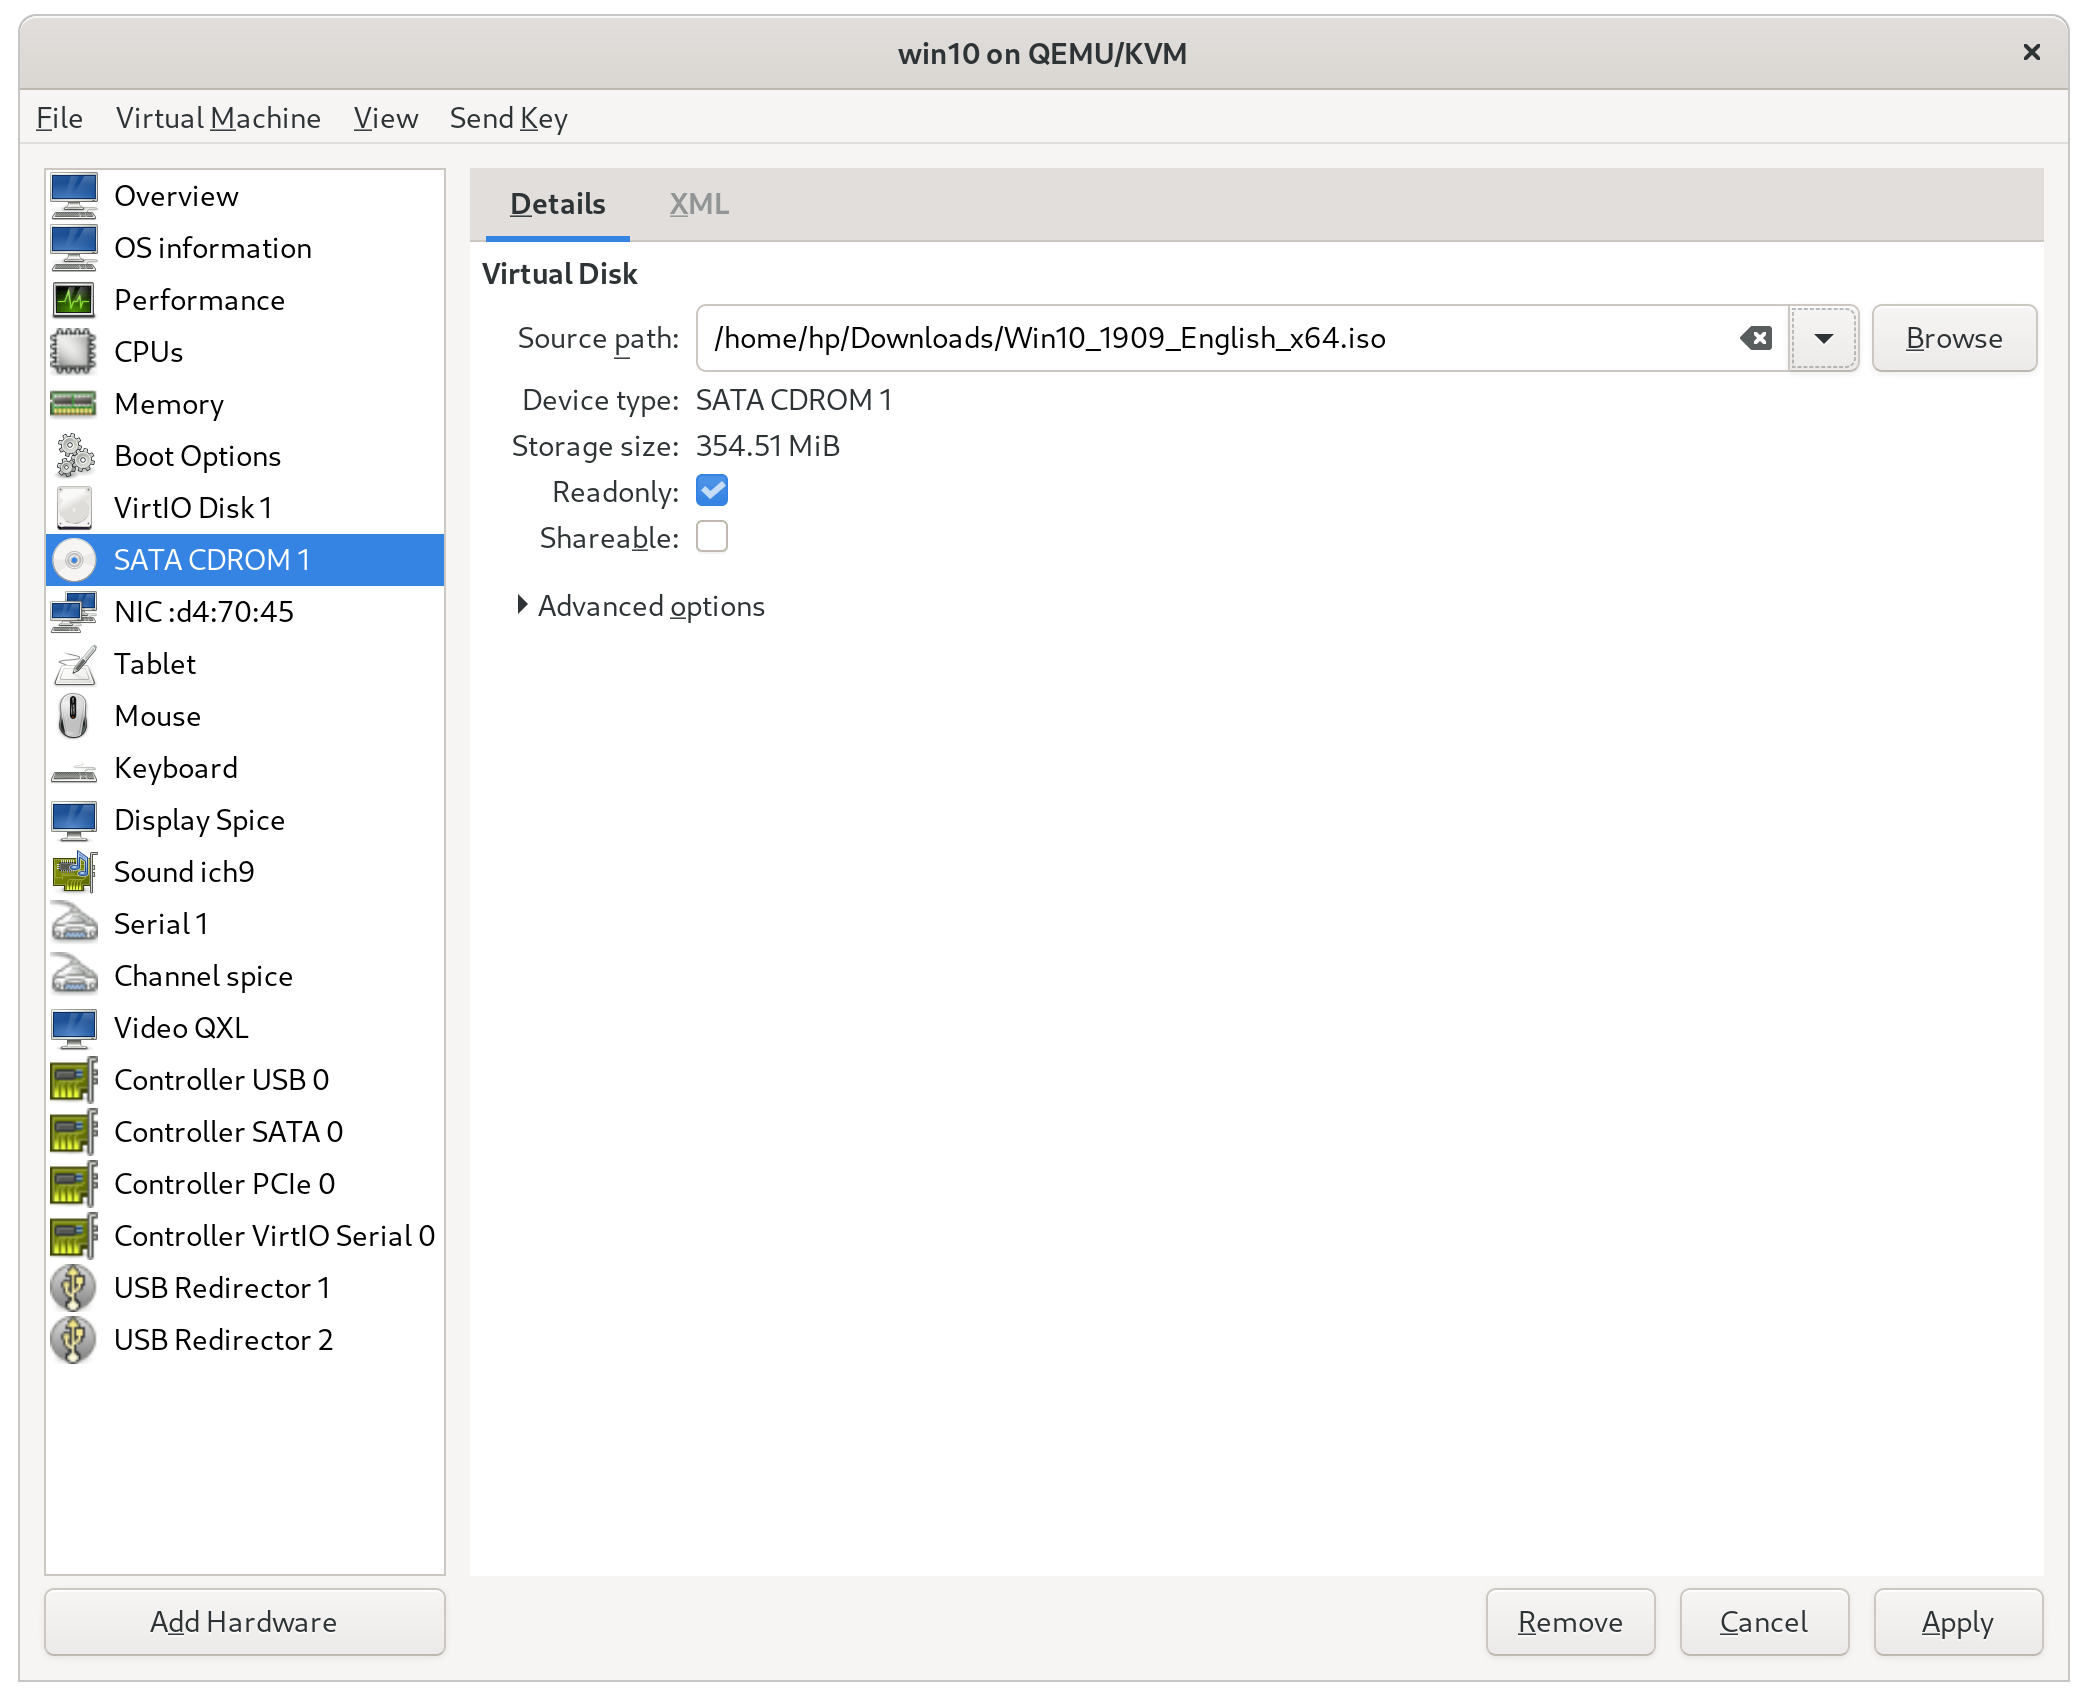
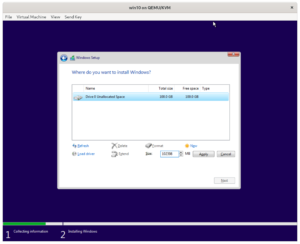
- Swap the Windows 10 iso back and continue the installation like normal
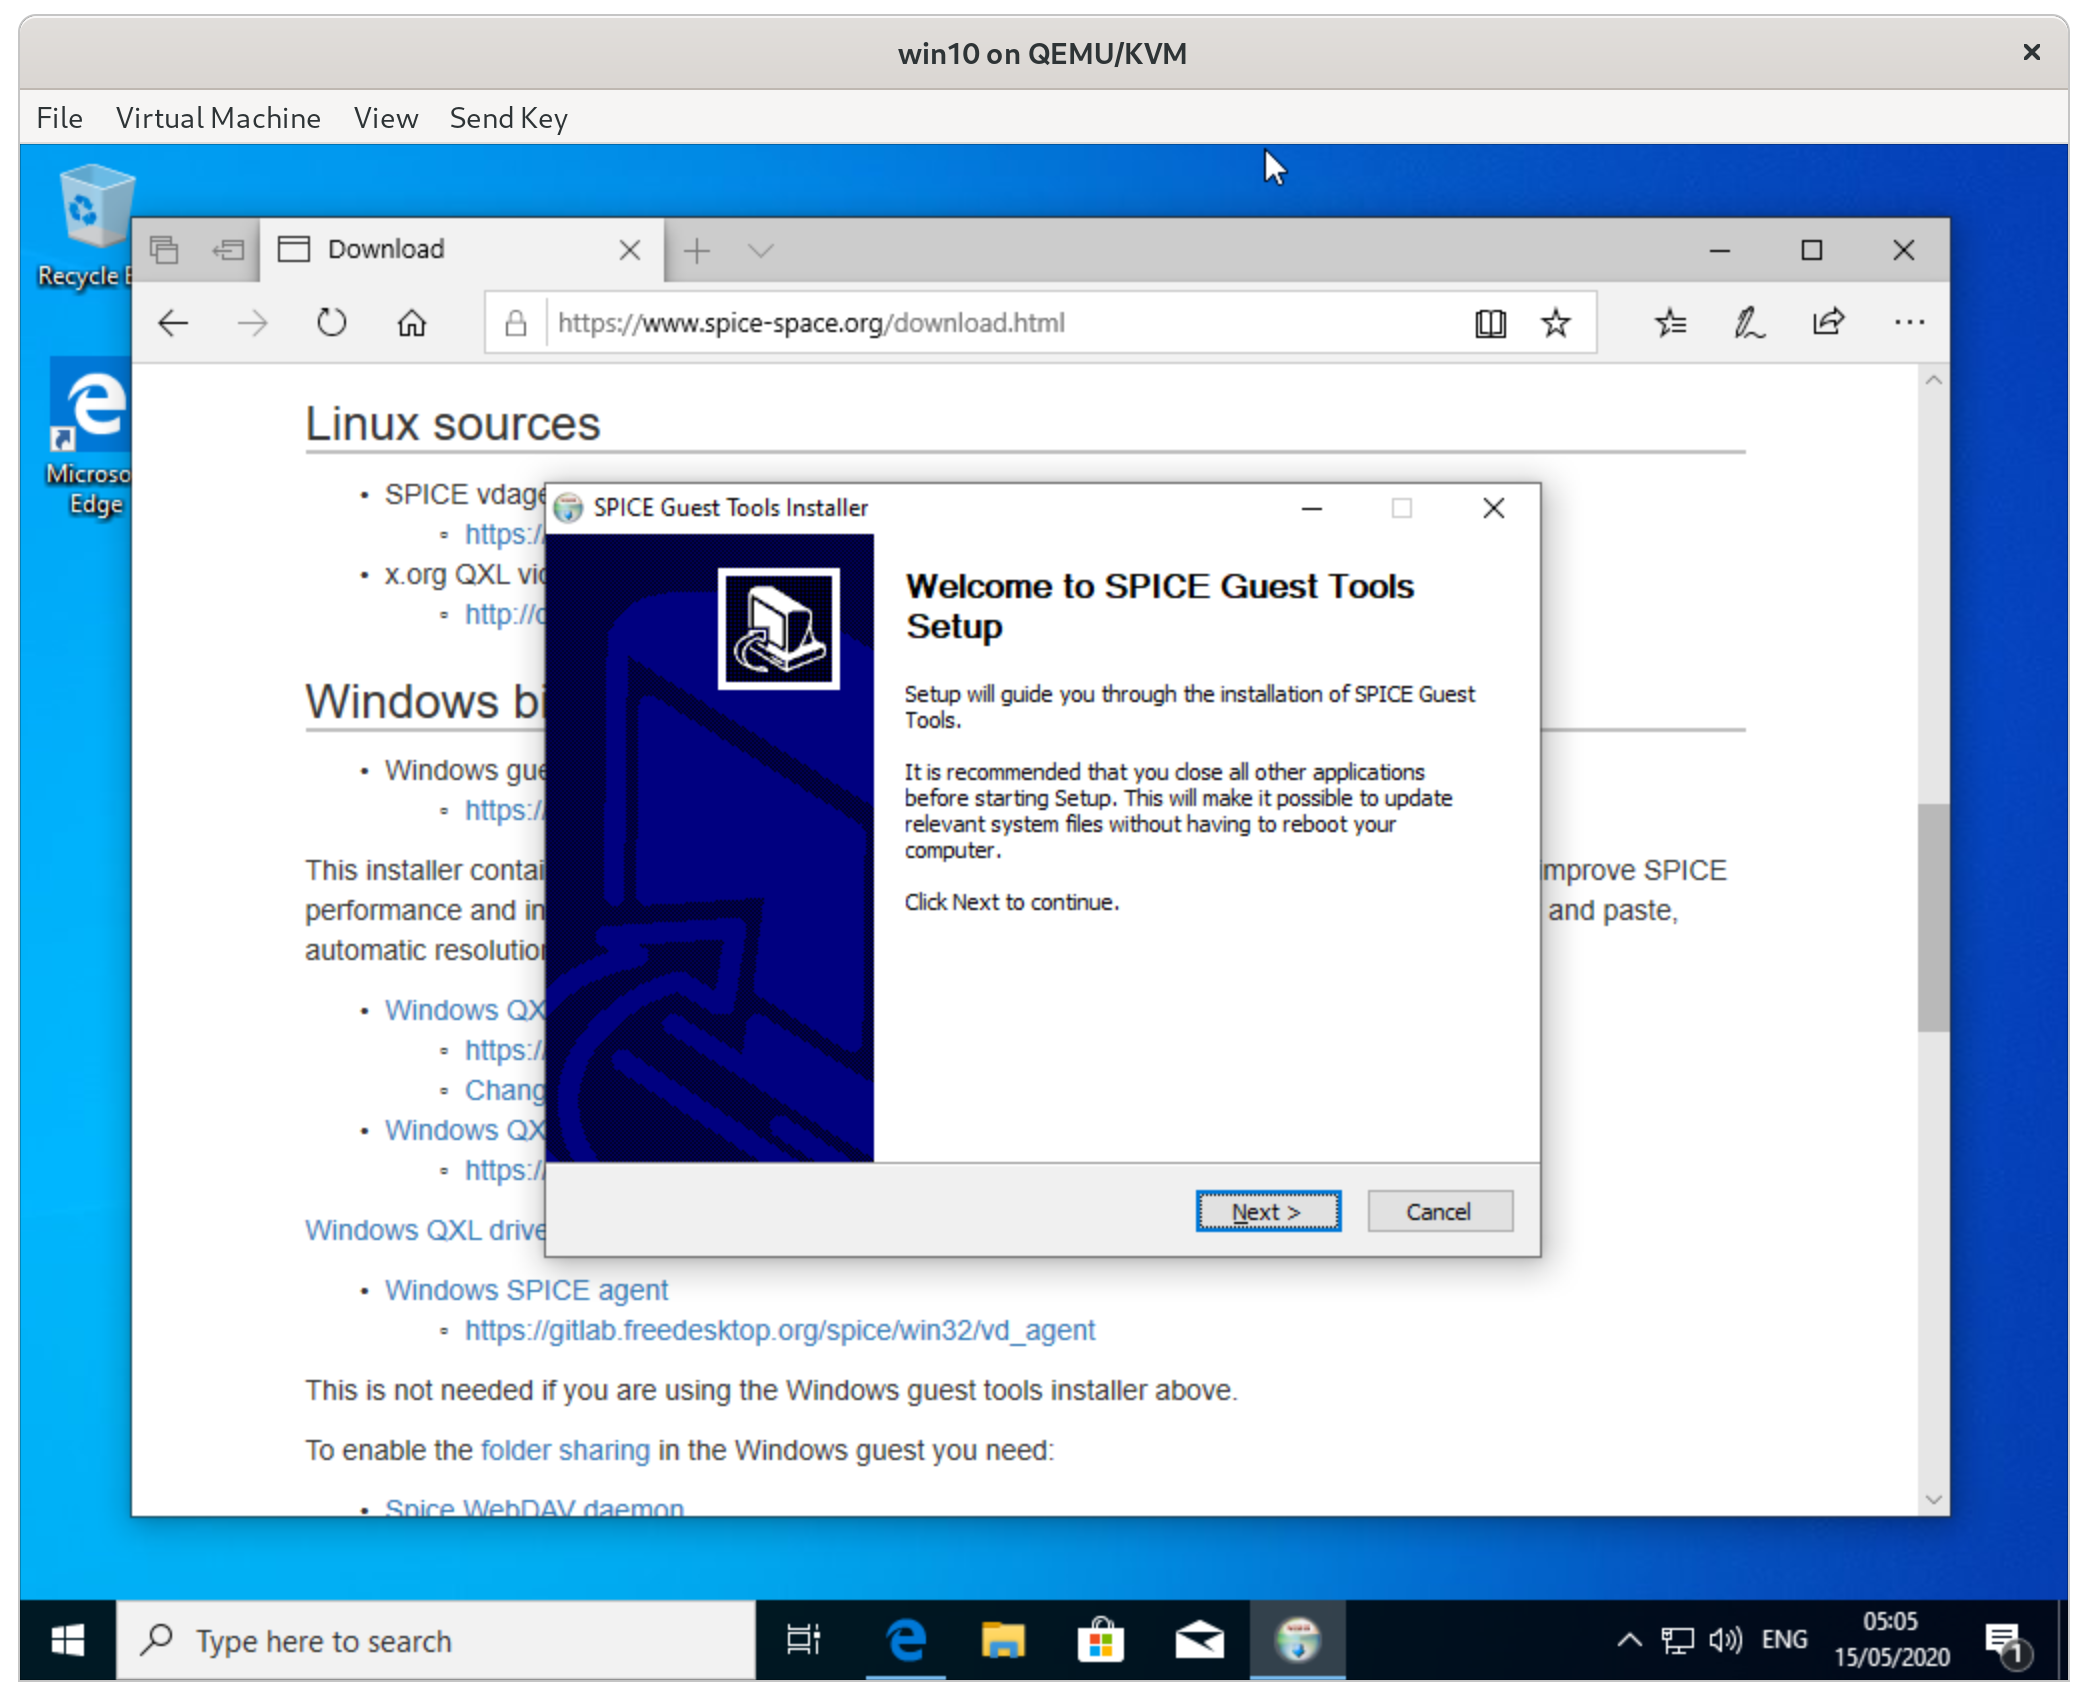
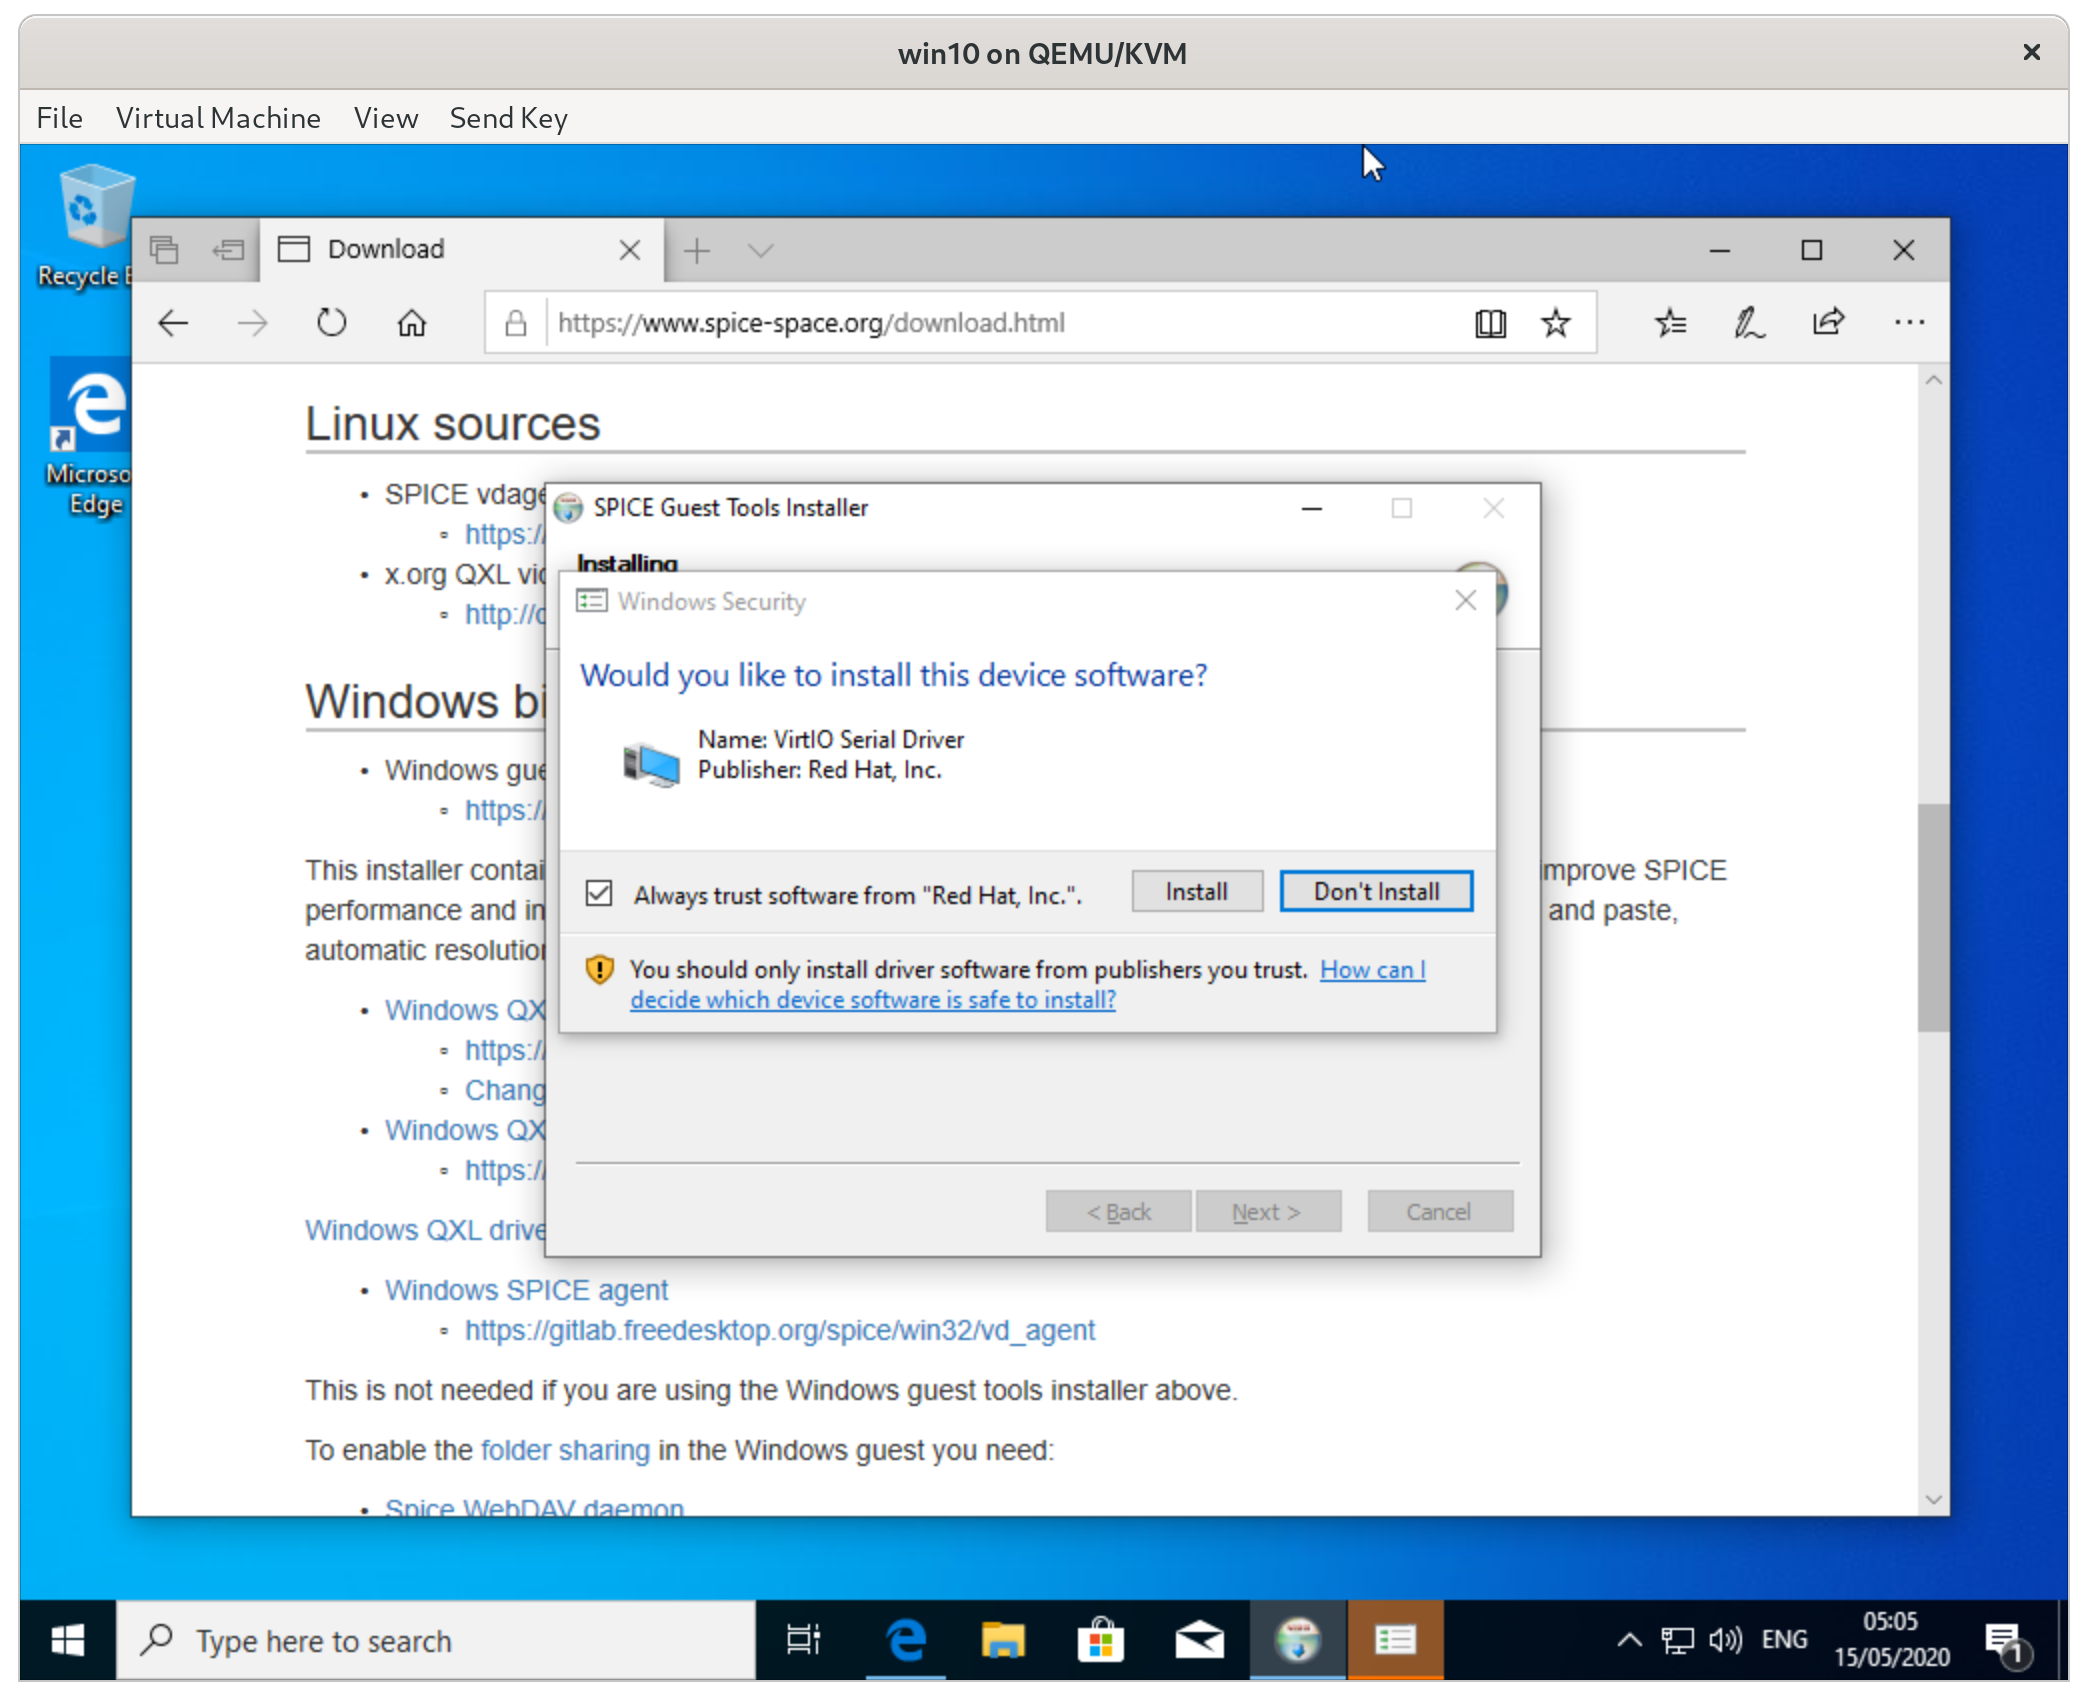
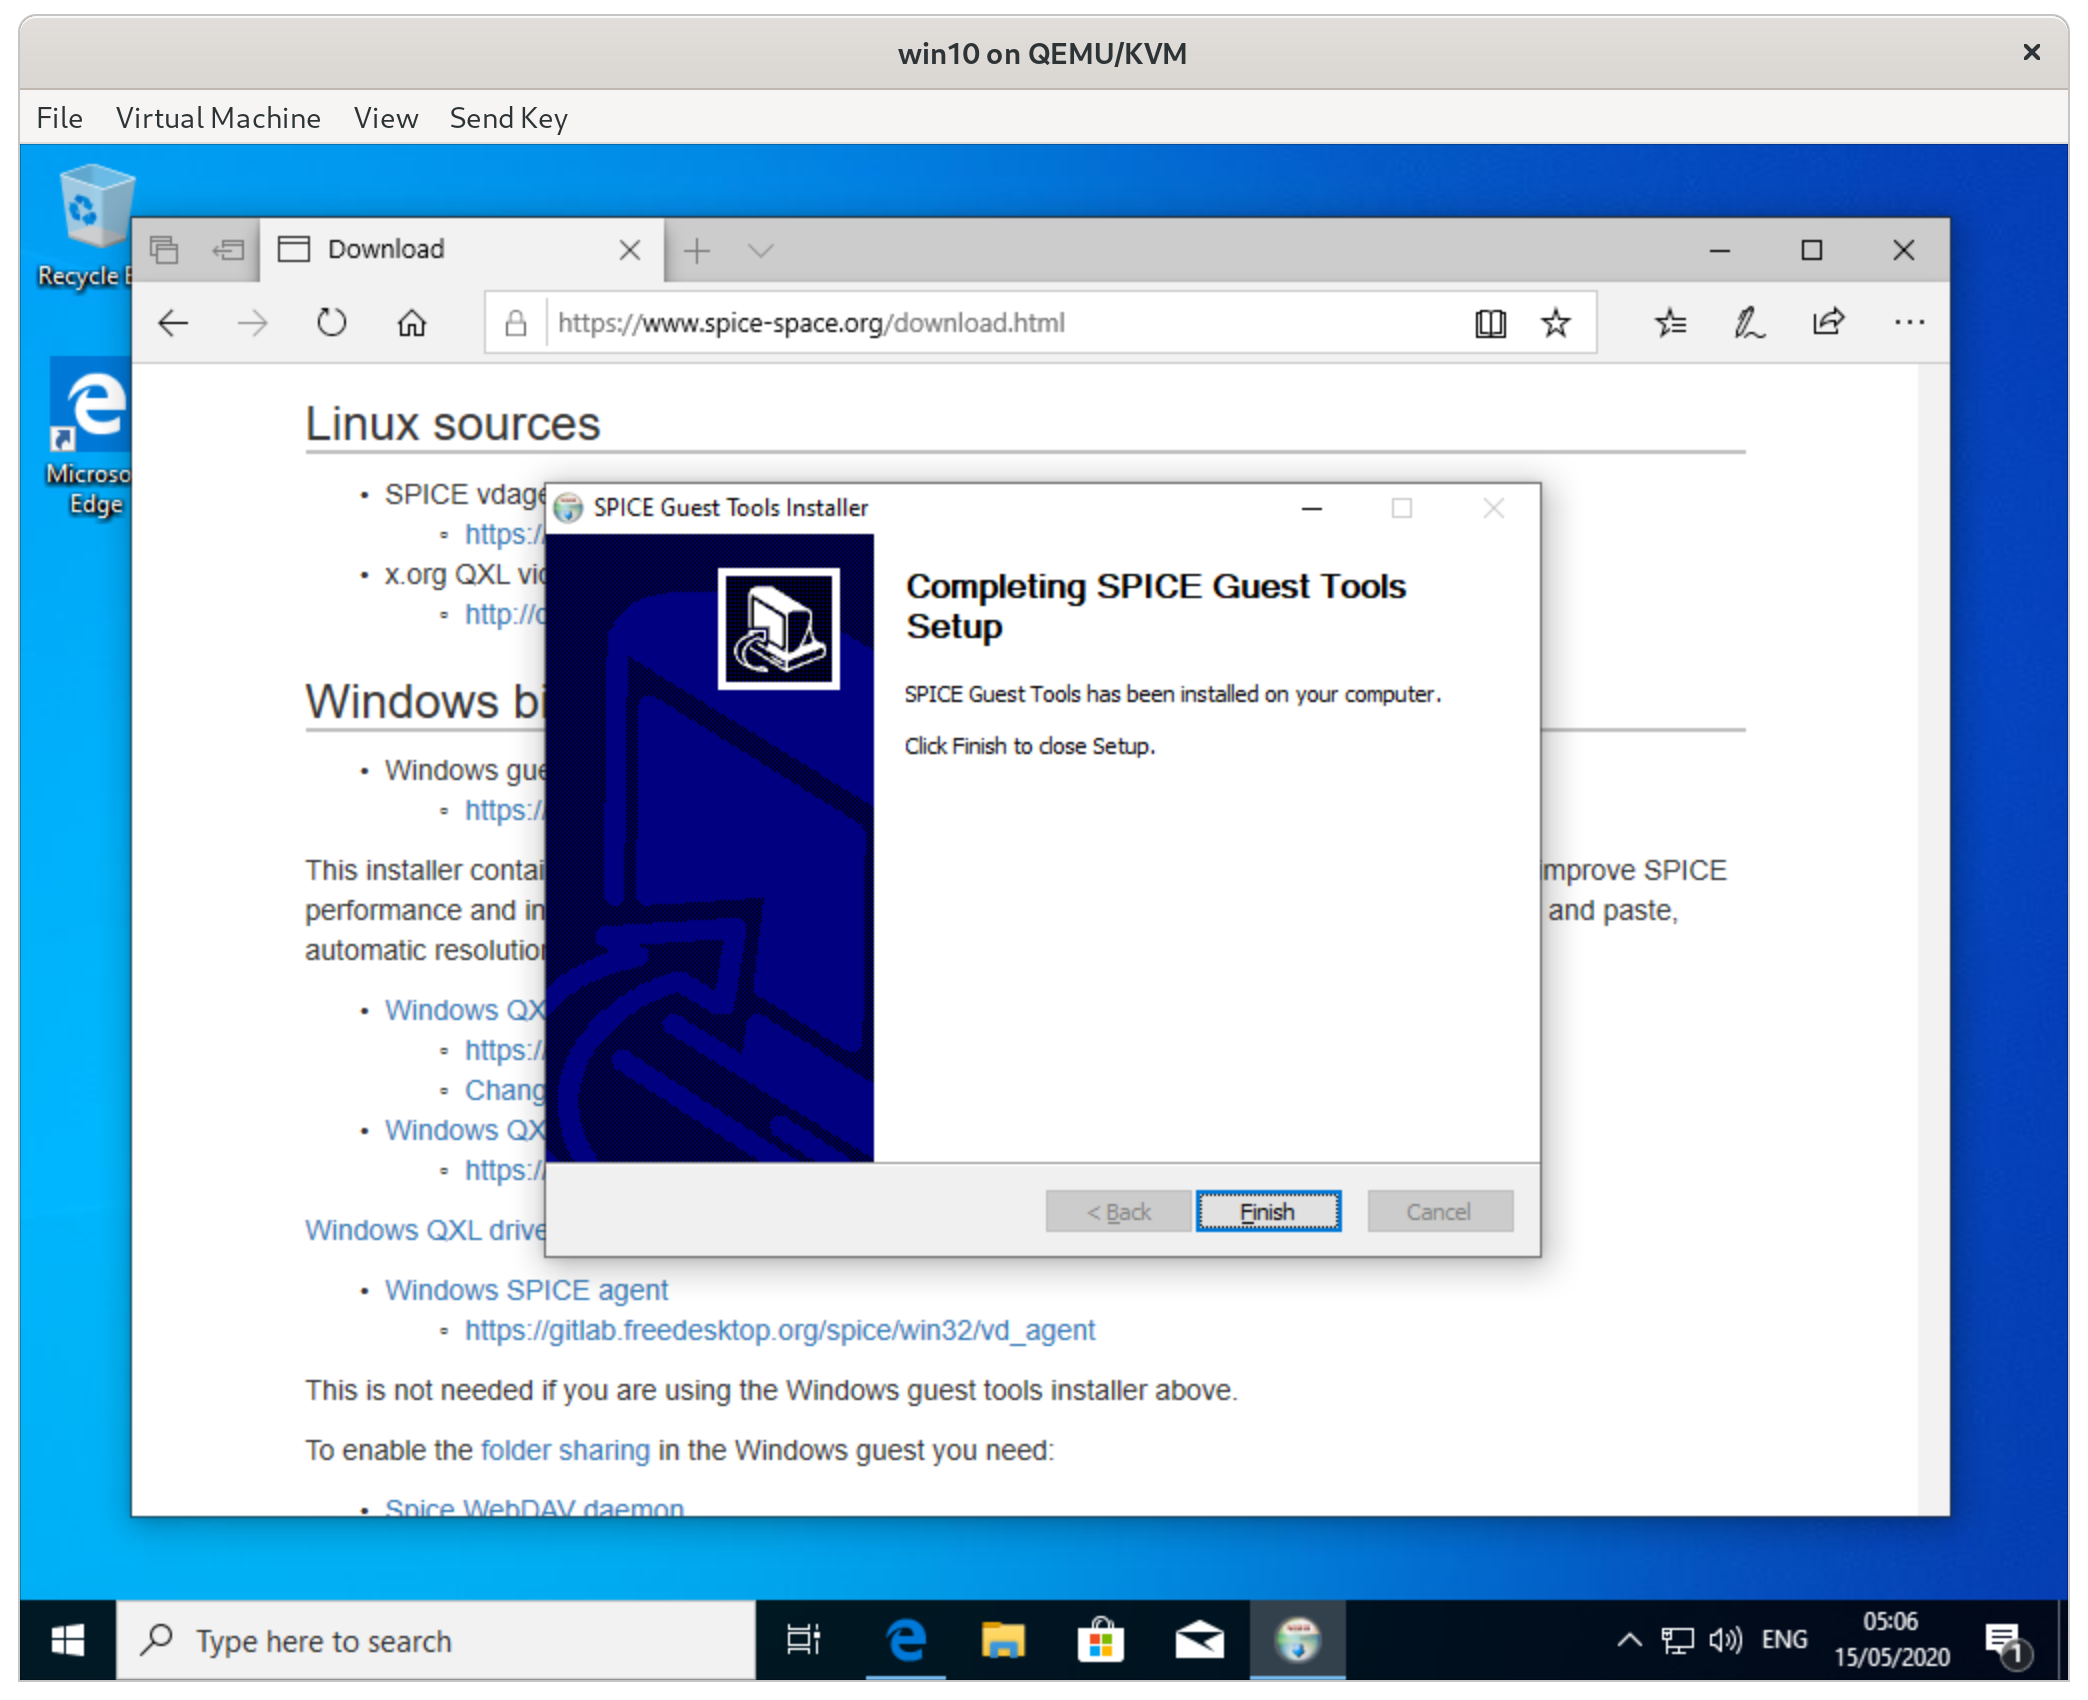
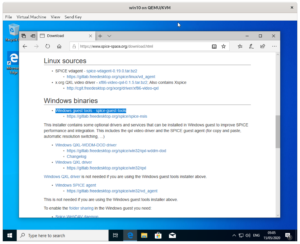
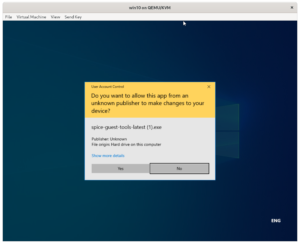
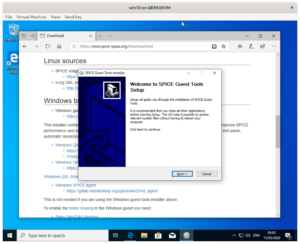
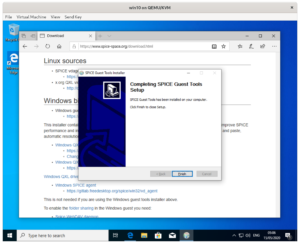
- Install the Windows guest addons from
https://spice-space.org
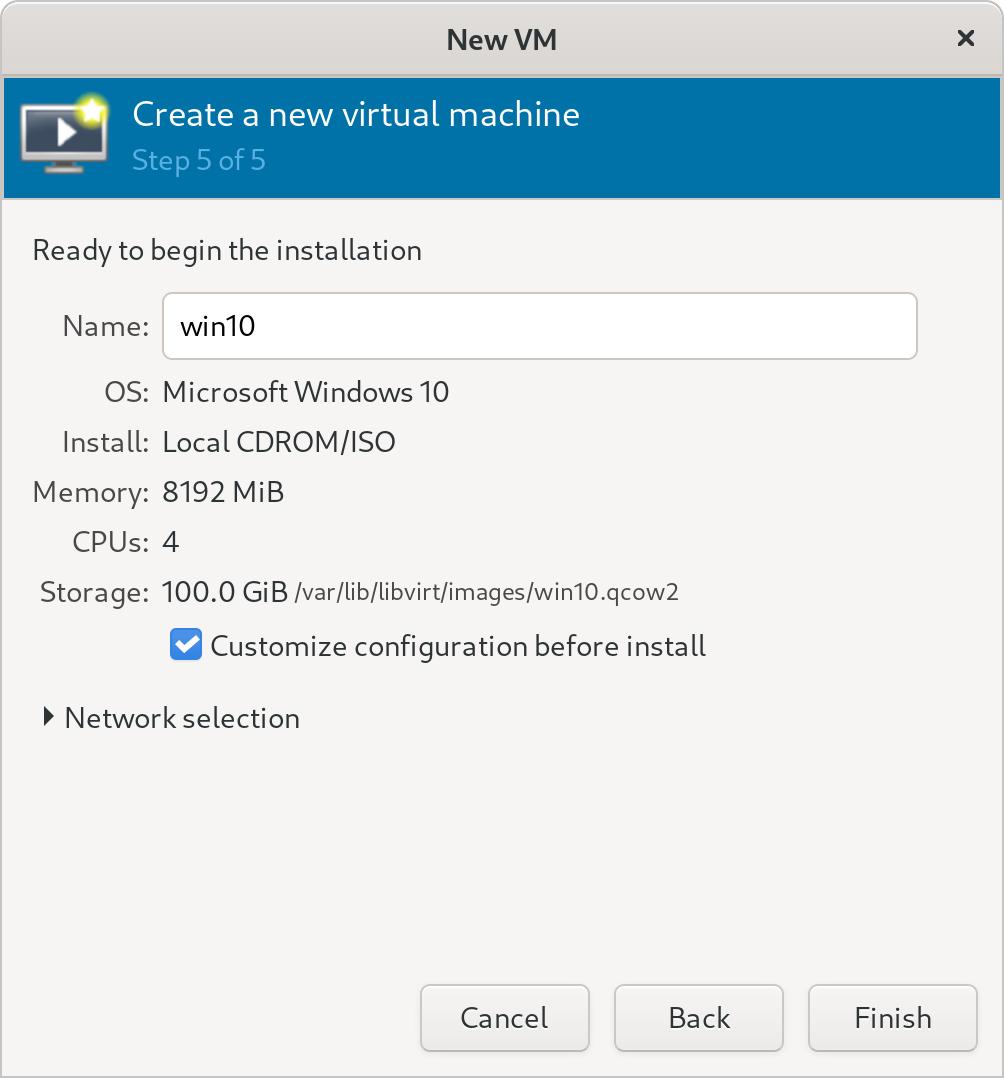


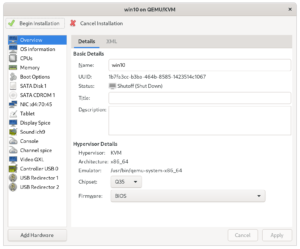


At this point we have a relatively standard Windows 10 installation with VirtIO drivers. We should make a backup of the libvirt configuration now as we will be making changes to it.
sudo virsh dumpxml win10 > win10.xml
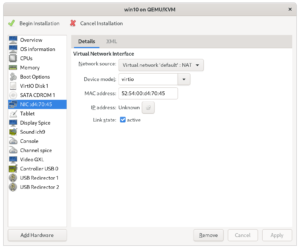
Adding the vGPU to the Windows 10 VM
For this step we will have to edit the libvirt XML file directly as virt-manager does not support the device types we will need to add. We will be making the following changes:
- Setting the ‘domain’ type to QEMU
- Configuring the Spice server to use GL and disable networking
- Removing the virtualized VGA adapter
- Add the vGPU mediated PCI device
- Enable RAMFB for early boot messages
- Enable DMABUF so we can see accelerated GPU output in our virt-manager window
- Enable a workaround for Mesa bug #2678
First, we will make a backup of the win10.xml file we created earlier. cp win10.xml win10.xml.bak in case we make an error editing the instance. For the rest of this section we’re assuming you have the win10.xml file open in a text editor.
Setting the ‘domain’ type to QEMU
To set the domain type to qemu we need to edit the first line of the file. Change the line:
<domain type='kvm'>to
<domain type='kvm' xmlns:qemu='http://libvirt.org/schemas/domain/qemu/1.0'>Configuring the Spice server to use GL and disable networking
Now to change the Spice client settings. Find the graphics block, it should look something like this:
<graphics type='spice' autoport='yes'>
  <listen type='address'/>
  <image compression='off'/>
</graphics>
Change it to look like this:
<graphics type='spice'>
  <listen type='none'/>
  <gl enable='yes' rendernode='/dev/dri/by-path/pci-0000:00:02.0-render'/>
</graphics>
Note that we need to put the PCI address of our real Intel GPU in the rendernode of this block.
Removing the virtualized VGA adapter
We now need to disable the QXL virtual VGA adapter but we can’t just remove it as libvirt seems to require at least one video block. Find the video block, it should look something like this:
<video>
  <model type='qxl' ram='65536' vram='65536' vgamem='16384' heads='1' primary='yes'/>
  <address type='pci' domain='0x0000' bus='0x00' slot='0x01' function='0x0'/>
</video>
Change it to look like this:
<video>
  <model type='none'/>
</video>
Add the vGPU mediated PCI device
Now to add the vGPU. We need to add a whole new block. You can place this block directly below the video block we just edited.
<hostdev mode='subsystem' type='mdev' managed='no' model='vfio-pci' display='on'>
  <source>
    <address uuid='cb33ec6d-ad44-4702-b80f-c176f56afea1'/>
  </source>
  <address type='pci' domain='0x0000' bus='0x06' slot='0x00' function='0x0'/>
</hostdev>
Enable RAMFB for early boot messages
Finally, we need to enable DMABUF and RAMFB. For this we need to add another entirely new section, but this time it needs to go at the very end of the file right before the closing </domain> line. The following block needs to be put directly above the last line of the file:
<qemu:commandline>
  <qemu:arg value='-set'/>
  <qemu:arg value='device.hostdev0.x-igd-opregion=on'/>
  <qemu:arg value='-set'/>
  <qemu:arg value='device.hostdev0.ramfb=on'/>
  <qemu:arg value='-set'/>
  <qemu:arg value='device.hostdev0.driver=vfio-pci-nohotplug'/>
  <qemu:env name='INTEL_DEBUG' value='norbc'/>
</qemu:commandline>
At this point our XML file is ready and we can load it back into libvirt by running sudo virsh define win10.xml. At this point it should be possible to boot the VM again.
After making the above edits your win10.xml file should look something like this:
<domain type='kvm' xmlns:qemu='http://libvirt.org/schemas/domain/qemu/1.0'>
  <name>win10</name>
  <uuid>1b7fa3cc-b3ba-464b-8585-1423514c1067</uuid>
  <metadata>
    <libosinfo:libosinfo xmlns:libosinfo="http://libosinfo.org/xmlns/libvirt/domain/1.0">
      <libosinfo:os id="http://microsoft.com/win/10"/>
    </libosinfo:libosinfo>
  </metadata>
  <memory unit='KiB'>8388608</memory>
  <currentMemory unit='KiB'>8388608</currentMemory>
  <vcpu placement='static'>4</vcpu>
  <os>
    <type arch='x86_64' machine='pc-q35-4.2'>hvm</type>
  </os>
  <features>
    <acpi/>
    <apic/>
    <hyperv>
      <relaxed state='on'/>
      <vapic state='on'/>
      <spinlocks state='on' retries='8191'/>
    </hyperv>
    <vmport state='off'/>
  </features>
  <cpu mode='host-passthrough' check='none'>
    <topology sockets='1' dies='1' cores='2' threads='2'/>
  </cpu>
  <clock offset='localtime'>
    <timer name='rtc' tickpolicy='catchup'/>
    <timer name='pit' tickpolicy='delay'/>
    <timer name='hpet' present='no'/>
    <timer name='hypervclock' present='yes'/>
  </clock>
  <on_poweroff>destroy</on_poweroff>
  <on_reboot>restart</on_reboot>
  <on_crash>destroy</on_crash>
  <pm>
    <suspend-to-mem enabled='no'/>
    <suspend-to-disk enabled='no'/>
  </pm>
  <devices>
    <emulator>/usr/bin/qemu-system-x86_64</emulator>
    <disk type='file' device='disk'>
      <driver name='qemu' type='qcow2'/>
      <source file='/var/lib/libvirt/images/win10.qcow2'/>
      <target dev='vda' bus='virtio'/>
      <boot order='1'/>
      <address type='pci' domain='0x0000' bus='0x04' slot='0x00' function='0x0'/>
    </disk>
    <disk type='file' device='cdrom'>
      <driver name='qemu' type='raw'/>
      <source file='/home/hp/Downloads/Win10_1909_English_x64.iso'/>
      <target dev='sdb' bus='sata'/>
      <readonly/>
      <boot order='2'/>
      <address type='drive' controller='0' bus='0' target='0' unit='1'/>
    </disk>
    <controller type='usb' index='0' model='qemu-xhci' ports='15'>
      <address type='pci' domain='0x0000' bus='0x02' slot='0x00' function='0x0'/>
    </controller>
    <controller type='sata' index='0'>
      <address type='pci' domain='0x0000' bus='0x00' slot='0x1f' function='0x2'/>
    </controller>
    <controller type='pci' index='0' model='pcie-root'/>
    <controller type='pci' index='1' model='pcie-root-port'>
      <model name='pcie-root-port'/>
      <target chassis='1' port='0x10'/>
      <address type='pci' domain='0x0000' bus='0x00' slot='0x02' function='0x0' multifunction='on'/>
    </controller>
    <controller type='pci' index='2' model='pcie-root-port'>
      <model name='pcie-root-port'/>
      <target chassis='2' port='0x11'/>
      <address type='pci' domain='0x0000' bus='0x00' slot='0x02' function='0x1'/>
    </controller>
    <controller type='pci' index='3' model='pcie-root-port'>
      <model name='pcie-root-port'/>
      <target chassis='3' port='0x12'/>
      <address type='pci' domain='0x0000' bus='0x00' slot='0x02' function='0x2'/>
    </controller>
    <controller type='pci' index='4' model='pcie-root-port'>
      <model name='pcie-root-port'/>
      <target chassis='4' port='0x13'/>
      <address type='pci' domain='0x0000' bus='0x00' slot='0x02' function='0x3'/>
    </controller>
    <controller type='pci' index='5' model='pcie-root-port'>
      <model name='pcie-root-port'/>
      <target chassis='5' port='0x14'/>
      <address type='pci' domain='0x0000' bus='0x00' slot='0x02' function='0x4'/>
    </controller>
    <controller type='pci' index='6' model='pcie-root-port'>
      <model name='pcie-root-port'/>
      <target chassis='6' port='0x15'/>
      <address type='pci' domain='0x0000' bus='0x00' slot='0x02' function='0x5'/>
    </controller>
    <controller type='virtio-serial' index='0'>
      <address type='pci' domain='0x0000' bus='0x03' slot='0x00' function='0x0'/>
    </controller>
    <interface type='network'>
      <mac address='52:54:00:d4:70:45'/>
      <source network='default'/>
      <model type='virtio'/>
      <address type='pci' domain='0x0000' bus='0x01' slot='0x00' function='0x0'/>
    </interface>
    <serial type='pty'>
      <target type='isa-serial' port='0'>
        <model name='isa-serial'/>
      </target>
    </serial>
    <console type='pty'>
      <target type='serial' port='0'/>
    </console>
    <channel type='spicevmc'>
      <target type='virtio' name='com.redhat.spice.0'/>
      <address type='virtio-serial' controller='0' bus='0' port='1'/>
    </channel>
    <input type='tablet' bus='usb'>
      <address type='usb' bus='0' port='1'/>
    </input>
    <input type='mouse' bus='ps2'/>
    <input type='keyboard' bus='ps2'/>
    <graphics type='spice'>
      <listen type='none'/>
      <gl enable='yes' rendernode='/dev/dri/by-path/pci-0000:00:02.0-render'/>
    </graphics>
    <sound model='ich9'>
      <address type='pci' domain='0x0000' bus='0x00' slot='0x1b' function='0x0'/>
    </sound>
    <video>
      <model type='none'/>
    </video>
    <hostdev mode='subsystem' type='mdev' managed='no' model='vfio-pci' display='on'>
      <source>
        <address uuid='cb33ec6d-ad44-4702-b80f-c176f56afea1'/>
      </source>
      <address type='pci' domain='0x0000' bus='0x06' slot='0x00' function='0x0'/>
    </hostdev>
    <redirdev bus='usb' type='spicevmc'>
      <address type='usb' bus='0' port='2'/>
    </redirdev>
    <redirdev bus='usb' type='spicevmc'>
      <address type='usb' bus='0' port='3'/>
    </redirdev>
    <memballoon model='virtio'>
      <address type='pci' domain='0x0000' bus='0x05' slot='0x00' function='0x0'/>
    </memballoon>
  </devices>
  <qemu:commandline>
    <qemu:arg value='-set'/>
    <qemu:arg value='device.hostdev0.x-igd-opregion=on'/>
    <qemu:arg value='-set'/>
    <qemu:arg value='device.hostdev0.ramfb=on'/>
    <qemu:arg value='-set'/>
    <qemu:arg value='device.hostdev0.driver=vfio-pci-nohotplug'/>
    <qemu:env name='INTEL_DEBUG' value='norbc'/>
  </qemu:commandline>
</domain>
Configuring the VM
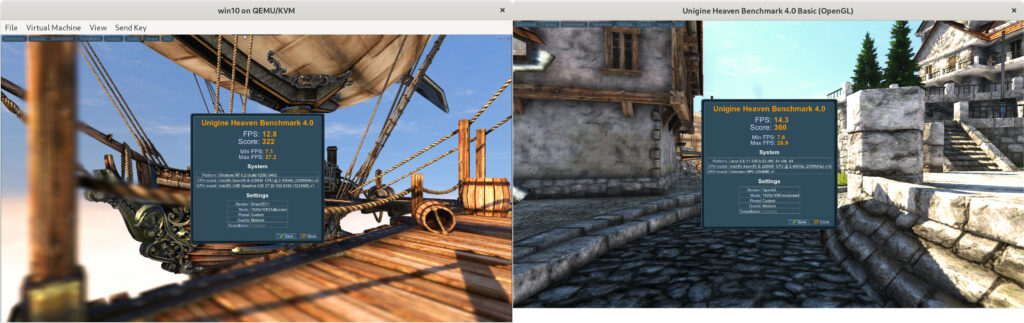
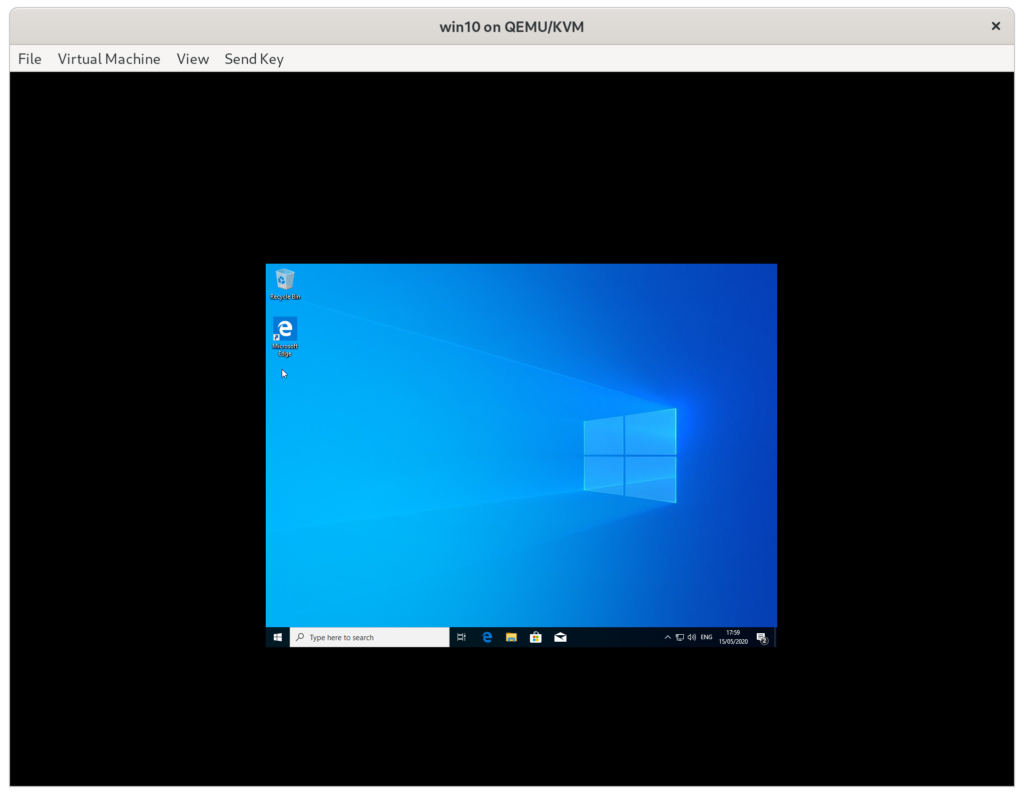
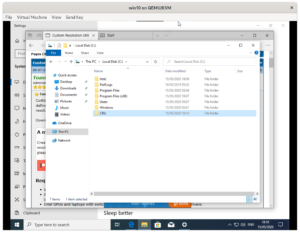
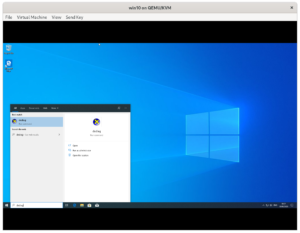
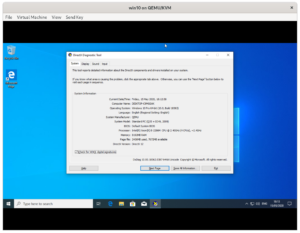
After booting the VM you will notice that the VM is very slow and running in a small window. You can still login to it by hitting enter and typing your credentials. At this point this just let it sit for several minutes. Windows will download the appropriate Intel GPU drivers and install them. The screen will go black for a little while and then the VM should return with a normal speed, but still running in a small window. The results will be something like this:
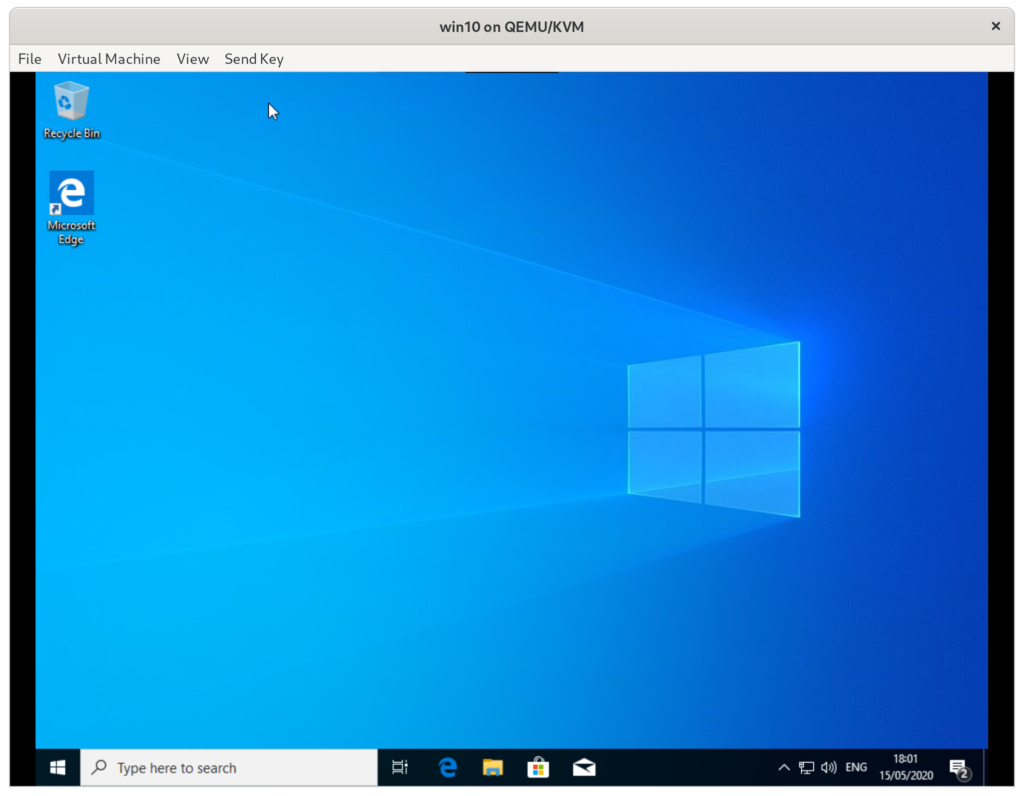
We will fix the resolution issue in a minute, but first we should install the full-fat Intel GPU drivers. To make the VM a bit easier to use you can go to ‘view’/’scale display’ and select ‘always’ in the virt-manager ui. This should result in something like this:
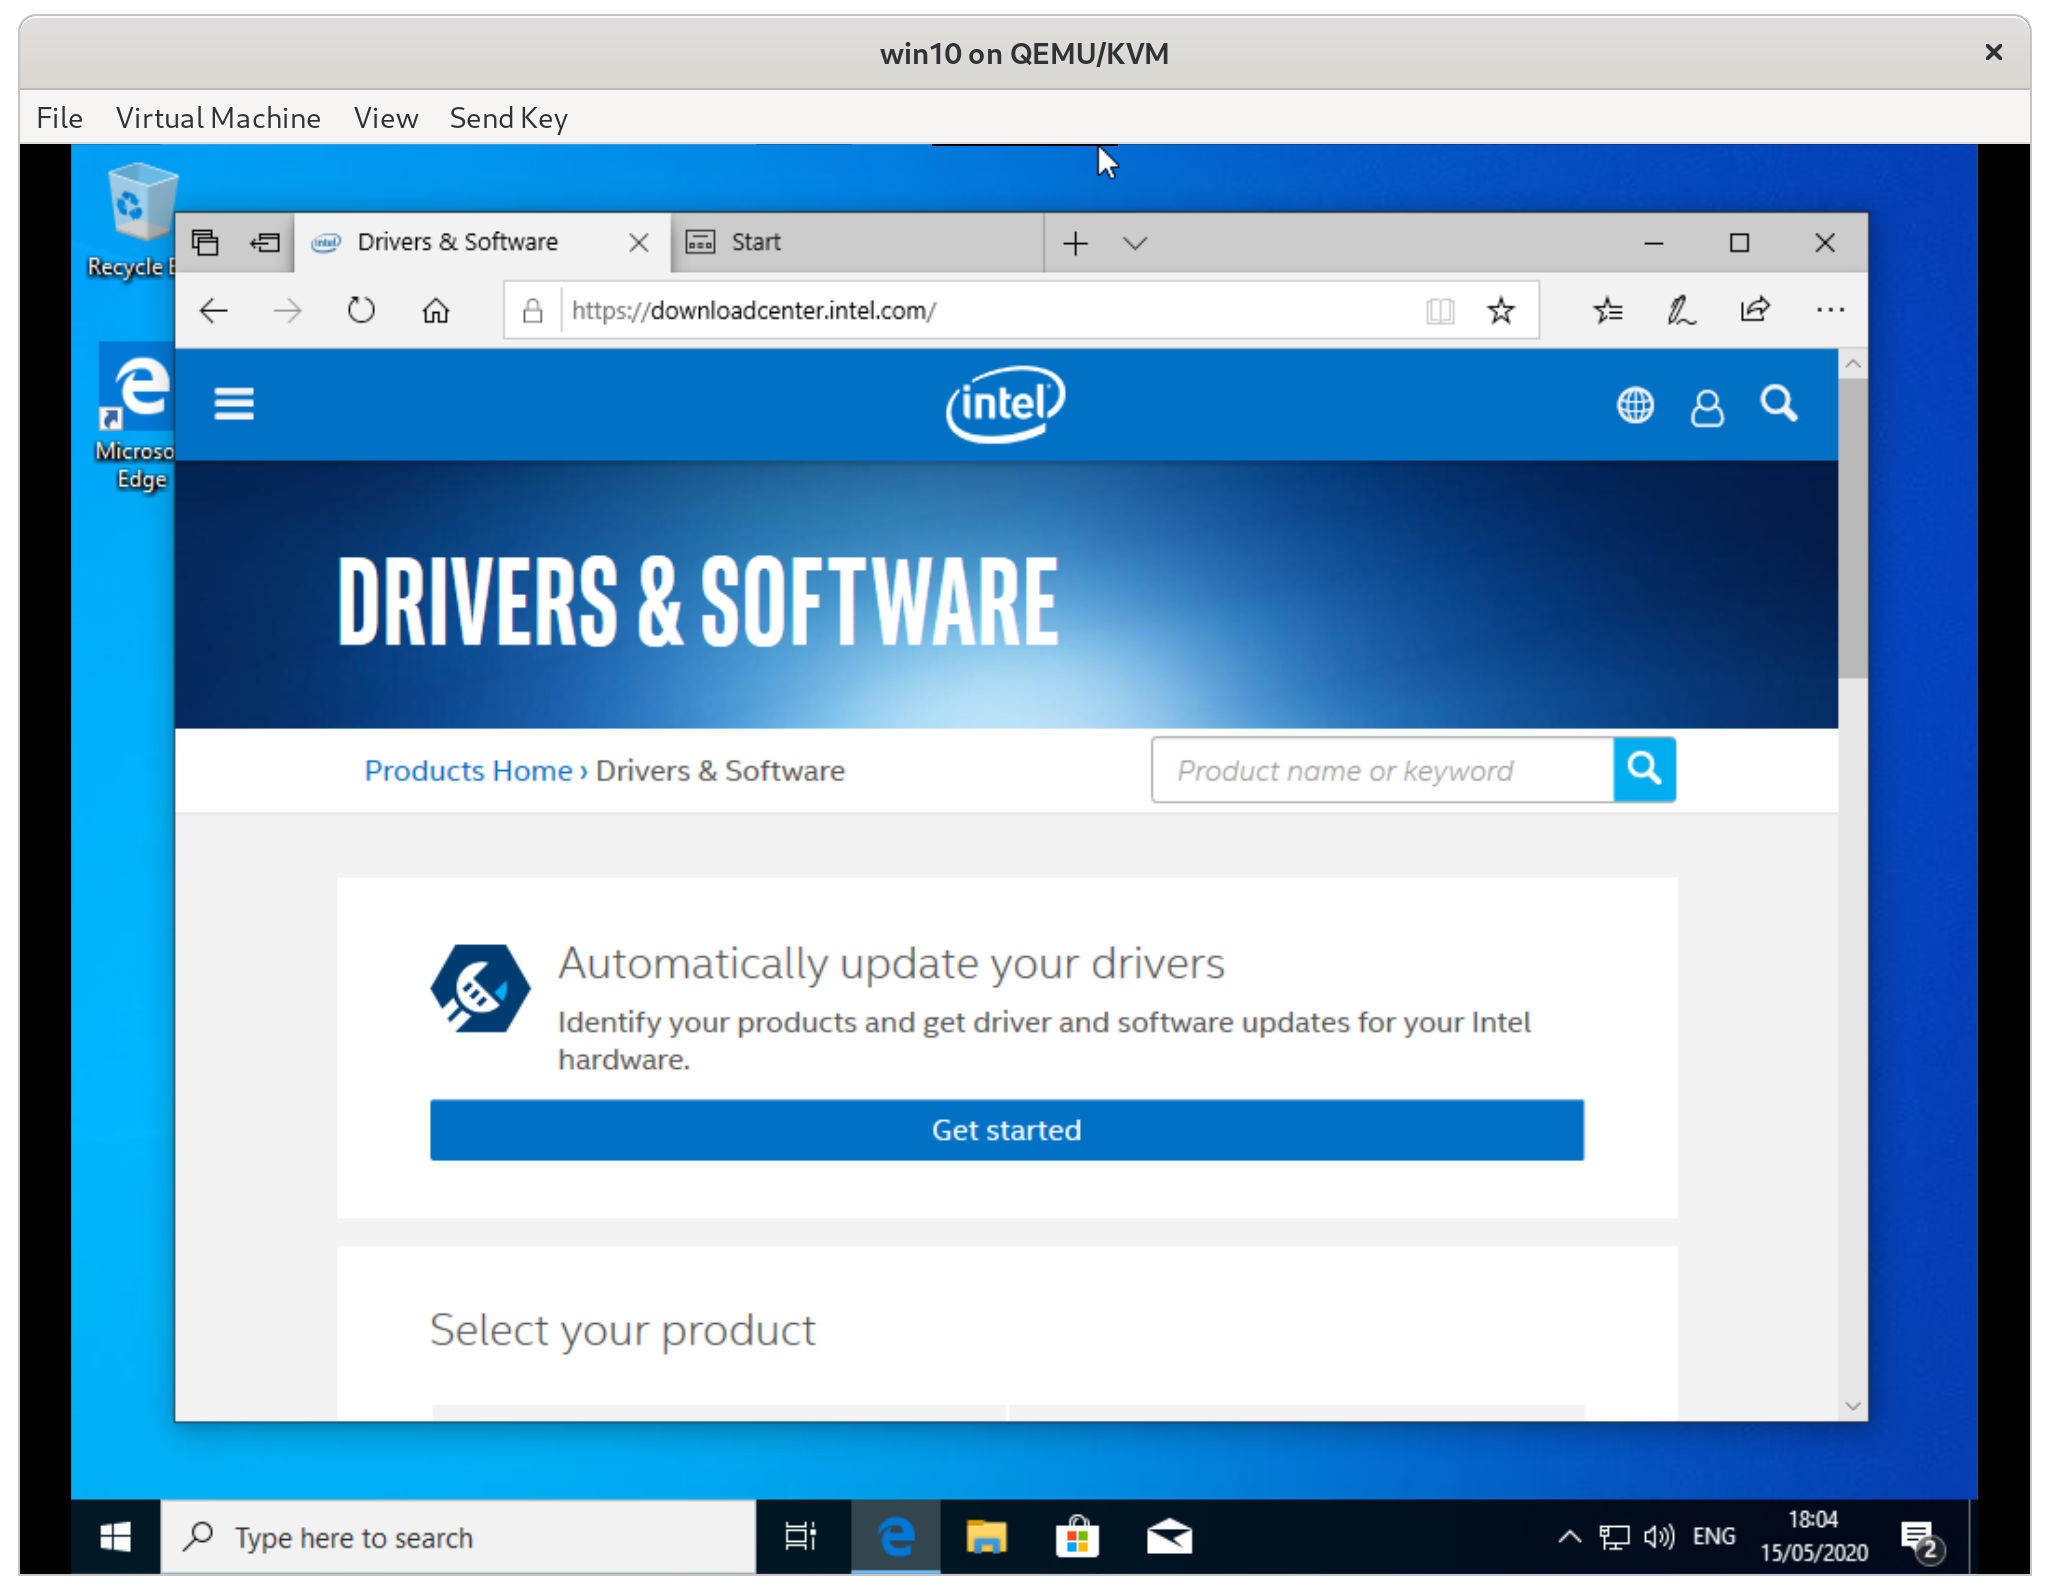
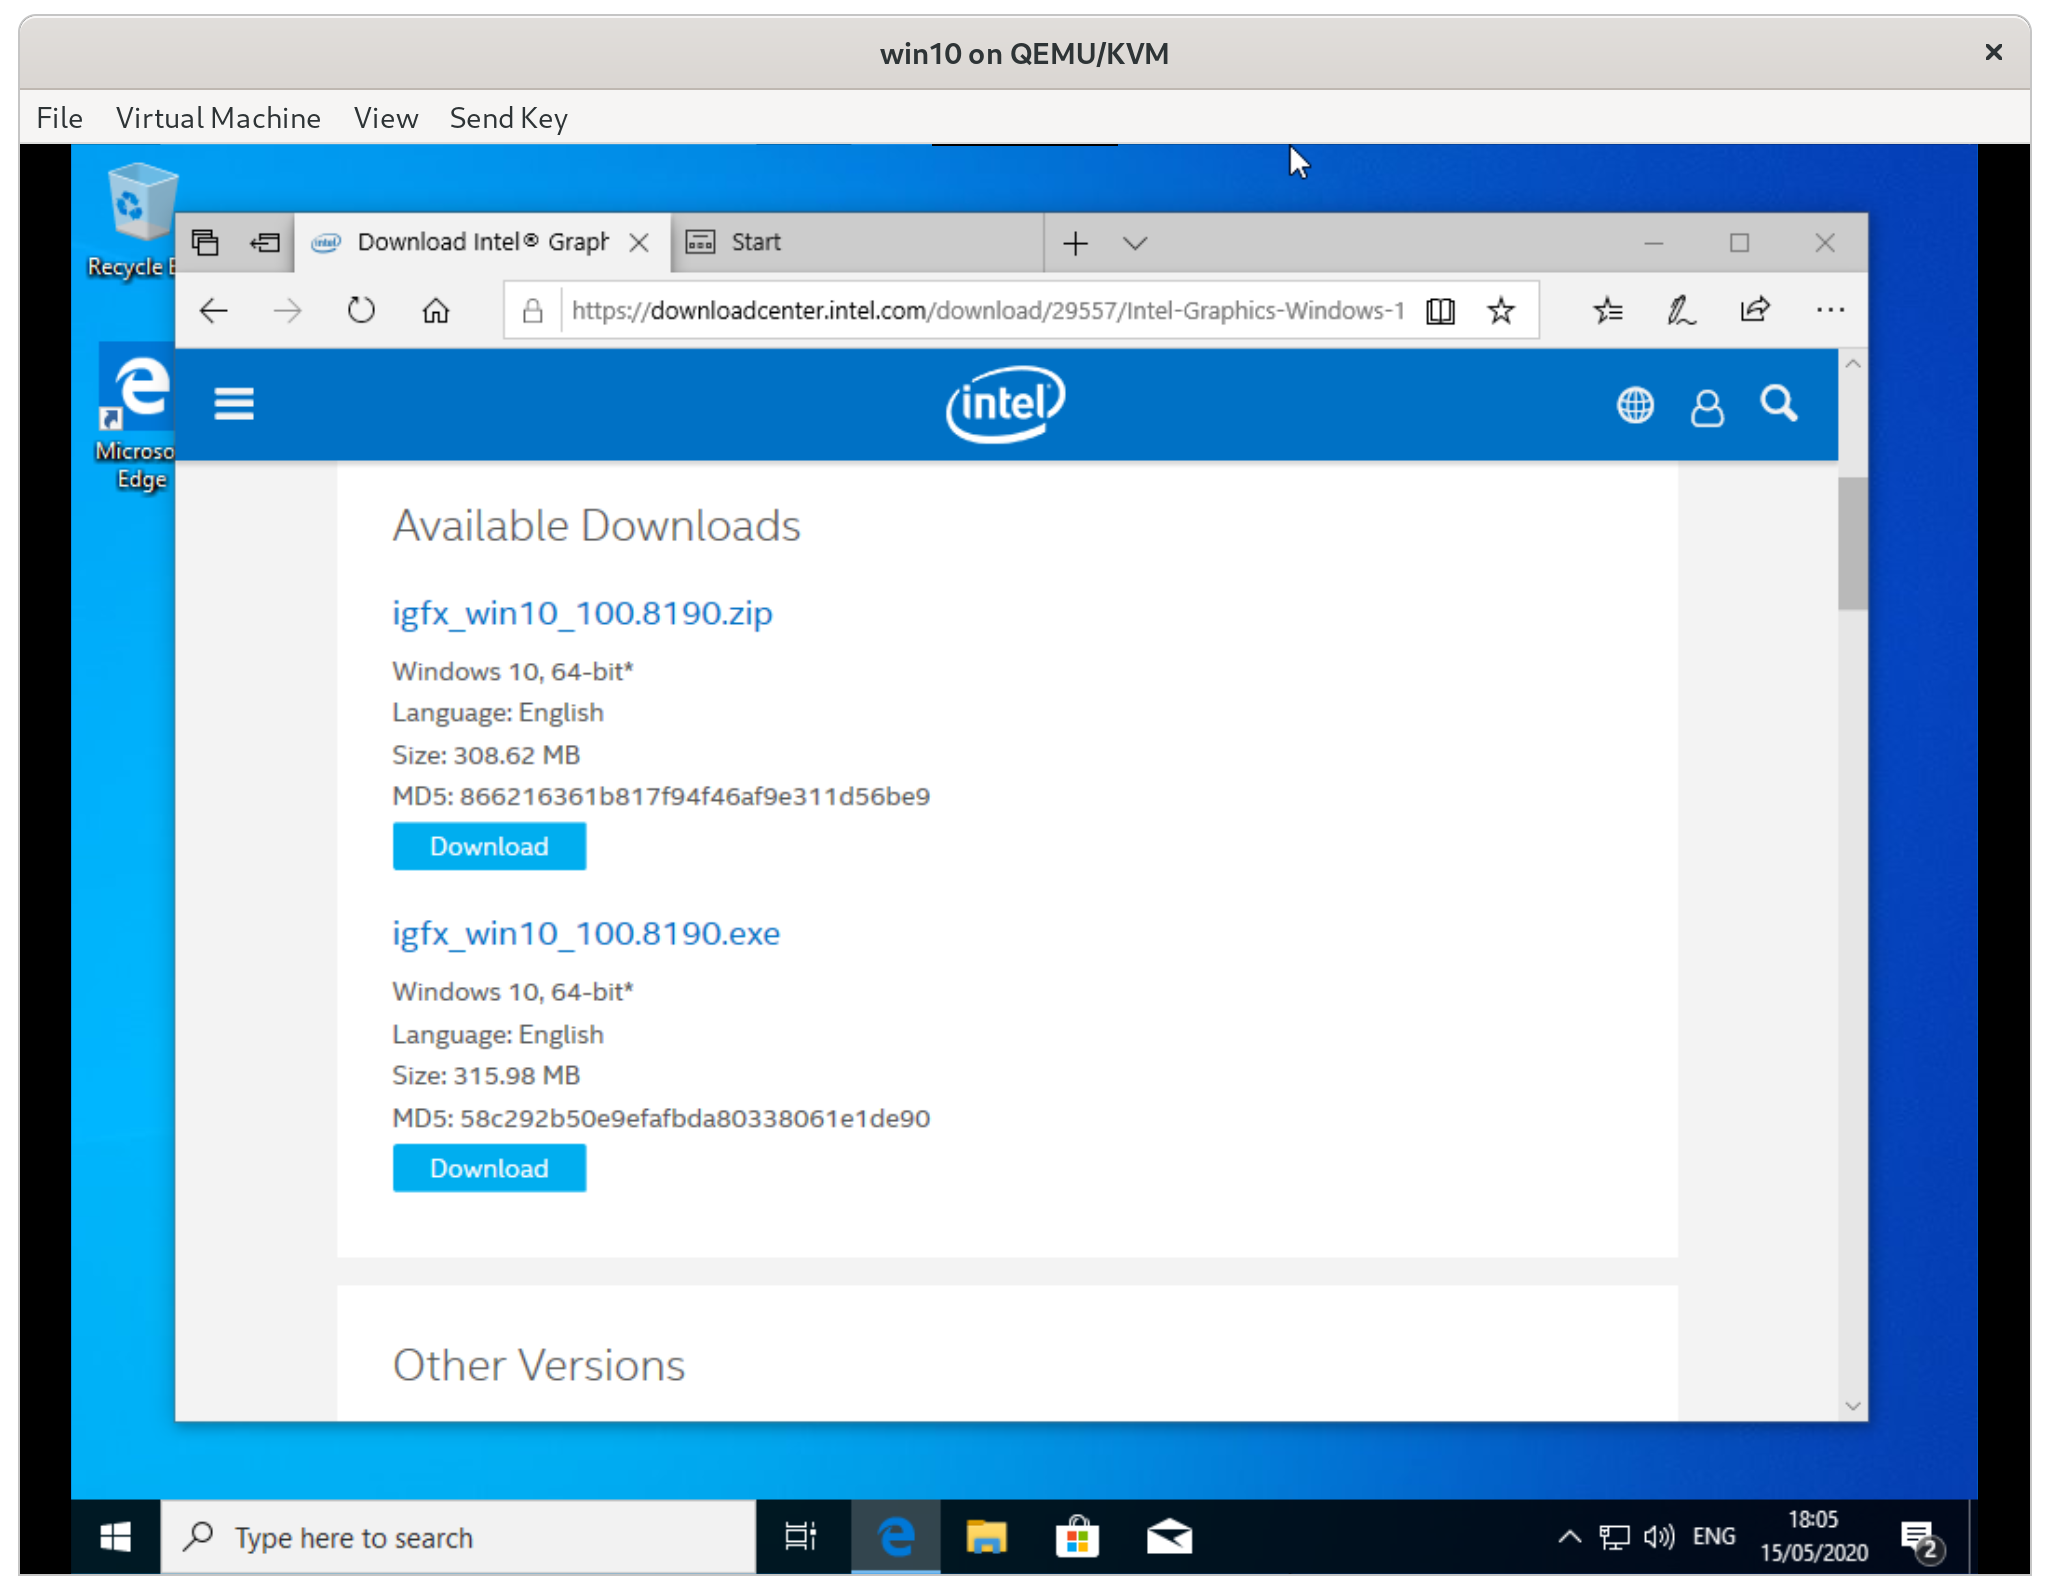
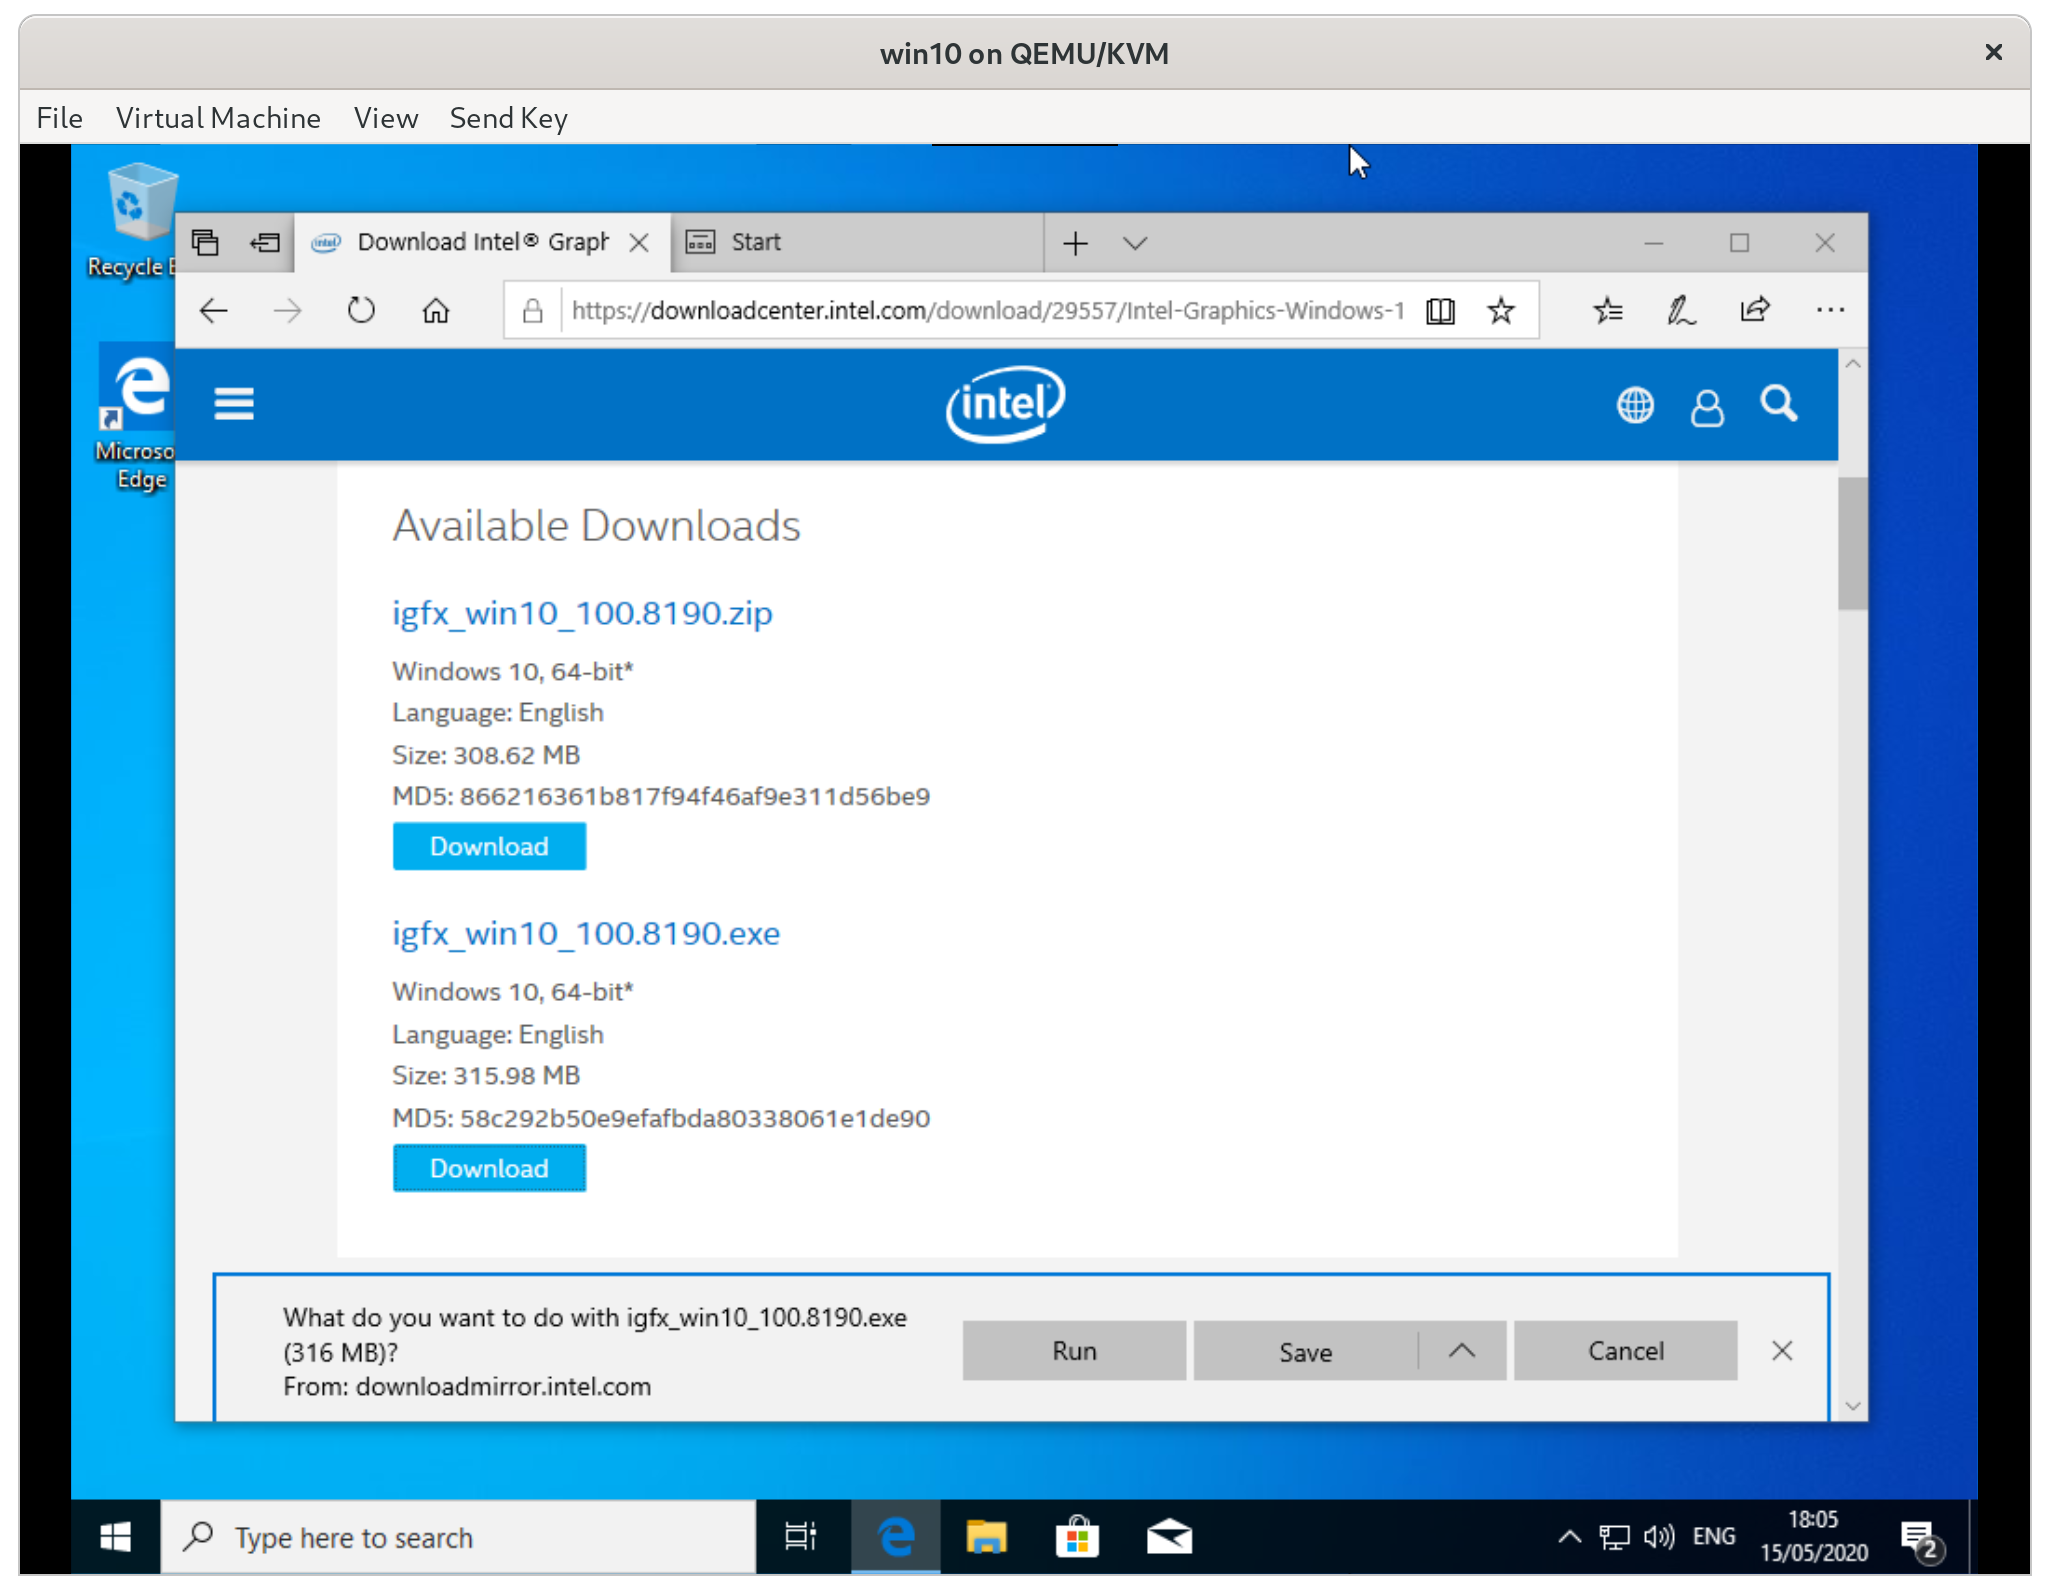
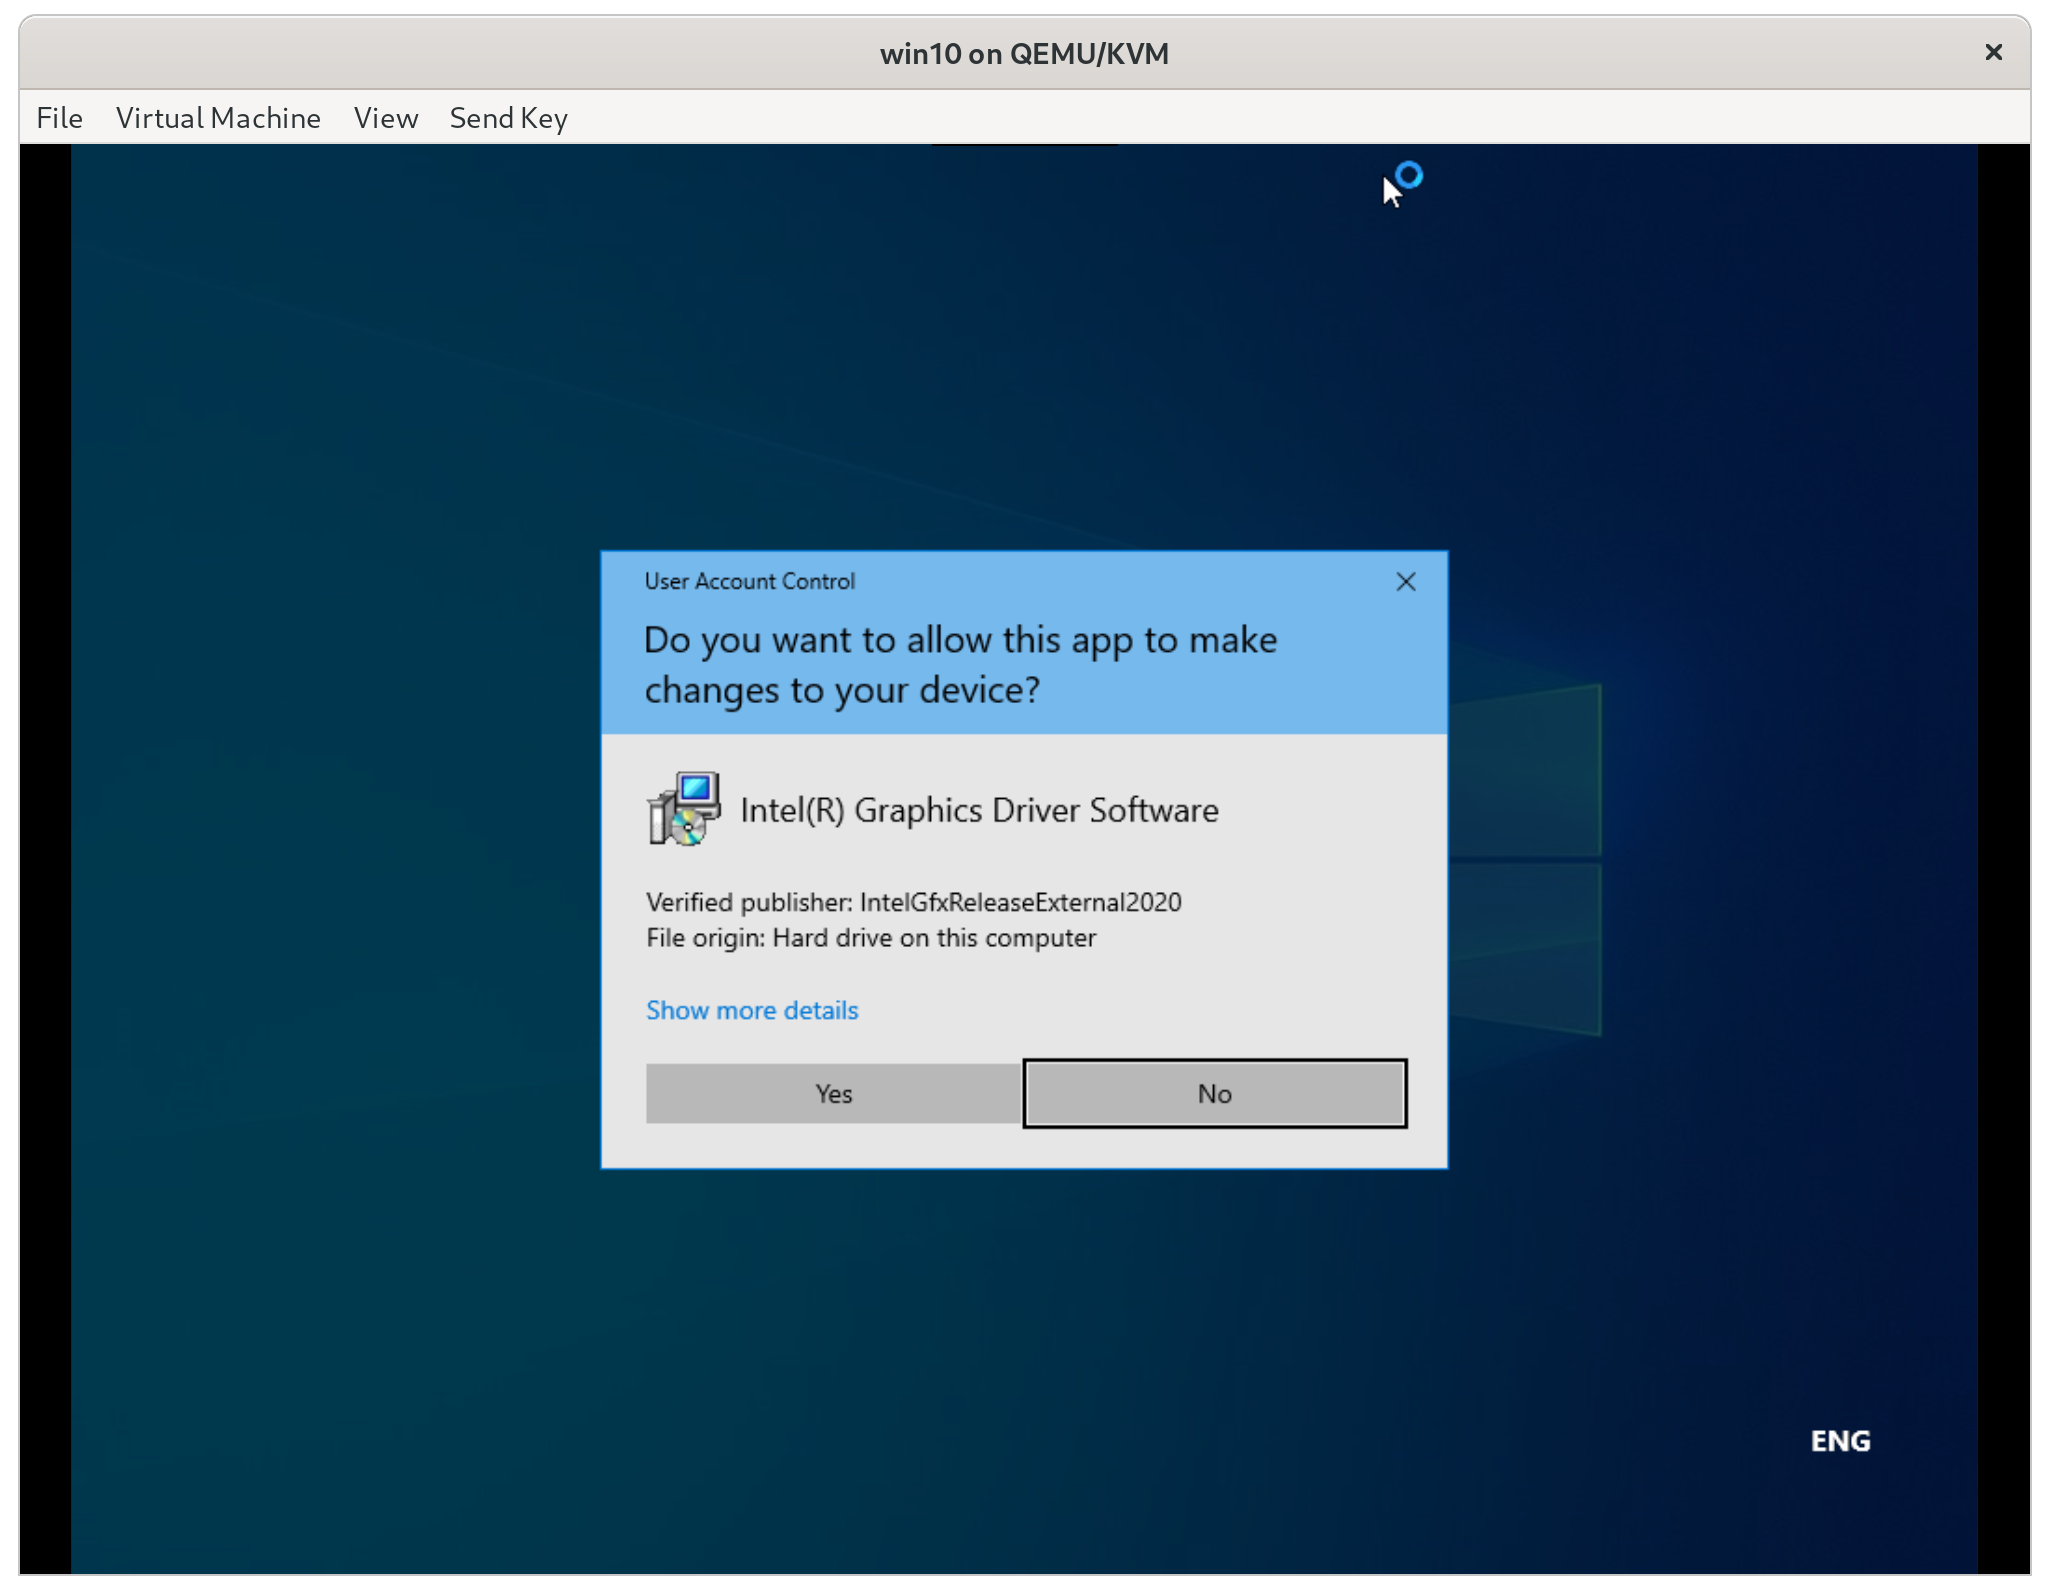
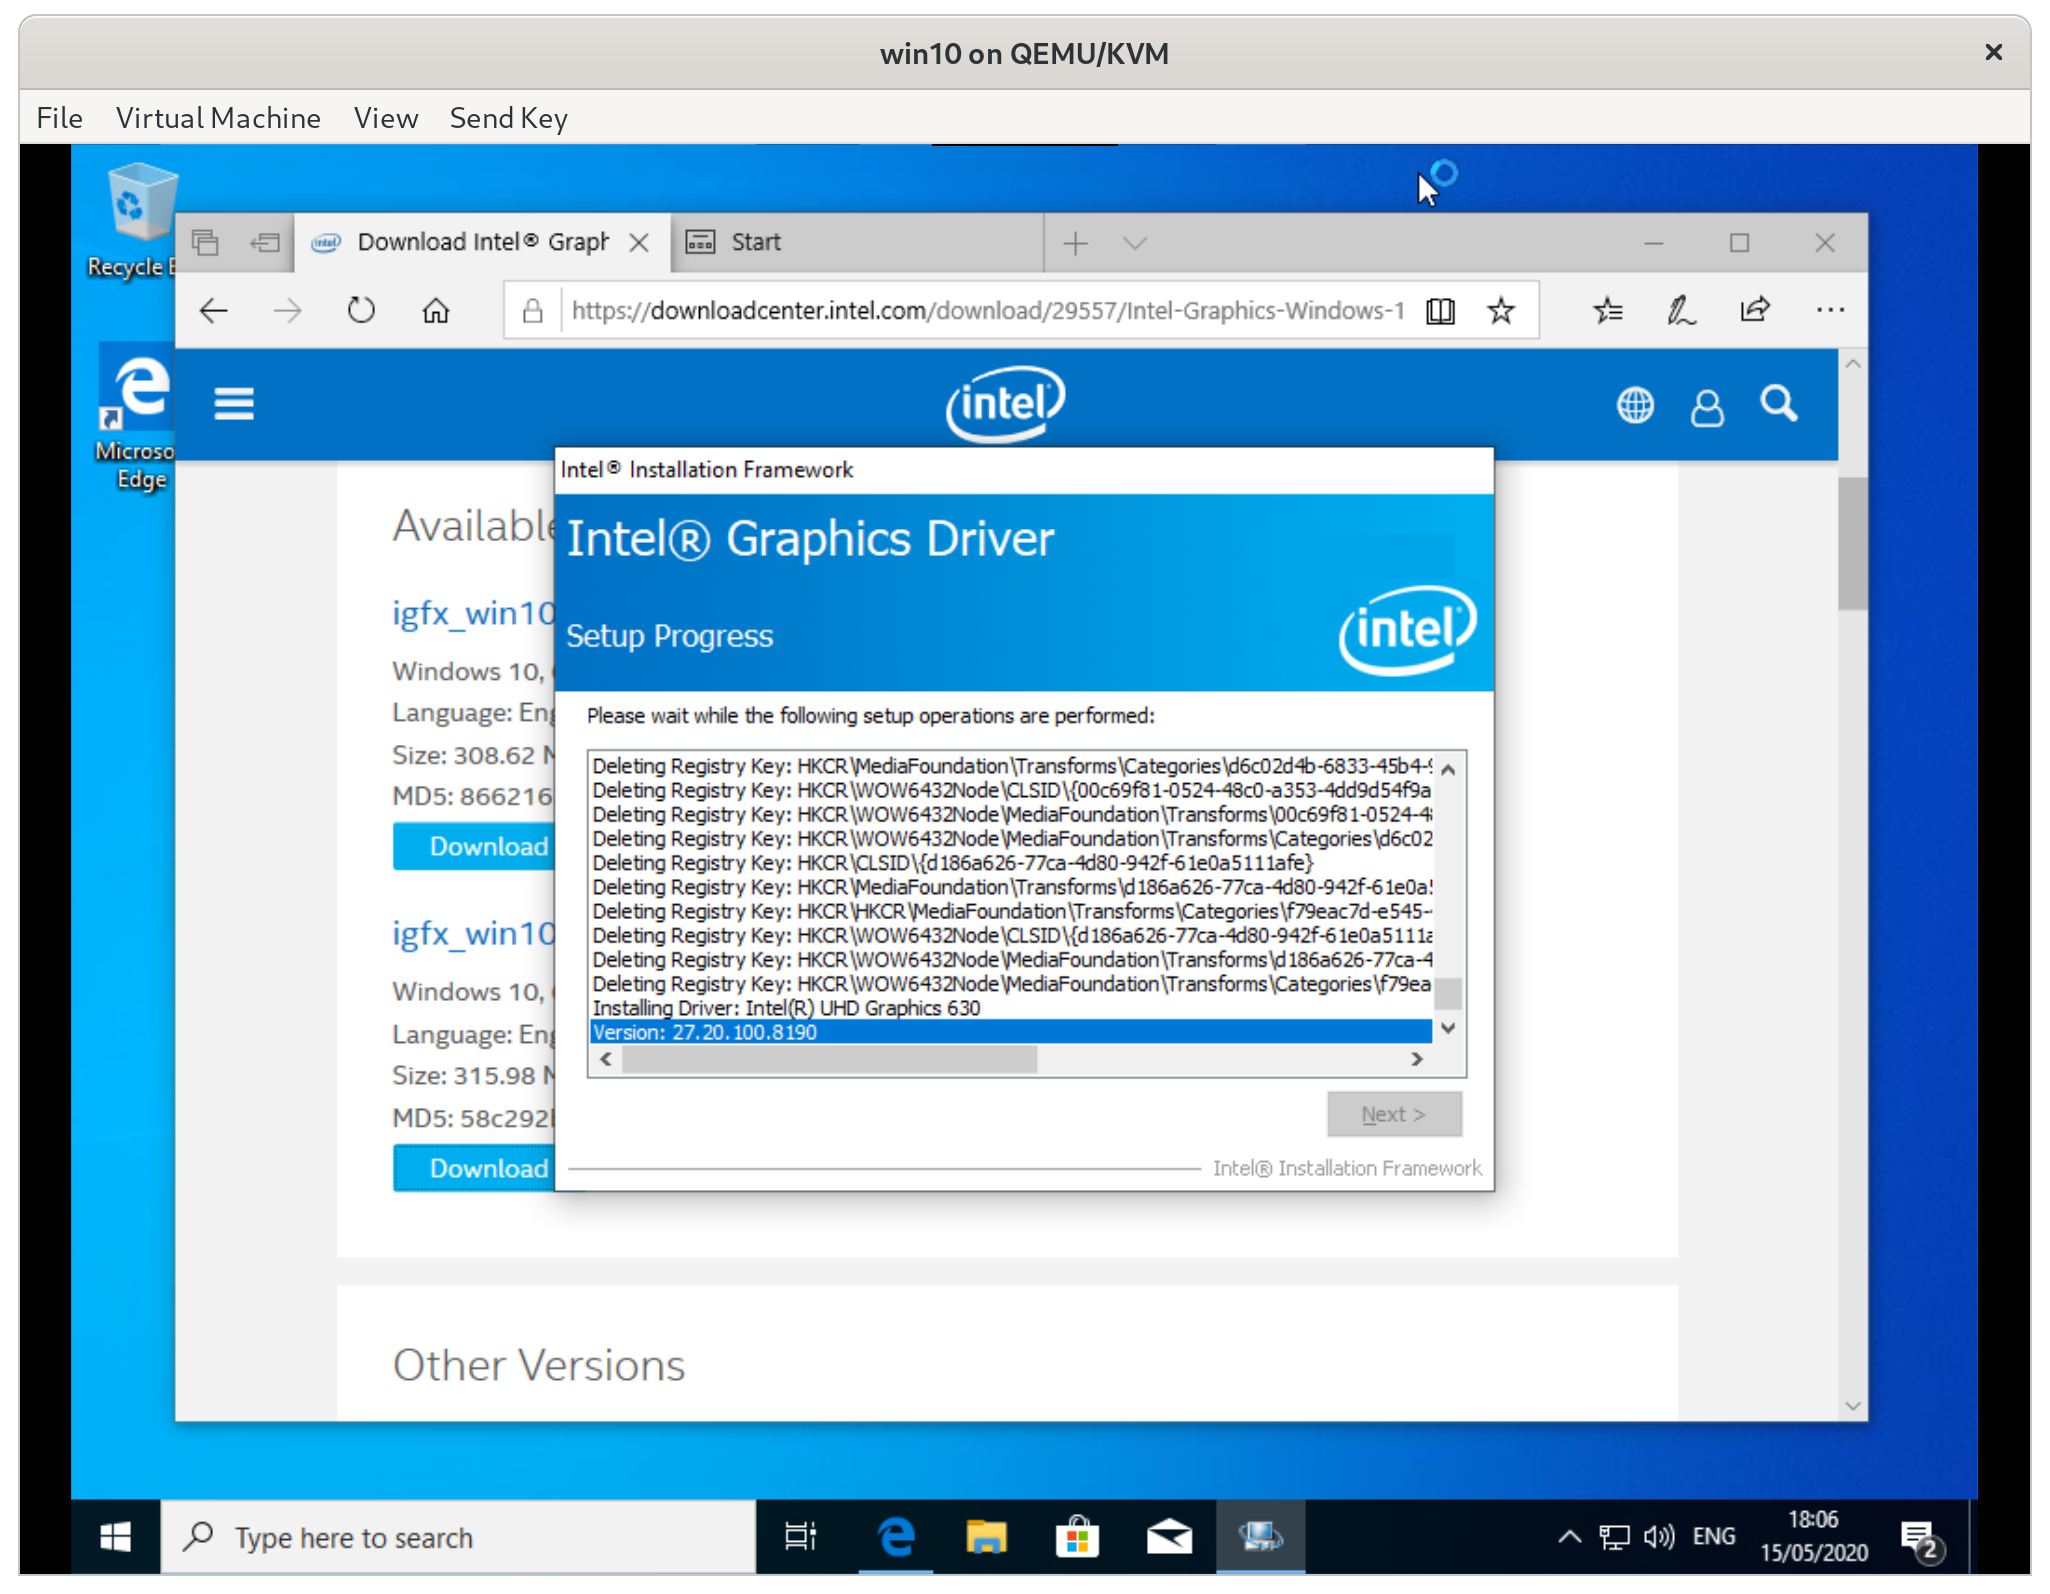
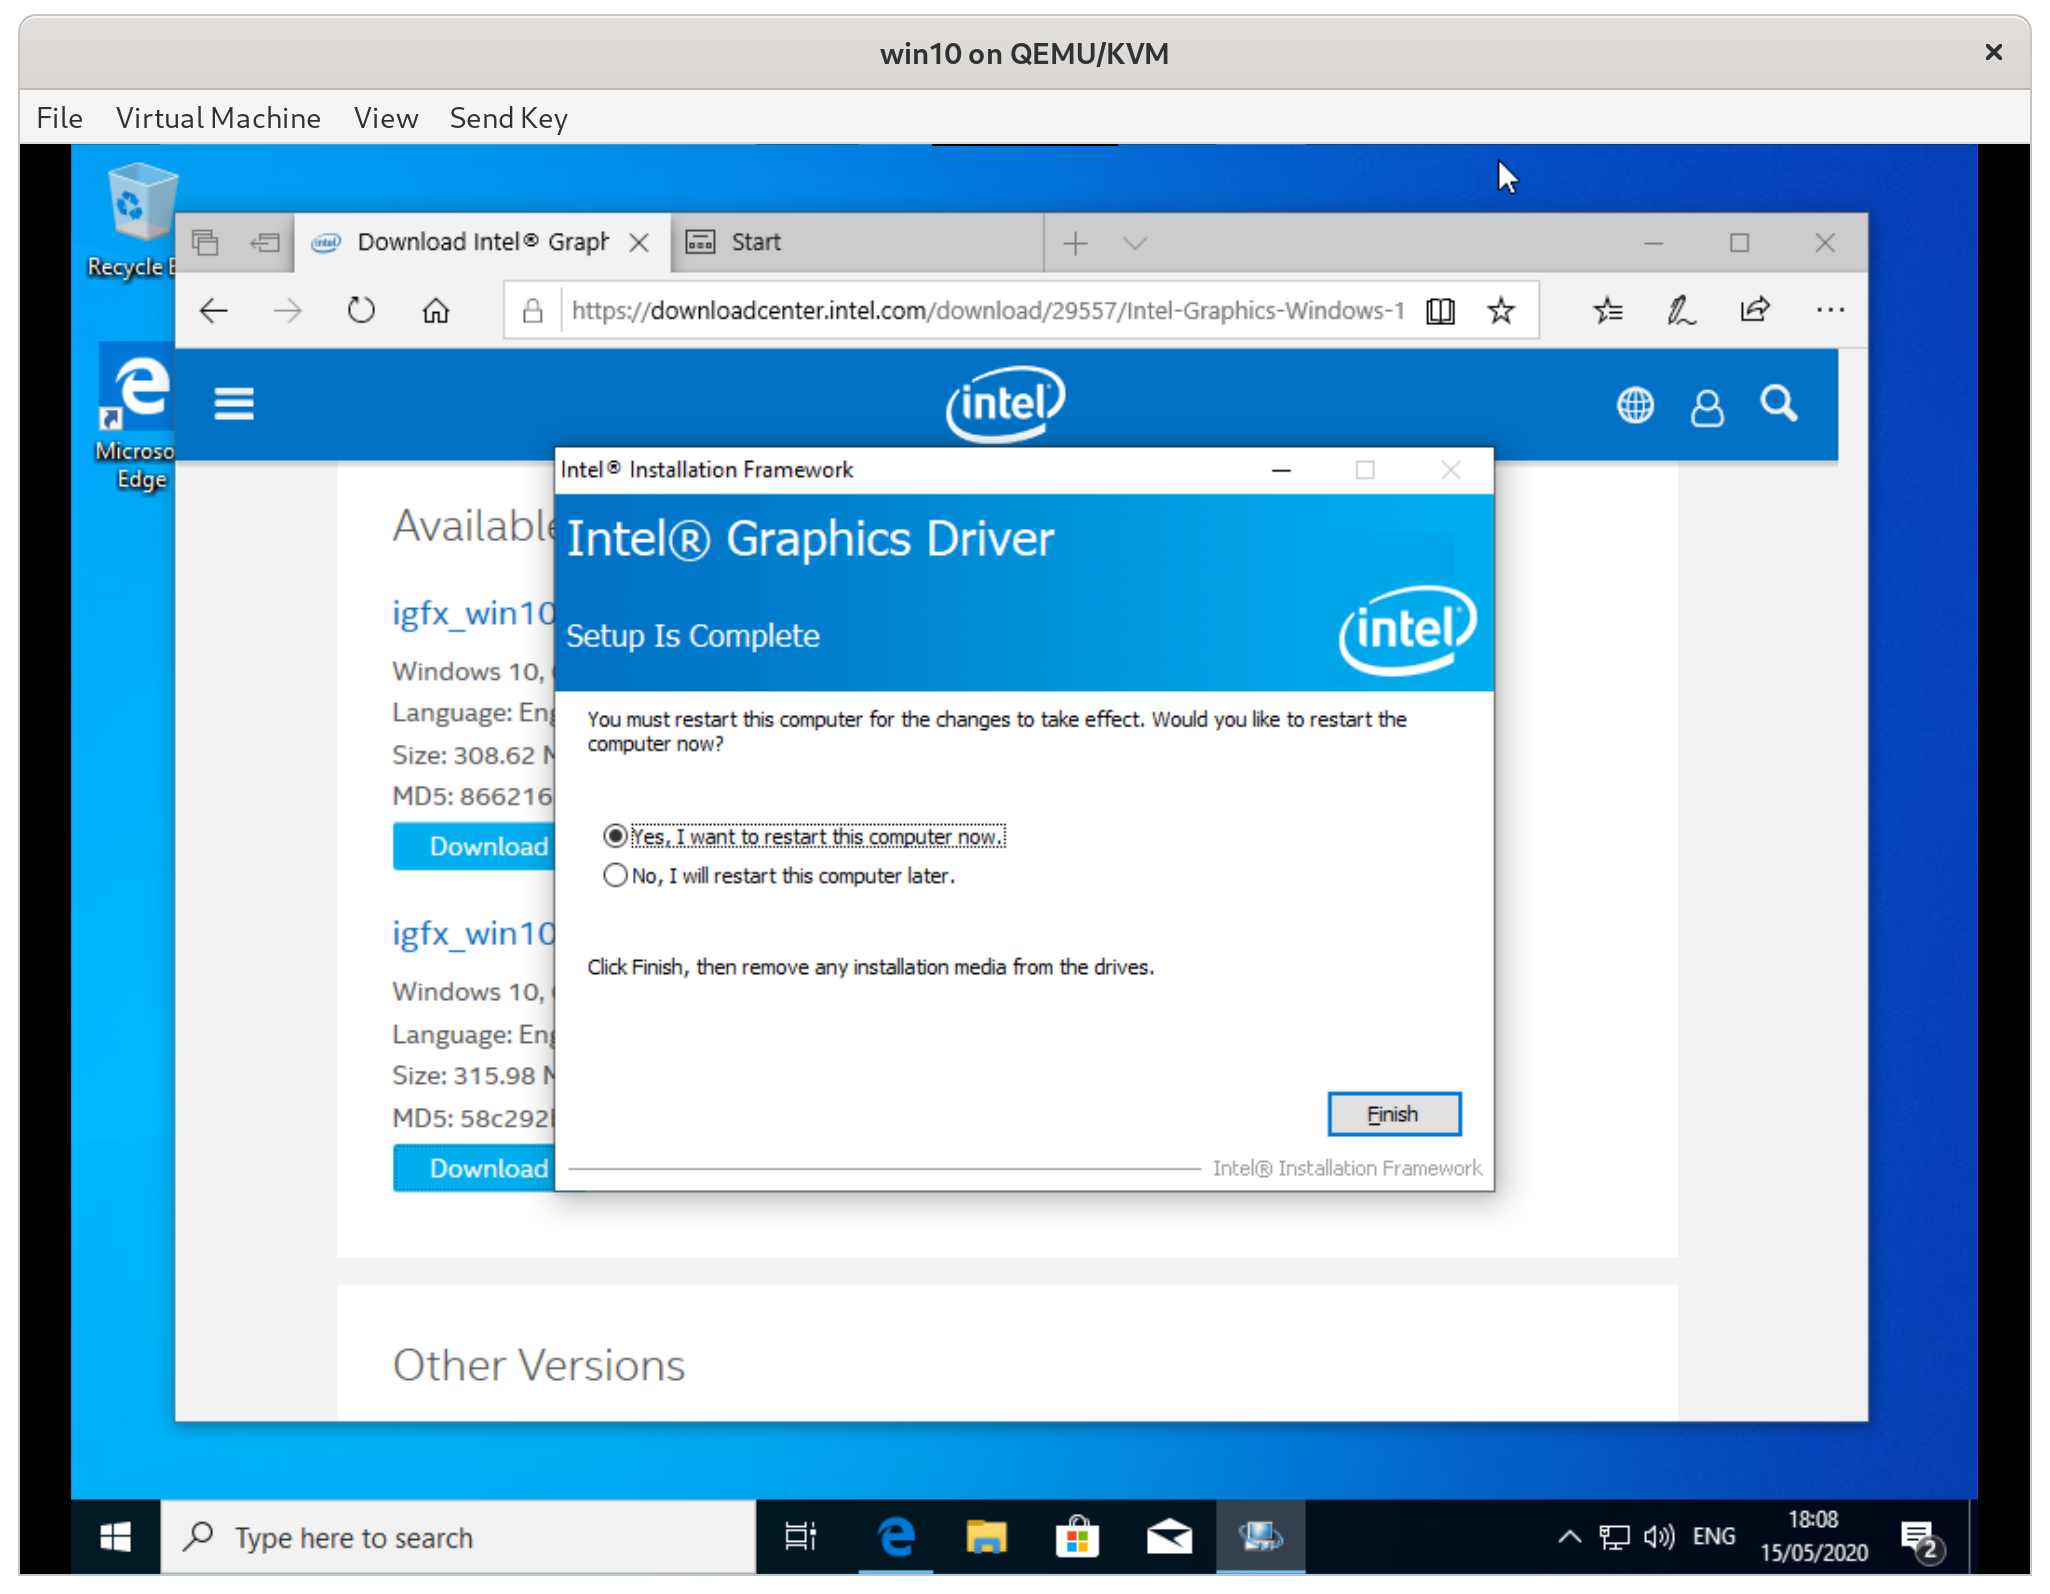
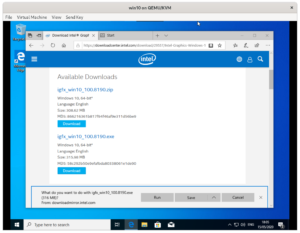
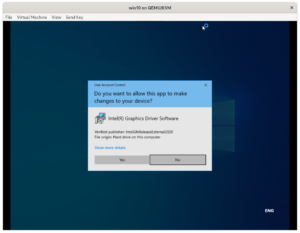
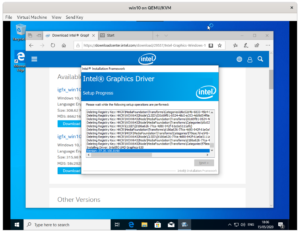
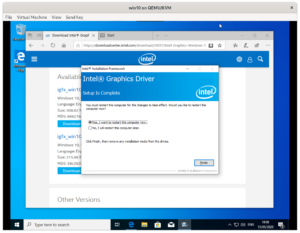
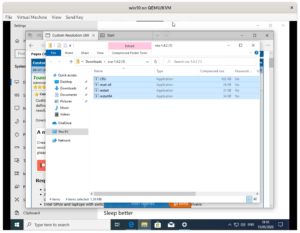
To install the Intel display drivers we need to do the following steps:
- Open a browser and go to https://downloadcenter.intel.com
- Scroll down and select ‘graphics’
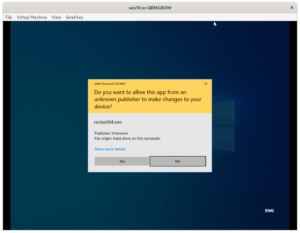
- Download the DCH drivers .exe
- Run the installer and reboot


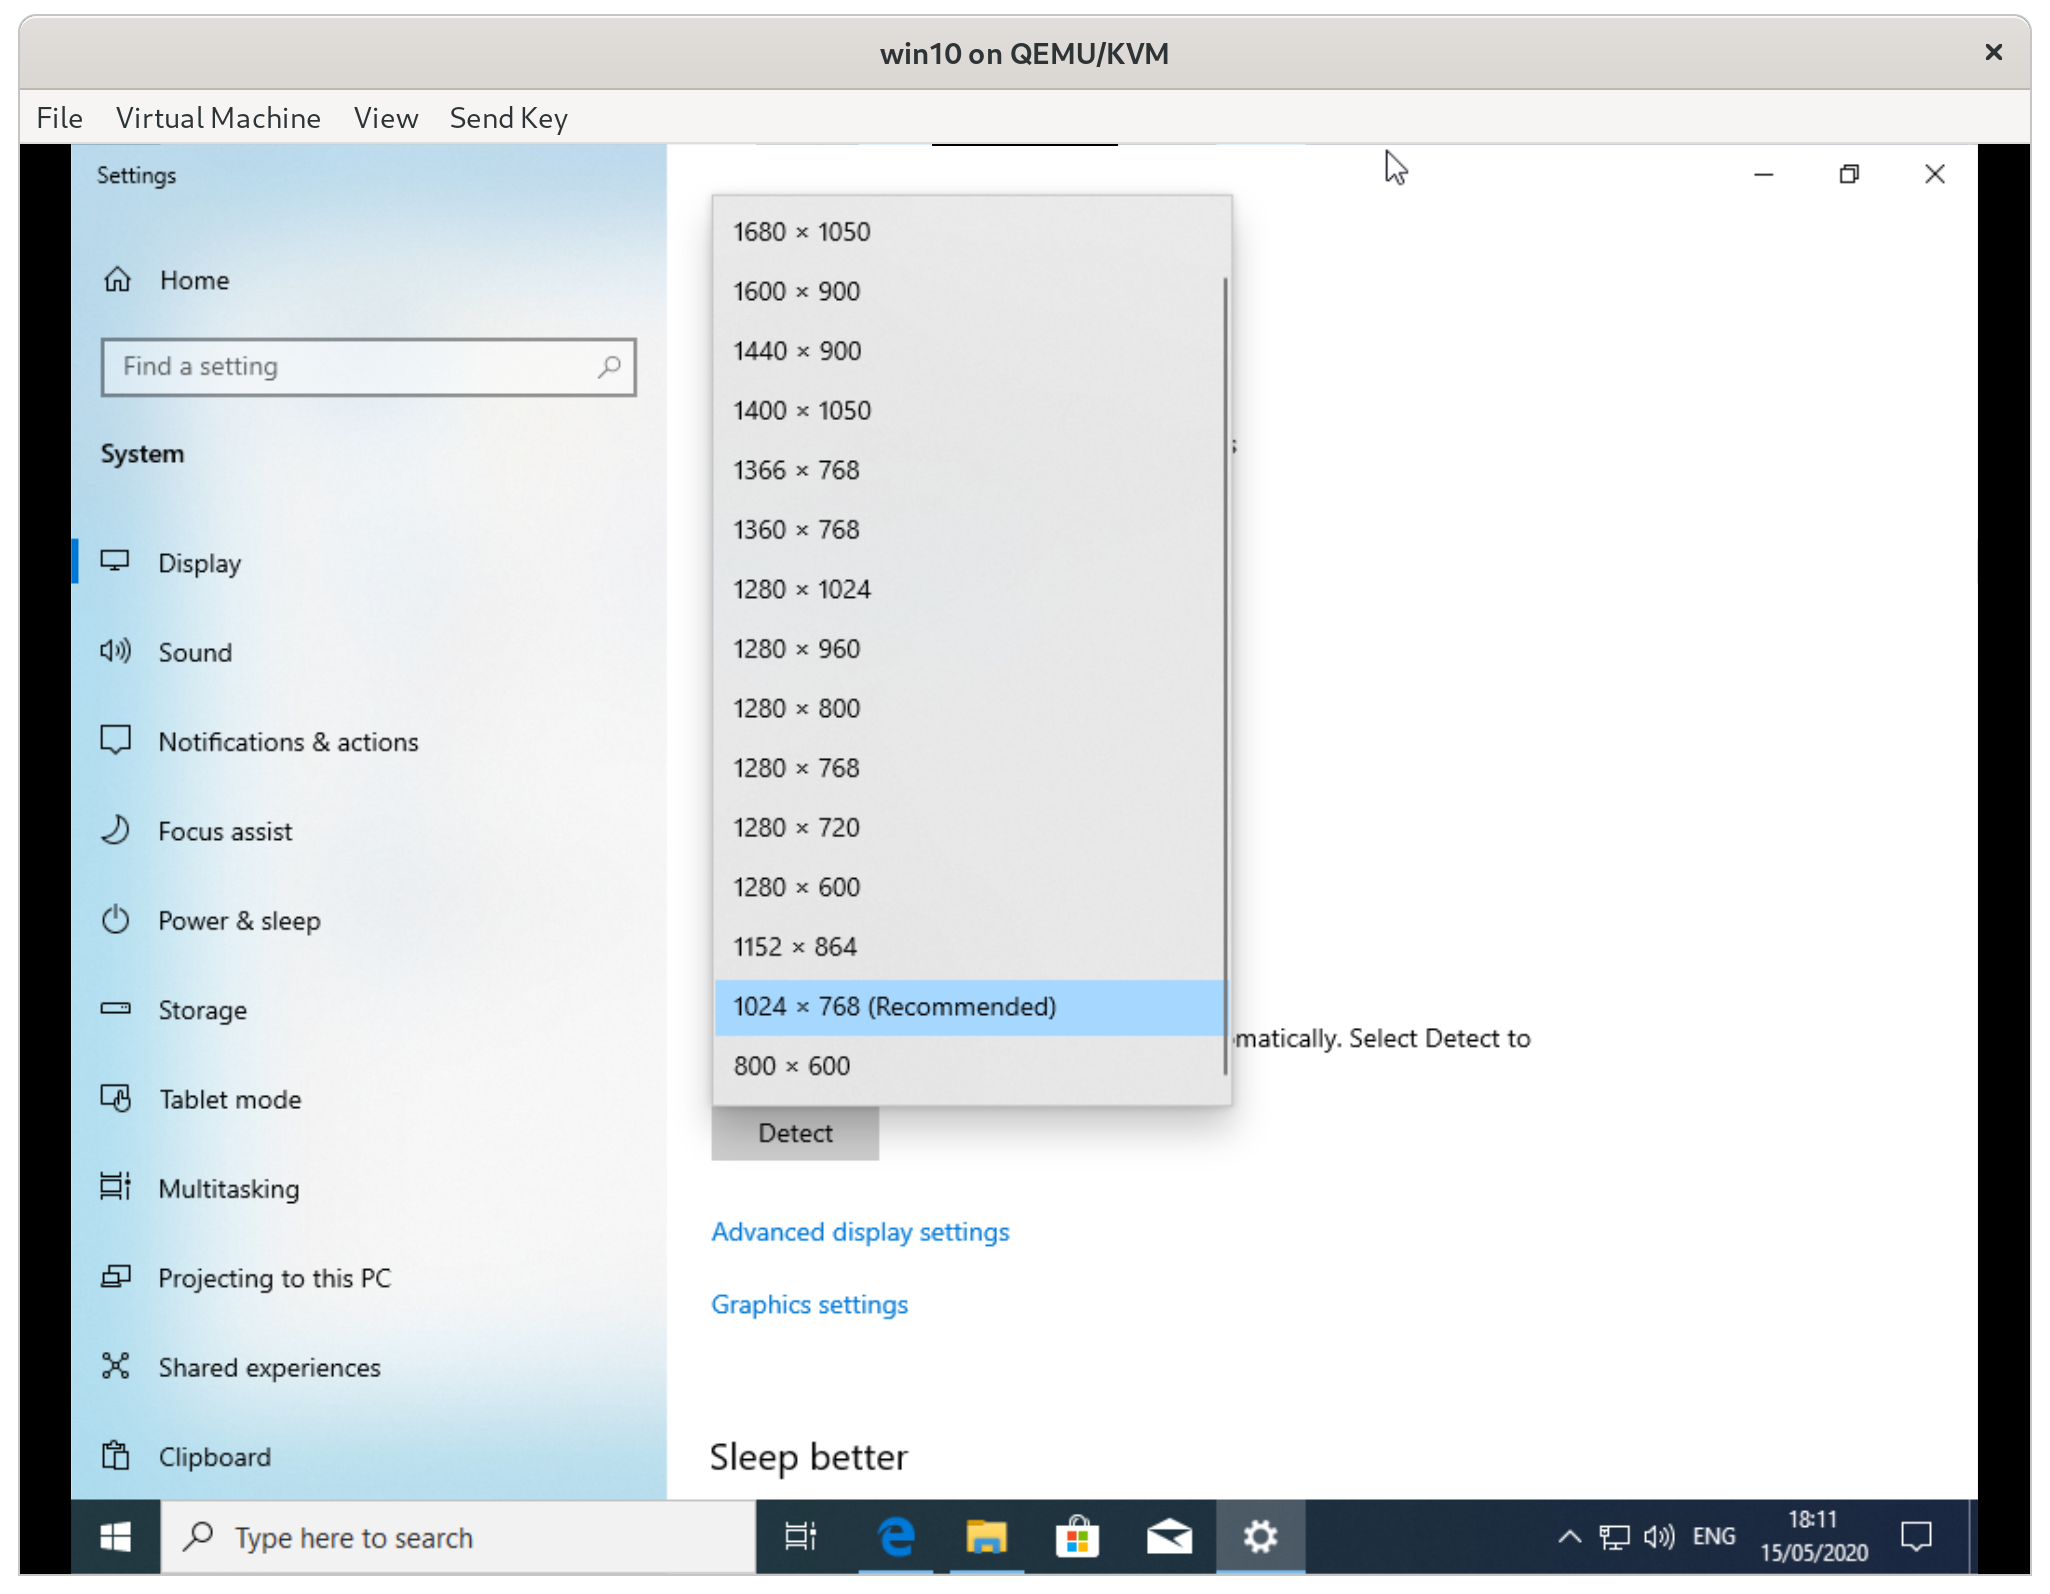
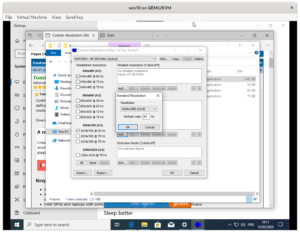
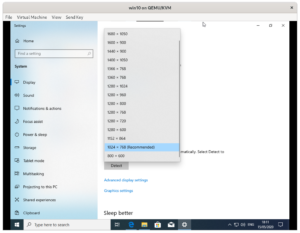
Right now the resolutions that your VM supports is pretty limited. Right-click on the desktop and select ‘display settings’.
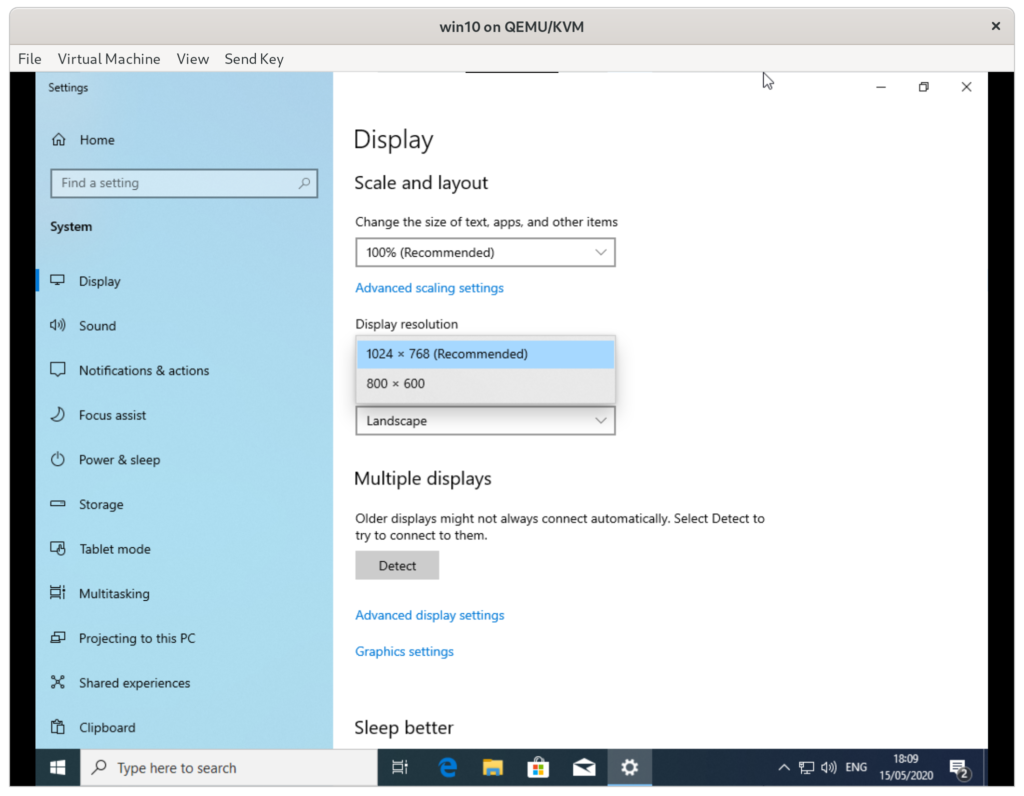
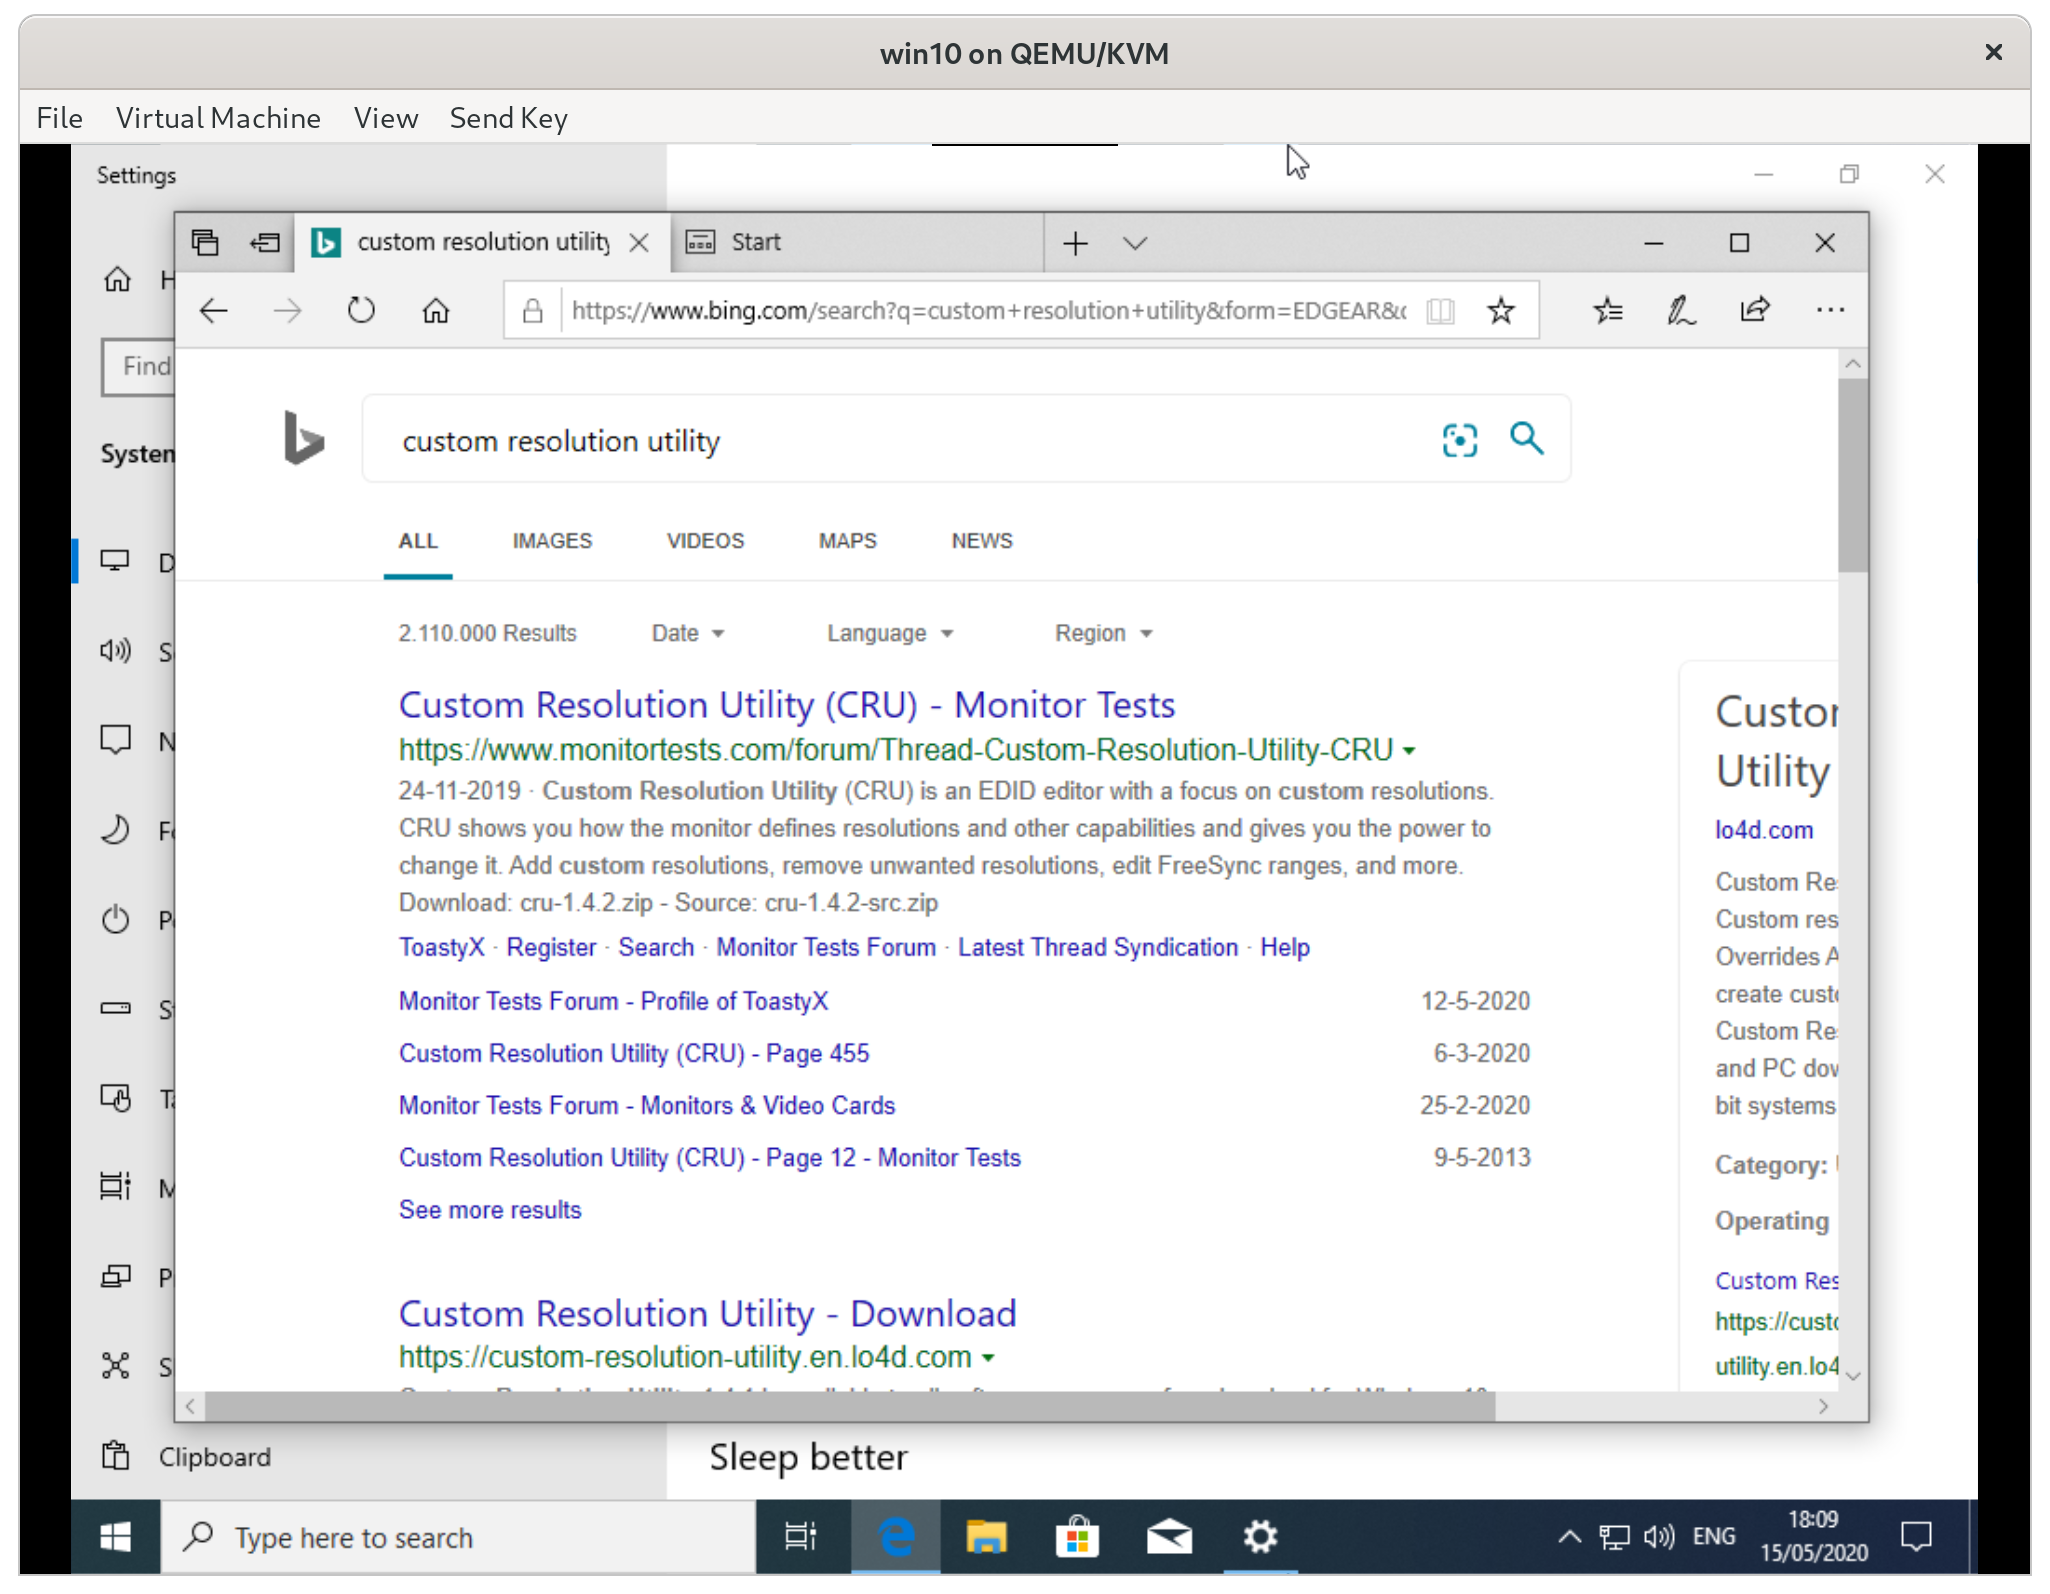
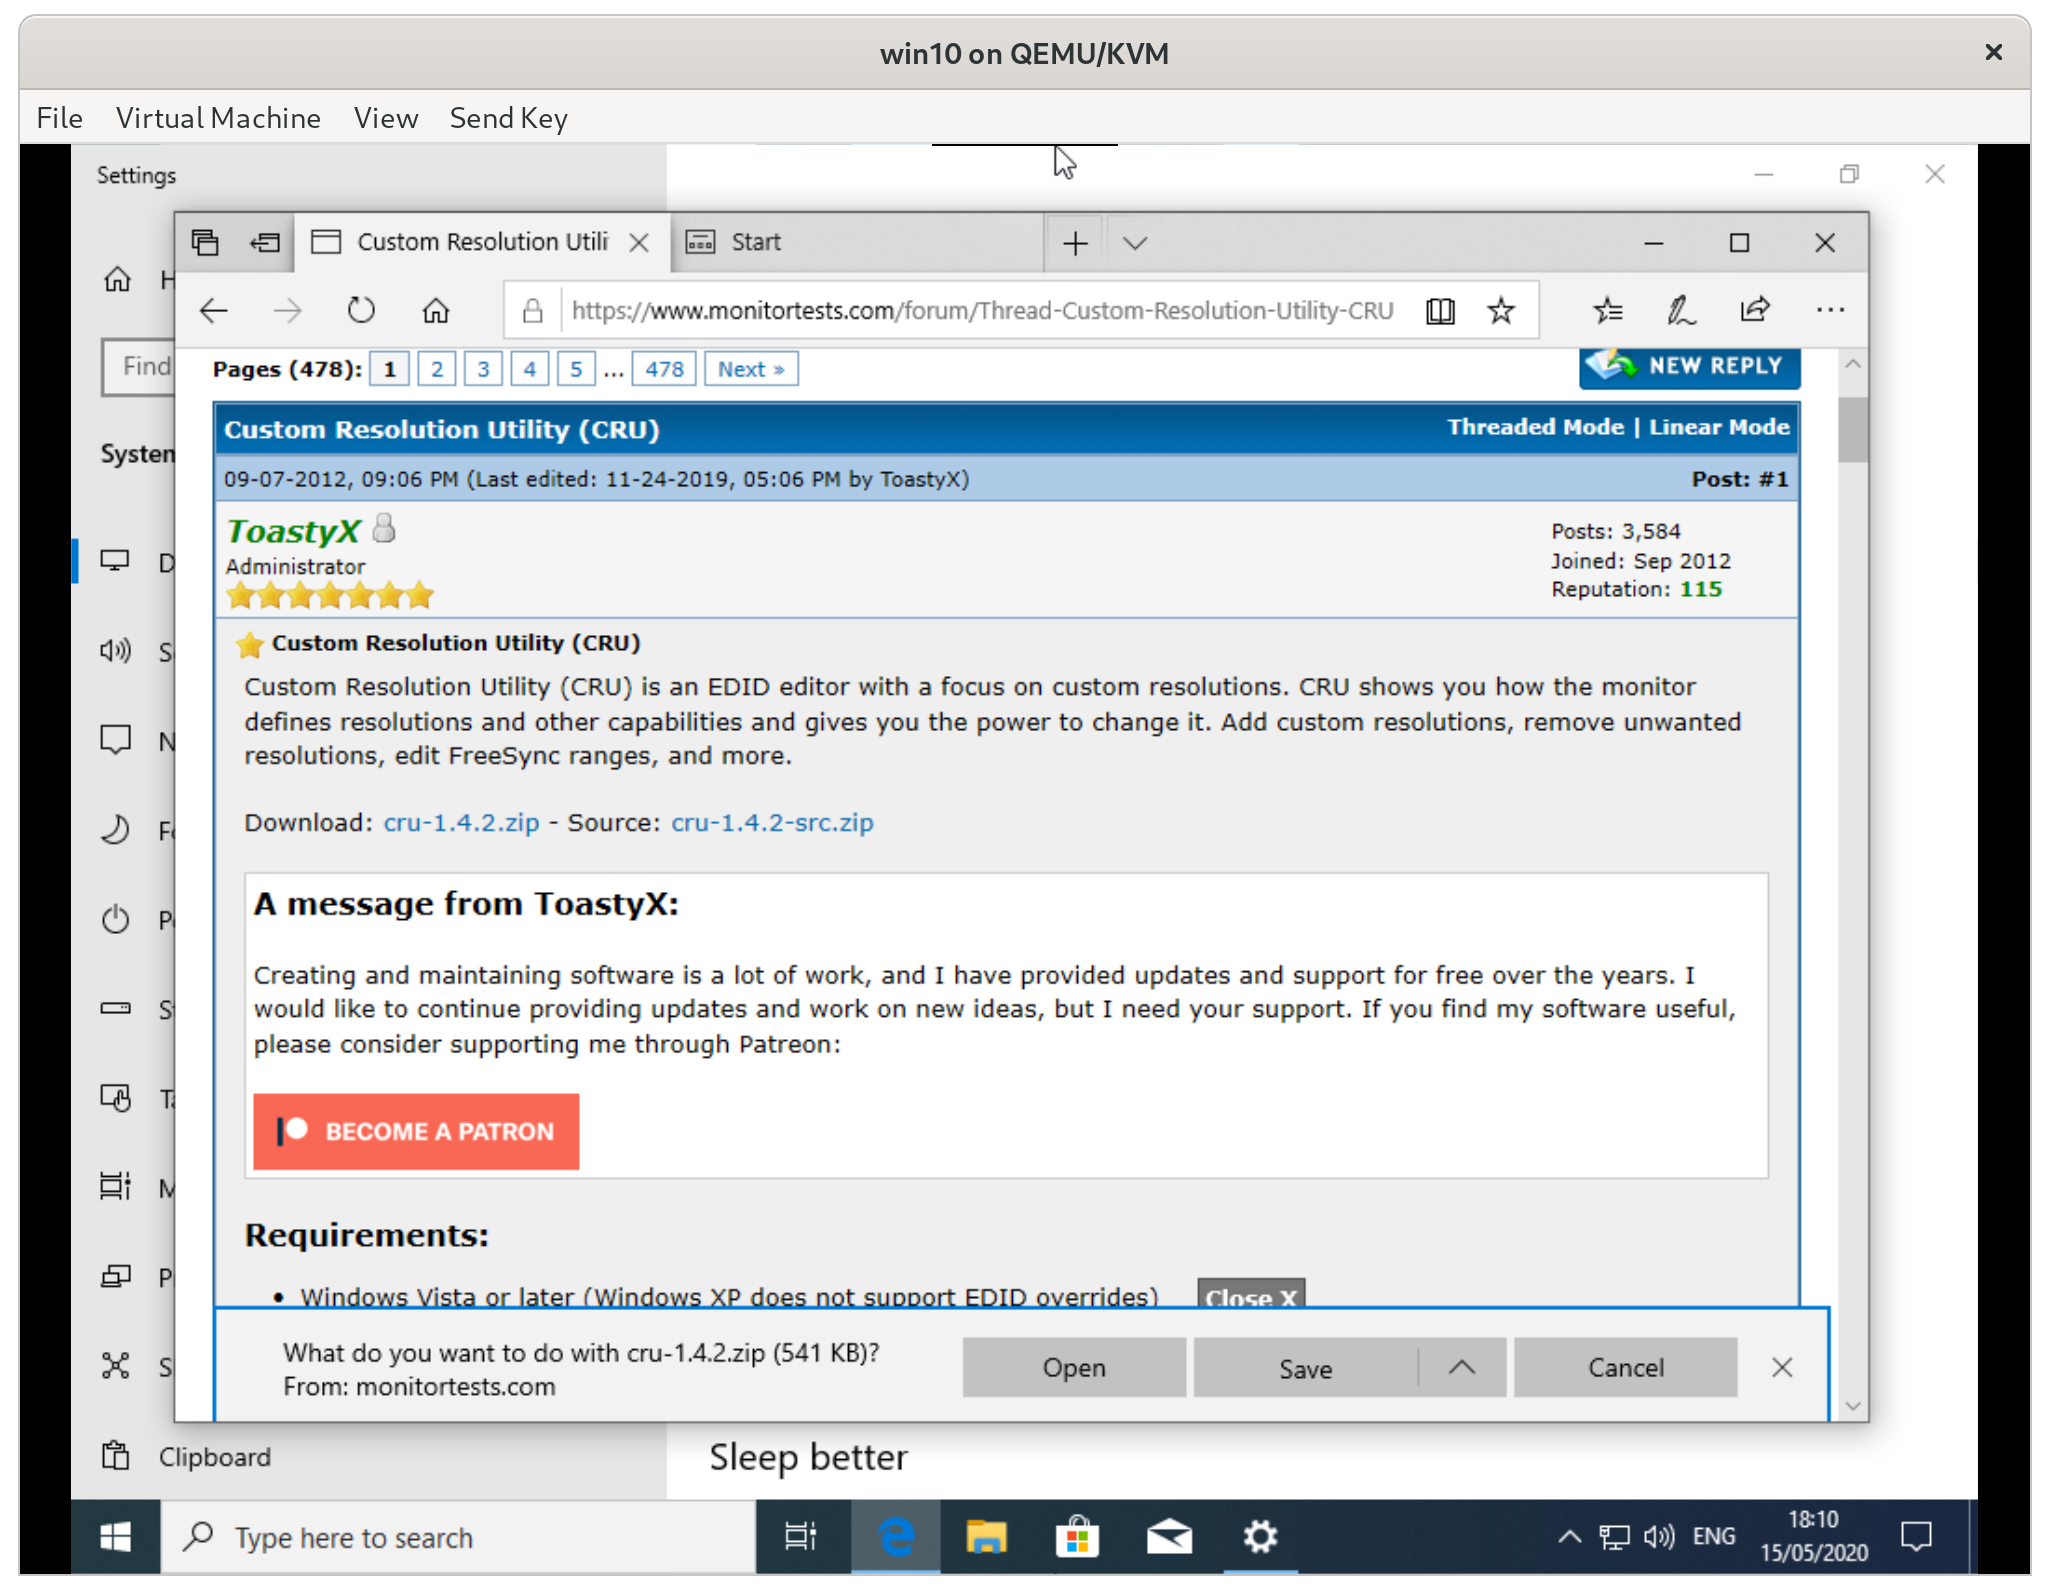
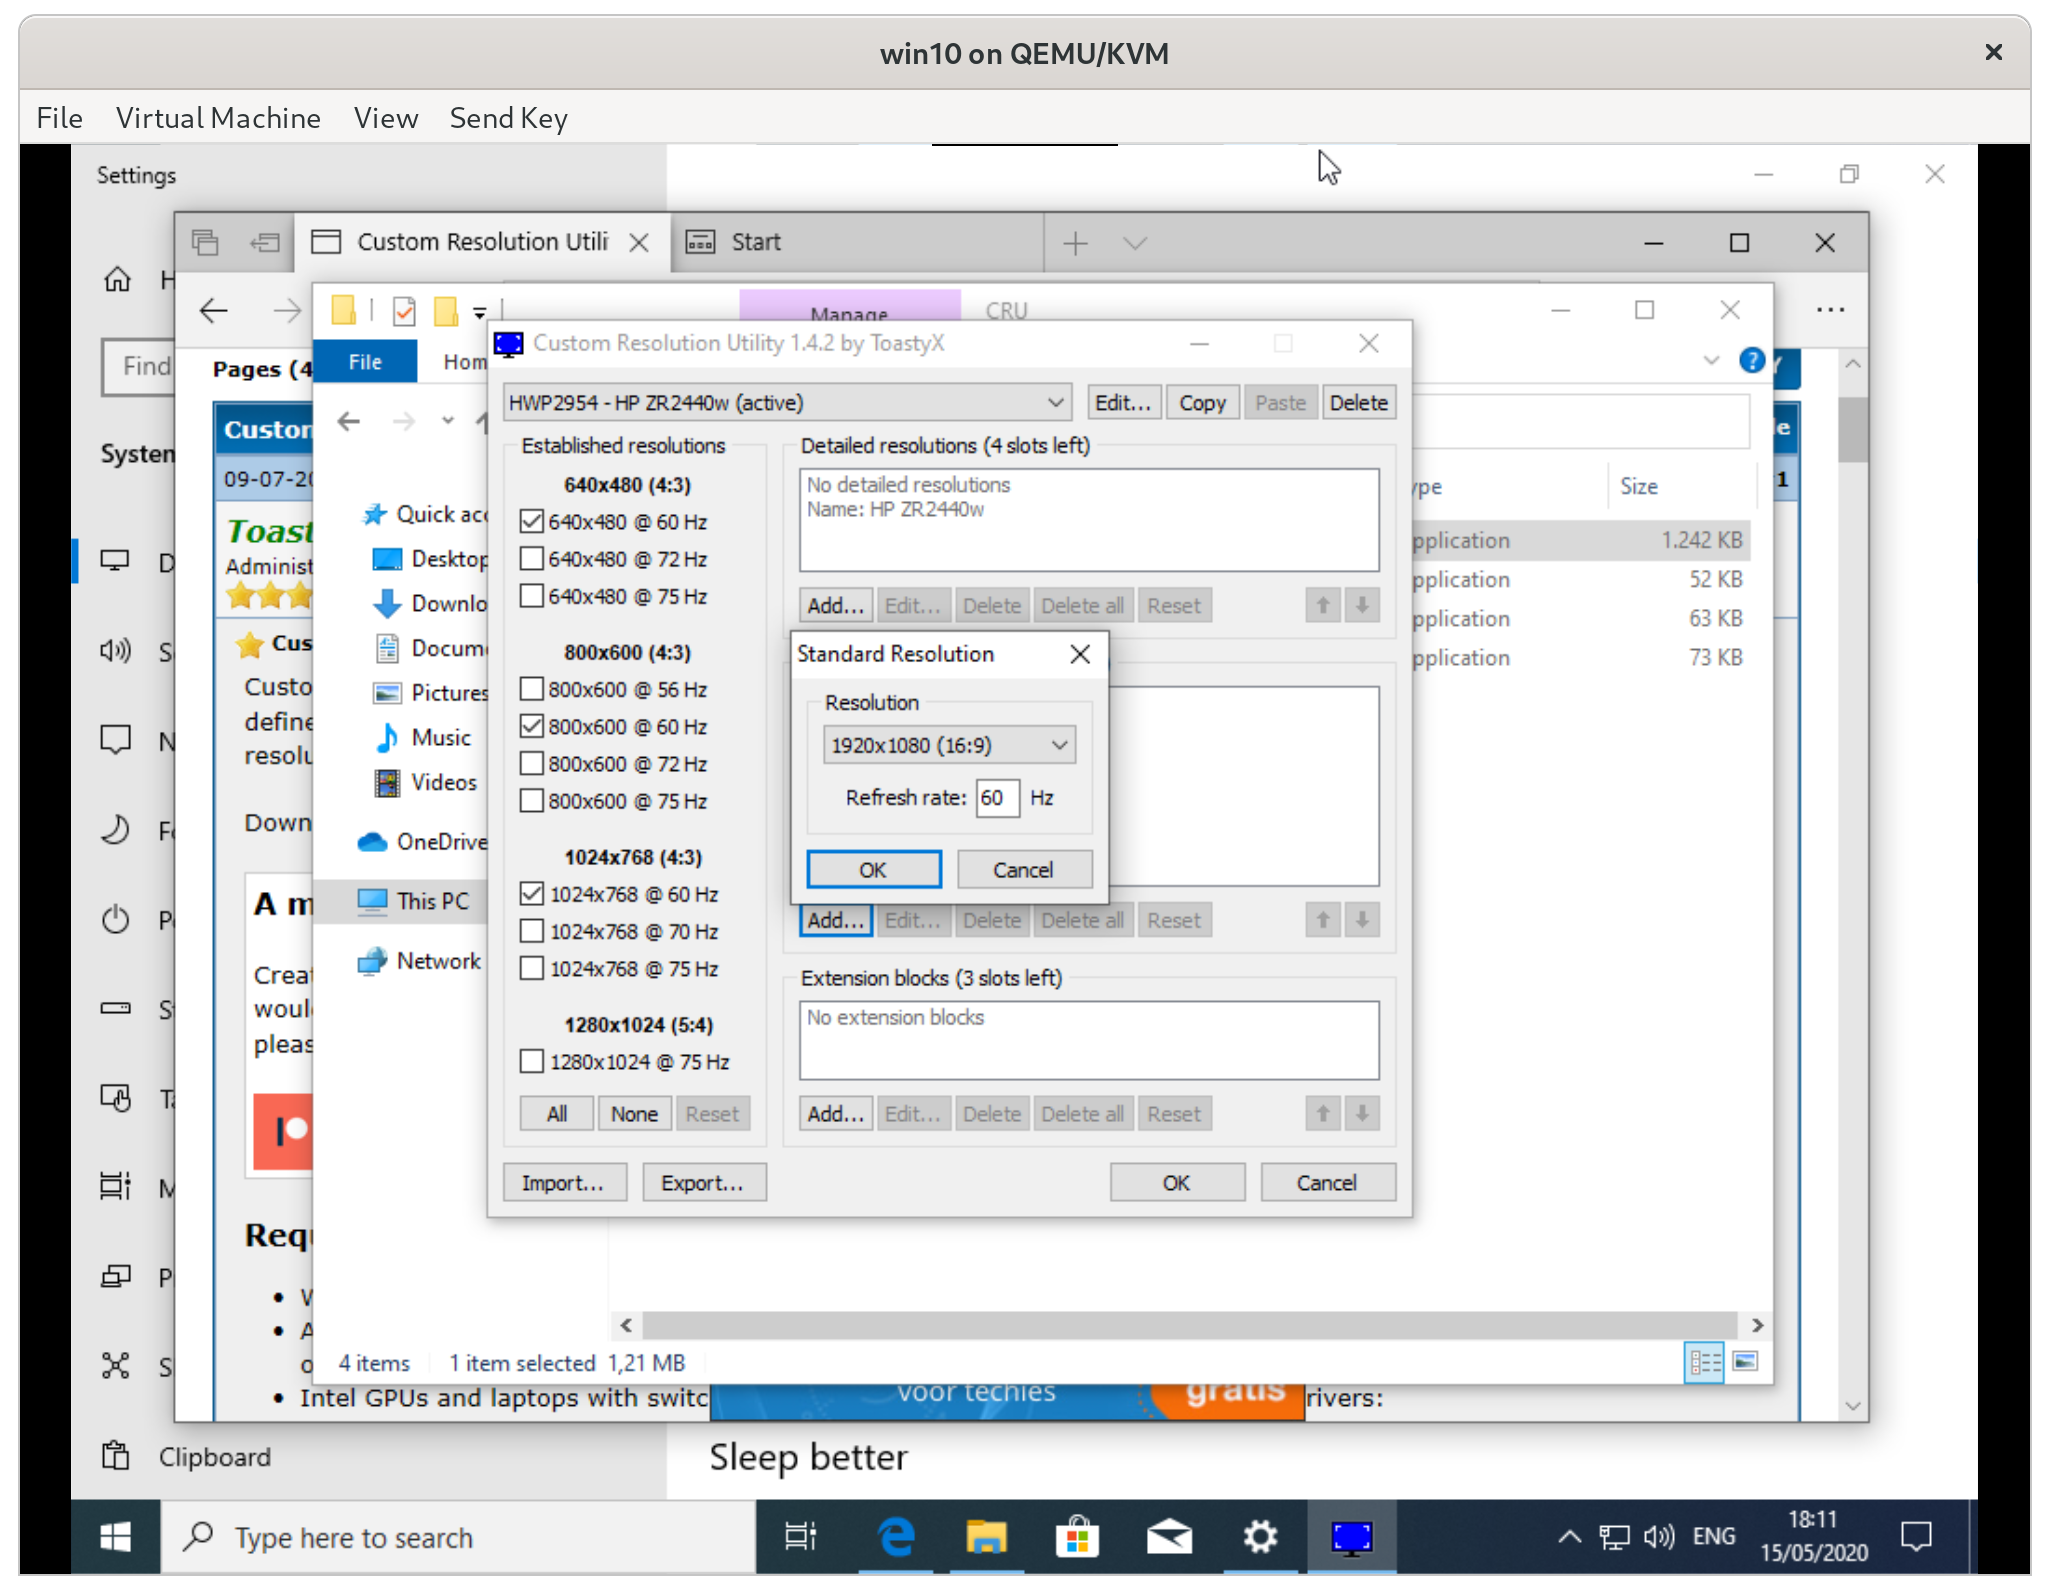
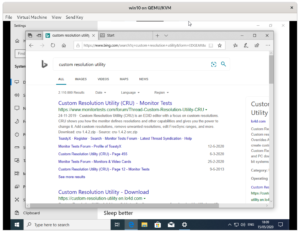
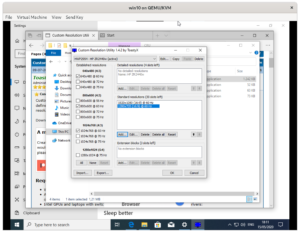
We can fix this with a tool called ‘custom resolution utility‘:
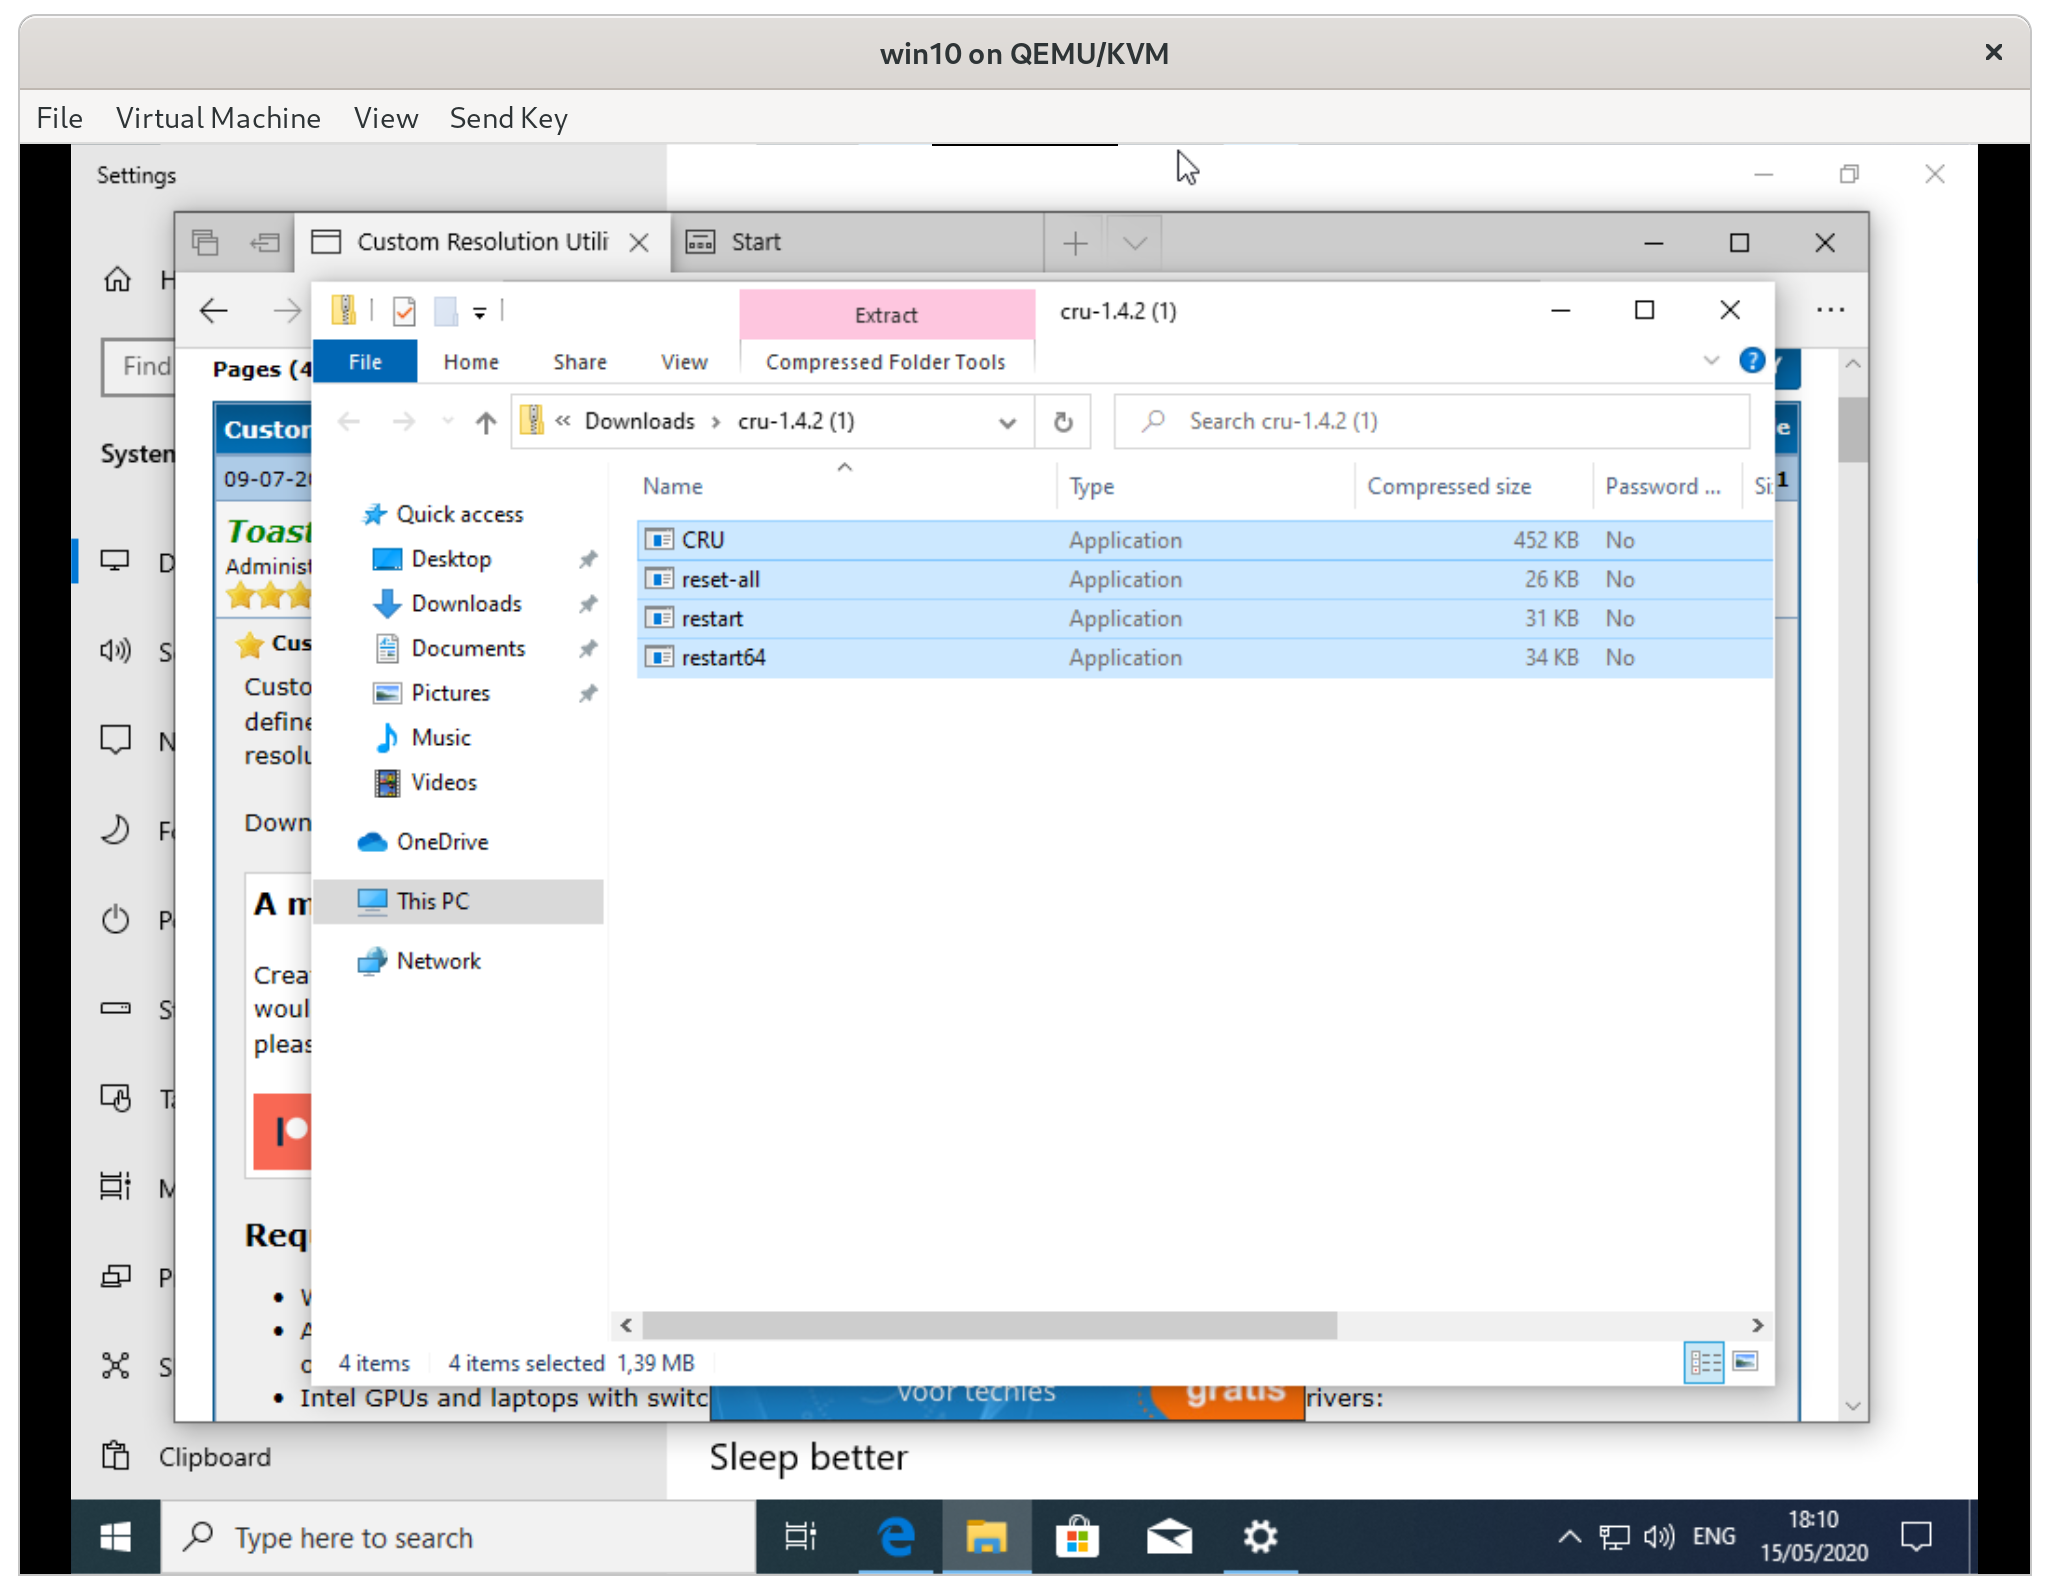
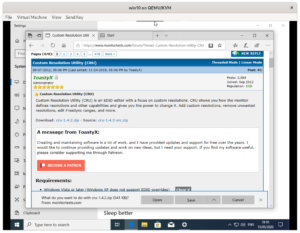
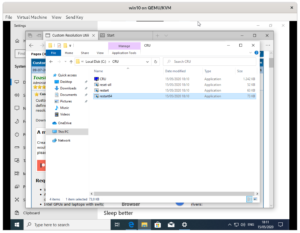
- Download ‘custom resolution utility’ from monitortests.com
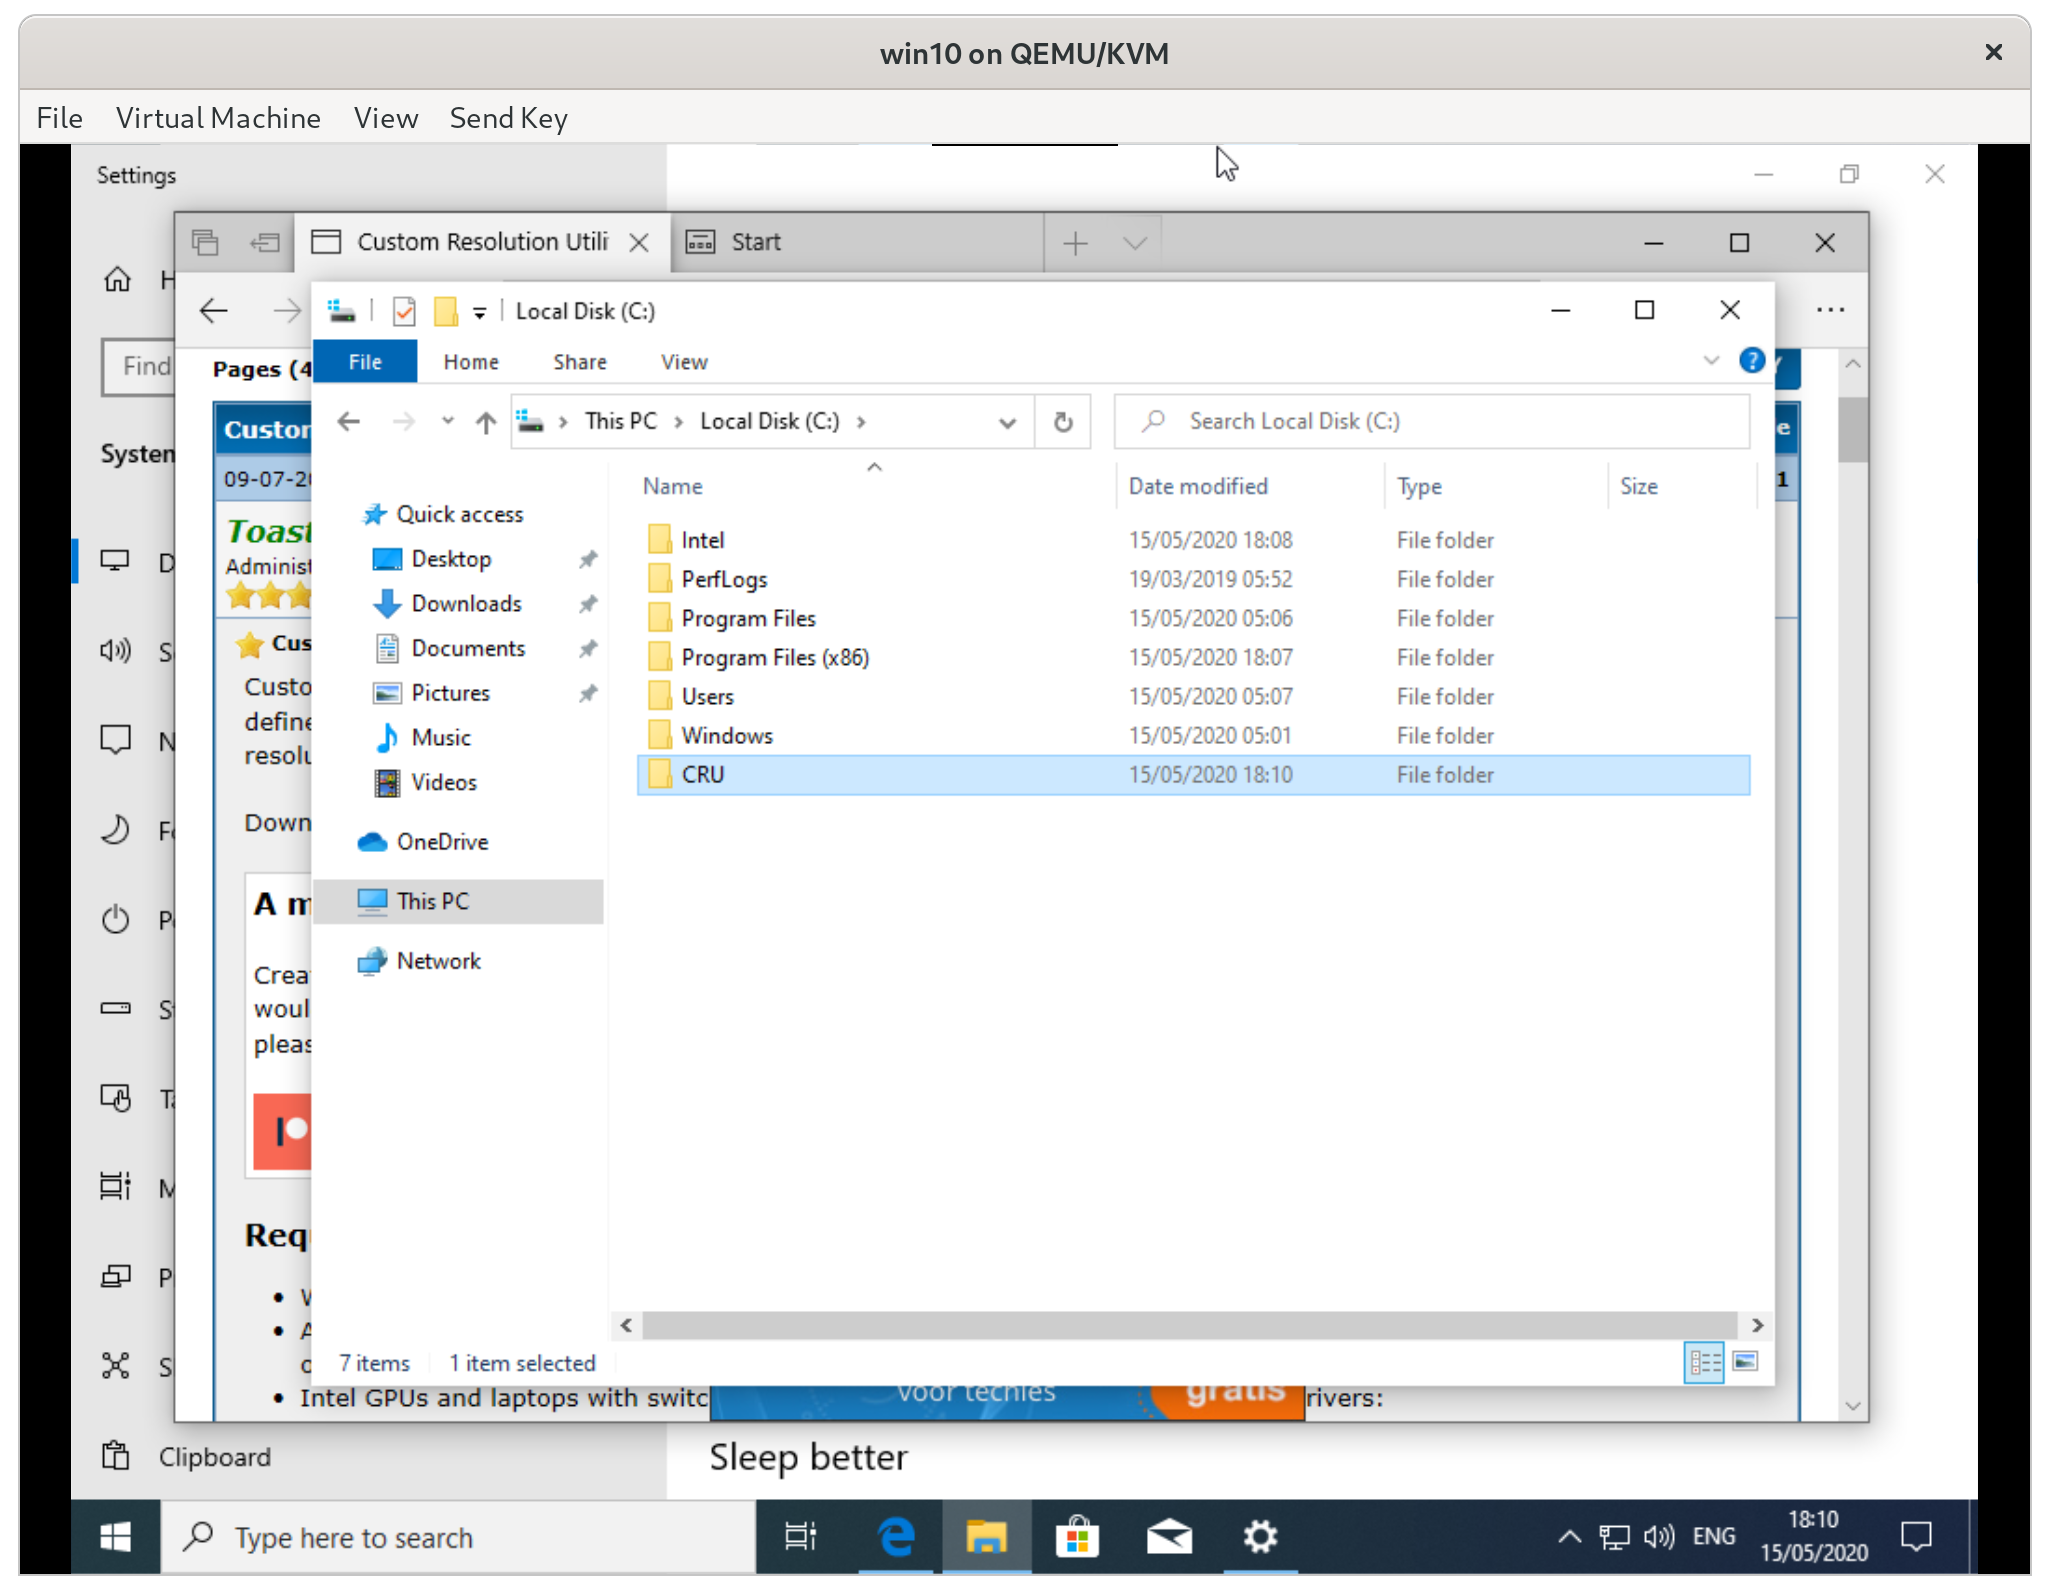
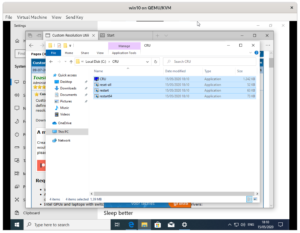
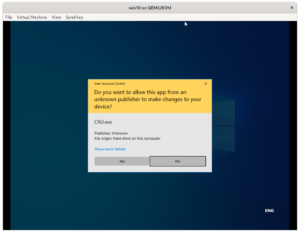
- Unzip to a directory, for instance C:\CRU
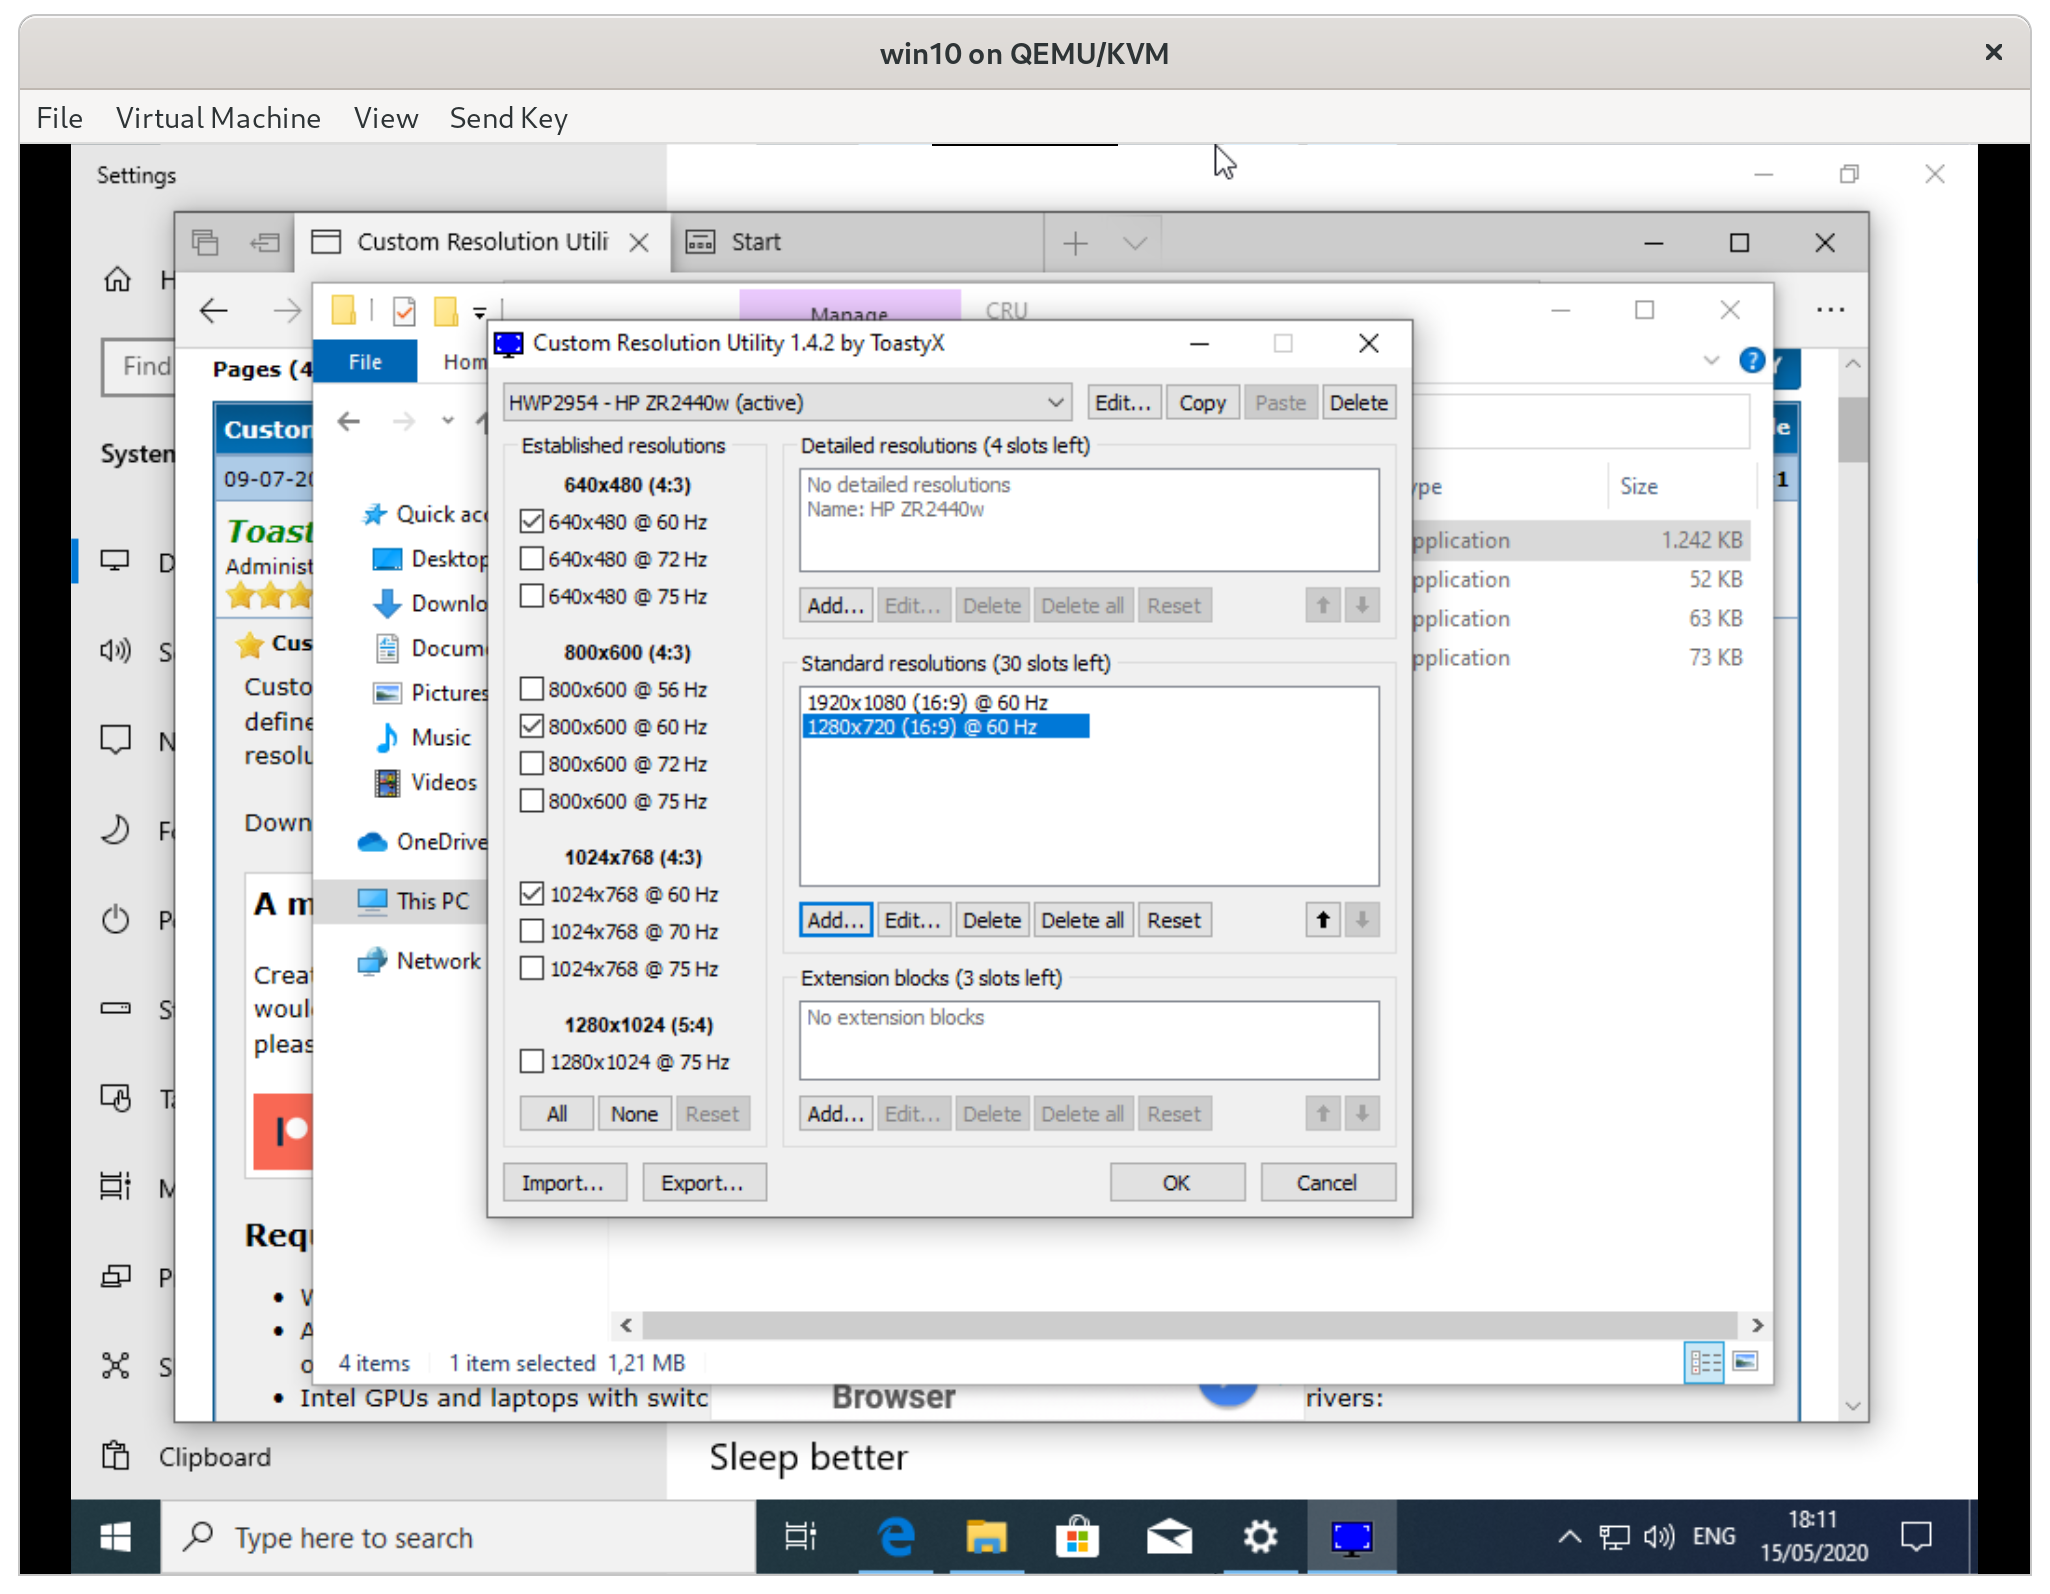
- Run CRU and add the simple resolutions you want
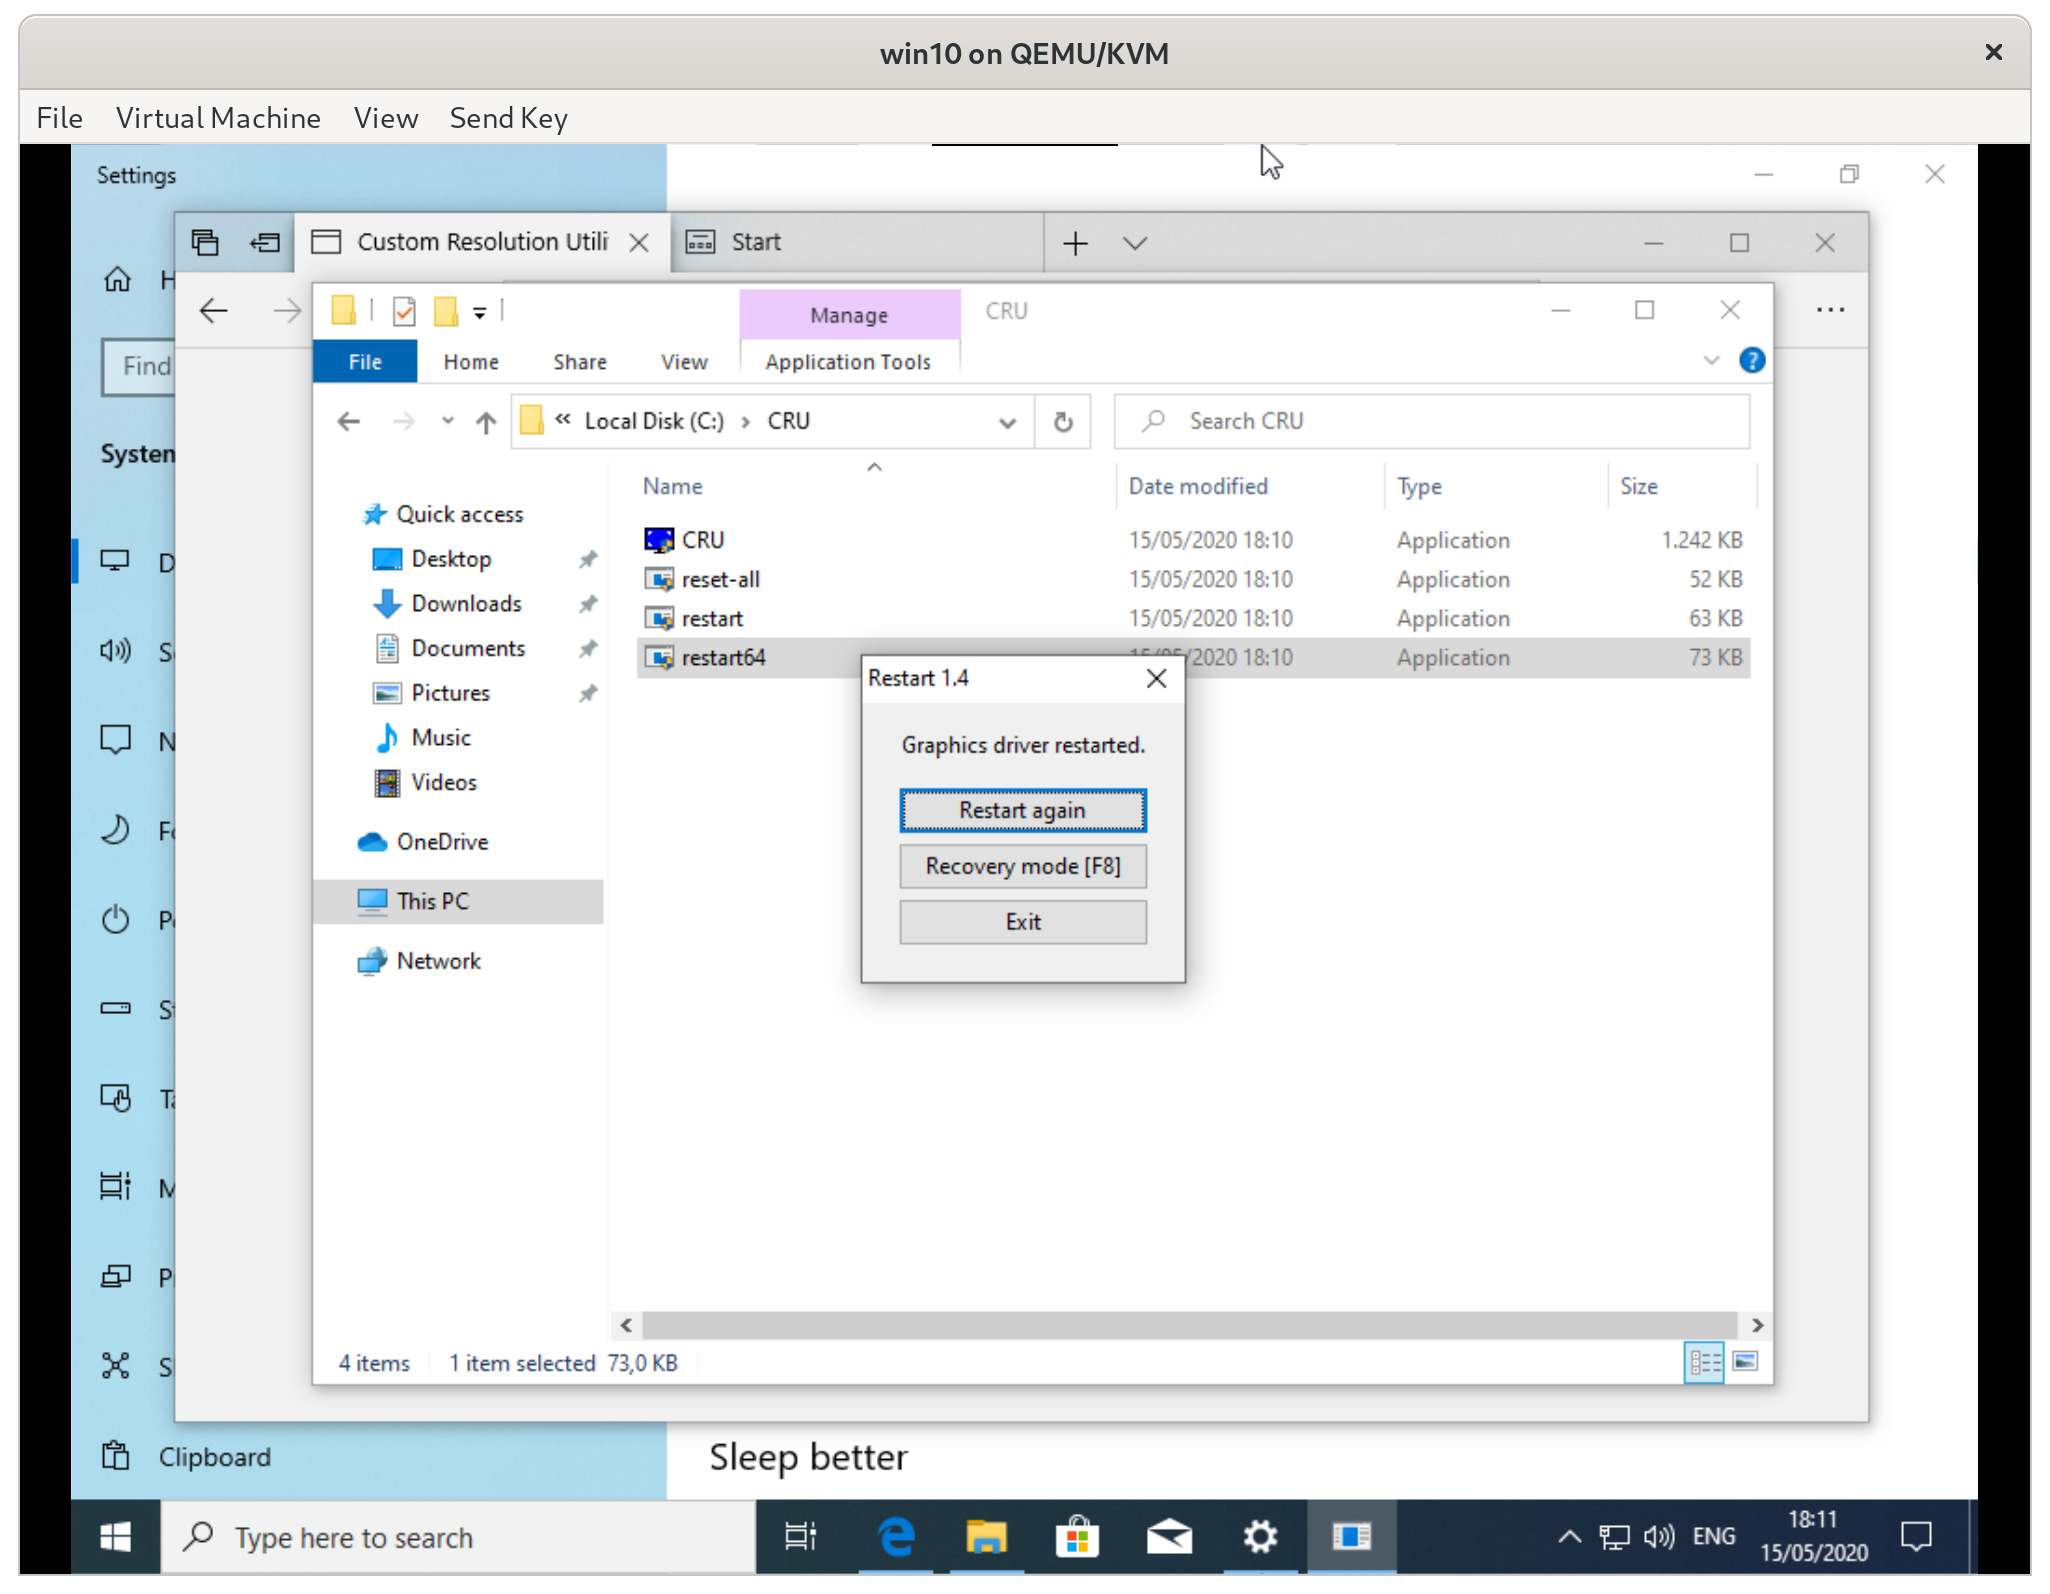
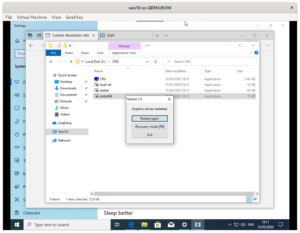
- Run restart64.exe from CRU
- Set the new resolution in ‘display settings’


Validating the installation
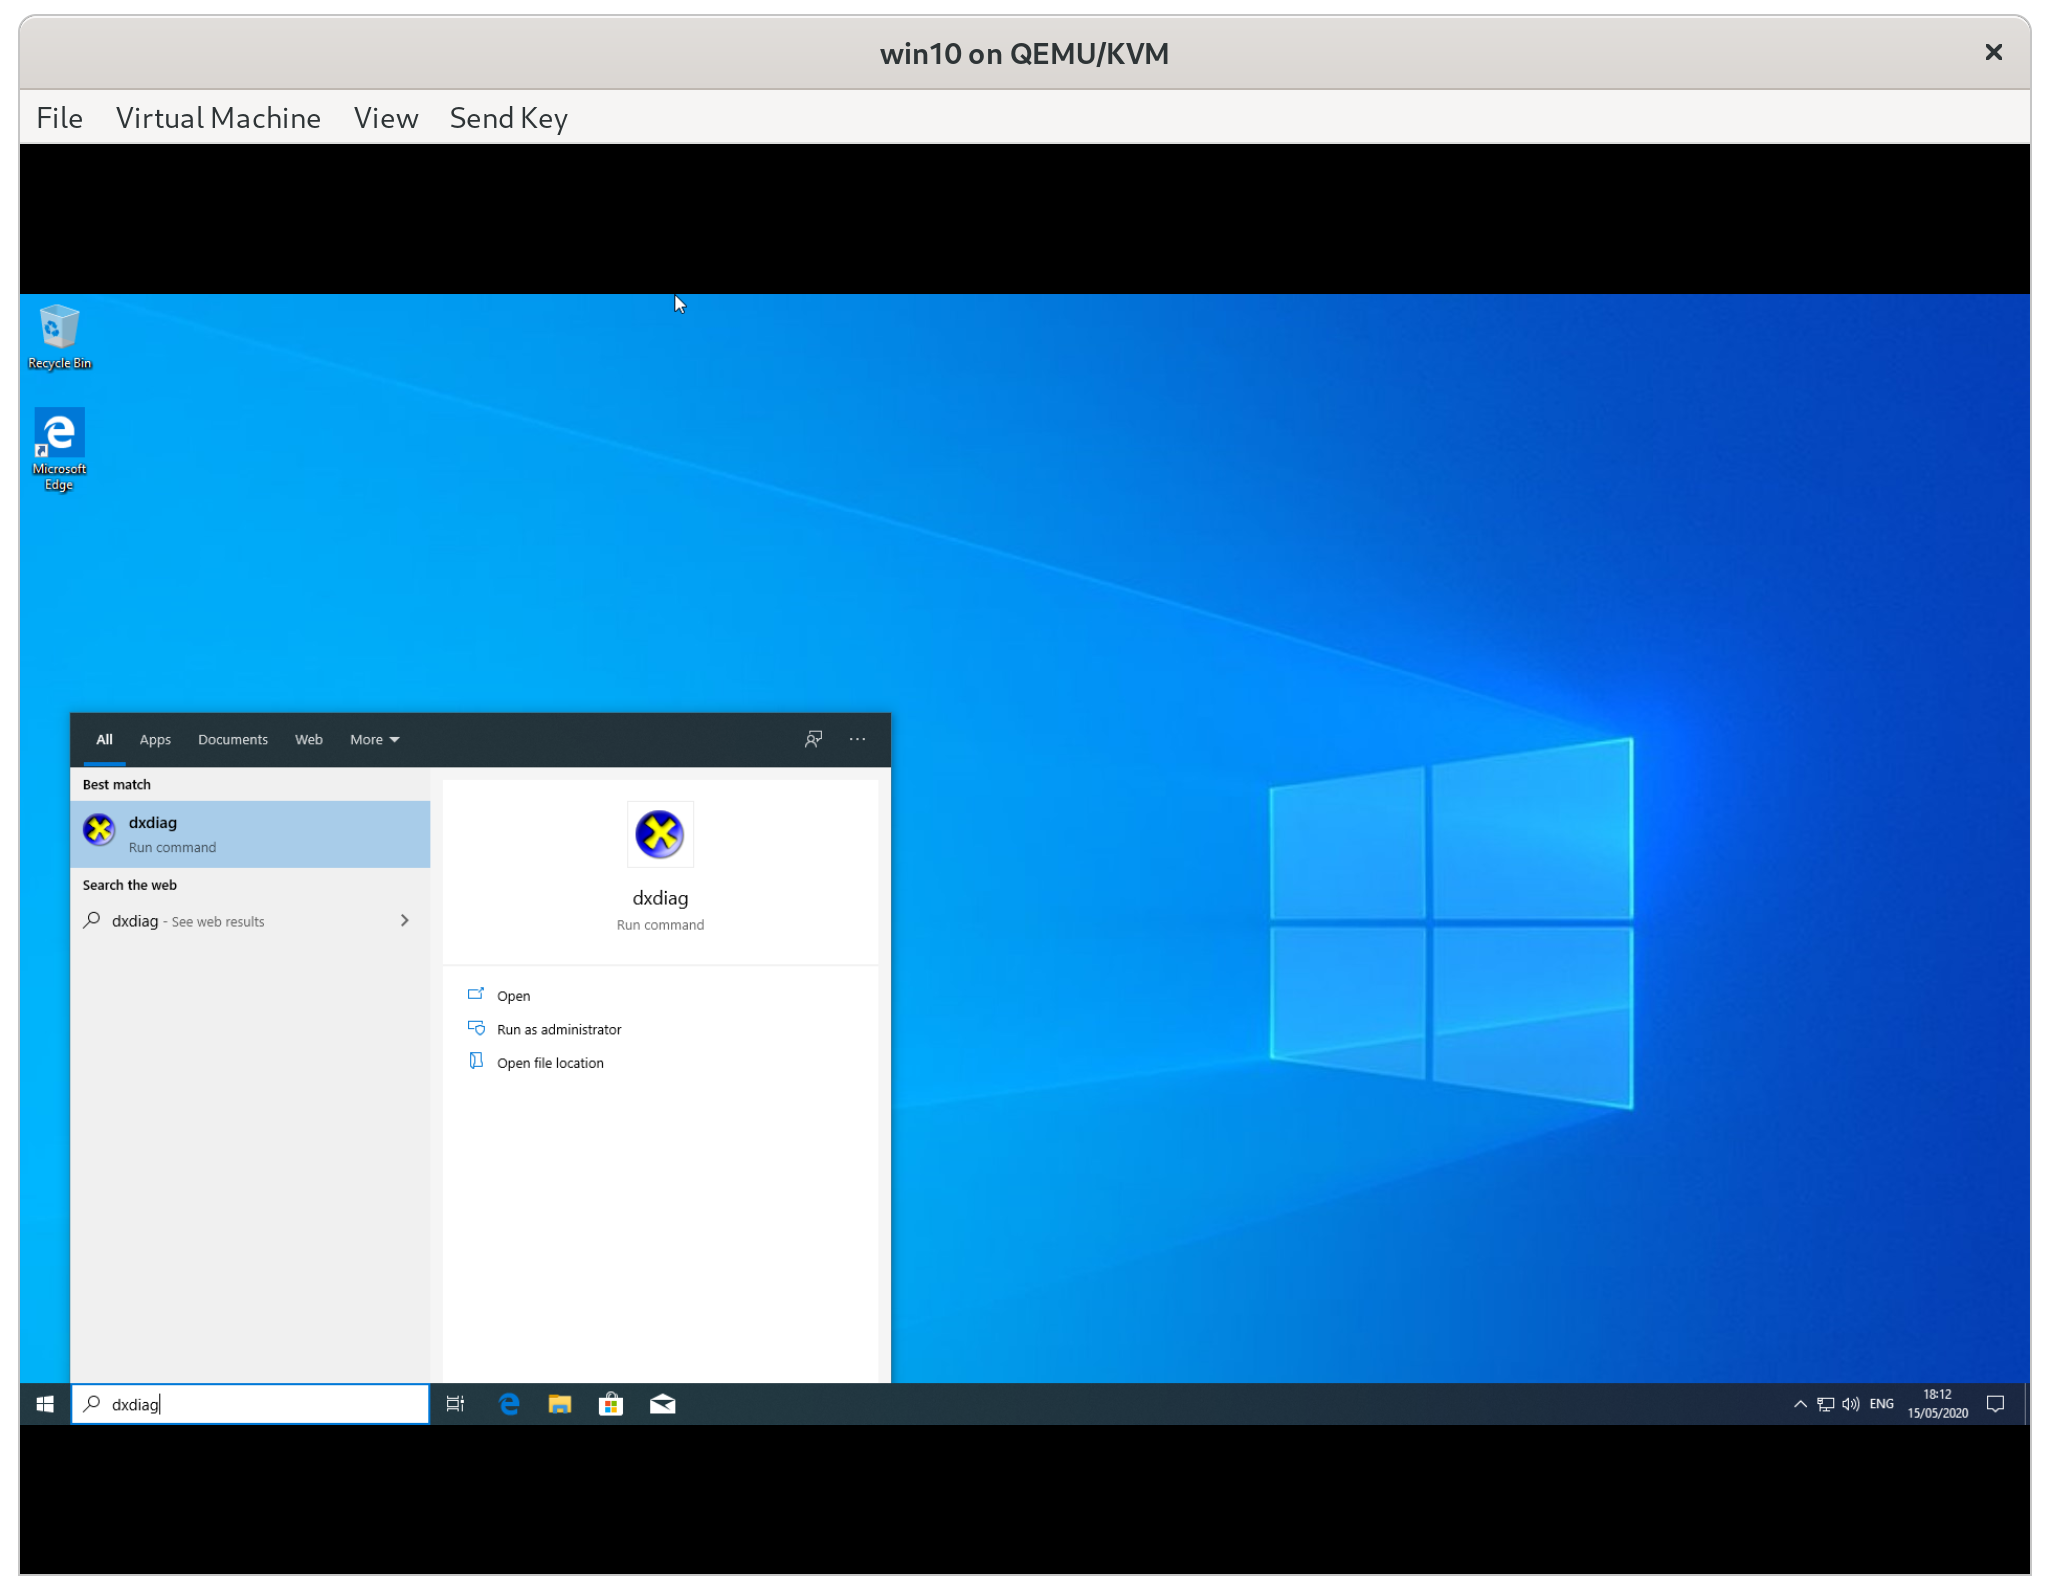
At this point everything should work. To validate this we will run dxdiag.
- type
dixdagin the bottom left of the task bar - Run dxdiag
- Check to see that DirectX 12 is supported
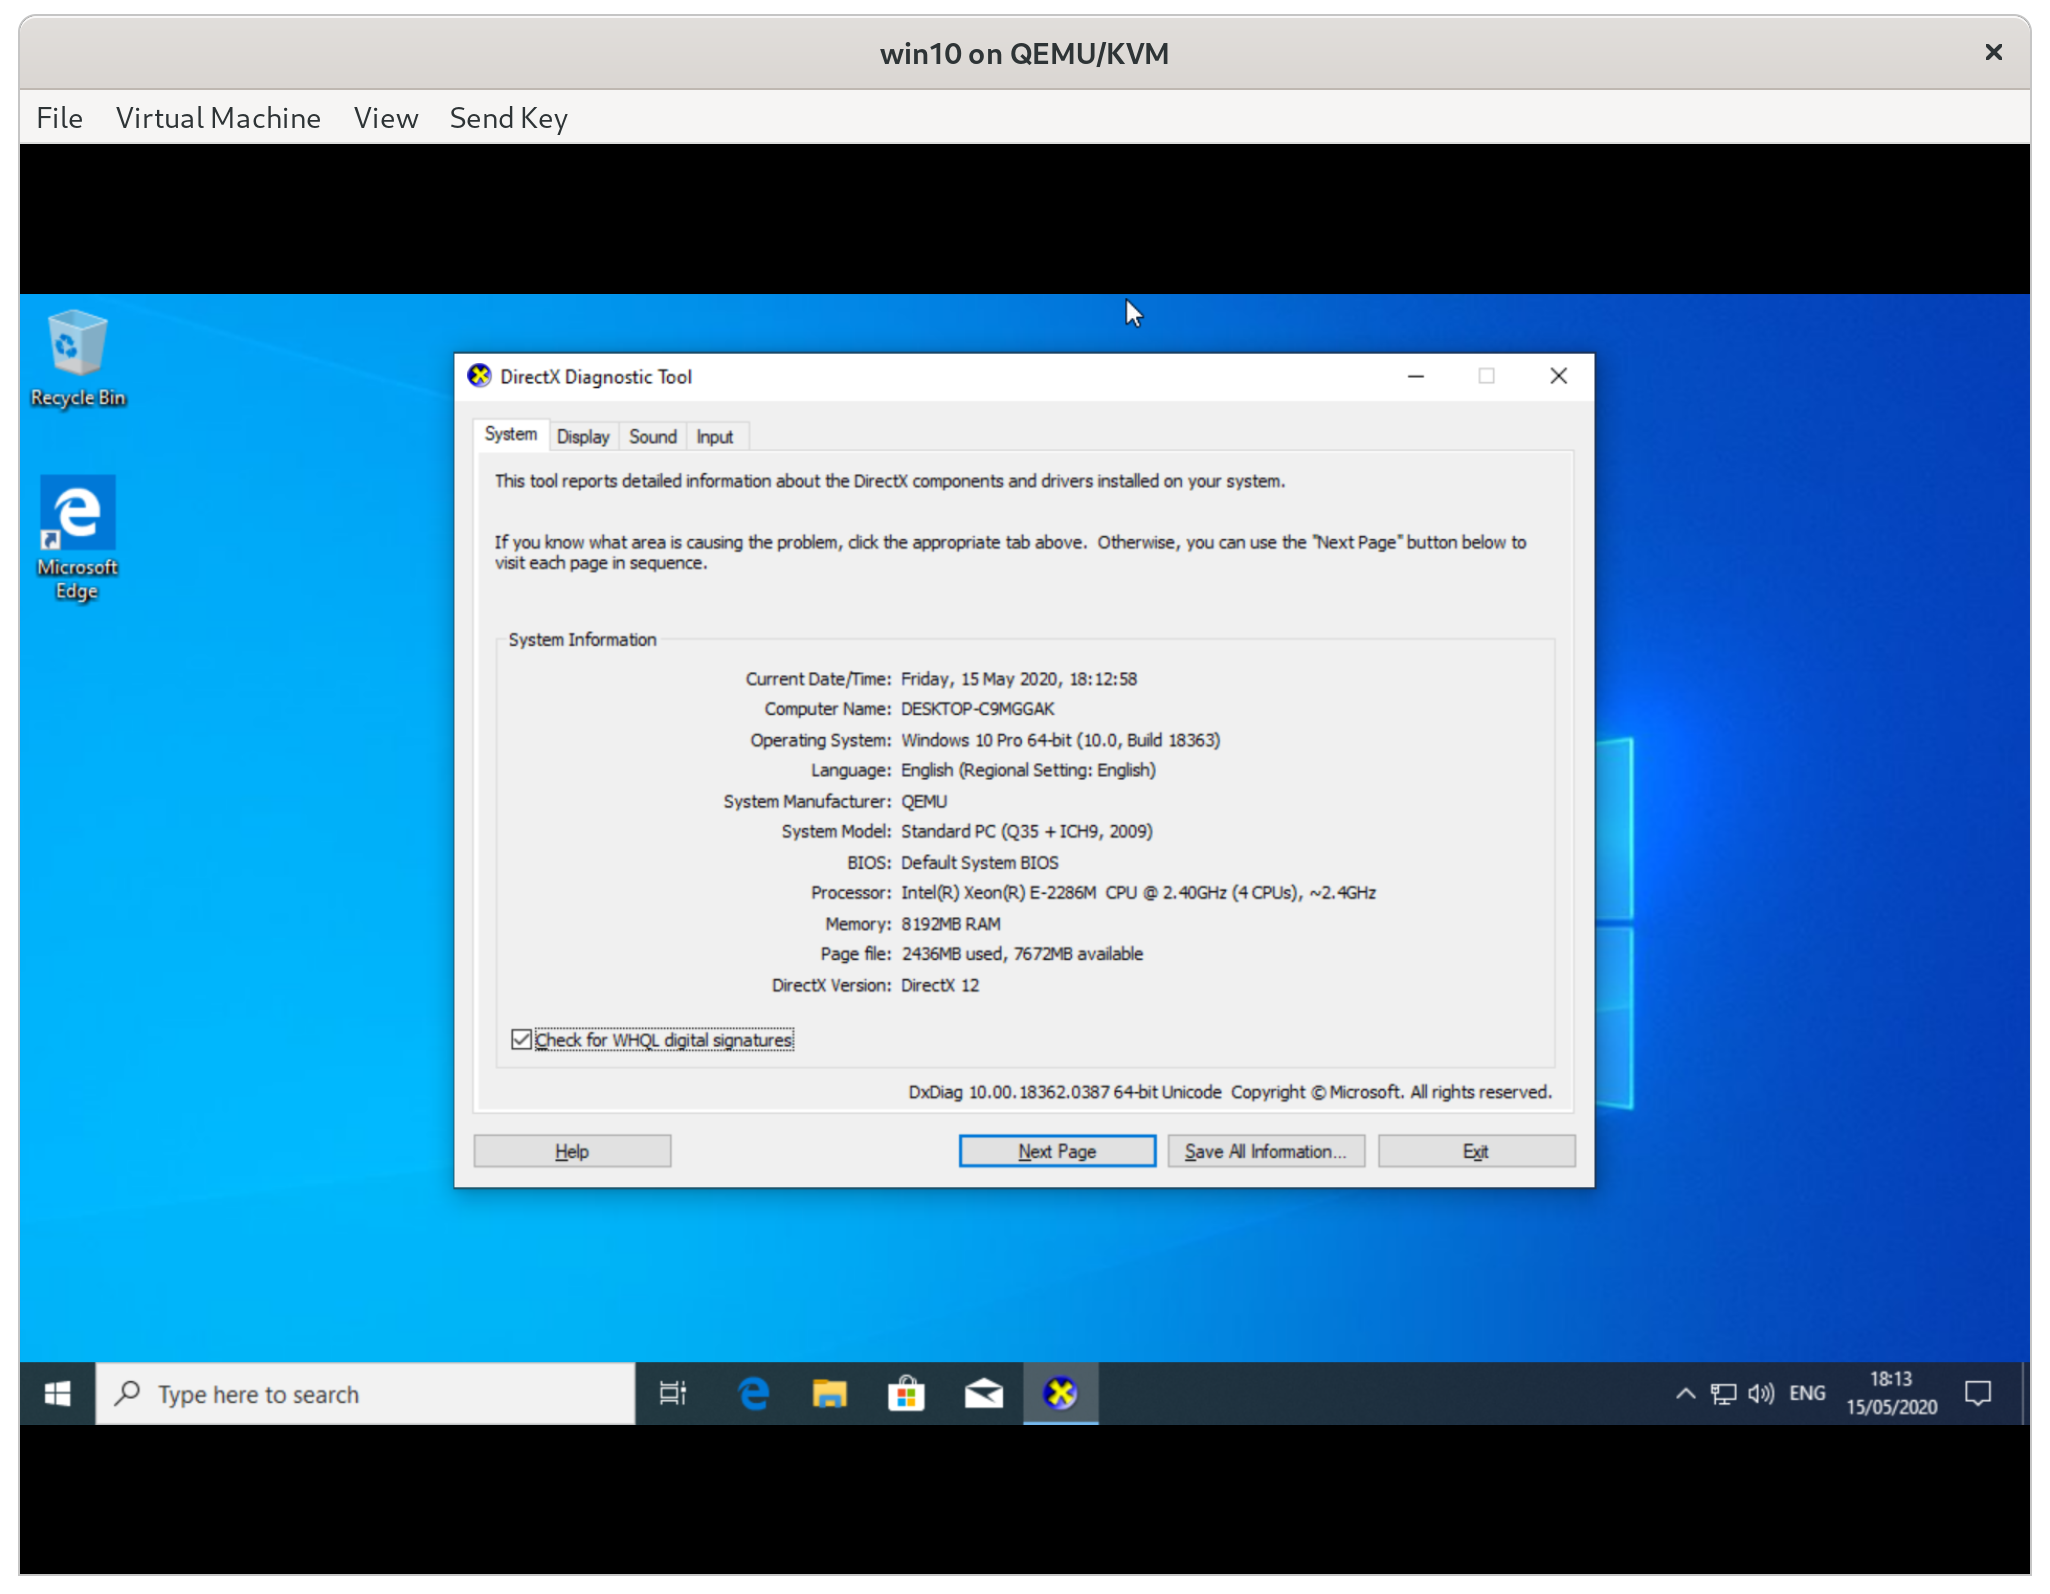
Congratulations! You’re done! You should now have a Windows 10 VM with GPU acceleration. It should be possible to run games that work on the iGPU, run Godot engine, or other 3D workloads.
If you have any comments or issues please feel free to leave a comment below. You can sign in with your existing Google, Twitter, or Github accounts!
First off, amazing guide, thank you so much for this, this is the only well written guide about setting up a KVM with GVT-g.
But I have one issue, the display of the vm is still a bit laggy or stuttery in a way, almost as if it’s running in 60FPS.
I found in this guide a “60FPS fix”
https://blog.bepbep.co/posts/gvt/
But after compiling my own QEMU with the patch etc. I keep getting the error “OpenGL is not supported by the display”…?
Have you encountered this stuttering/30fps issue at all? How have you dealt with it?
Hey Matthias!
Thanks for the kind words, I’m glad you enjoyed the guide. As for your problem, I suspect the issue is that the root user that libvirt uses to run the qemu command line doesn’t have access to the X server when you run the GTK client directly. I suspect that if you run ` xhost +` as a *regular user* before starting the VM it should work.
As for what I do: I mostly use this to run applications where this doesn’t bother me but I have used it to run some games. When I use it to run games I actually use steam in-house streaming to stream from the VM to my host OS 🙂 With the VM window itself closed this appears to be buttery smooth.
I hope this helps!
Hey, first off, again, massive thanks!
I had the wrong display number as my env variable in the configuration, and `xhost +` did indeed fix the problem. I am yet to try Steam streaming, but I’ve tried Parsec and the lagginess persisted, so I’m not convinced this will work well enough for me yet. Therefore I’m still pursuing the 60FPS fix (from https://blog.bepbep.co/posts/gvt/)
But I have one more (hopefully last) issue with it. When I tried to use that 60FPS trick I mentioned earlier, the VM boots, I see the Windows logo and the loading animation, after a while it freezes, and after another while it switches to a 16:9 black square, and I cannot interact with the VM in any way (from what I could tell). I think I followed the other guide precisely and everything should work fine, so I’m out of ideas.
I’m sorry if I’m pulling your leg here since this is a problem from a different guide entirely, but I thought you could have an idea at least what could be happening here?
Below is my entire libvirt config and my GRUB startup parameters
https://gist.github.com/matthiasmeten/22c58c3503544a510ece0cdbf448aeea
Again, thanks for the help thus far 🙂
I’ve followed this guide to pass my intel UHD graphics 630 gpu from the host os ubuntu 20.04 to the quemu-kvm guest os windows 10. it works great,except for the flickering. I see a lot of flickering on virt-manager. how can I fix it ?
Hi,
First of all thanks. I tried to follow every steps, but in my Virtual Machine Manager this no CPU Type : Host-Passthrough.
So I chose : CPU Host Configuration.
And bm CPU is always at 100%.
Any Idea?
The exact term is `host-passthrough` if you indeed typed `Host-Passthrough` with the capital letters it will indeed not work!
Hello everyone out there,
This is an amazing tutotial, I have tried on Fedora 33, the problem was that I was not able to display anything after boot messages. Going deep inside found my problem was related to DMA-BUF with UEFI/OVMF.
This was solved passing to the qemu commands
…
…
the file vbios_gvt_uefi.rom can be downloaded from:
http://120.25.59.132:3000/vbios_gvt_uefi.rom
https://www.reddit.com/r/VFIO/comments/av736o/creating_a_clover_bios_nonuefi_install_for_qemu/ehdz6mf/
Best Regards….!!!
Nice Tutorial…
I am having the same problem, I guess. Do you have any information or guide how I can patch the UEFI/ovmf image and how to replace it for the vm?
Hi there,
nice guide, i got it to work on my old Laptop, but i have problems on my new one. I have a 11th gen Intel CPU with an intelXE GPU. Do you know it this method still works? i eddited the Grub file, but after reboot i dont have the mdev_supported_types folder..
Not sure if the new inte GPUs are still compatible…
Hey! I’m sorry but I don’t have access to a Xe GPU so I can’t confirm or deny whether or not this works there. From what I can find online work is being done in that direction but also it seems that this hasn’t landed yet in any current kernels yet.
First off I want to say thank you so much for the guide. This is exactly what I was looking for and made everything super easy. However, I am having an issue with the libvirt xml. When attempting to set the address of the host device to I keep getting the error message “Invalid PCI address 0000:06:00.0. slot must be >= 1”. I can get the error to go away by changing the slot to something else like 1 or 2, but then when I power on the VM the screen is just black. Any advice? Thanks again for the amazing guide.
As an update, if I omit the address element within the hostdev element that specifies lane 6 and slot 0, the machine boots and I can ping it, but the display stays black.
For me the provided pci address did not work either. (Ubuntu 21.04, QEMU 5.20)
Got it working by setting it up like this:
Before i did this the GPU would show up in Windows Device Manager but it reported a resource error (Code 10) and would not function.
address type=’pci’ domain=’0x0000′ bus=’0x00′ slot=’0x09′ function=’0x0′
Hi. thank you for the guide!
Will this also work for linux host and linux guest?
I’ve tried fitting the steps to an existing ubuntu 18.04 VM but when I start it either virt manager closes as soon as I start it and pen the window OR my host operating system seems to have a displayserver crash and forces me to login again.
shame I can’t edit 🙂
I’ve tried fitting the steps to an existing ubuntu 18.04 VM.
But when I start it then either virt manager closes as soon as I start it and open the window
OR
my host operating system seems to have a displayserver crash and forces me to login again.
I have a discrete graphics card selected with prime-select nvidia on my host OS.
For Ubuntu 20.04, I needed to add these modules to /etc/initramfs-tools/modules instead of /etc/modules-load.d/kvm-gvt-g.conf
kvmgt
vfio-iommu-type1
vfio-mdev
as outlined by the guide here https://github.com/intel/gvt-linux/wiki/GVTg_Setup_Guide#321-build-the-initrd-initial-ramdisk
When I added them to modules-load.d, it just won’t load and gives me “ERROR: could not insert ‘kvmgt’: No such device” error when trying to load those modules manually.
I think I’m across most of it – but would appreciate if you could offer modifications for opensuse tumbleweed latest as of 10th of March 2023.
Also – on older mesa – you often need a mention of i915 in the grub config anyways – but I need no such thing now with recent drivers. I am on a NUC12WSK kit which works well with intel-media-driver allowing all codecs – works wonderfully.
Will I still need the i915 lines or are they modified slightly with this NUC – on the rare chance you might know 😛
I am running 4K at 50 frames and would love to have that passthrough to hosted systems.
Any help very much appreciated and if you too busy ( I know how that gets ) thanks anyways
Adding some updated notes here since I think it will save someone some time in 2023 if you are still trying to GVTG.
On the part where you enable DMABUF, there are two issues, 1) QEMU formatting is updated since 6.2 so it must look like below (otherwise you get hotdev0 not defined) and 2) DMABUF is still not supported with UEFI so you must either patch it yourself or download a ROM for the VGABIOs.
The UEFI rom is located in the comment section here: https://www.reddit.com/r/VFIO/comments/wb2mrv/comment/ii50i14/?utm_source=share&utm_medium=web2x&context=3 – it needs to be stored in a good place to avoid virt apparmor (found that on another guide I cant find the link for)
Hello from 2024. I followed this tutorial on a NUC6i7KYK Skull Canyon and got it to work! For those reading hti now, there are a couple of tweaks needed as time has marched on. As Rob H said above, You change the syntax for the block to:
as is required by a syntax change in the XML.
And if you have problems with getting the GPU to actually start past the UEFI boot screen, download the option rom mentioned here:
https://wiki.archlinux.org/title/Intel_GVT-g
This guide basically walks through the same stuff but it is a little more generalized and can get confusing. However, retrieving the rom from archive.org
( https://web.archive.org/web/20220312082158/http://120.25.59.132:3000/vbios_gvt_uefi.rom )
and making a new directory /usr/share/vgabios and then adding the line:
to the qemu override ( as in section 3.3.2 of the archlinux tutorial )
is all I needed to be perfectly working and ready for the “custom resolution” section in this tutorial.
P.S. one thing I did do differently from this tutorial once I ran into some problems was turn the Video controller back on briefly and set it to virtio. Thislet me boot ( unaccelerated ) and gave me 2 gpu’s… the virtual one and the Intel IGD ( Iris Pro 580 for me ) showing up as secondard in the device manager.
This allowed me to install the intel drivers ahead of time, so it made things much smoother when I finally got the option rom installed.
( don’t forge to set it back to “none” when you’re done with it!
Good luck folks! It can be done!
oops.. I didn’t realize it would filter out all my XML examples… check out the arch linix guide url and follow this blog until you get to the qemu override stuff and the aforementioned vga option rom for UEFI
Also You might want ot update this to clarify the role of the two virtual drivers
i915-GVTg_V5_4 and i915-GVTg_V5_8. What I have found from reading elsewhere is that these devices are as you describe “larger number means smaller”
but it means specifically smaller for 3 different atributes:
i915-GVTg_V5_4 gives you 1 vGPU, larger initial minimum memory allocated, and larger maximum memory aperture,
While i915-GVTg_V5_8 gives you 2 vGPUs and half size memory specs.
So I think this means people with single gpus who want to do passthrough would still only be able to display one screen at a time. If so, I assume it does this gracefully without the need for hooks, but I’ve not yet tried it.